
 100% Security Verified | No Subscription Required | No Malware


 ChatGPT
 Perplexity
 Gemini
 Claude
 Grok
Grok
In this article
-
- Step 1: Import or Add Your Footage in Filmora
- Step 2: Position the Playhead and Capture Snapshot
- Step 3: Insert the Captured Image on a New Layer
- Step 4: Create Multiple Layers / Stages (Sequence Effect)
- Step 5: Edit Layer Properties & Blending
- Step 6: Export the Freeze Frame Video (First Pass)
- Step 7: Refine / Split / Reverse (Optional Enhancements)
The momentary pause, which gives a dramatic effect in a video that we often see, is called a freeze frame.
A freeze frame is a simple but effective editing technique that stops the movement on a single frame. And one of the easiest ways to create this effect is with Wondershare Filmora. You can use Filmora freeze frame to highlight dramatic moments, emphasize emotions, or add a creative touch to a scene.
In this article, we'll discuss in detail what you need to prepare, how to freeze a frame in Filmora, tips and best practices, and common issues. Follow the steps outlined below to get started!
Part 1. What You'll Need: Preparation for a Freeze Frame

Before using freeze frame in Filmora, you need to prepare everything you need, from tools to files, so the editing process can run smoothly.
1. Filmora is installed on your computer
Ensure you have Filmora installed. The freeze frame effect is compatible with both Windows and Mac. If you are using an older version, check for updates as the latest version includes smoother editing features and better export options.
2. A video clip you want to edit
Choose a video where you want to apply the freeze frame effect on Filmora. It could be a dramatic scene, a funny reaction, or an action shot you want to pause. For best results, use high-quality footage so the frozen frame looks sharp when displayed.
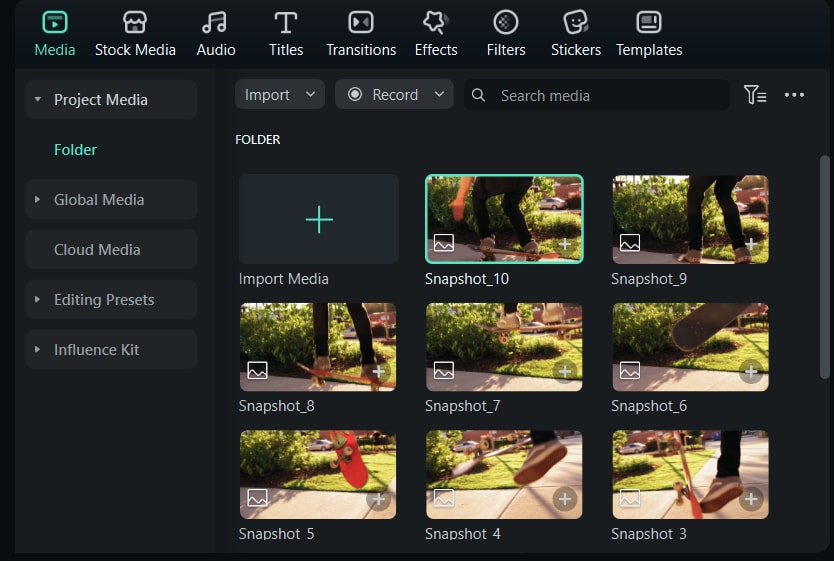
3. Static images or snapshot frames (Optional)
If you plan to create a freeze frame sequence (multiple frozen moments appearing one after another), prepare snapshots from your video. You can capture these directly in Filmora during editing, but it helps to know in advance which frames you'd like to highlight.
Part 2. How to Create a Freeze Frame Effect in Filmora
With your clips prepared and ready, it's time to start creating the freeze frame effect in Filmora.
 secure download

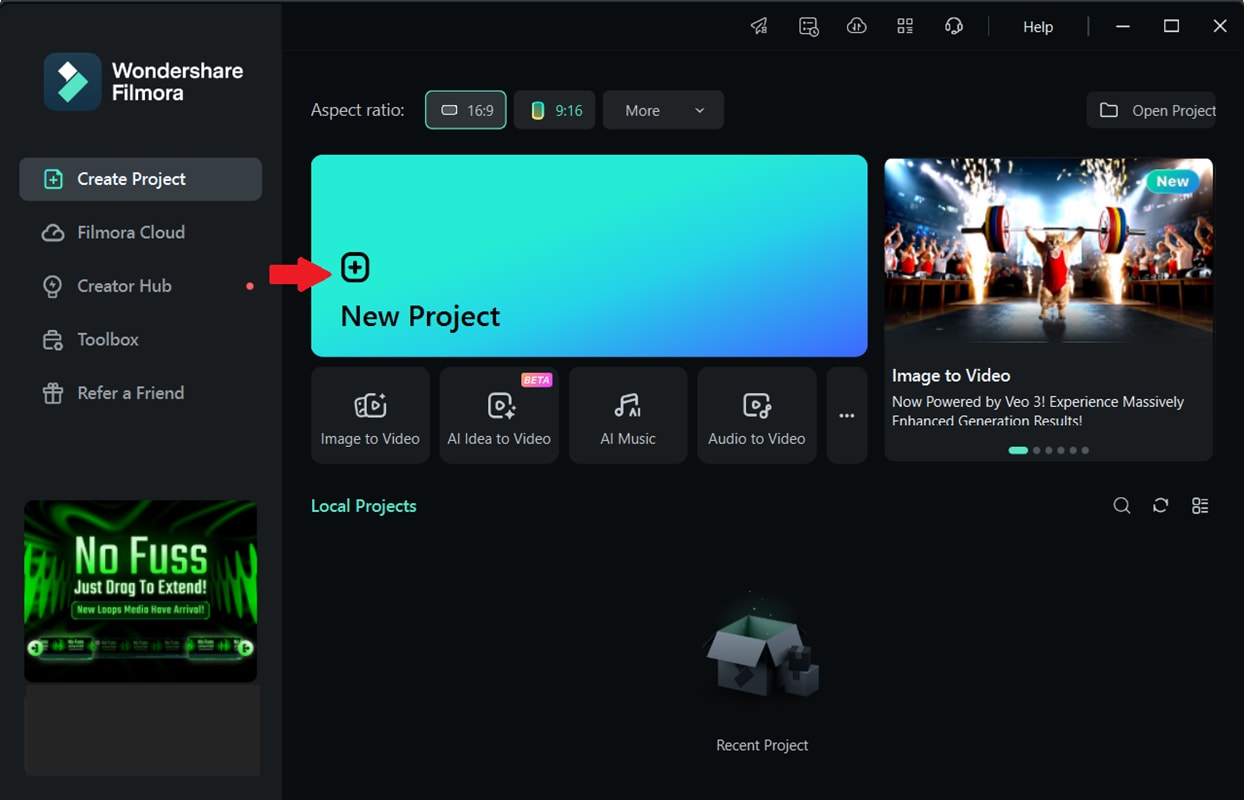
Step 1: Import or Add Your Footage in Filmora
Launch Filmora and click New Project to start your freeze frame project.
Head to the Media tab and click Import Media Files to add your video clips.
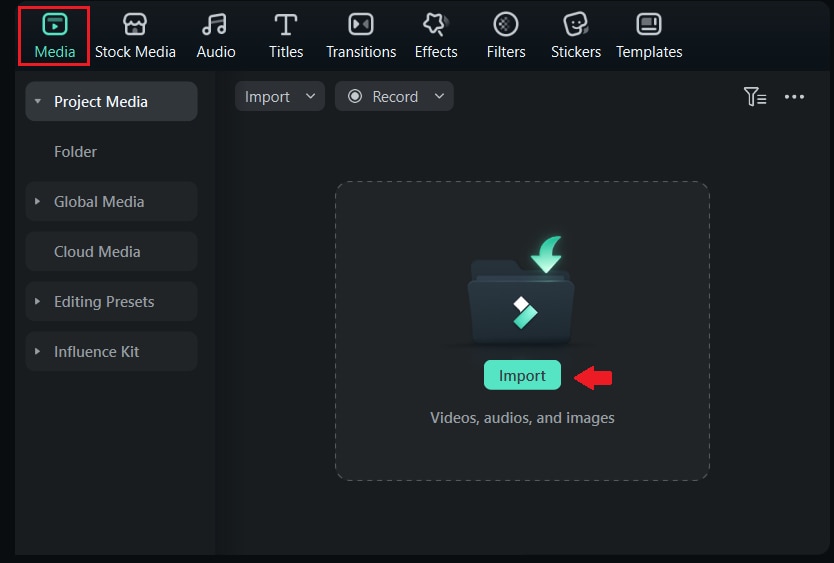
Drag clips from the Media Library to the timeline. This will become the base for your freeze frame effect.
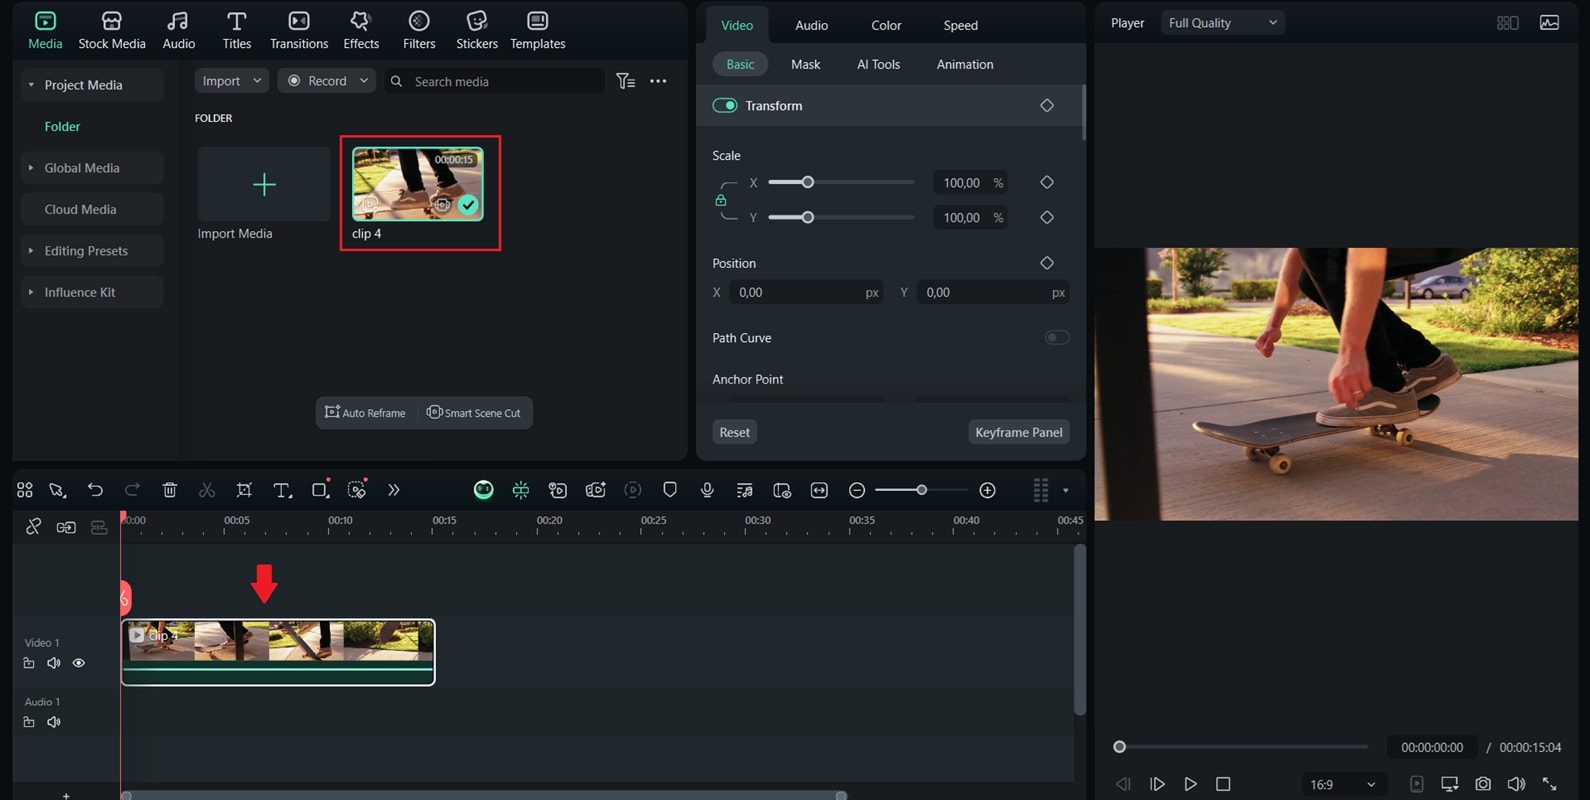
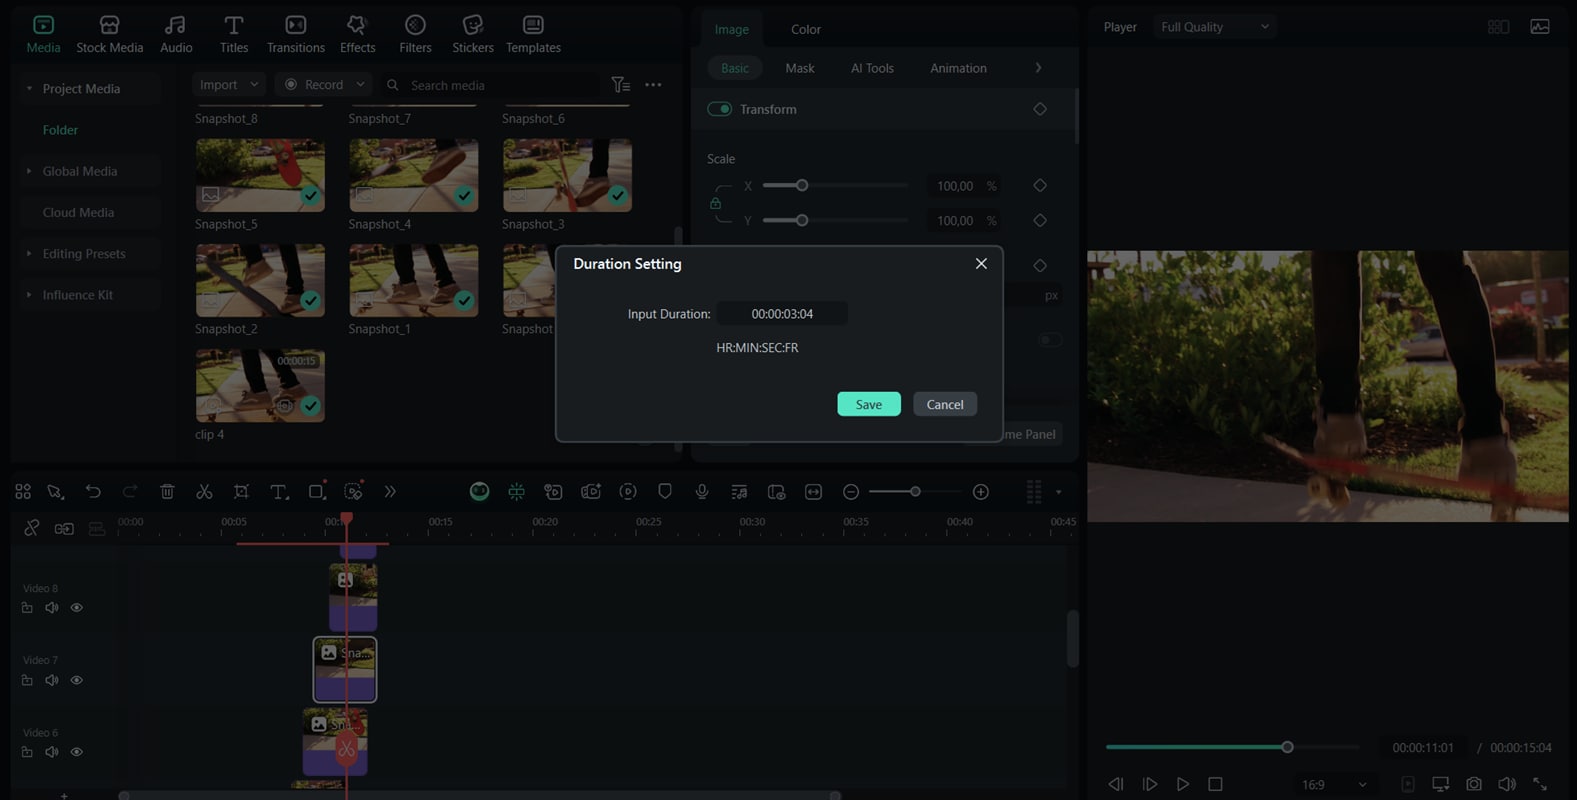
Step 2: Position the Playhead and Capture Snapshot
Move the playback cursor to the exact frame you want to freeze. Click the Camera Snapshot icon below the preview window. This will capture the frame as a still image.
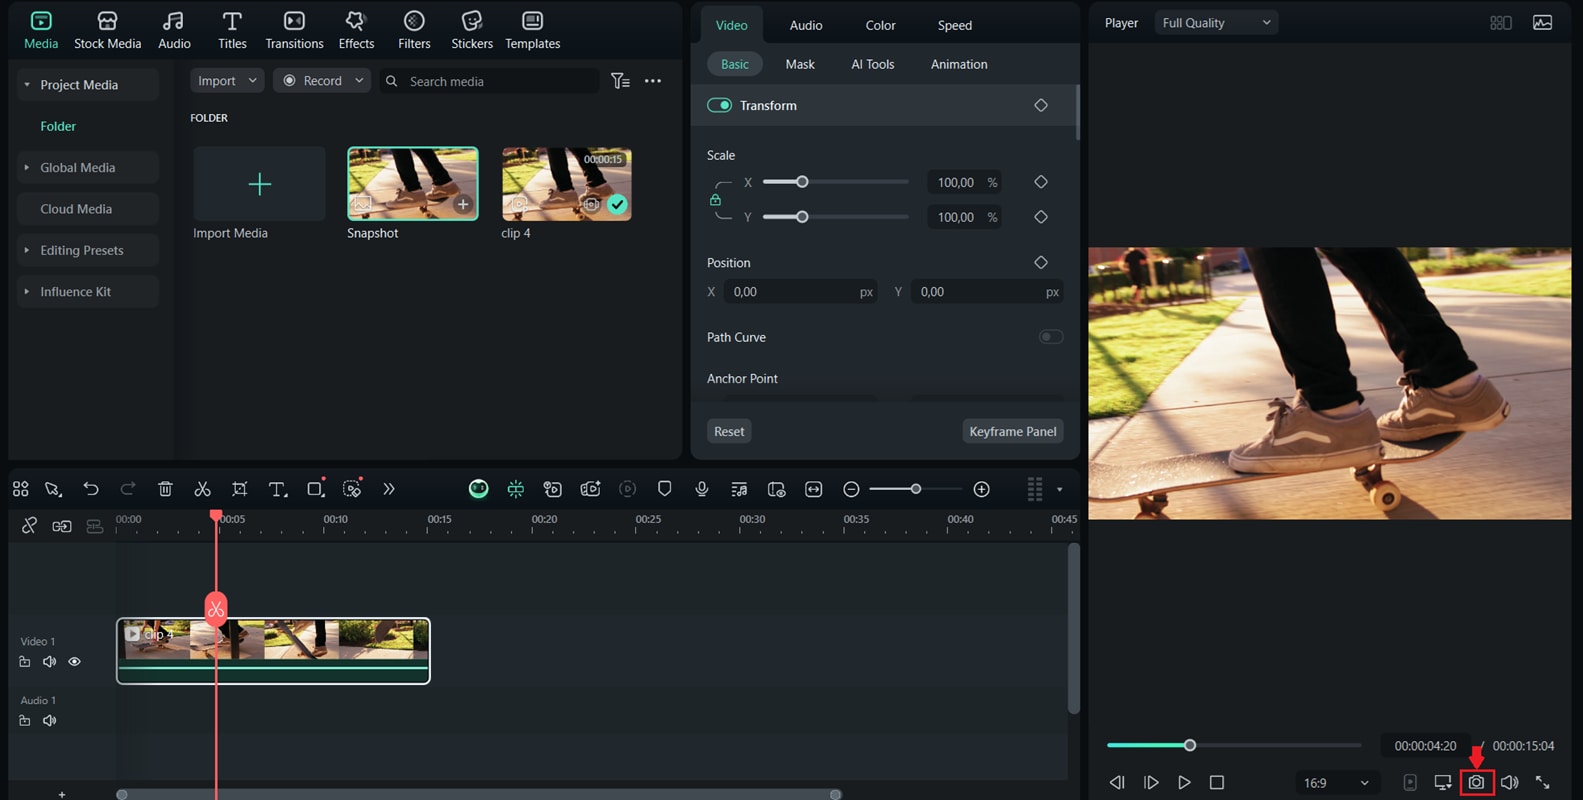
The snapshot will automatically appear in your Media Library for use in your project.
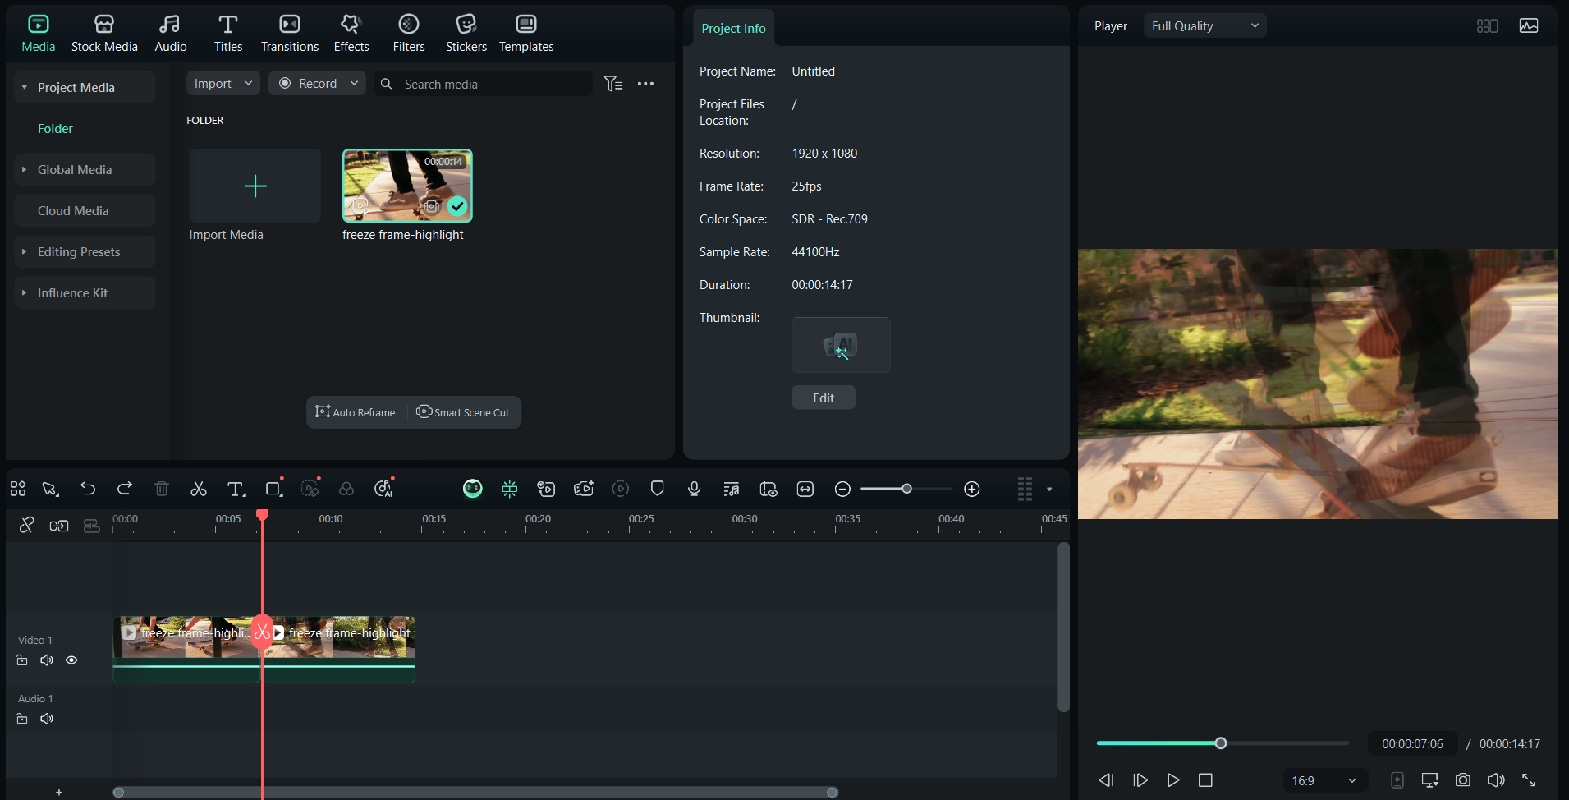
Step 3: Insert the Captured Image on a New Layer
Drag the snapshot image from the Media Library onto the track above your video clip in the timeline. Position the image so it aligns precisely with the playhead where the freeze begins.
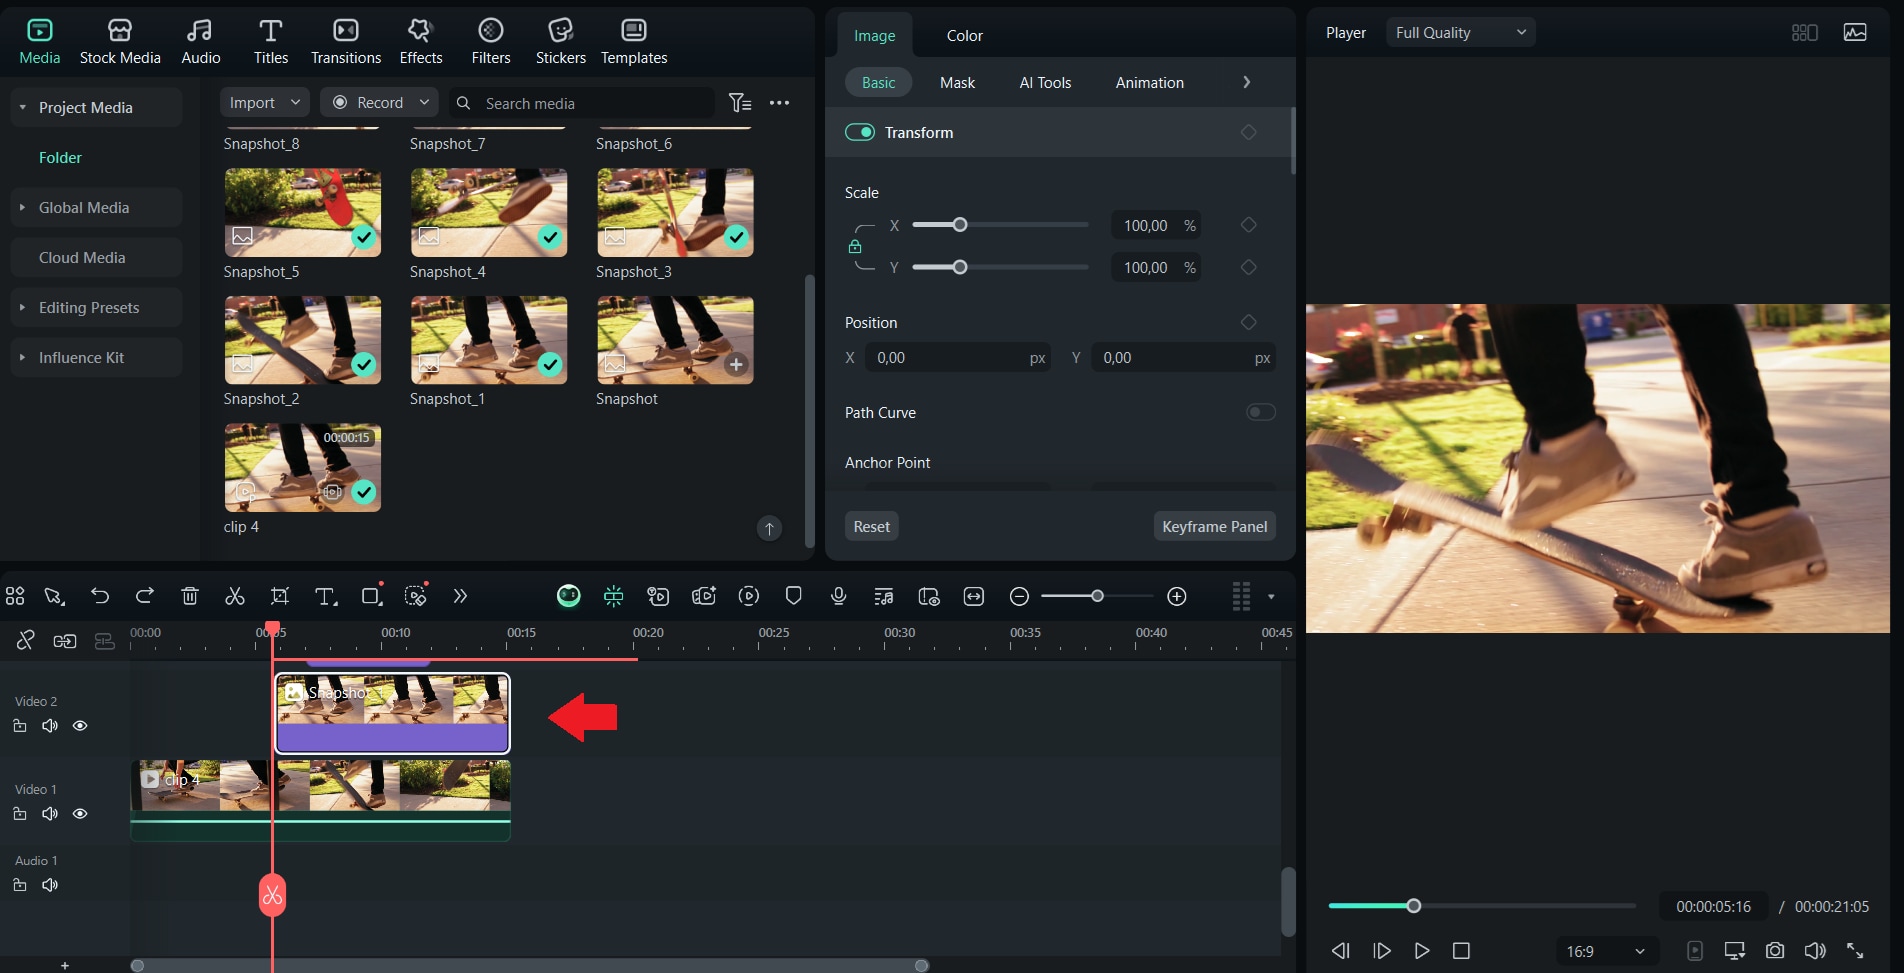
Adjust the duration of the snapshot by dragging its edges. The longer the snapshot duration, the longer the freeze frame will appear.
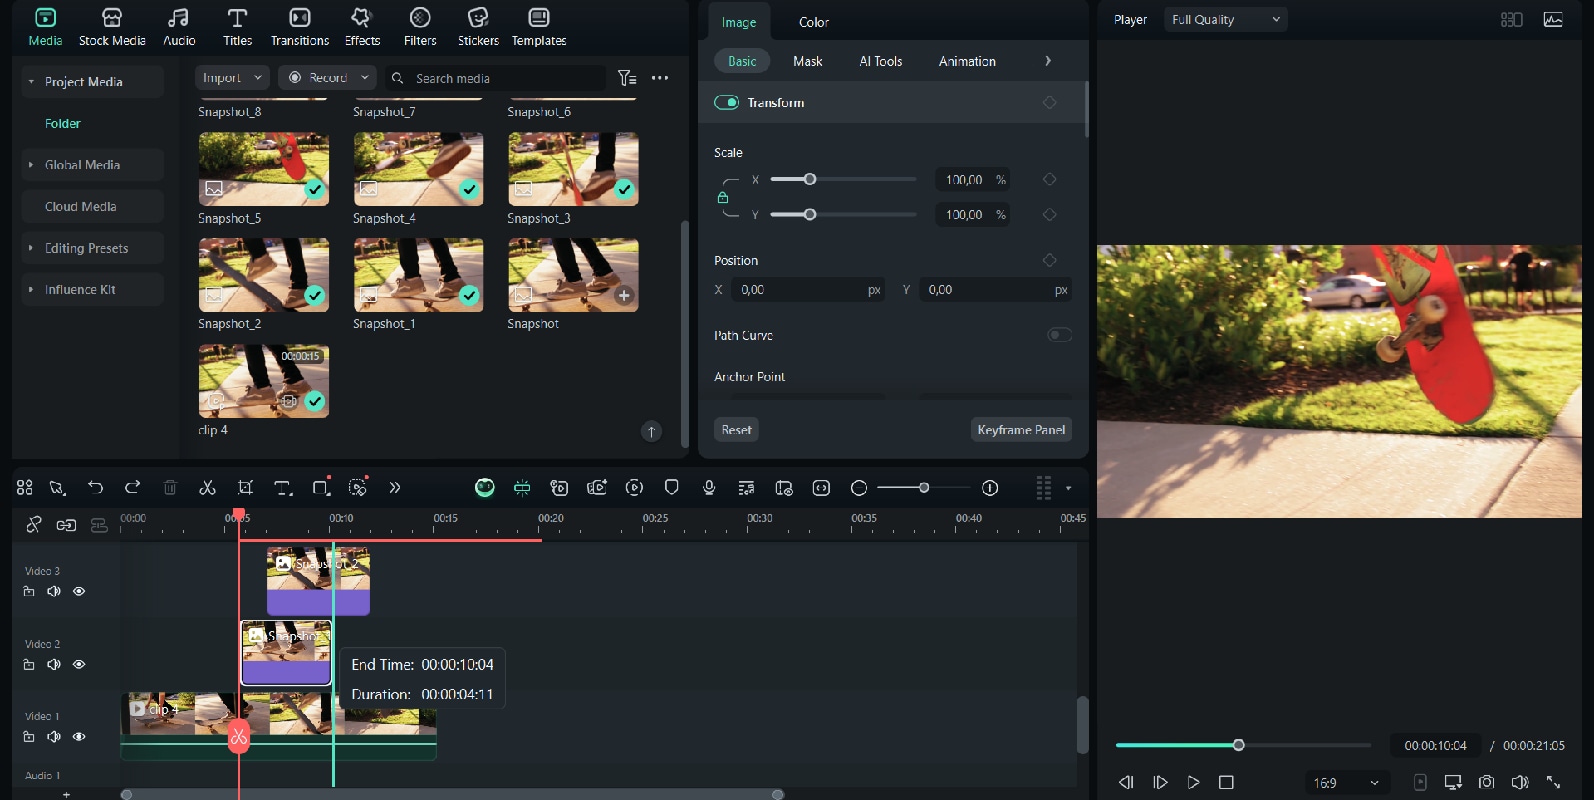
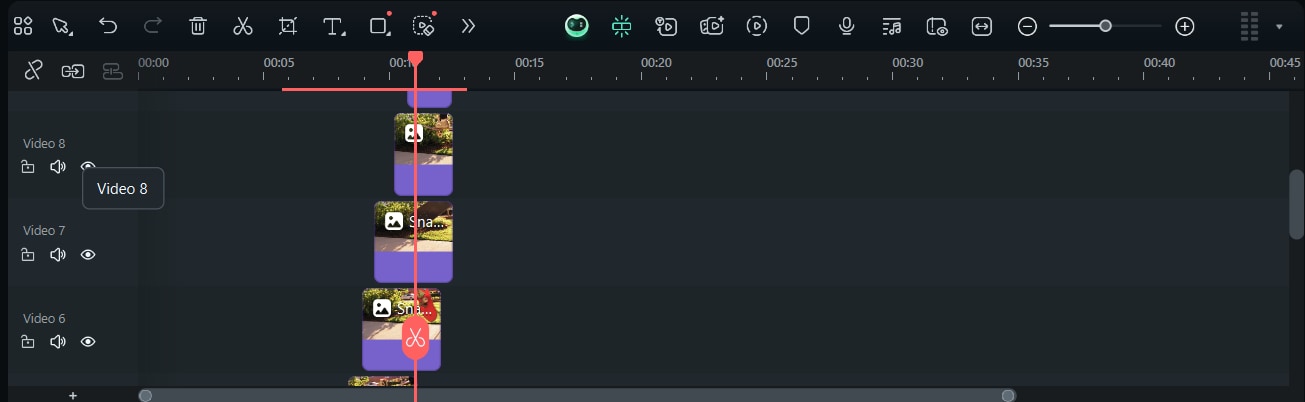
Step 4: Create Multiple Layers / Stages (Sequence Effect)
To create a sequence effect, repeat the process of taking snapshots at different points in your video.Place each snapshot on a new layer above the video clip, one by one.
Extend or shorten the duration of each snapshot to control how long it stays on the screen.
Step 5: Edit Layer Properties & Blending
Click on a snapshot in the timeline and go to the Basic section
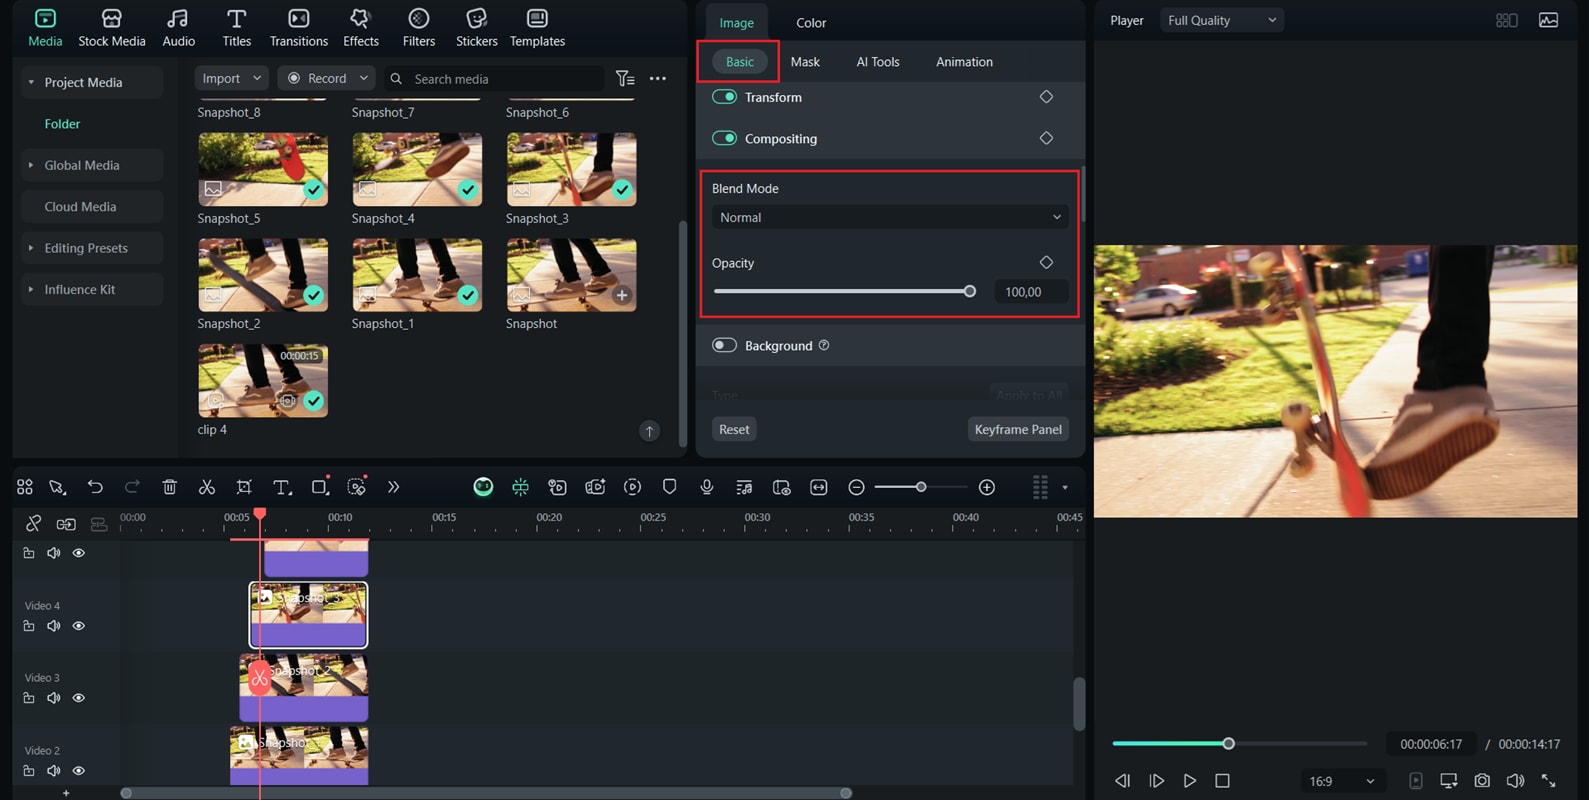
Apply a Blending Mode such as Darken or Overlay for creative layering.

Adjust the Opacity slider if you want the freeze frame to blend with the moving background.
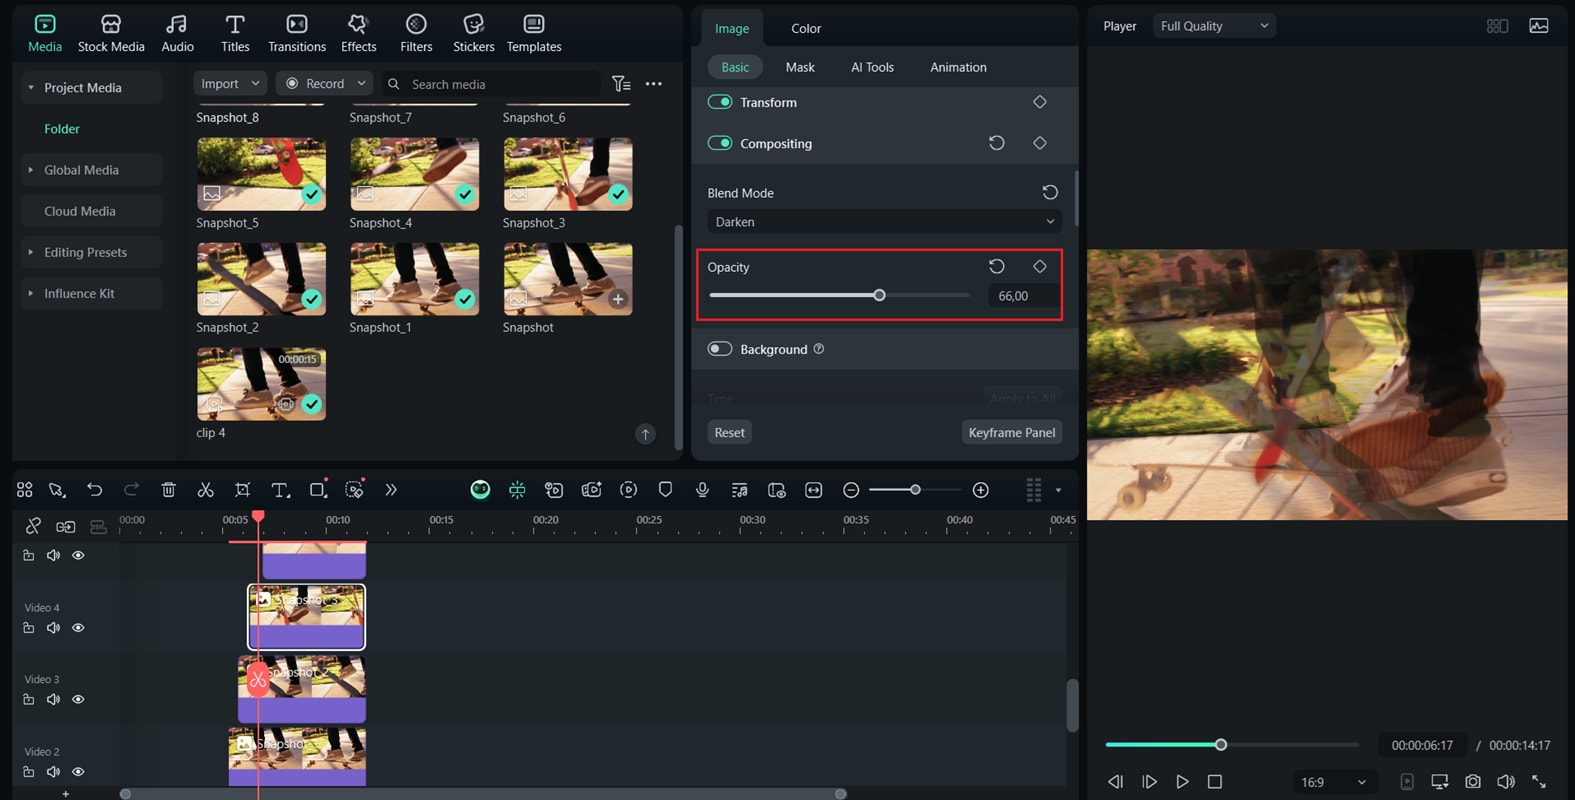
Repeat this step for each snapshot layer until you achieve the look you want.
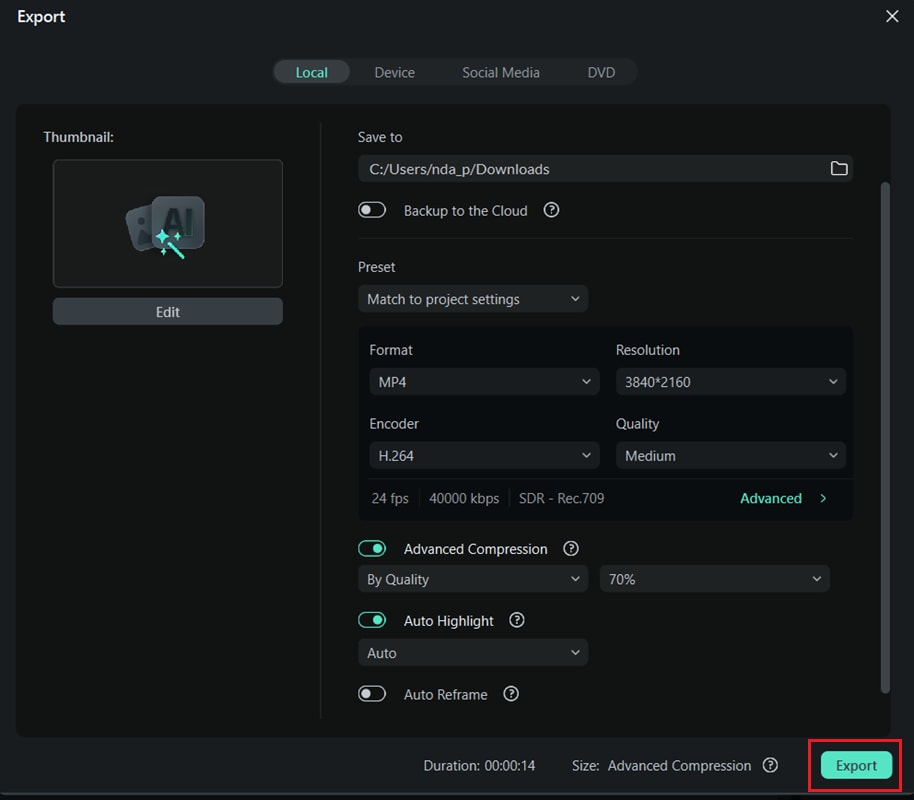
Step 6: Export the Freeze Frame Video (First Pass)
Once you are satisfied with the results, click the Export button at the top.
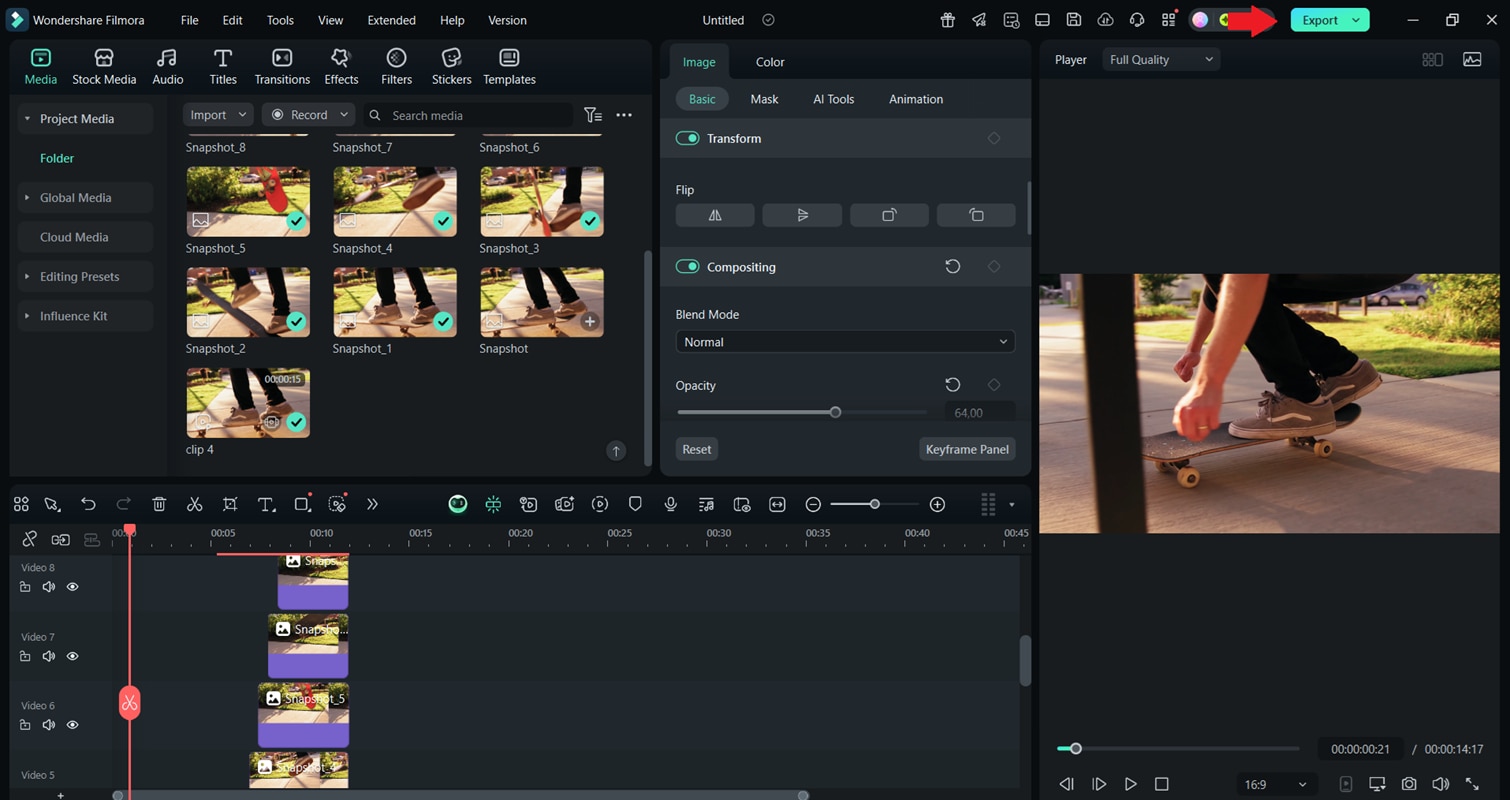
Select a format such as MP4 for general use. Save the exported video to your computer. This “first” version can be imported back in for further editing.
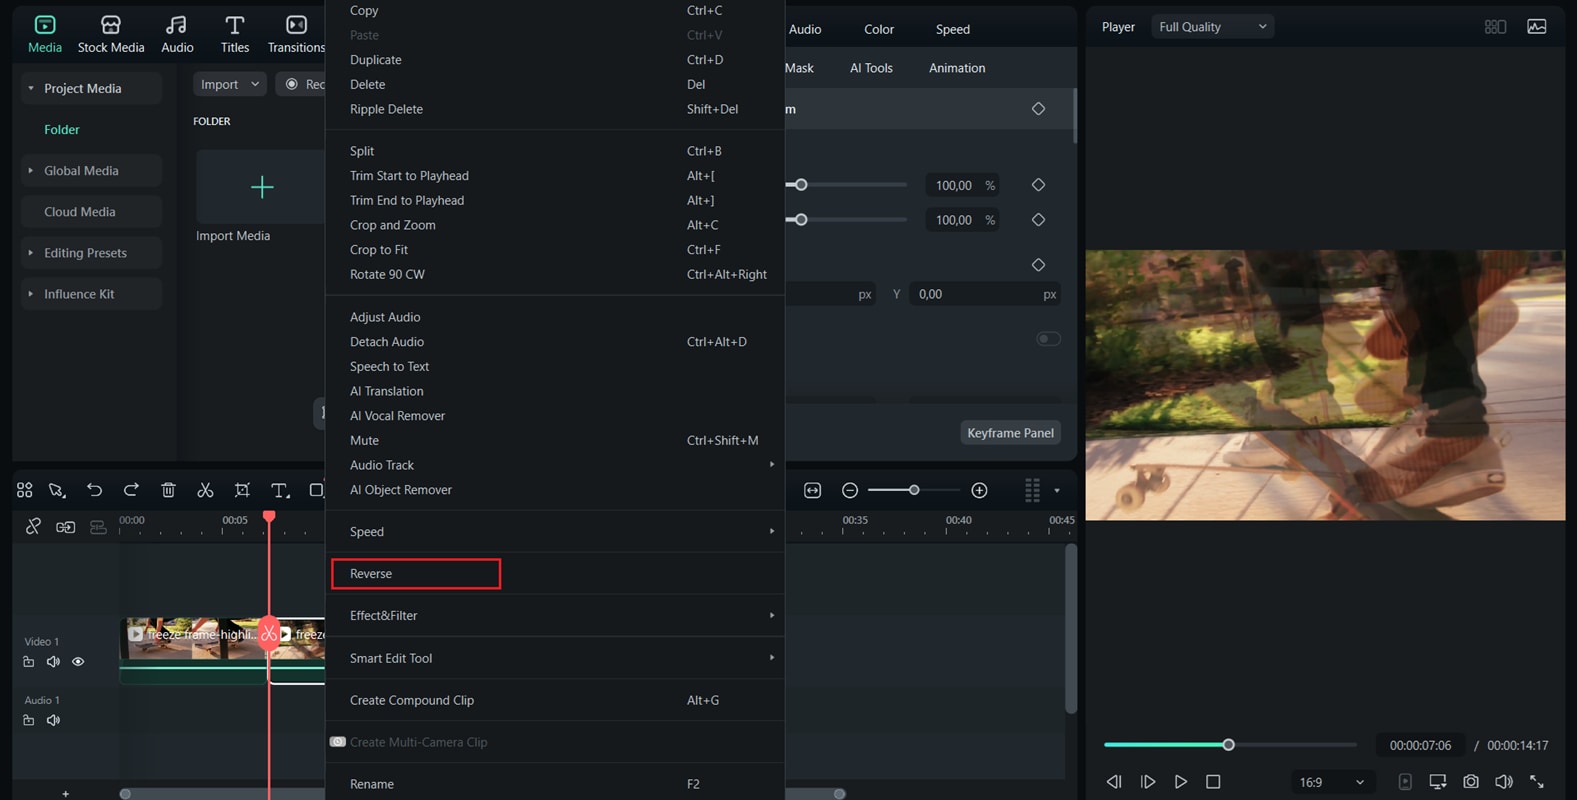
Step 7: Refine / Split / Reverse (Optional Enhancements)
Import the exported video back into Filmora if you want to add additional effects. Use the Split tool to cut the freeze frame section for more precise control.
Apply the Reverse feature to the second half of the video to create a rewind effect after the freeze frame.


Part 3. Tips & Best Practices for Freeze Frame in Filmora
After learning how to freeze a frame in Filmora step-by-step, it's worth adding some extra touches to make your edits stand out. Below are some tips and best practices that you can apply to your edits.

Tip 1: Choose your frames wisely
Select moments with strong expressions, actions, or emotions. Freeze frames are most effective when highlighting something memorable.
Tip 2: Keep the timing balanced
If the freeze lasts too long, it may feel unnatural. A short pause of one to three seconds usually works well.
Tip 3: Check audio continuity
Decide if the audio should continue during the freeze or pause along with the video. Synchronizing the two makes for a cleaner effect.
Tip 4: Preview before final export
Always preview the entire video to ensure the freeze frame flows naturally within the story.
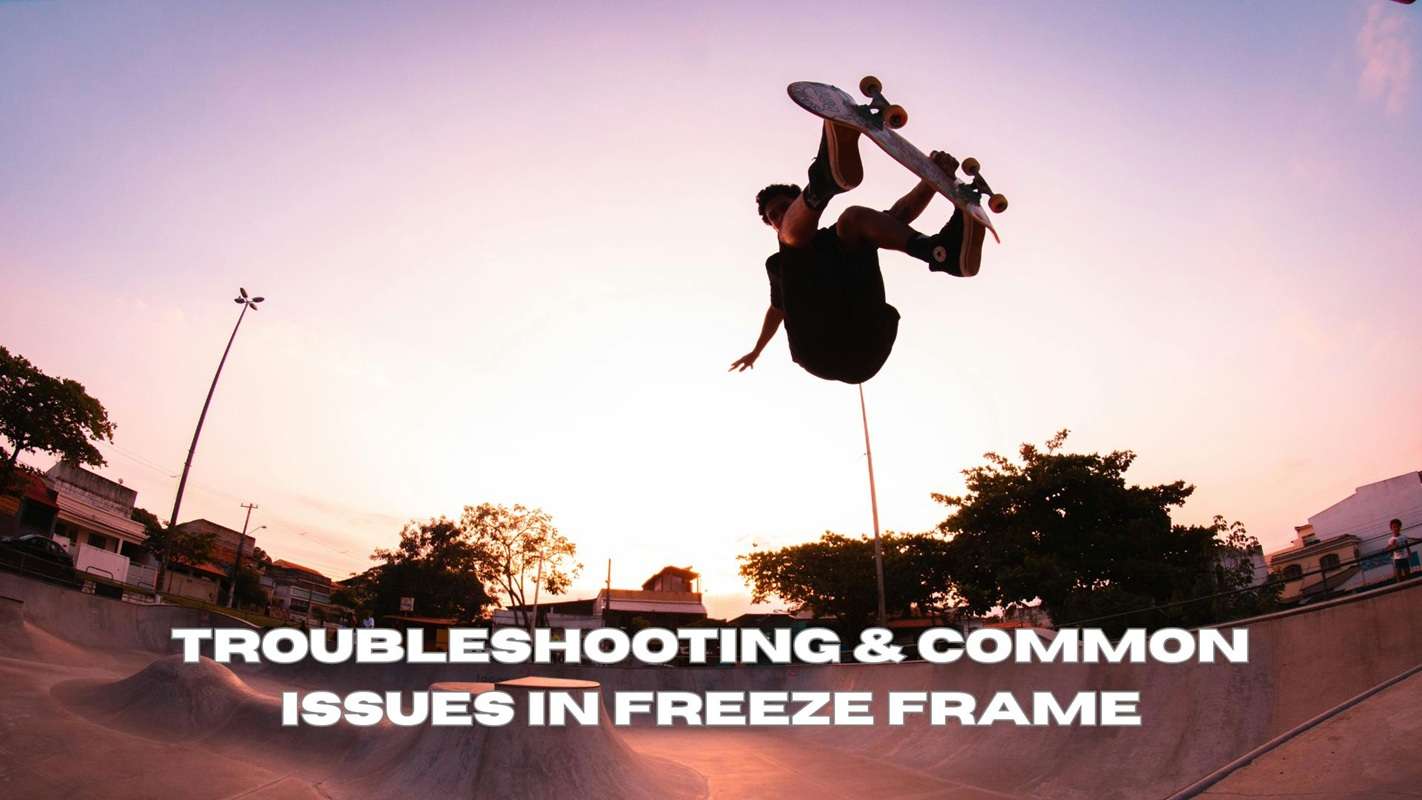
Part 4. Troubleshooting & Common Issues During Filmora Freeze Frame
From the explanation and practice of creating a Filmora freeze frame, it's indeed easy, but although Filmora allows you to create freeze frames easily, you may still find some minor problems during the process. Below are some common issues and simple ways to solve them:
1. Snapshot does not match the video resolution
If the freeze frame looks blurry or smaller than the video, check your project settings. Ensure the resolution matches the original footage before taking a snapshot.
2. Freeze frame does not appear in the preview
This typically occurs when the snapshot layer is placed below the main video clip. Move the freeze frame to a track above the clip so that it is visible in the preview.
3. Audio continues when the video is frozen
Separate the audio from the video clip, then manually cut or stop the audio to match the freeze frame moment.
4. Timing feels out of sync after exporting
Double-check the timeline and make sure the freeze frame is exactly where the movement stops. A few frames of delay can make the effect look out of sync.
5. Transitions look choppy
Add a short fade-in or fade-out transition between the moving clip and the freeze frame. This will smooth out the visual jump and create a cleaner look.
6. Freeze frame does not blend properly
Adjust the opacity or try a different blending mode in the Compositing section until the snapshot blends naturally with the background.
Conclusion
As we've seen in this article, creating freeze frames in Filmora is one of the easiest ways to add creativity and drama to your videos. With Filmora, you can turn ordinary moments into powerful highlights by simply capturing, stacking, and combining frames. You can pause emotional scenes, highlight reactions, or create cinematic sequences using Filmora's intuitive tools with a straightforward process.
Find your style by experimenting with timing, blending modes, and transitions. Once you get familiar with the steps, you'll see that freeze frames do more than just stop time; they can also tell a story in a single static frame. Filmora freeze frames give your moments and video creations a unique presentation.
Frequently Asked Questions
-
Can I create multiple freeze frames within a single video?
Yes, you can add as many freeze frames as you want in a single project. To do this, repeat the process of capturing and inserting snapshots at different moments in your video.Yes, you can add as many freeze frames as you want in a single project. To do this, repeat the process of capturing and inserting snapshots at different moments in your video.Does the freeze frame affect my audio?Does the freeze frame affect my audio? -
Does the freeze frame affect my audio?
No, the freeze frame feature only pauses the visual part of your video. The audio will continue to play unless you manually cut or mute it. You can separate the audio tracks at the same point and freeze them both together for perfect synchronization.No, the freeze frame feature only pauses the visual part of your video. The audio will continue to play unless you manually cut or mute it. You can separate the audio tracks at the same point and freeze them both together for perfect synchronization.Can I add text or effects to my freeze frame?Can I add text or effects to my freeze frame? -
Can I add text or effects to my freeze frame?
Of course. To add extra movement to your freeze frame, you can use motion effects, stickers, titles, or filters. Various text presets and graphic effects are available in Filmora to add a professional touch to your captured moments.Of course. To add extra movement to your freeze frame, you can use motion effects, stickers, titles, or filters. Various text presets and graphic effects are available in Filmora to add a professional touch to your captured moments.
