
 100% Security Verified | No Subscription Required | No Malware


 ChatGPT
 Perplexity
 Gemini
 Claude
 Grok
Grok
In this article
You know those little graphics or text bars that pop up at the bottom of a video to show someone's name, job title, or extra info? Those are called lower thirds.
And to make them easily, you'll need a lower third generator: a tool designed to help you add stylish animated text and graphics without doing everything from scratch. Lower thirds are great to help your viewers follow the content easily and give your videos a professional look.
So, creating lower thirds is simple if you are using the right tools. We will walk you through our lower third generator recommendation, Wondershare Filmora, and show you how to create your own lower-third graphic for your video.
Part 1. Filmora Lower Thirds Pack Free Download
If you want an easy way to add professional lower-third graphics to your videos, we recommend using Wondershare Filmora because it already includes a wide range of fully customizable templates designed for different styles and purposes.
You can browse, preview, and download these animated lower thirds directly from the Filmora library without needing any third-party plugins. Some popular types available in the Filmora lower-thirds pack free download are:
- Minimalist Titles: Clean text animations with subtle motion, perfect for tutorials, interviews, or vlogs where clarity is key.

- Handwriting Titles: Stylized, natural, flowing text that looks hand-drawn, ideal for personal projects, travel videos, or storytelling content.

- Themed Lower Thirds: Colorful designs made for events, holidays, and lifestyle content, adding character without distracting from your footage.

- Social Media Tags: Ready-made templates for YouTube, TikTok, and Instagram, helping you display usernames, hashtags, or call-to-actions neatly.

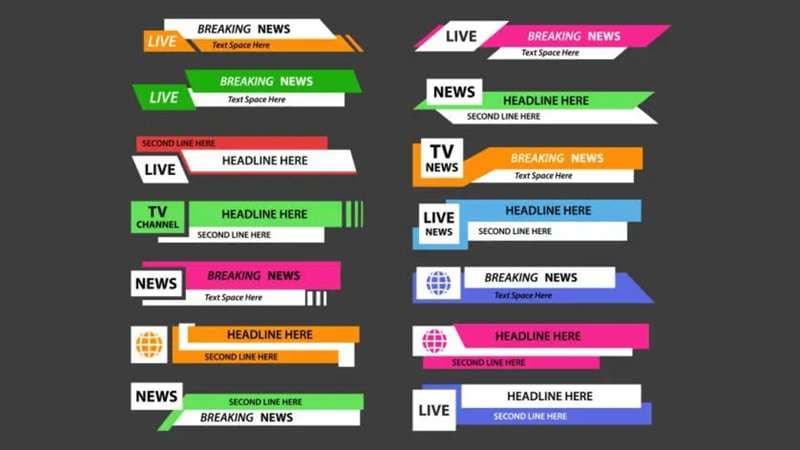
- News & Broadcast Styles: Professional bars and ticker-style animated lower thirds, commonly used in interviews, reports, and live streams.

- Corporate & Business: Clean geometric layouts with neutral colors, suitable for company profiles, presentations, or marketing videos.

- VFX Texts & Cinematic: Bold titles with motion blur, light streaks, or cinematic flares for movie-style editing.

Each template in Filmora can be customized for font, color, motion speed, and placement. They allow you to align the design with your personal or brand identity. These free lower thirds make it simple to produce engaging videos without advanced editing skills.
Part 2. How to Download and Apply Lower Third on Filmora
Downloading and using animated lower thirds in Filmora is simple, even for beginners. Follow the steps below to get started.
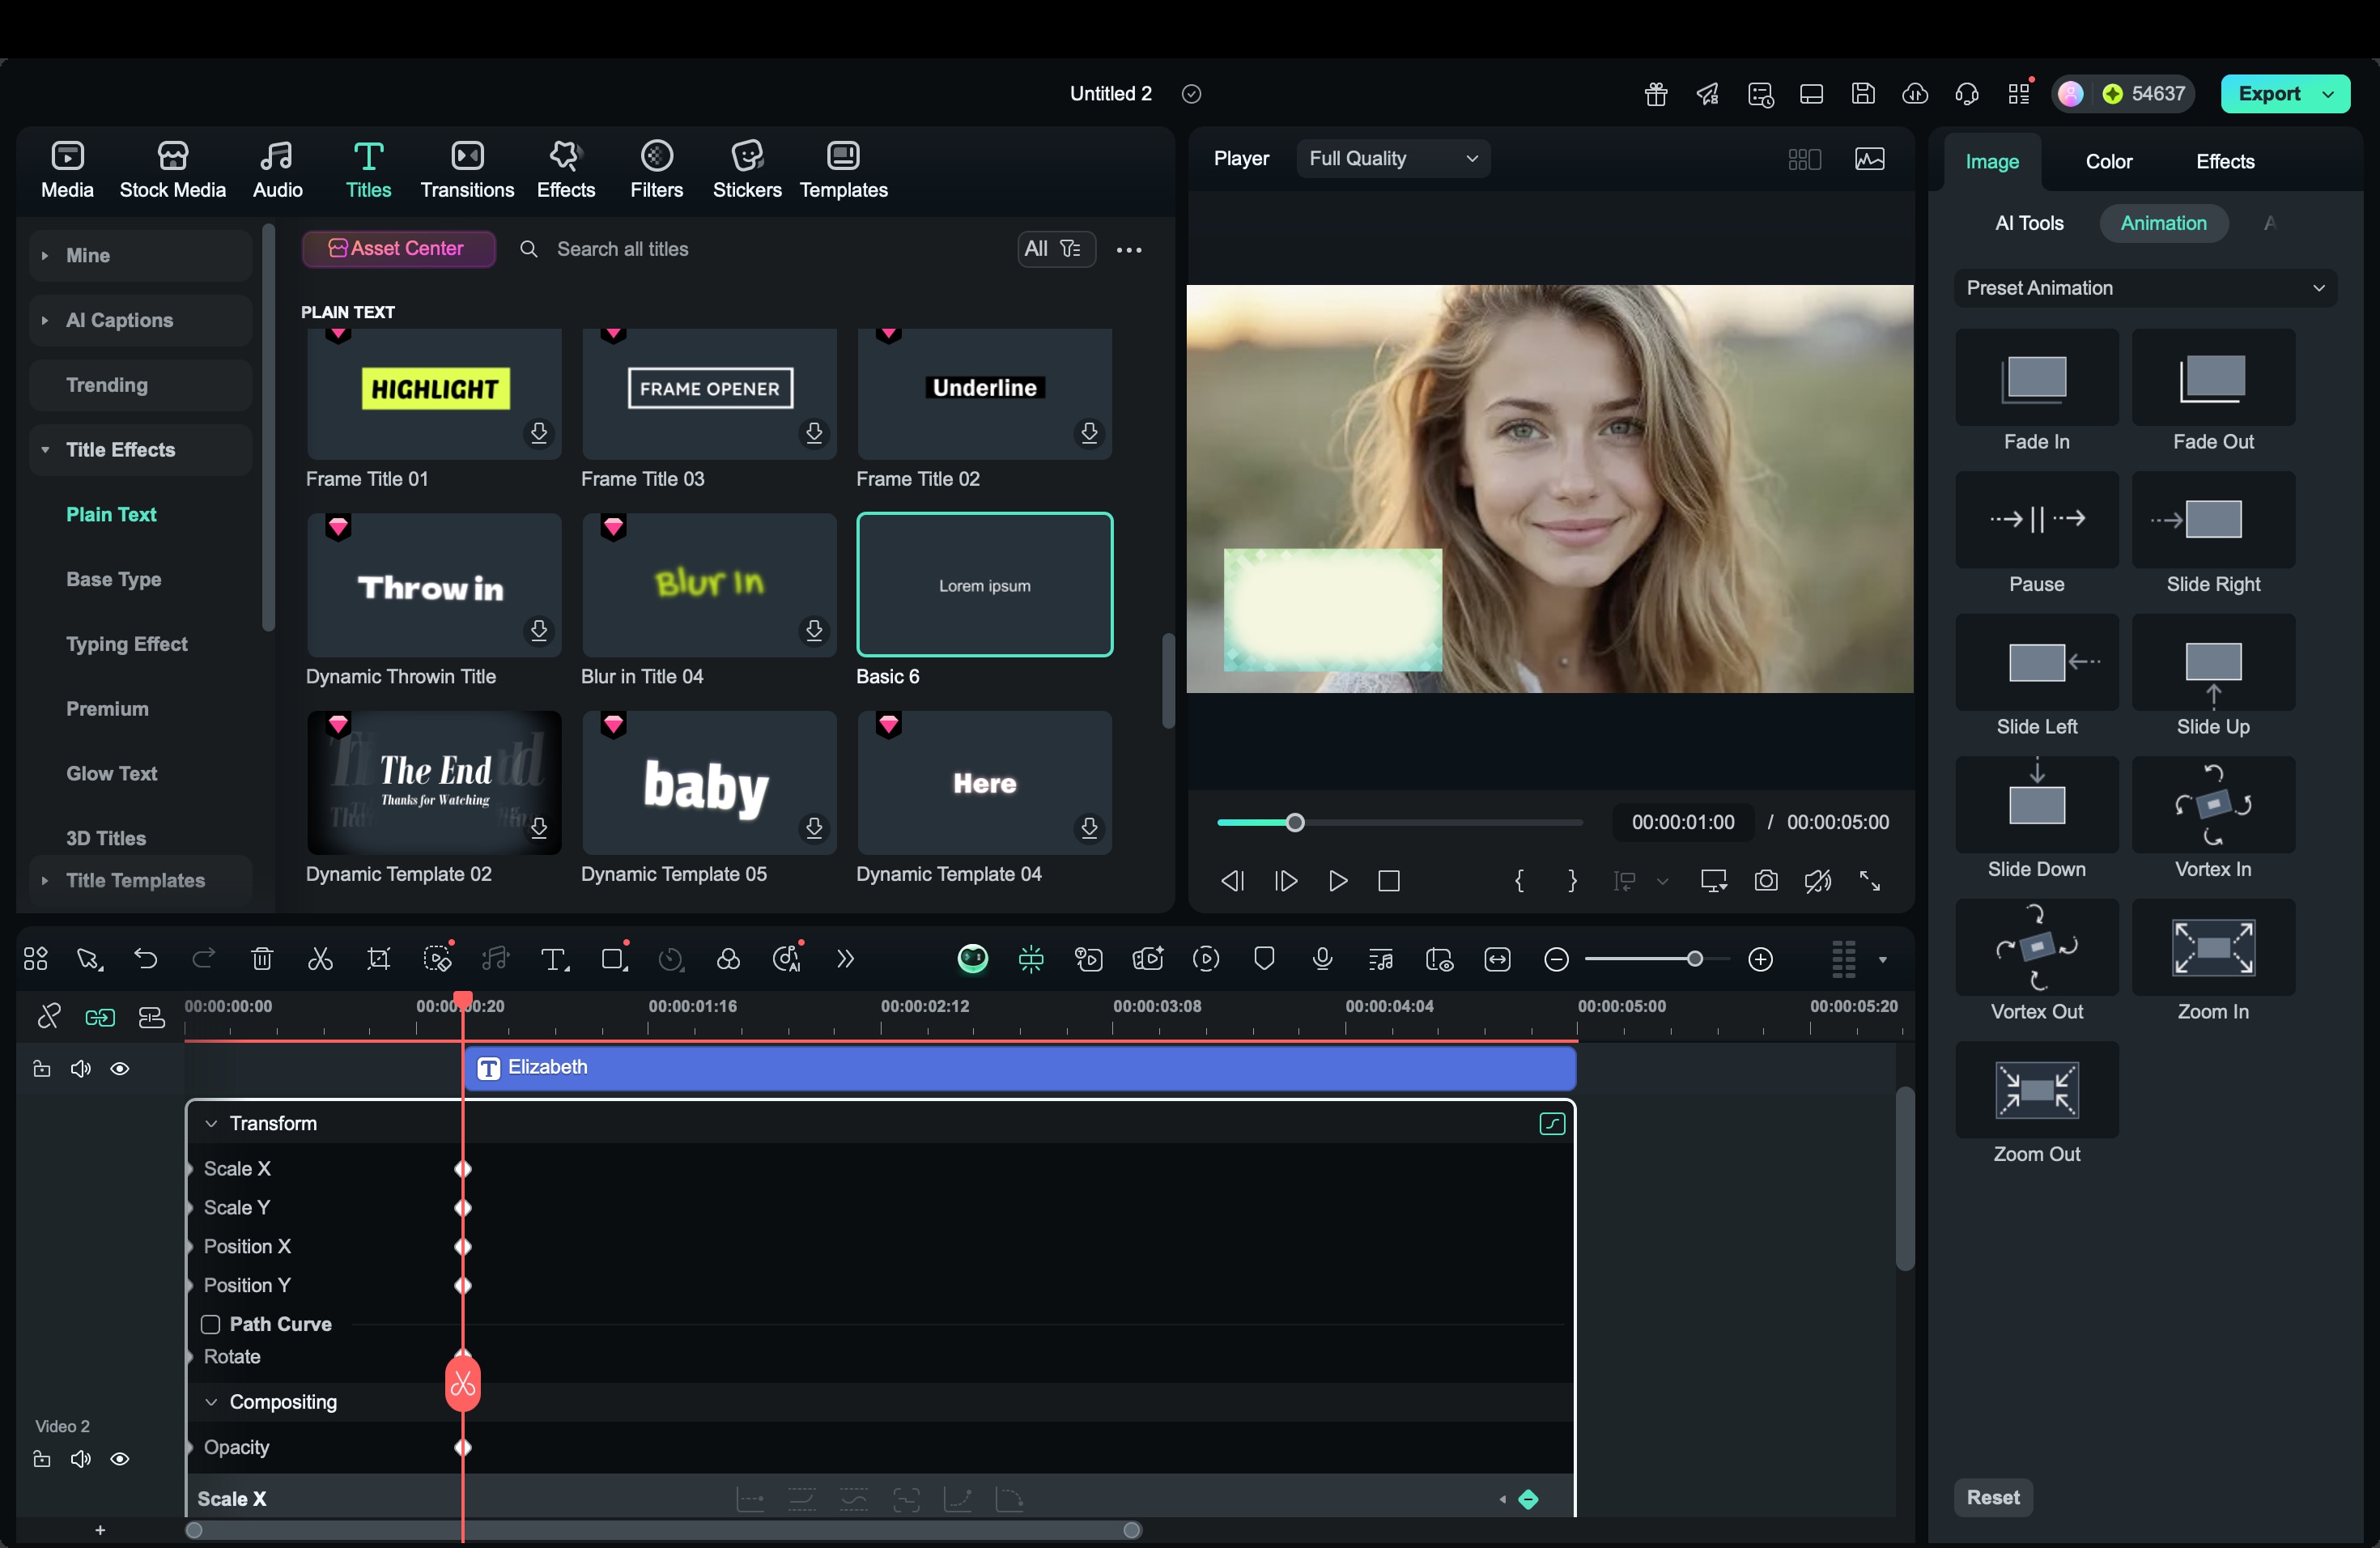
Step 1. Open Filmora and Go to the Titles Tab
Launch Filmora and click on the Titles tab in the top menu. Here you'll see multiple text effects, including lower third graphics categorized by style, theme, and animation type.
 secure download

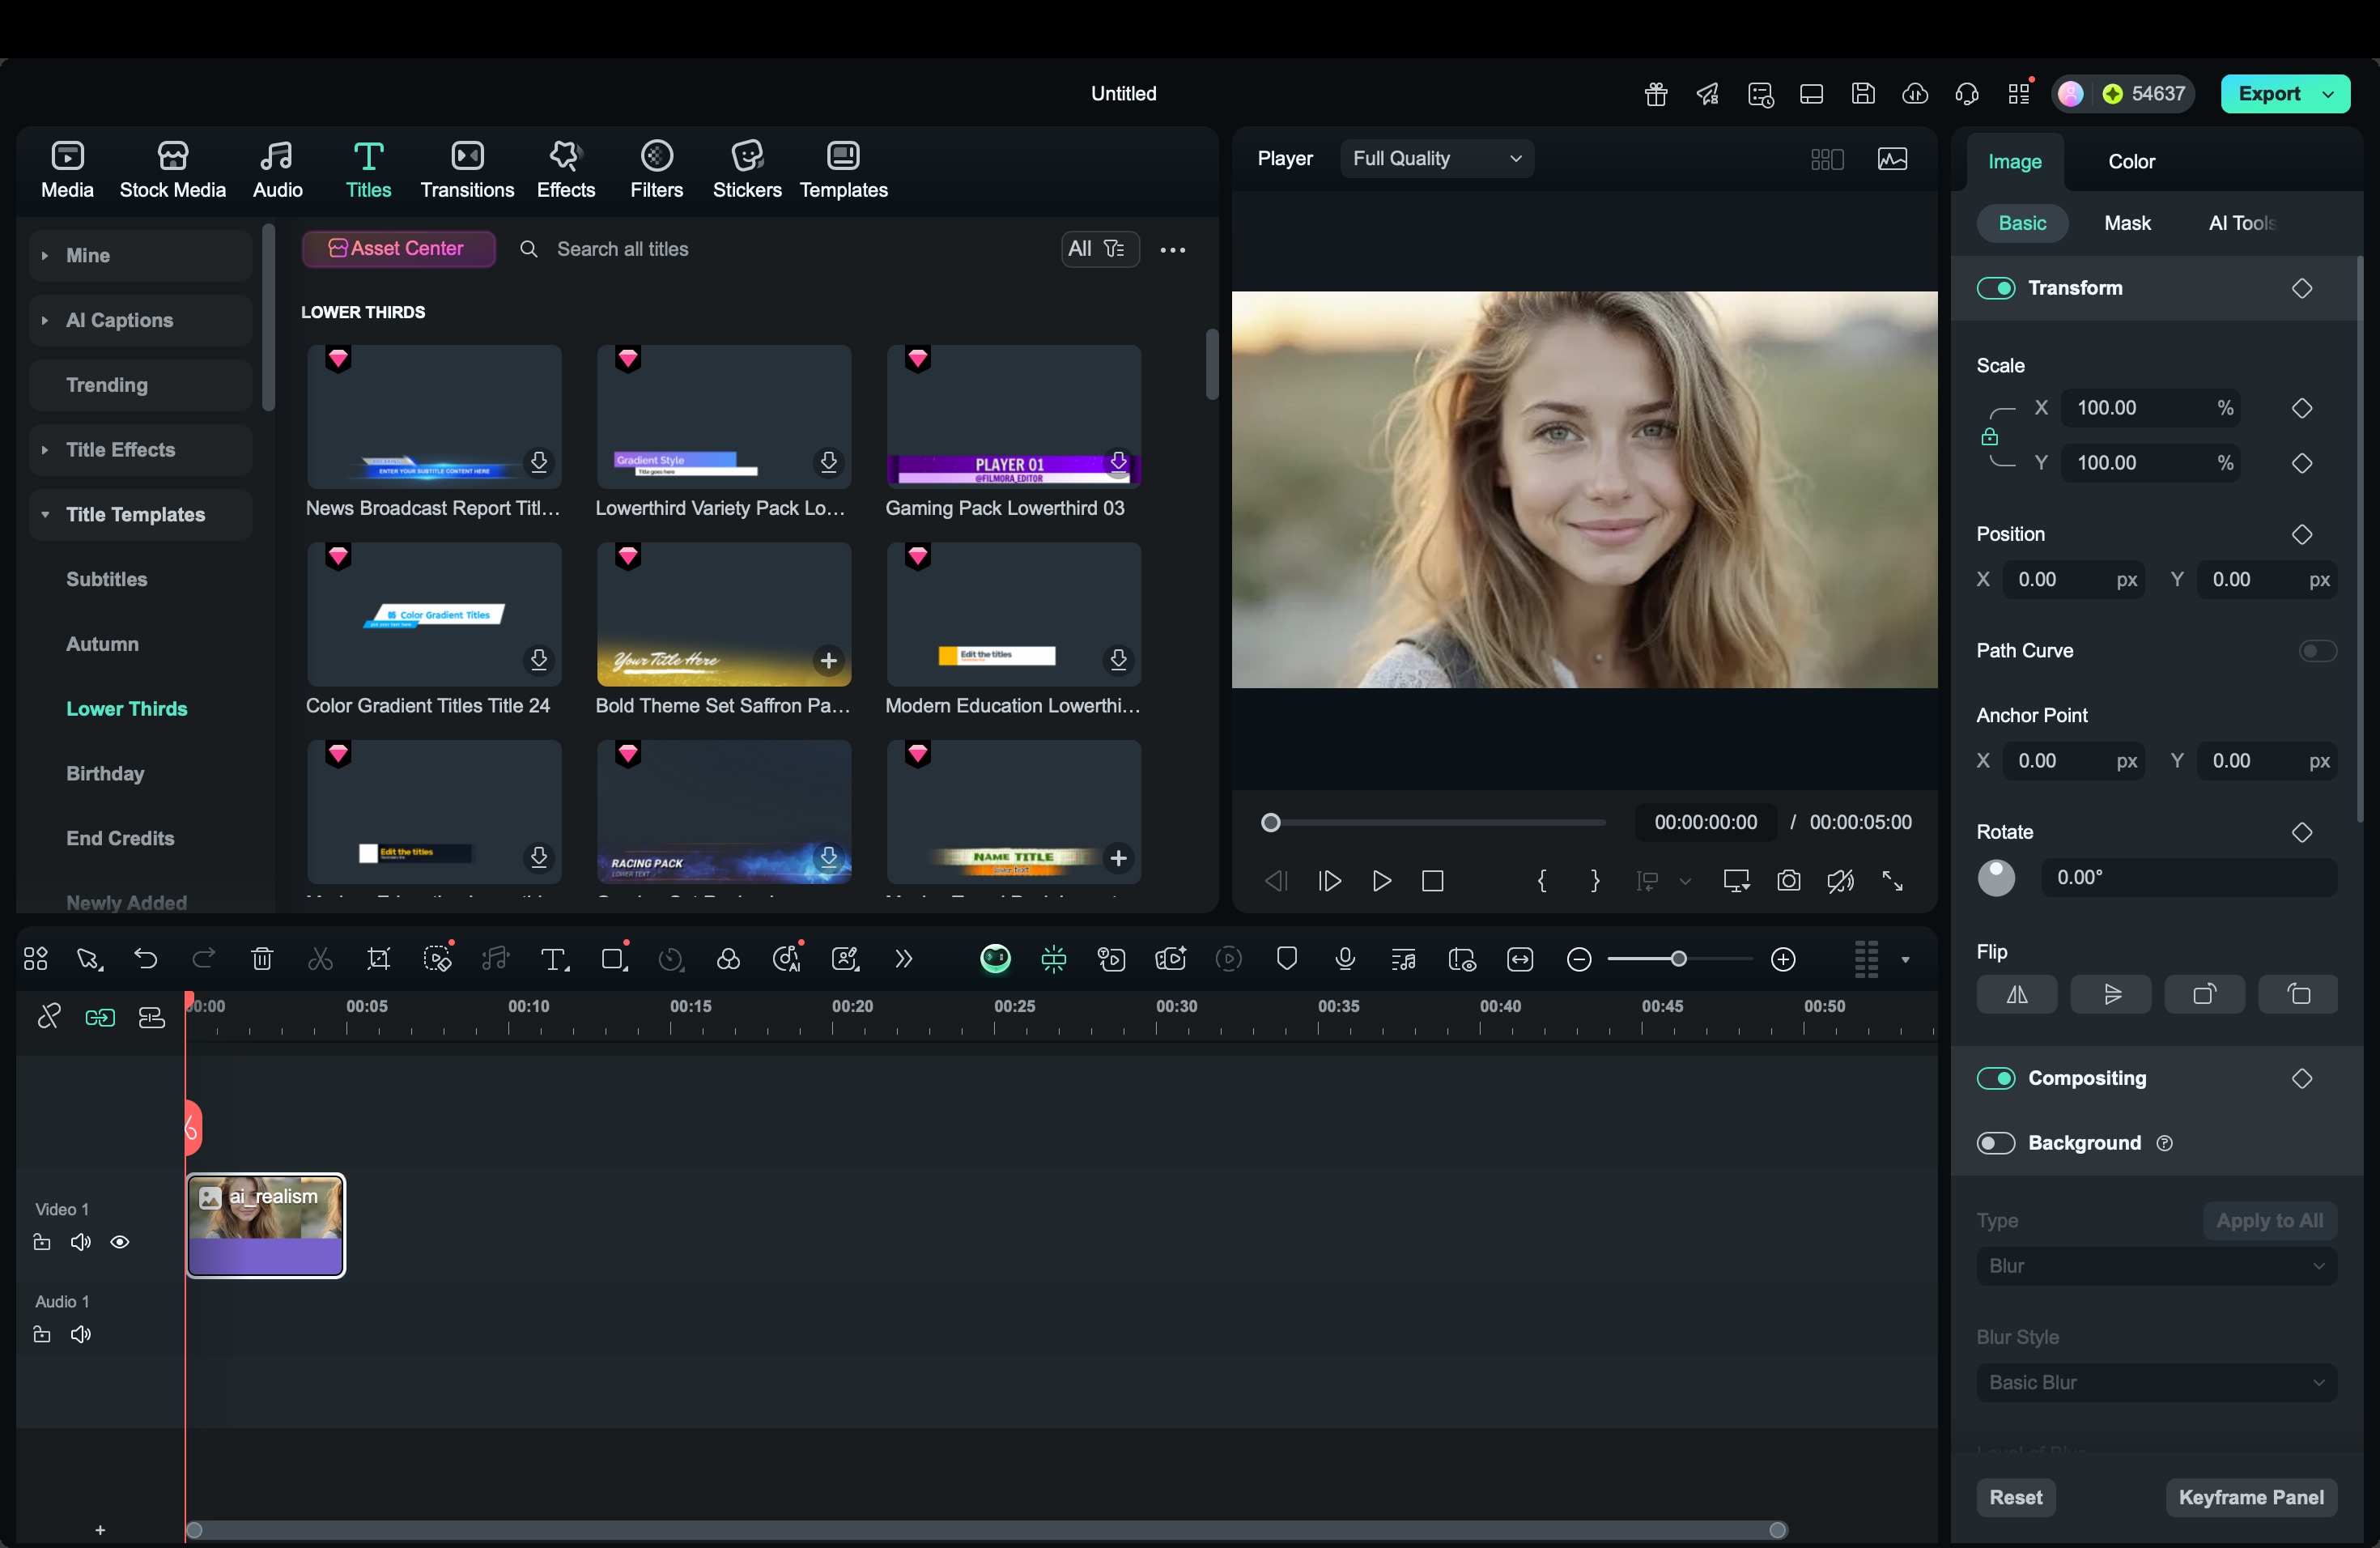
Step 2. Search and Download a Lower Third Pack
Type “lower third” in the search bar. You'll find various templates under the Filmora lower-thirds pack free download, as well as other free lower-thirds. Click the download icon beside the template to add it to your library.
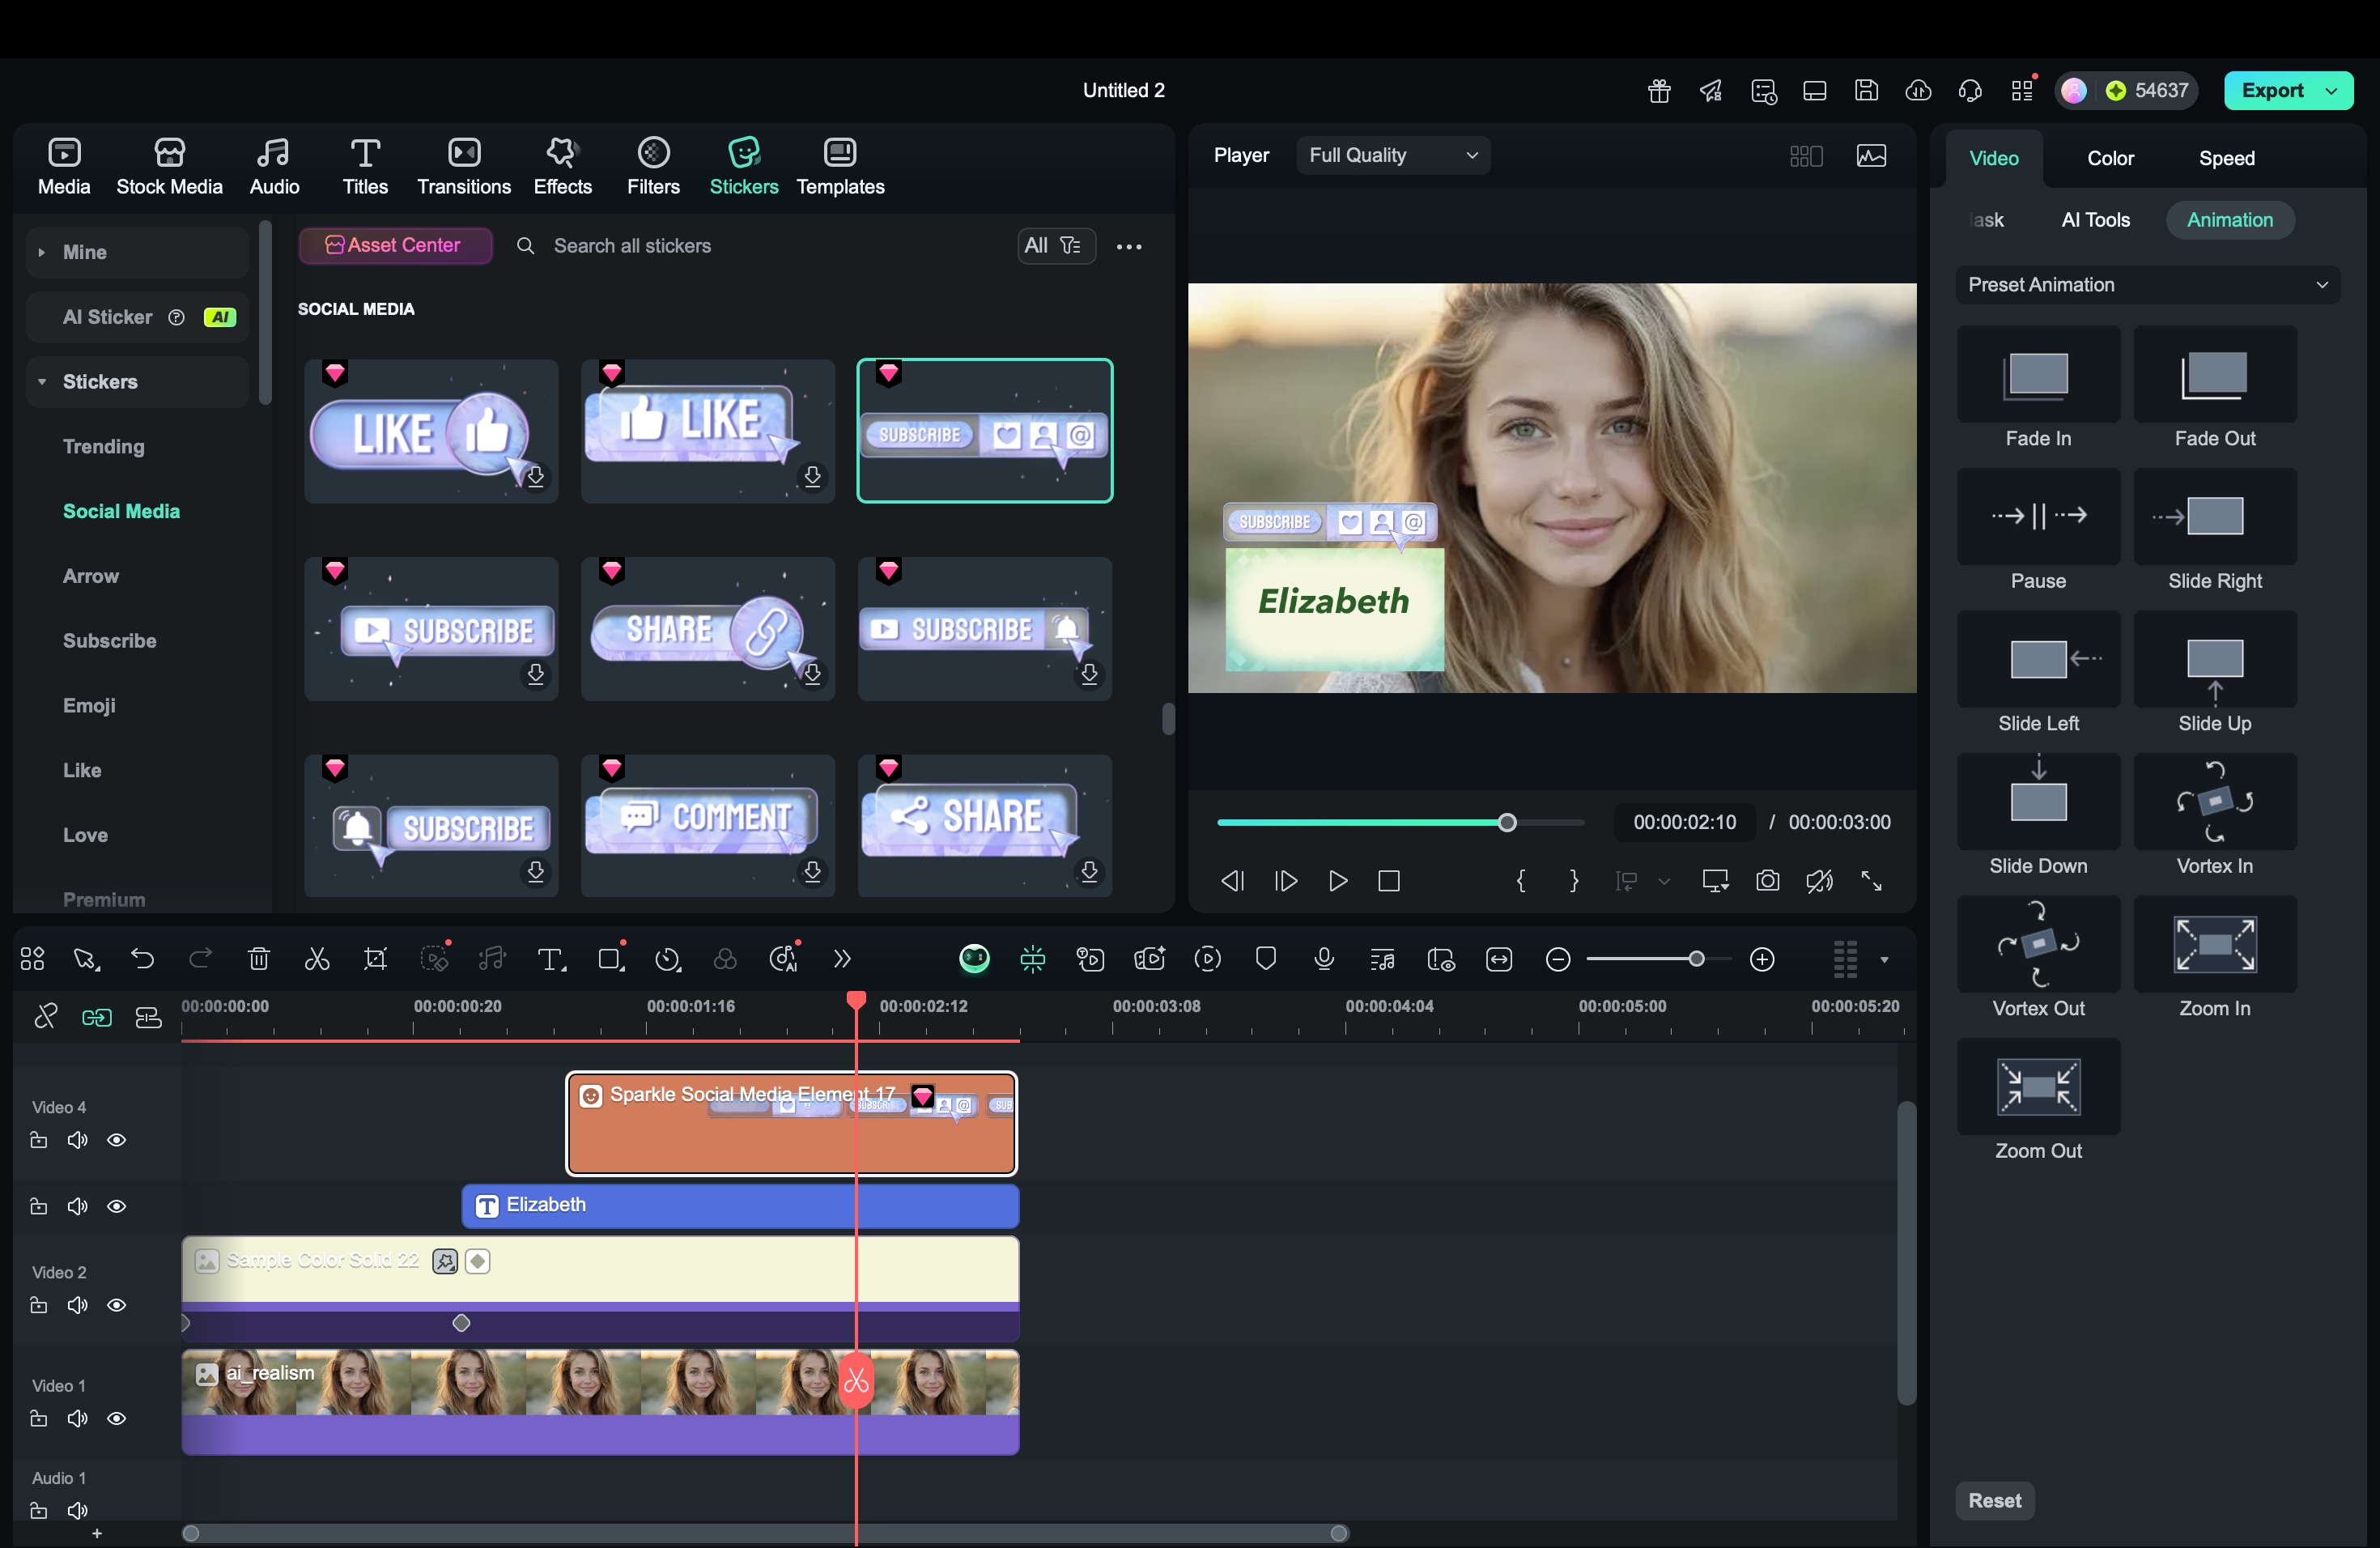
Step 3. Add the Lower Third to the Timeline
Drag the downloaded template into the timeline and place it above your main video track. Adjust its length to match the clip duration or the time when you want the text to appear.
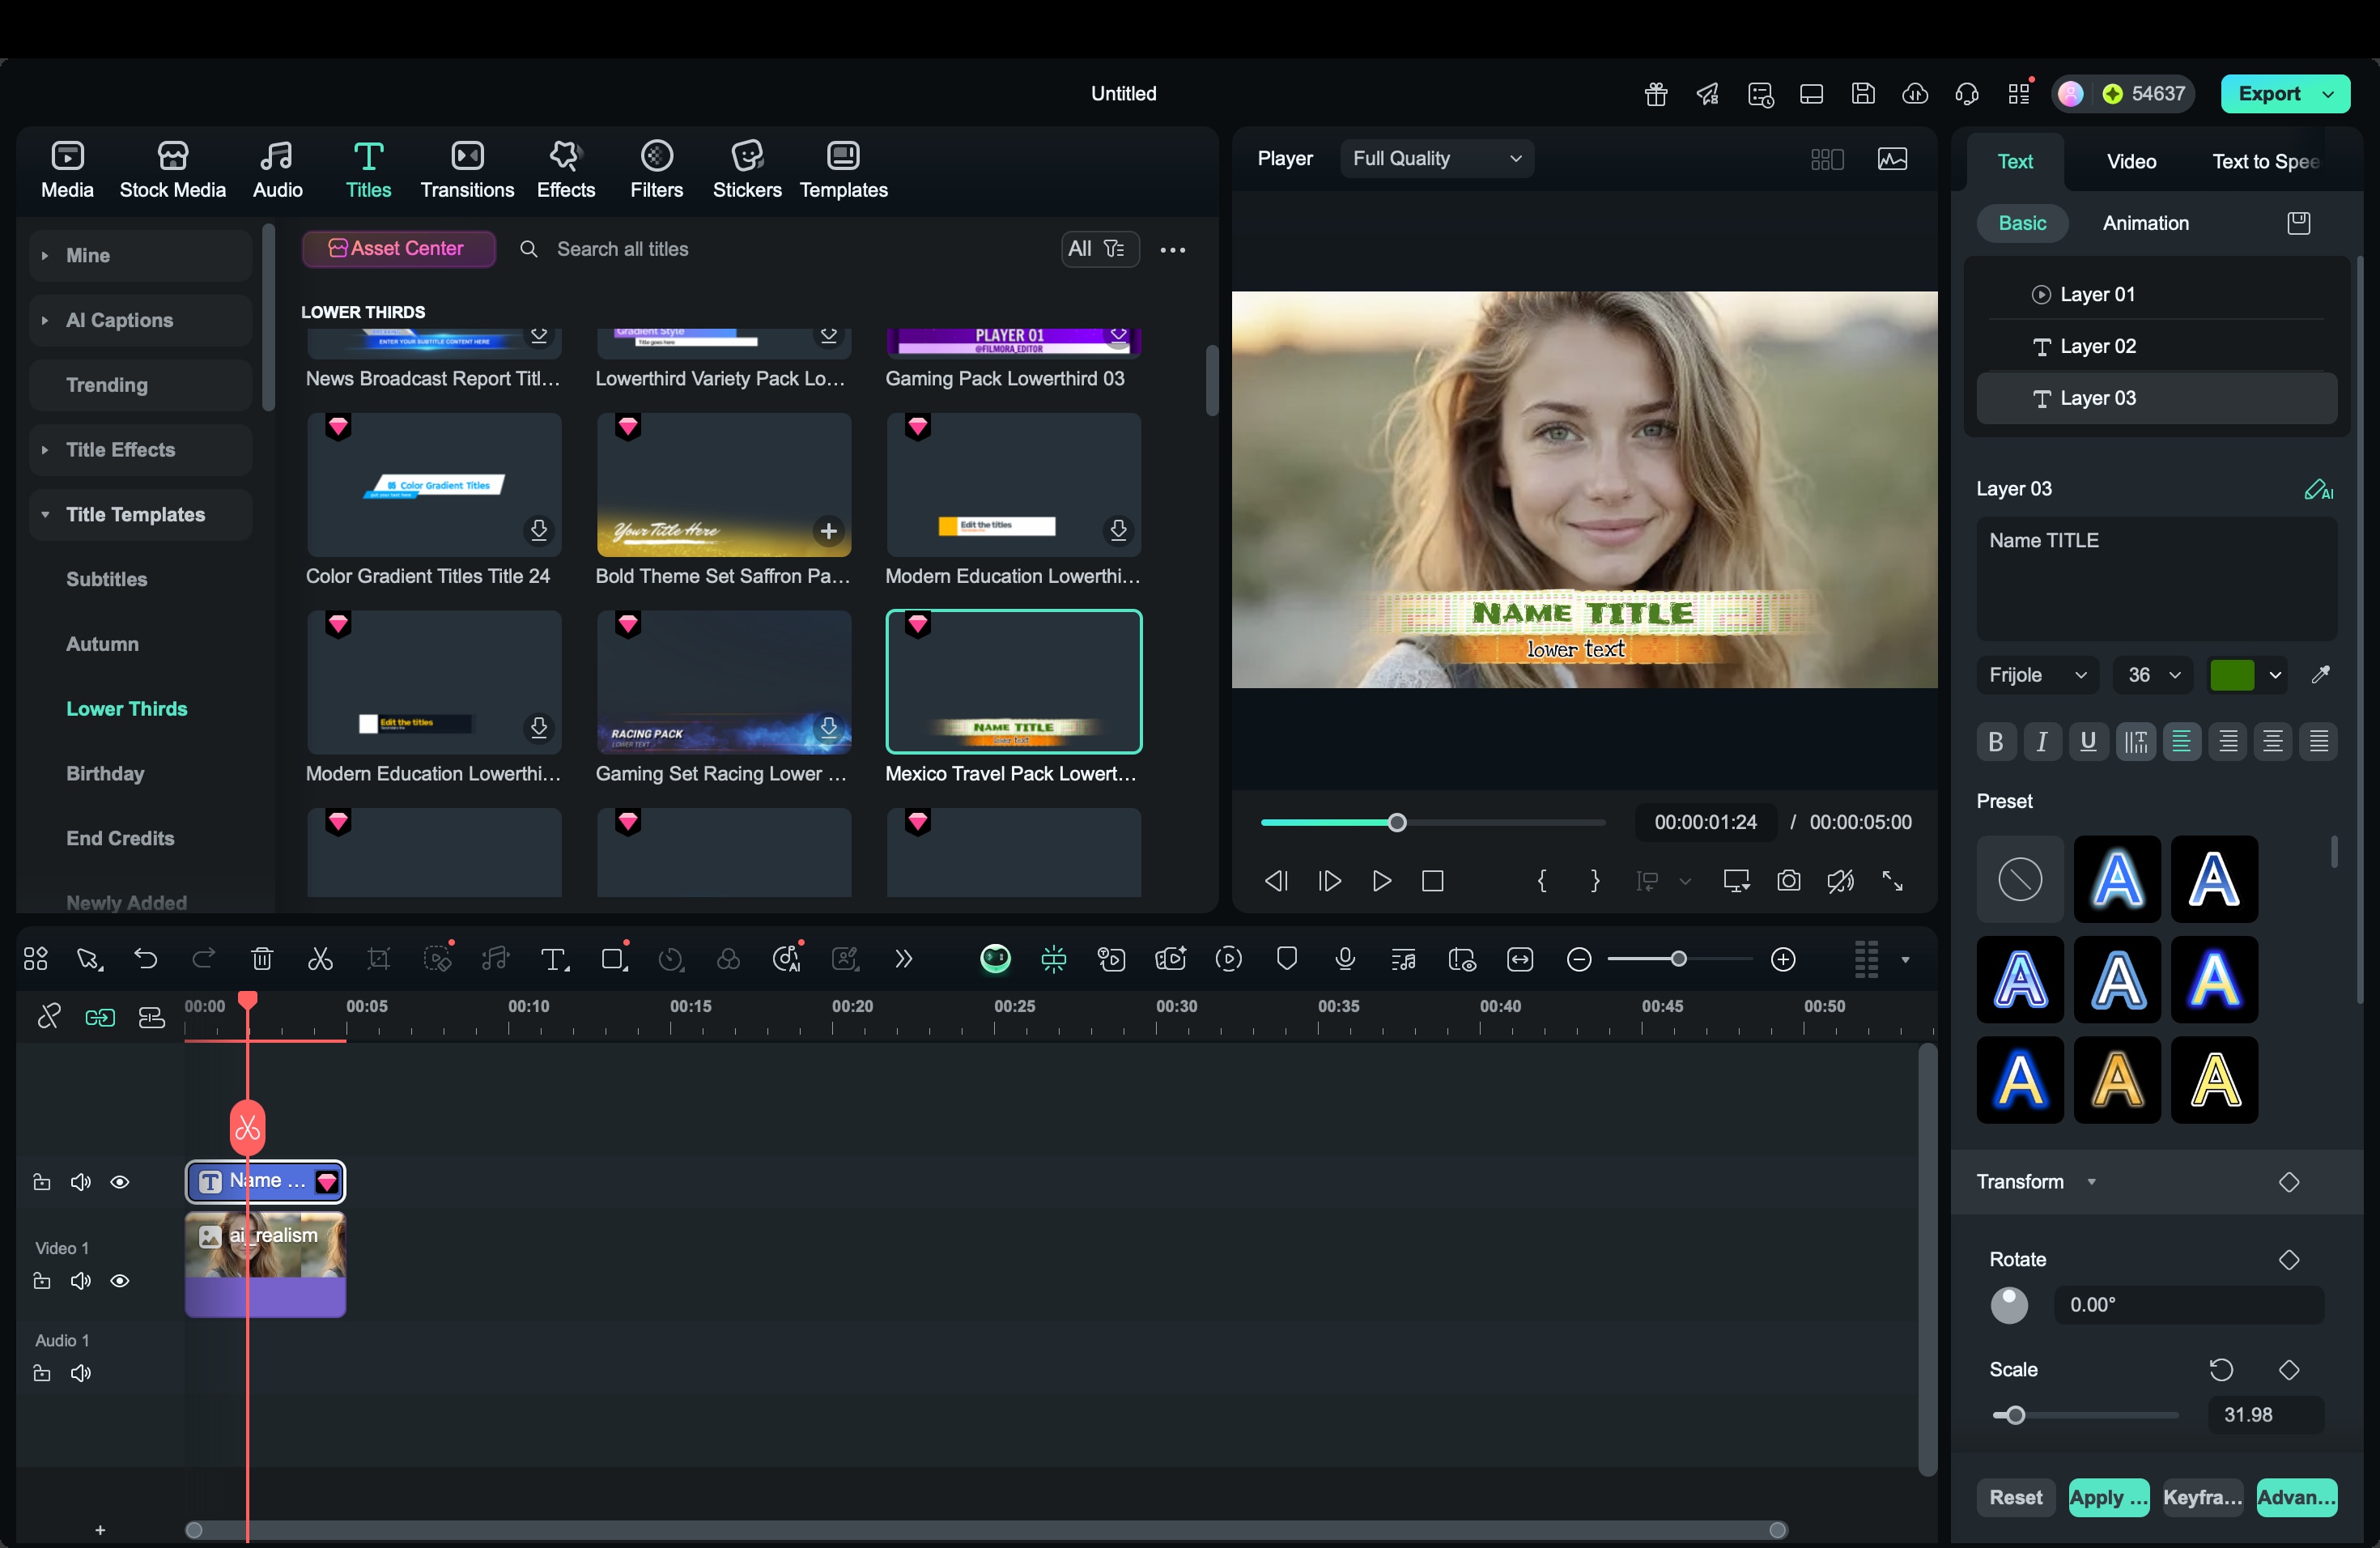
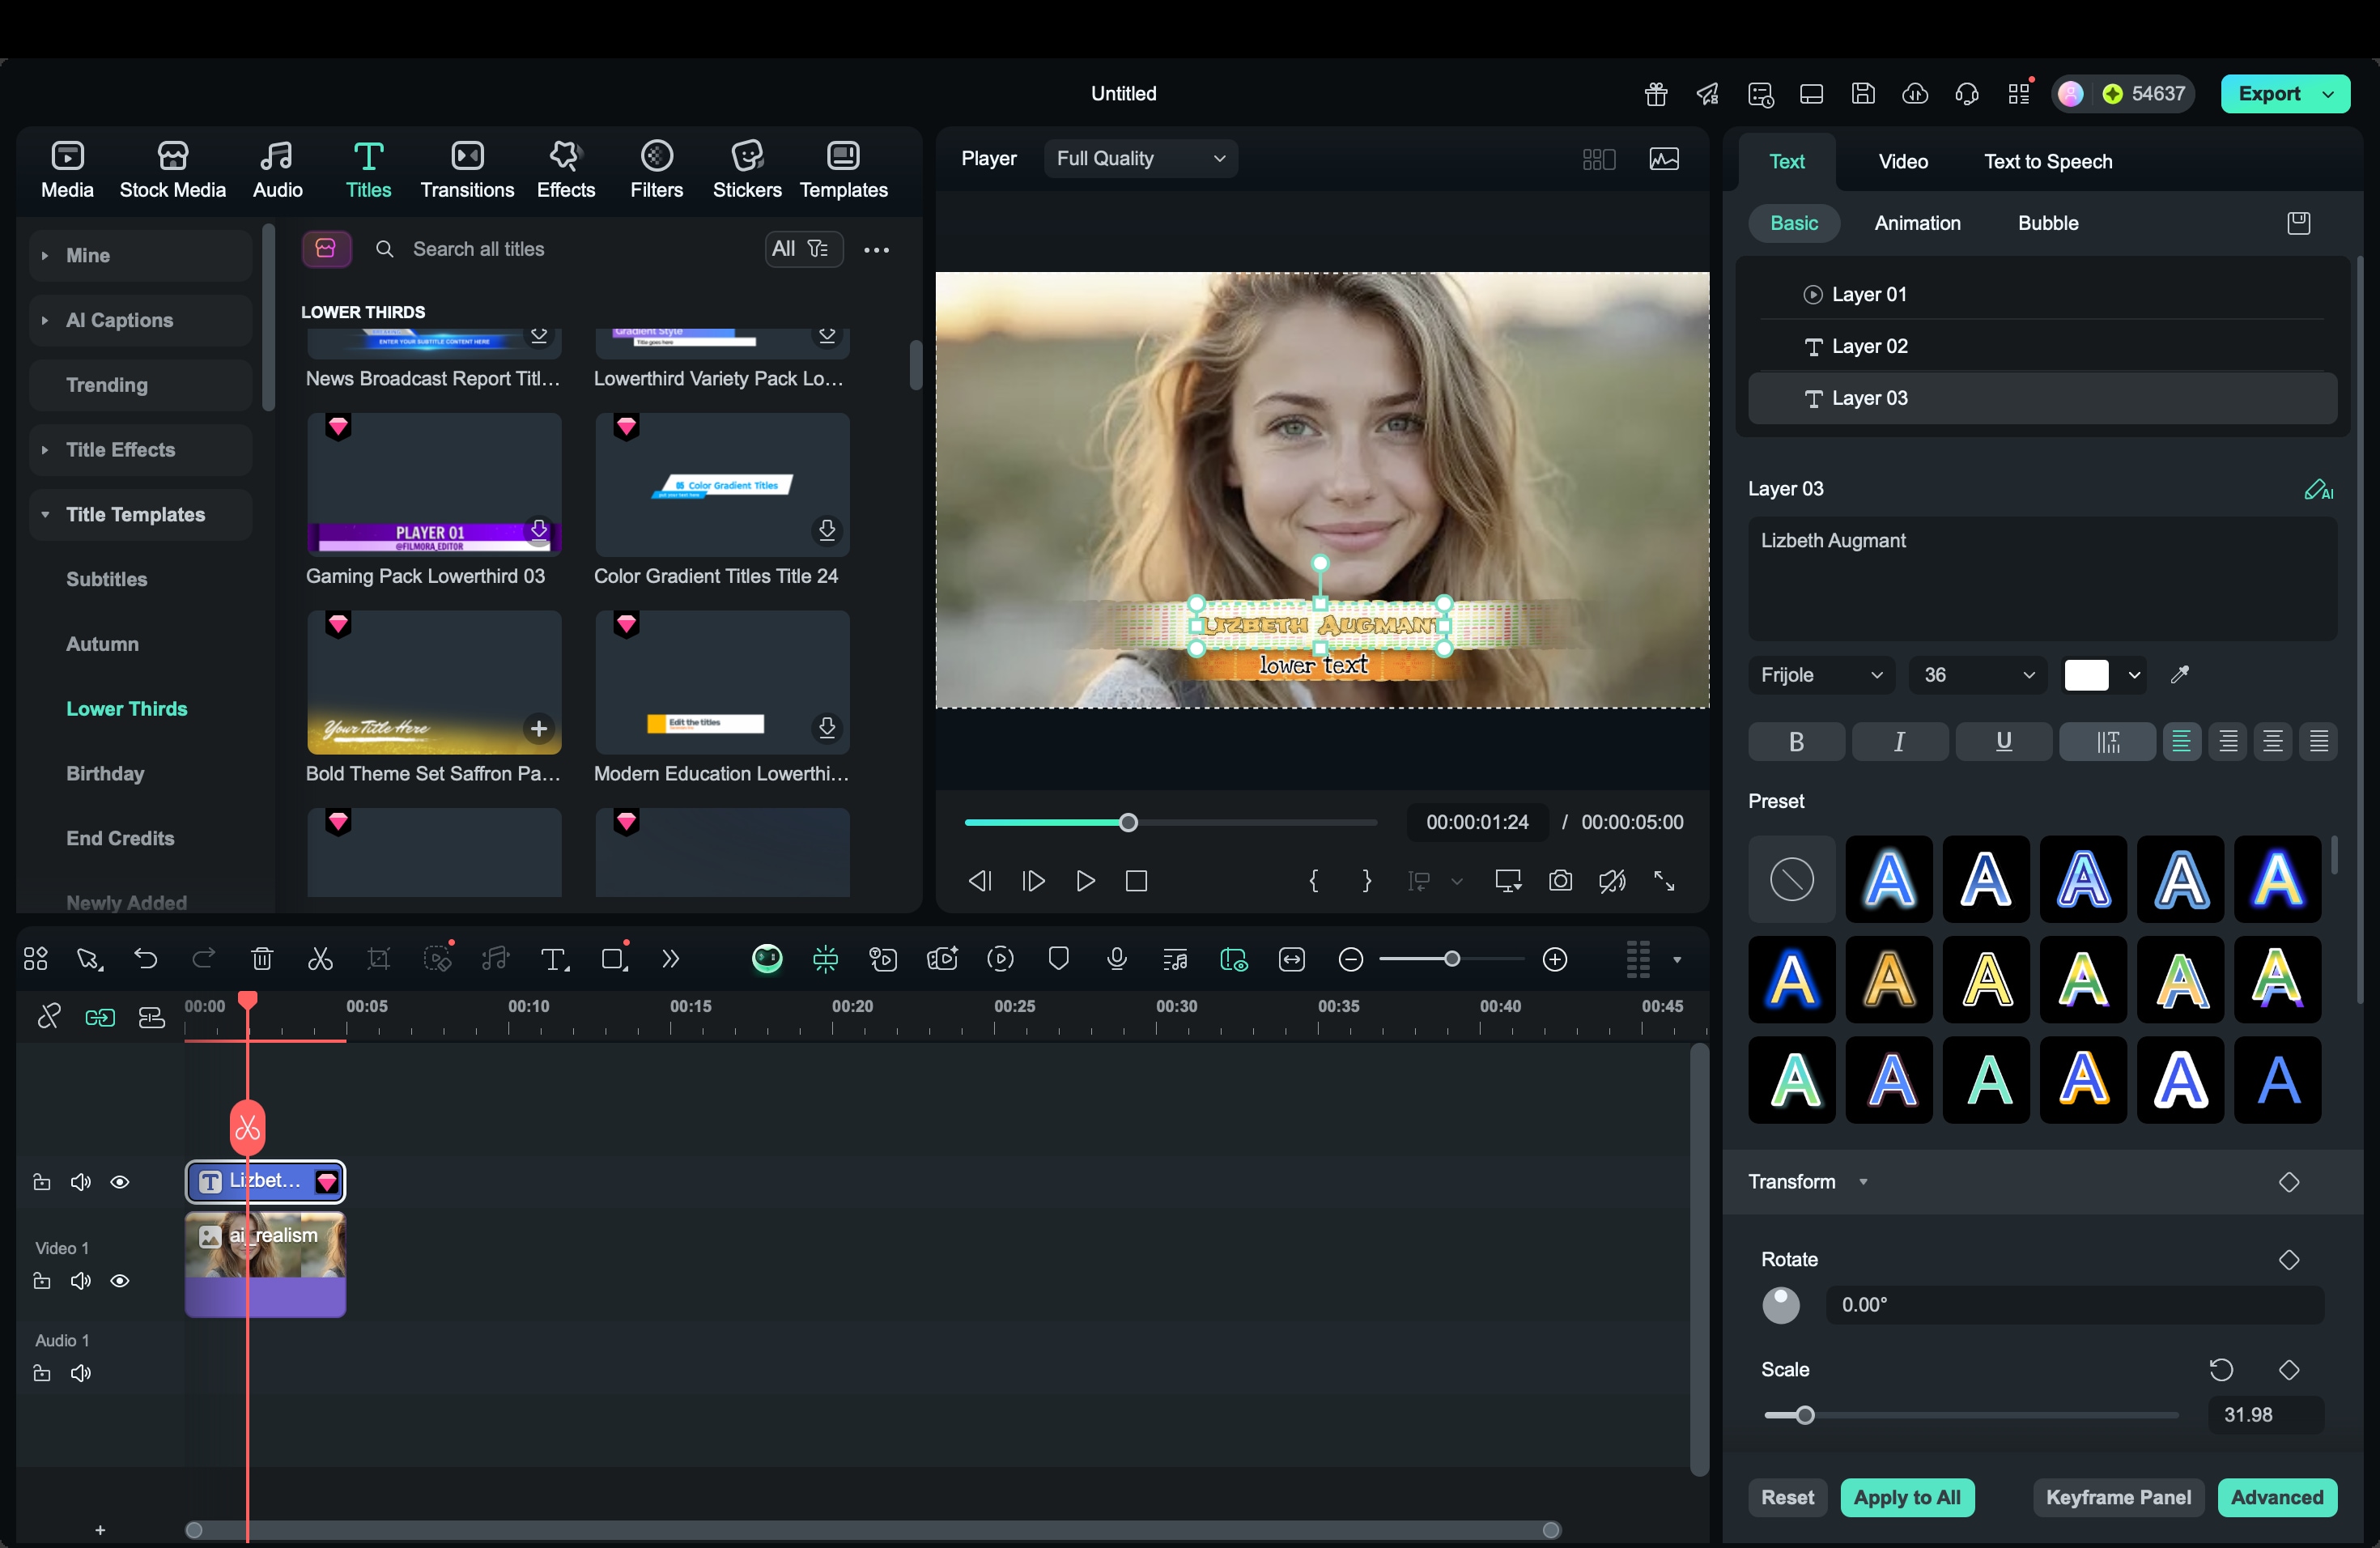
Step 4. Customize the Design and Animation
Select the lower third template to open the editing panel. Here, you can modify the text, font style, size, and position. You can also change animation speed, color scheme, and background opacity to align with your branding.
Step 5. Preview and Export Your Video
Press the Play button to preview how your animated lower thirds appear on screen. Make sure the timing, movement, and layout look balanced. Once done, export your video in your preferred resolution and format.
Part 3. How to Manually Make Your Own Lower Thirds in Filmora
If you want a personalized touch, Filmora allows you to create professional animated lower thirds from scratch. You can combine shapes, text, and animations to design custom lower third graphics that fit your video's theme.
secure download
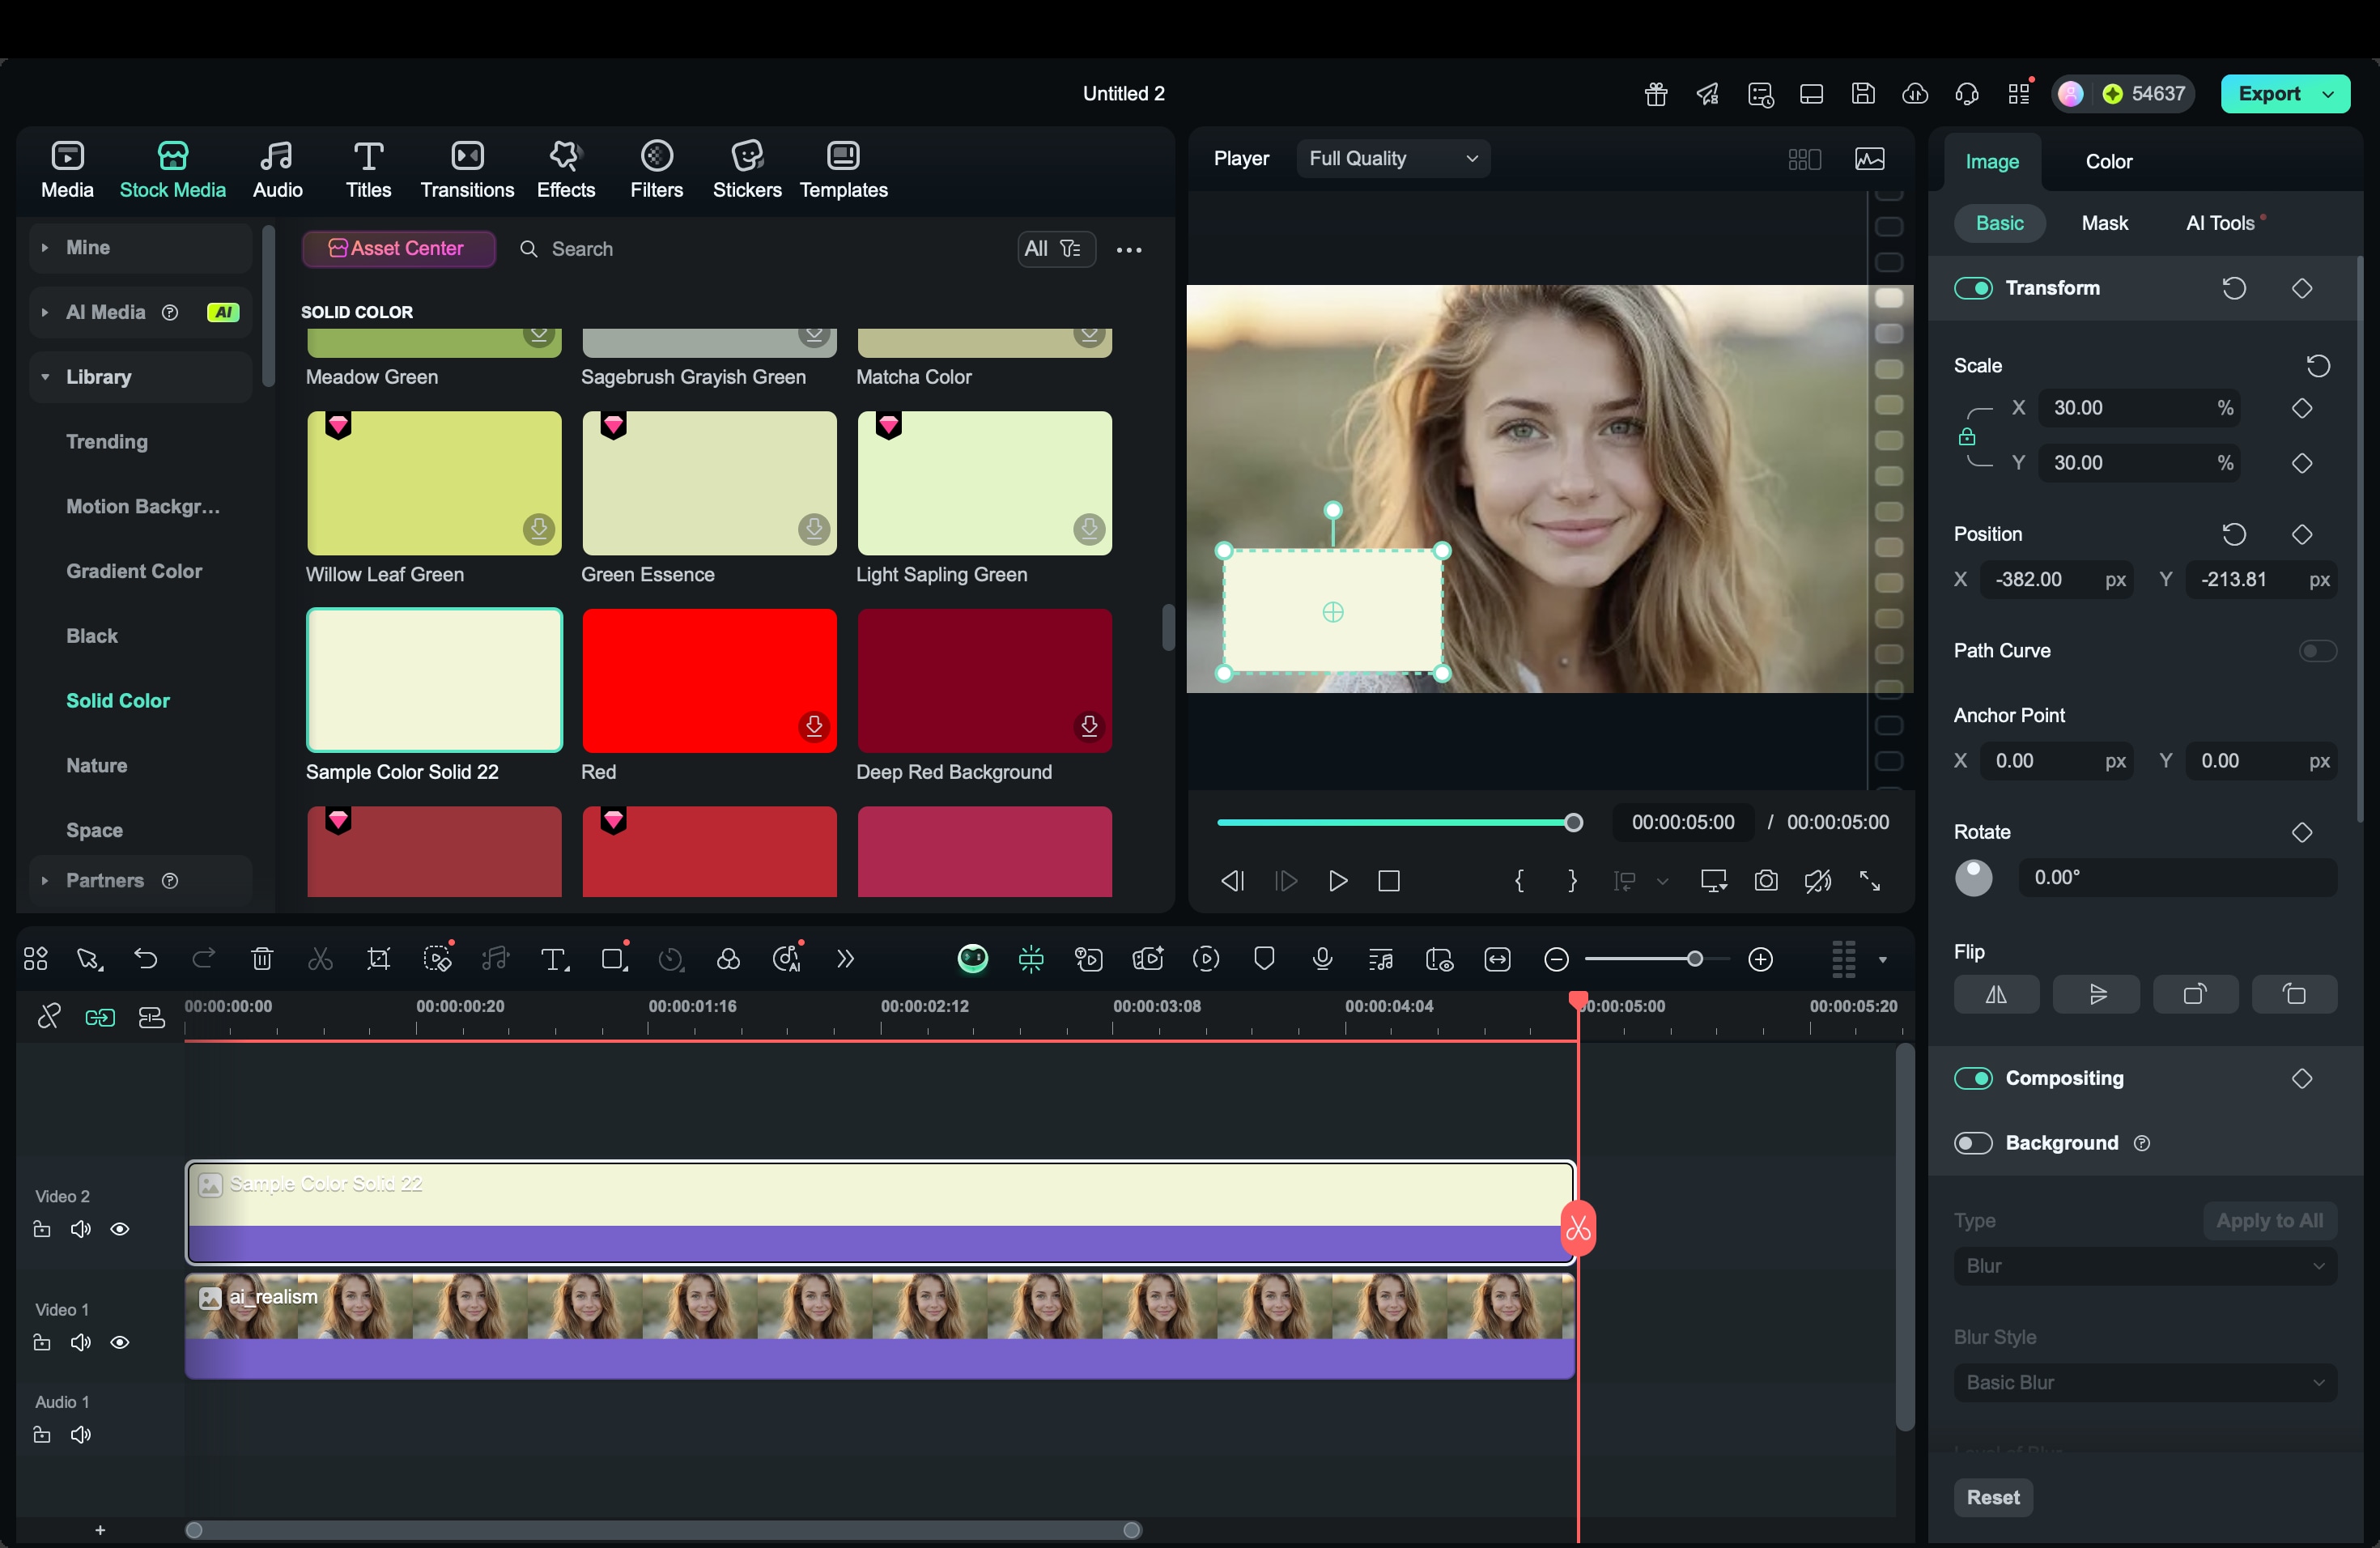
Step 1. Create the background
From Solid Color, drag a white or colored clip onto a track above your video. Double-click the clip, scale it to around 30%, and move it to your desired position.
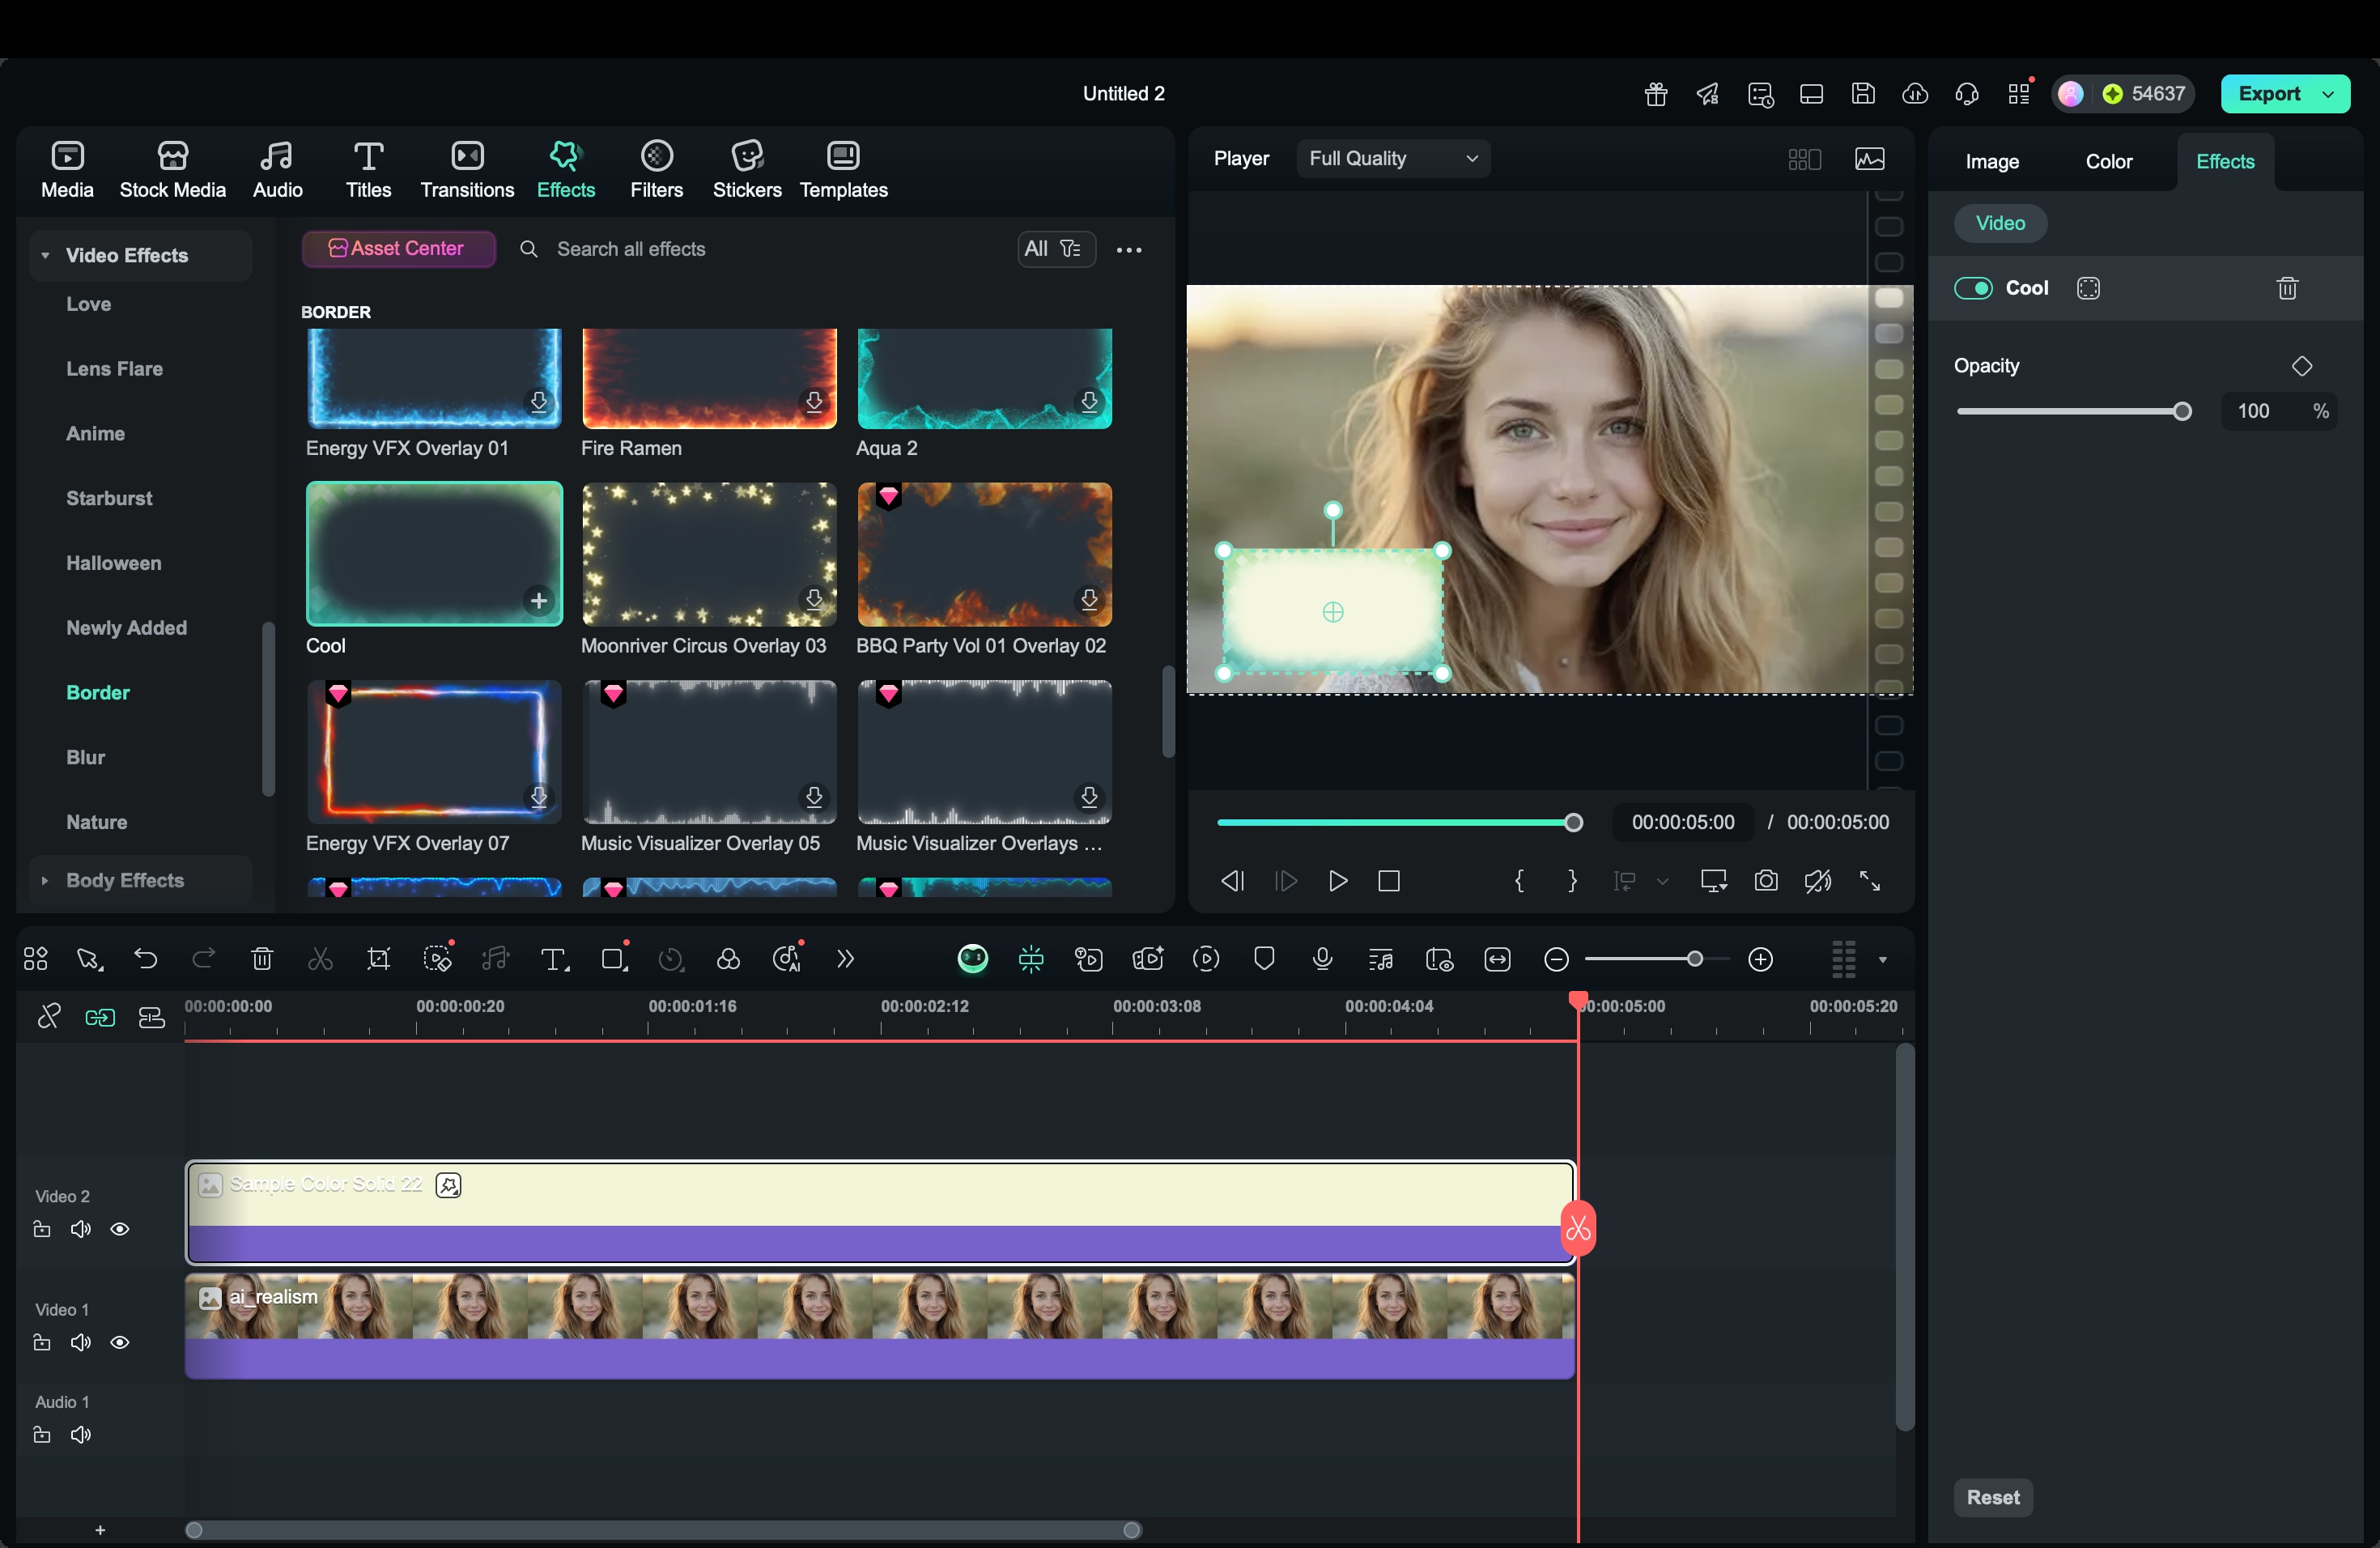
Step 2. Design the background
Go to Effects > Video Effects > Border and drop it onto the color clip. On the right side, you can adjust the color and opacity of the border under the Effects panel.
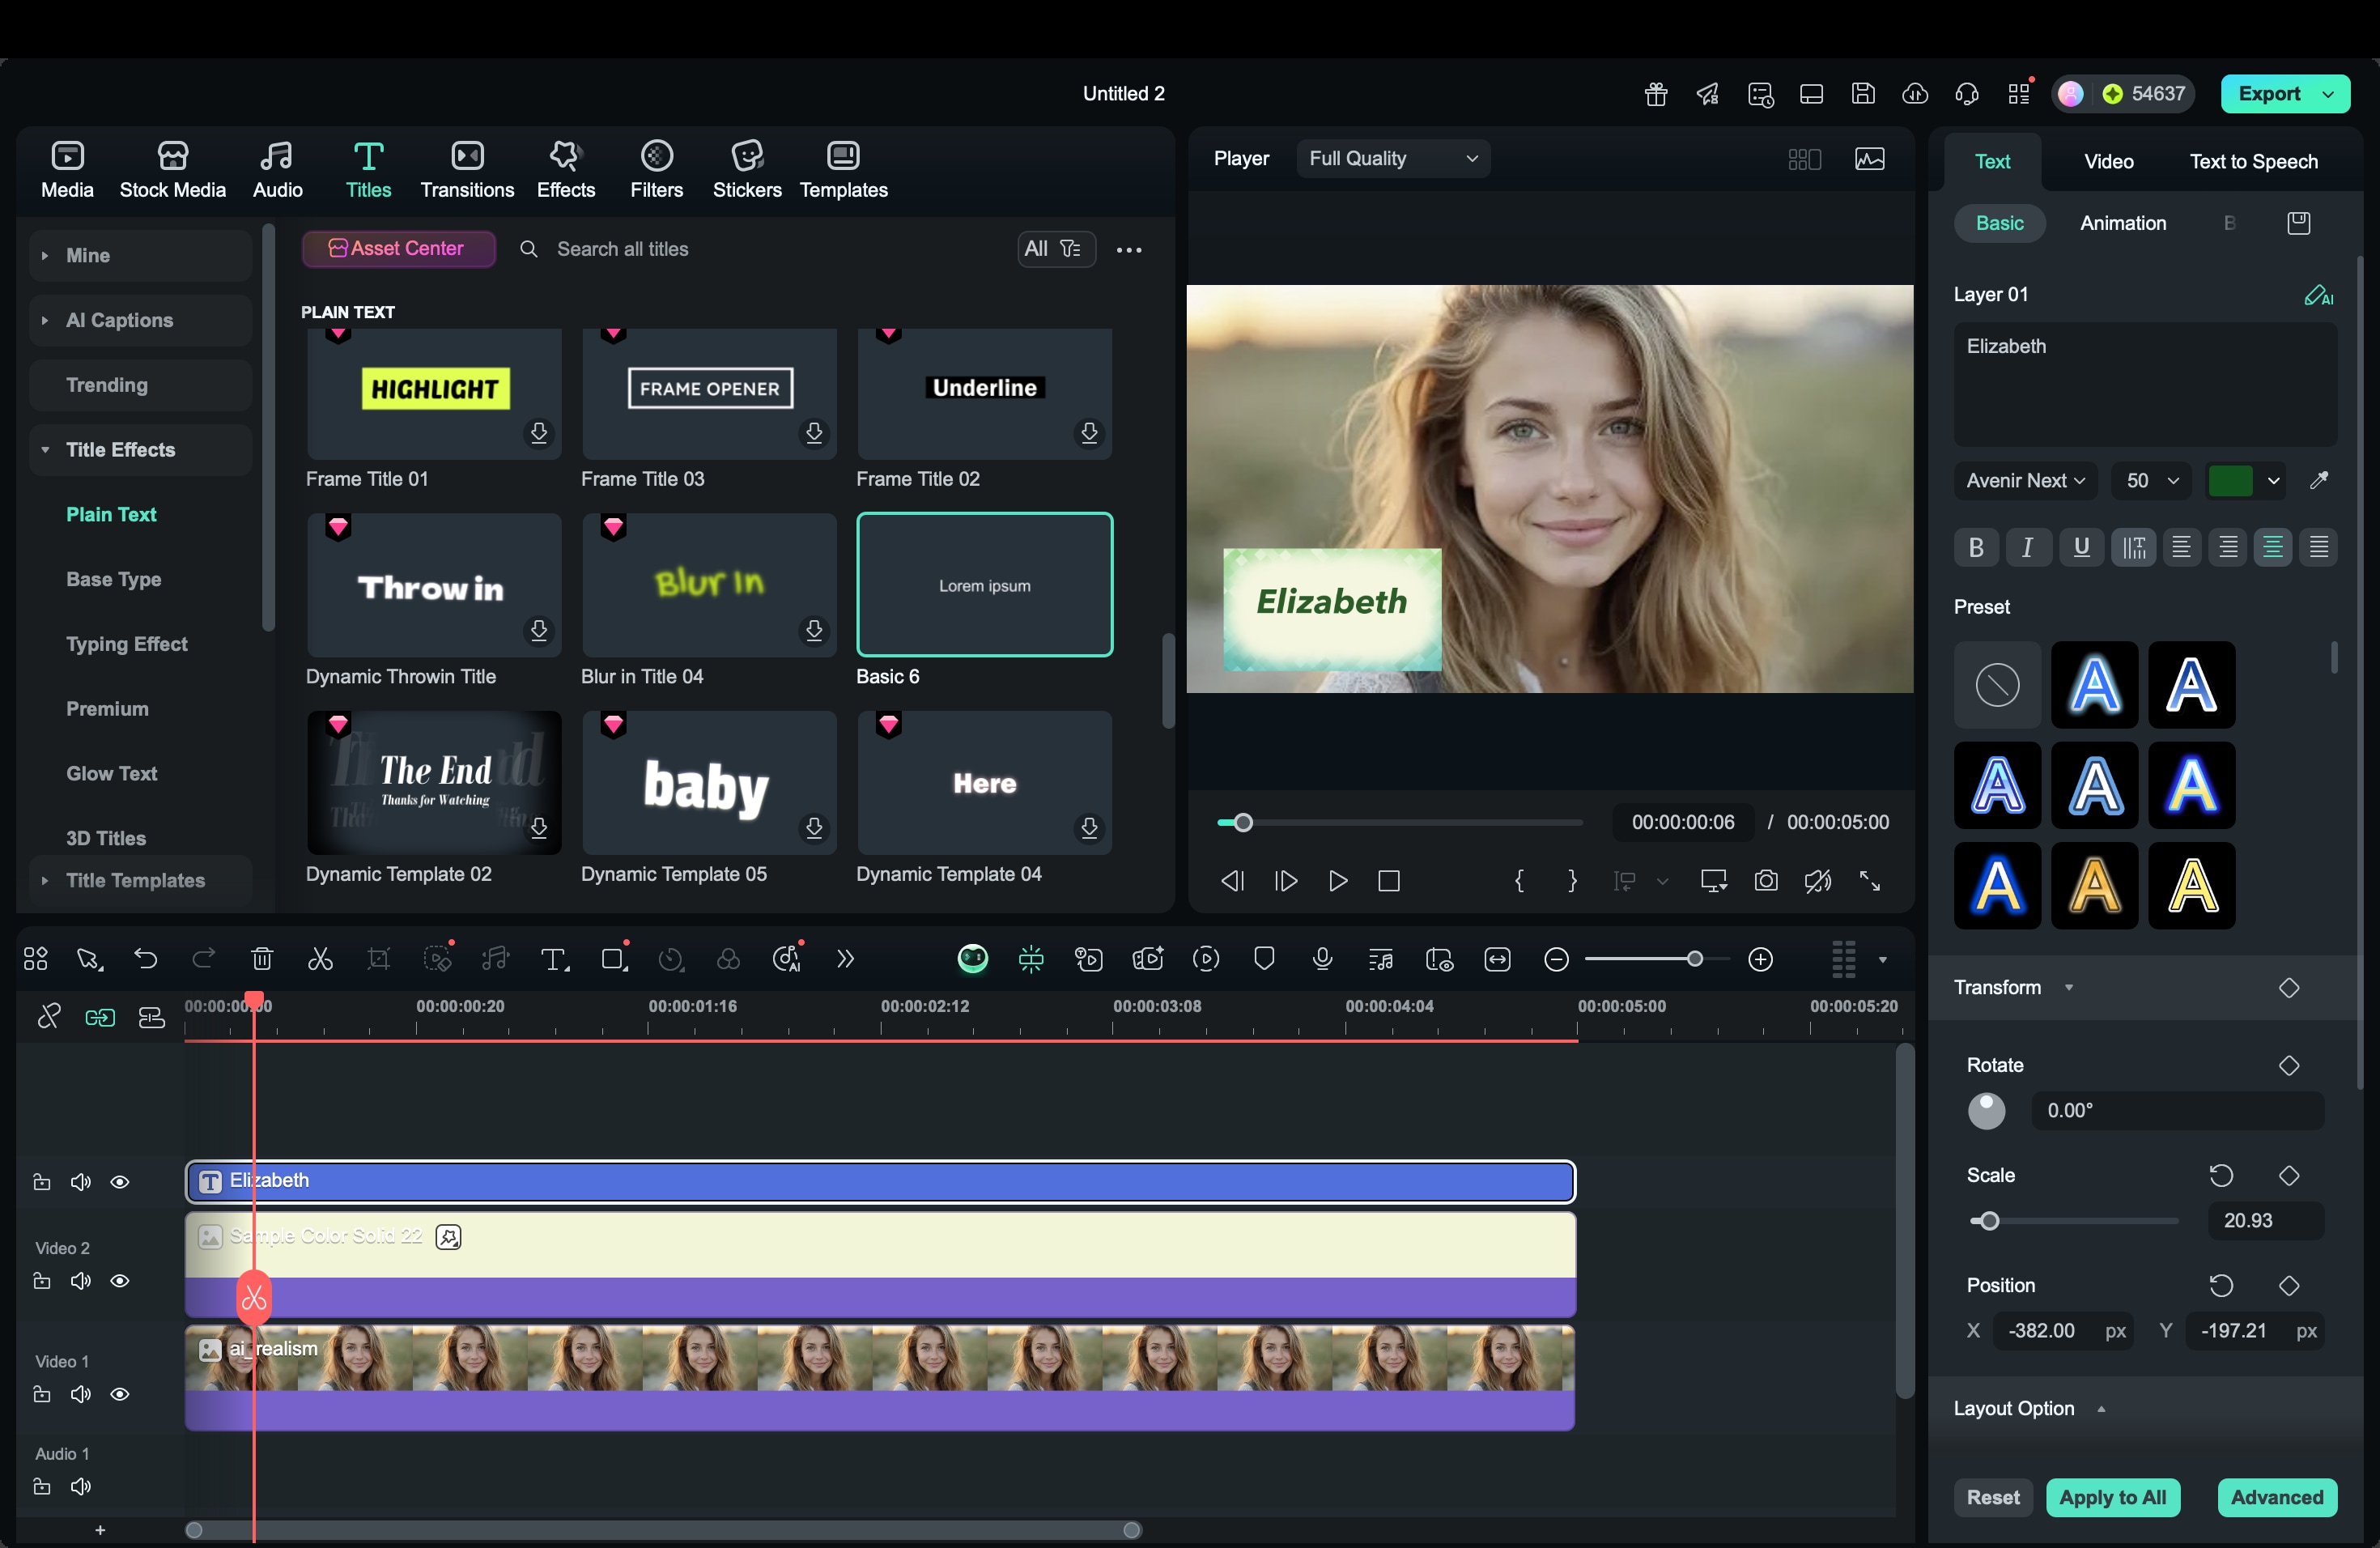
Step 3. Add your text
Go to the Titles tab and select the text templates you like. Then, drag it above the background clip. Edit the text with names, job titles, or descriptions. Adjust alignment and font so that the text fits neatly on the bar.
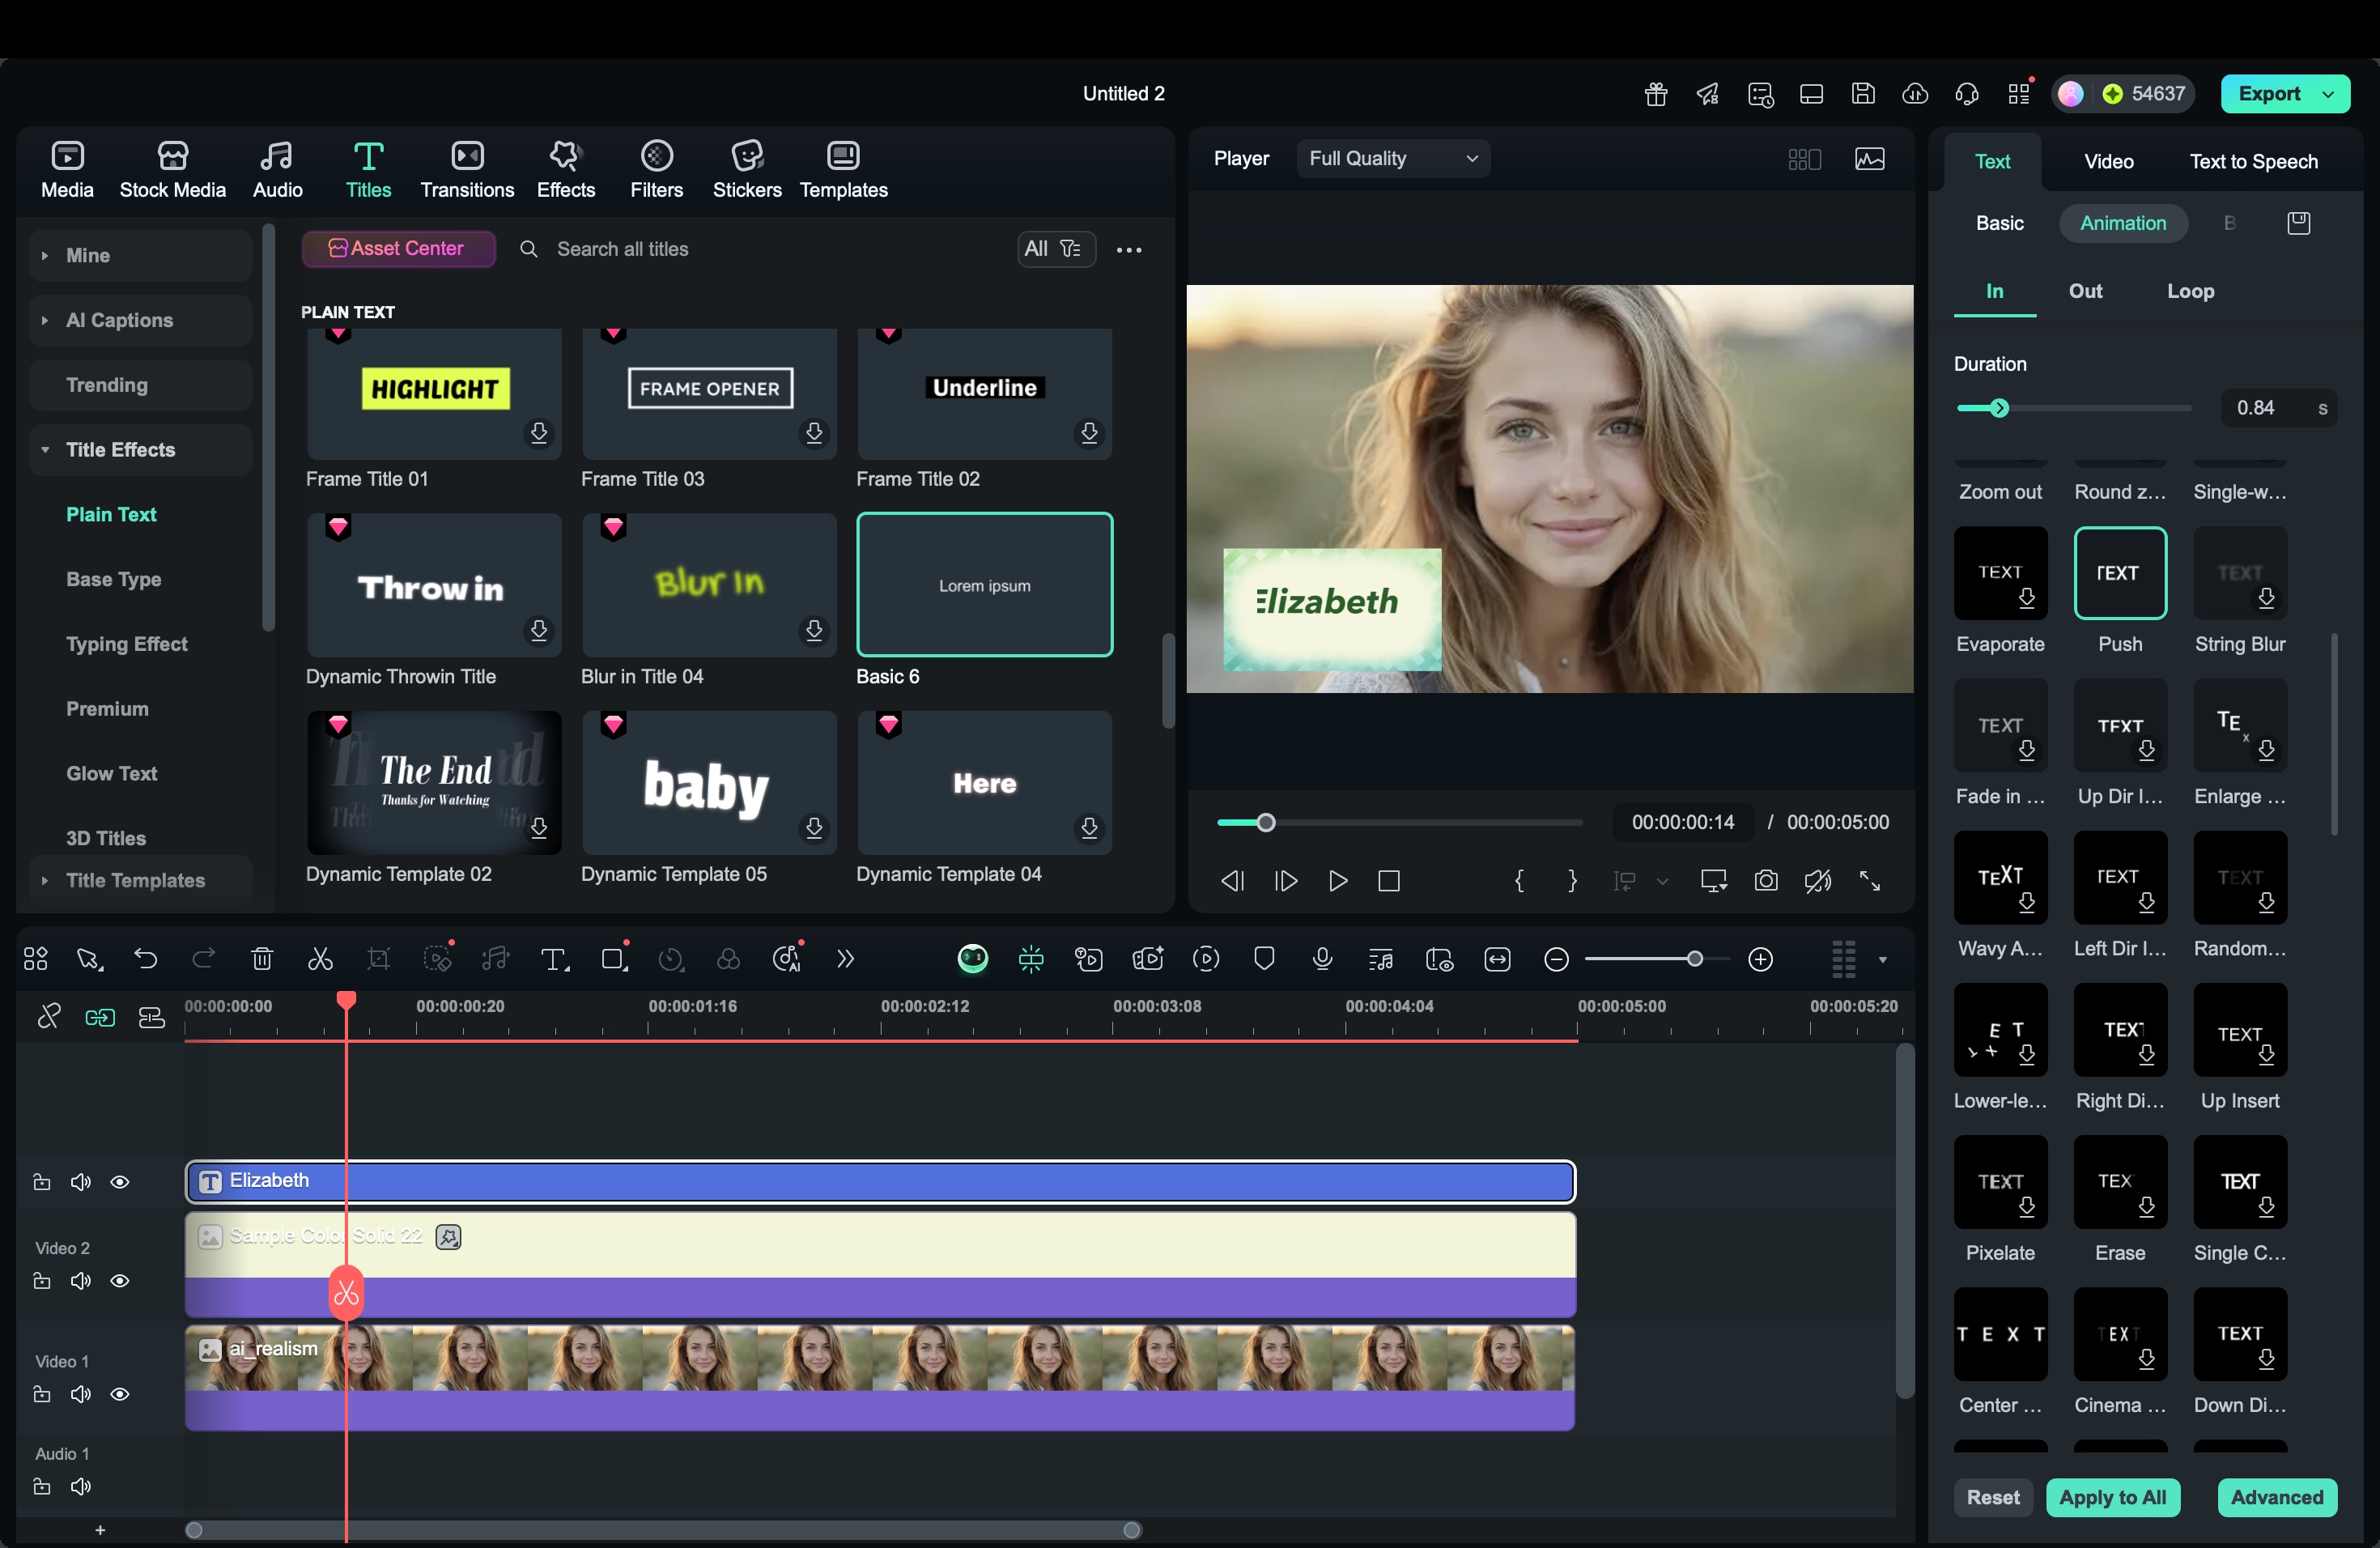
Step 4. Animate text and background
For the text, go to the Animation panel and pick Push for a smooth slide effect.
For the background, open the keyframe settings. Add one keyframe a few frames before the text enters, set opacity to 0, and adjust the X-axis or scale to 0. Then add another keyframe where the card is fully visible (opacity 100).
Step 5. Animate the exit
After the text finishes, add two exit keyframes to the background card. Keep the first unchanged, then move a few frames forward, reduce opacity to 0, and move the Y-axis to make the card slide off-screen.
Play the animation and tweak the timing until both text and background move smoothly. Finally, you can enhance your animated lower thirds by adding icons or social media elements from Filmora's Social Media pack.
Conclusion
Lower thirds play an essential role in giving your videos a polished, professional appearance. They help introduce speakers, emphasize key details, and strengthen your visual branding. With Filmora, you can easily create and customize animated lower thirds using its built-in lower third generator and a wide selection of templates.
If you prefer a more personalized touch, Filmora's tools let you design your own lower third graphics from scratch using shapes, text, and keyframes. Explore its free lower thirds and creative presets to make your next project look clean and truly professional!
