


 100% Security Verified | No Subscription Required | No Malware

Green screens are not only limited to video creation. Although it’s the most popular application, you can also use green screens in photo editing and bring your images to another level. With your creativity, you can change photo backgrounds and make countless ideas for special events like birthdays, posters for promo materials, clips for school presentations, or just something to have fun with.
Photo editing doesn’t always have to be complicated, especially with the right tools. In this article, learn how to use Gimp for green screen photo editing. Discover how it can make your ideas come alive, and find out alternative tools you can look at.
In this article
Part 1. Use Chroma Key in Gimp to Add or Remove Green Screen in Photo

Investing in an editing software can be costly. It might be challenging if you're budget-conscious or a beginner editor looking for cheaper options. Introducing GIMP (GNU Image Manipulation Program) - an open-source free tool for image editing, graphic design, and artwork creation. Unlike other free tools, GIMP has advanced tools, graphics design elements, and a rich editing library for designers and artists to play around. In summary, here are the reasons why GIMP is an ideal choice for this purpose:
- 100% free tool with an open-source platform
- Sophisticated editing tools (complete with tools for basic editing, layering, brushes, design elements)
- Extensive library with artistic elements for both photo editors and artists
- Compatible with multiple platforms from Windows, Mac, Linux
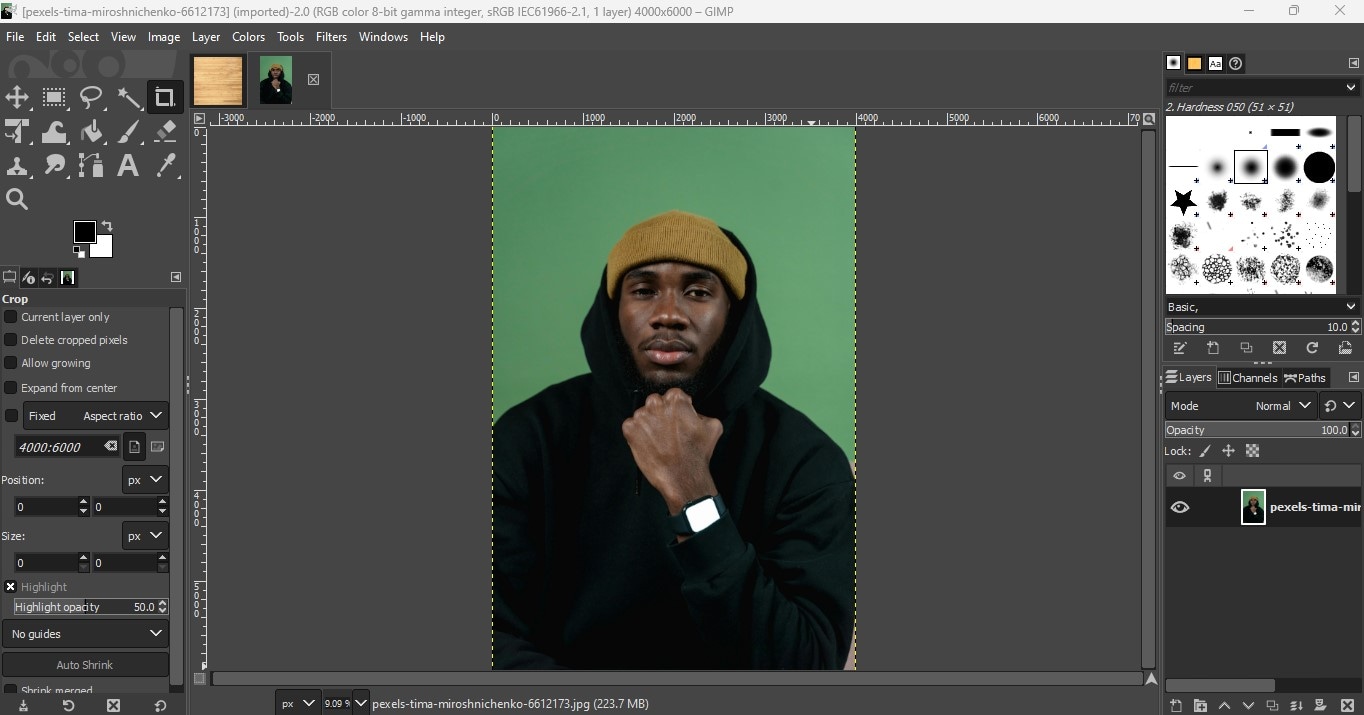
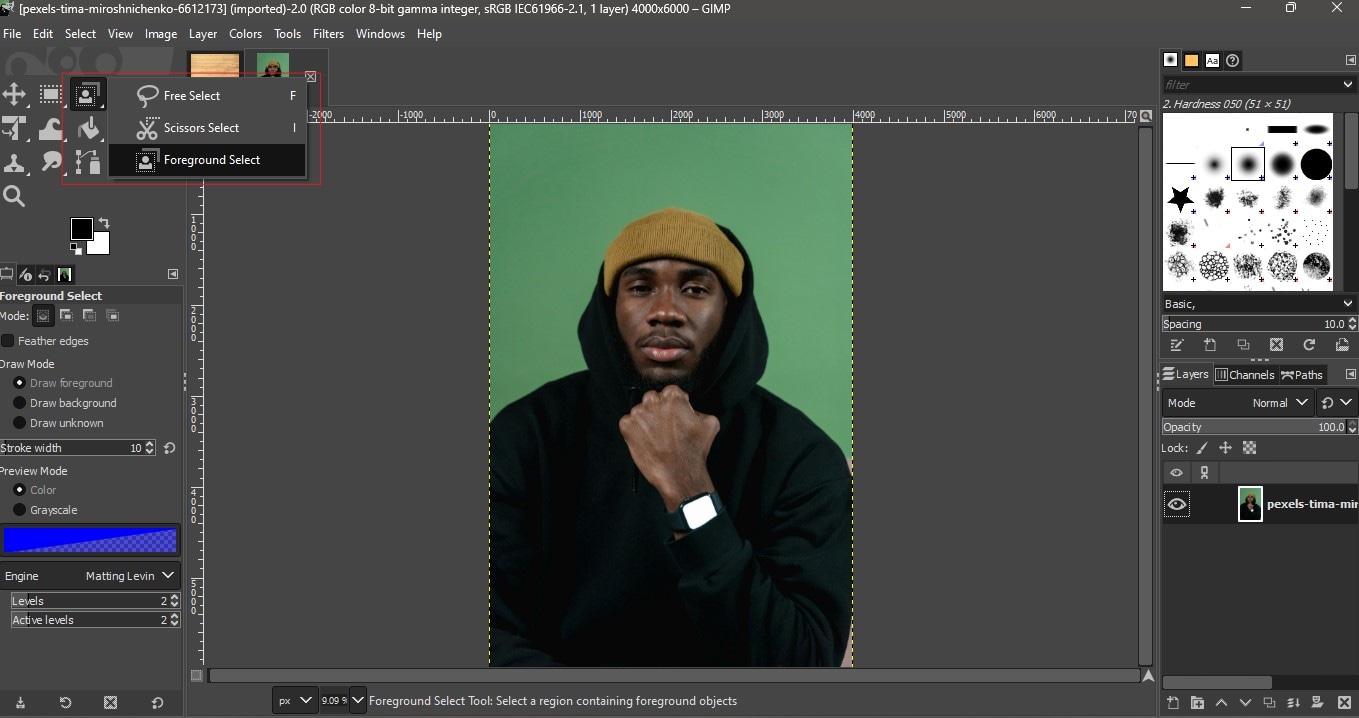
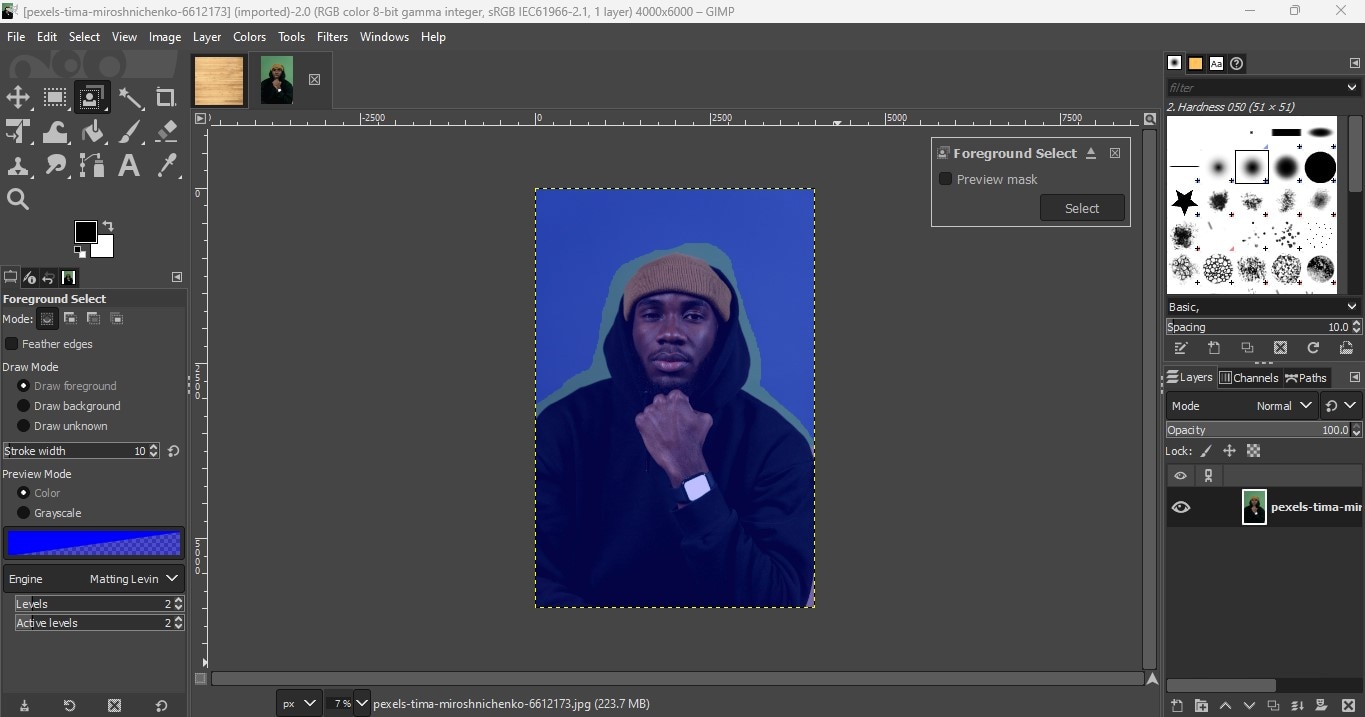
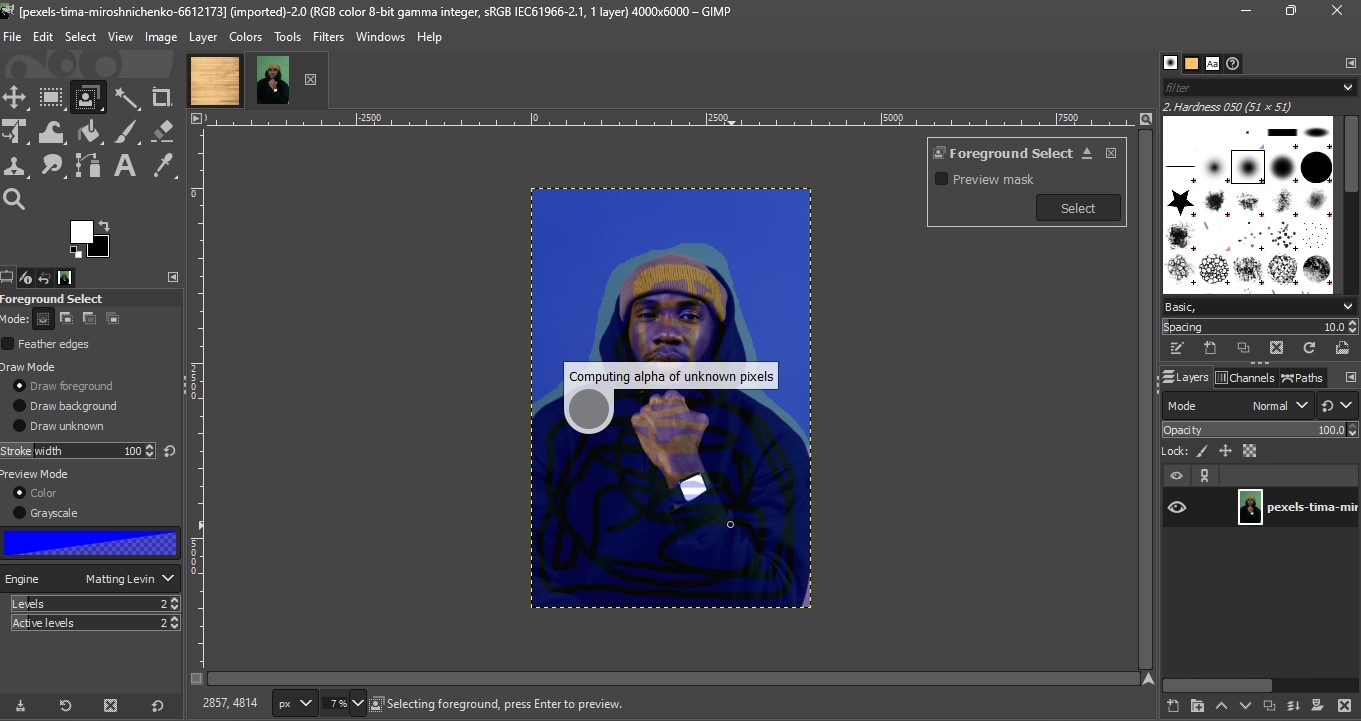
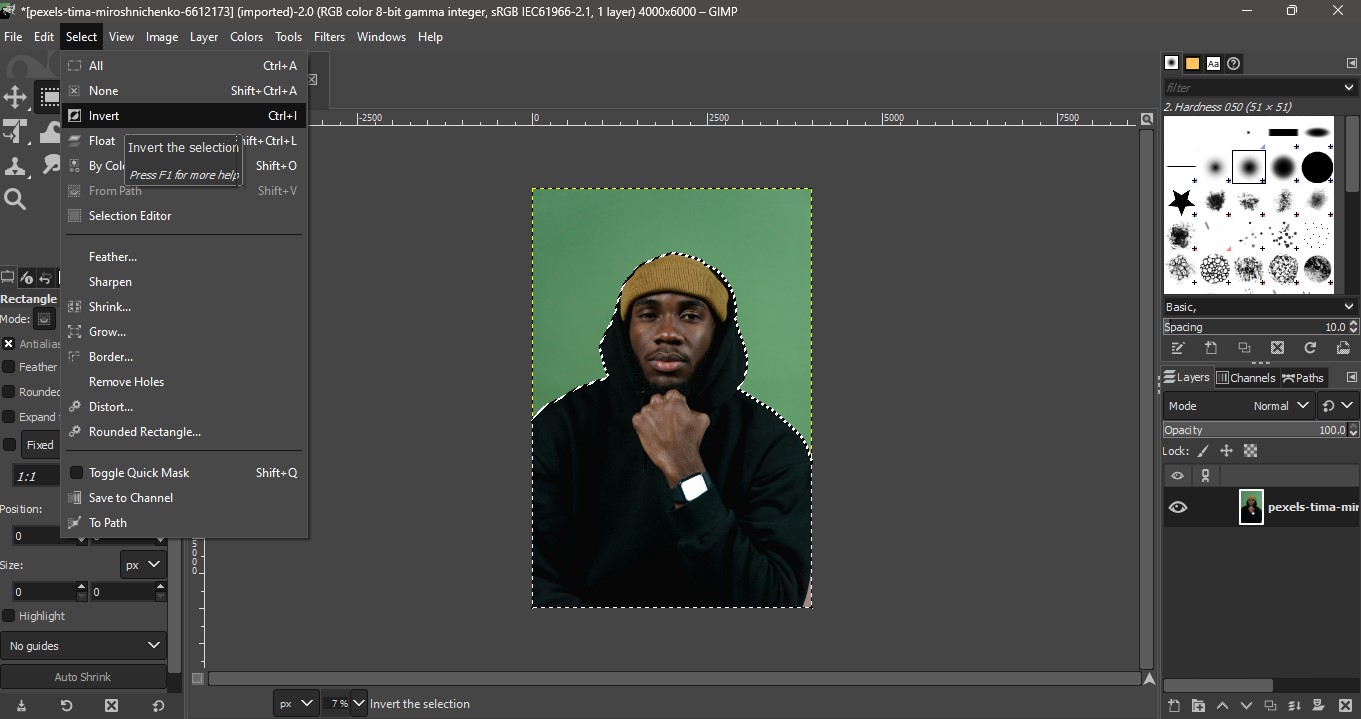
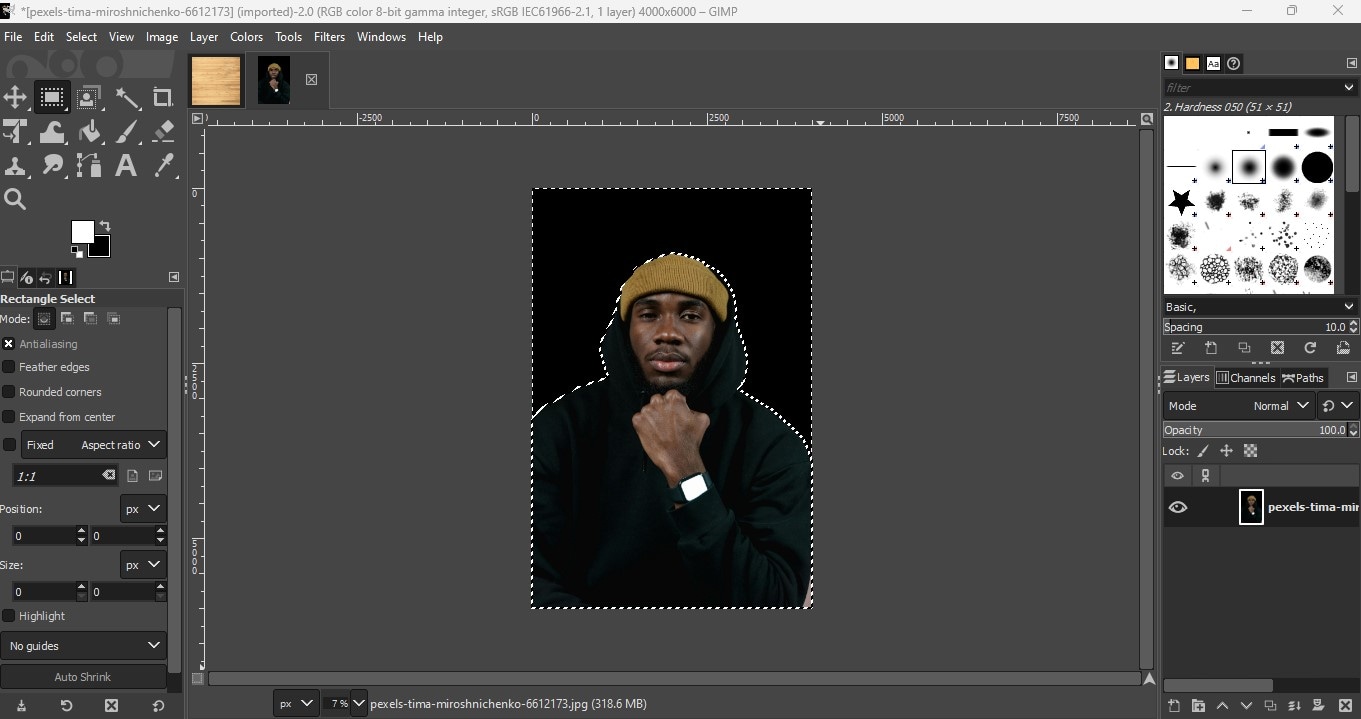
As an image editor, you can use GIMP for green screen removal and replace your background with a more creative choice, among other editing tasks. Download GIMP's latest version to start by heading over to their website. Learn how to use the chroma key in GIMP by following the steps below:

Part 2. Gimp Alternatives for Green Screen Removal
While GIMP is a fantastic tool, it can still have its limitations. For one, it’s not a basic editing tool. A beginner will take a longer learning curve to familiarize oneself with the platform. While it has an extensive editing library, it can still have limited effects, filters, and text editing features. As it’s not a widely-known tool, it may be challenging to integrate it with other more popular tools like Adobe Photoshop. For those reasons, you may look for alternatives with the same capability. Additionally, while you can use GIMP to remove the green screen, here are other tools that can effectively do the same.
Adobe Photoshop
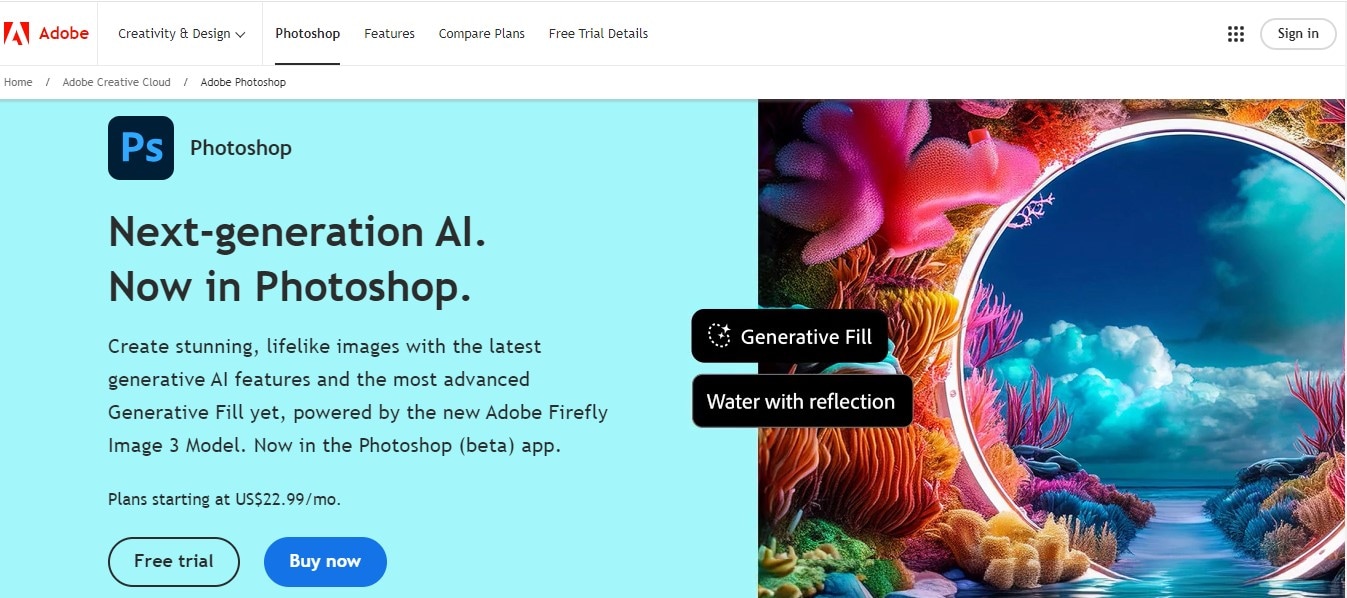
Photoshop is one the most popular and go-to photo editing software. It has become a household name for graphic designers, illustrators, and artists. A working knowledge of Photoshop provides a great advantage to anyone involved in the digital design area. While it has a lot of competitors in the market, it still remains to be an industry standard among others. Like GIMP, green screen removal is also possible with Photoshop, including other simple and advanced photo editing techniques.
Key Features:
- Cutting-edge editing features such as layers, adjustment layers, healing brush, color balance, curves, clone stamp tool, blending modes.
- Ability to edit different image formats from PNG, JPG, TIFF, RAW, PSD, PDF, and more.
- Seamless integration with other Adobe products like Adobe Illustrator
Limitations:
- Steep learning curve for beginners
- Subscription-based pricing model which can be expensive for individual users
- High-system requirements, which may be limiting for users with lower-end computers
Picsart
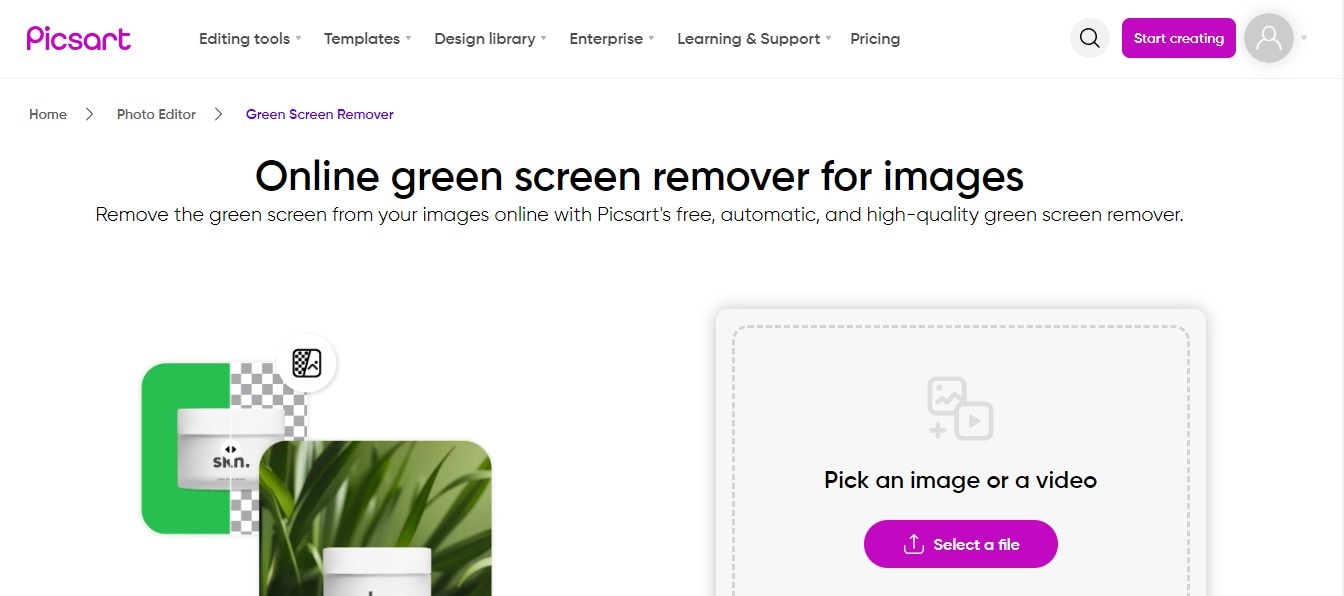
Piscart is an online photo editing and digital creation platform. You can edit photos, remove backgrounds, convert photo to cartoon, and apply various photo effects. It also has many templates for social media, marketing collaterals, posters, flyers, and other promotional materials. It also has AI-powered tools to perform different photo editing techniques, such as the AI Image Generator, AI Logo Maker, and AI GIF Generator, to name a few.
Key Features:
- No installation is required as the tool can be accessed through an online browser
- High-quality and trendy photo filters, template designs, and other unique resources
- Intuitive AI tools for easy and convenient photo editing experience
Limitations:
- While it has many features, most are not as advanced as other tools like Photoshop
- Limited cloud storage of 100MB for its free plan
Remove.bg

Removebg is another alternative to remove the green screen or any other image background. It’s straightforward to use, which is perfect for beginners. You can directly upload your photo from your browser and instantly see the background removed. Aside from that, you can try other effects like blurring the background, erasing other elements in your photo, and creating a design in Canva from your image.
Key Features:
- Instant background removal from image upload with no other additional step to go through
- Ability to select particular objects in your photo for removal
- Seamless integration to Canva, which is convenient for designers
Limitations:
- Only supports JPG and PNG file formats up to 22MB
- Limited resolution handling of up to 50 megapixels only, which is not ideal for edits requiring higher image resolution.
- Doesn’t have other editing capabilities and is only capable of background removal
Part 3. [Bonus Guide] How to Remove Green Screen Effect in Videos
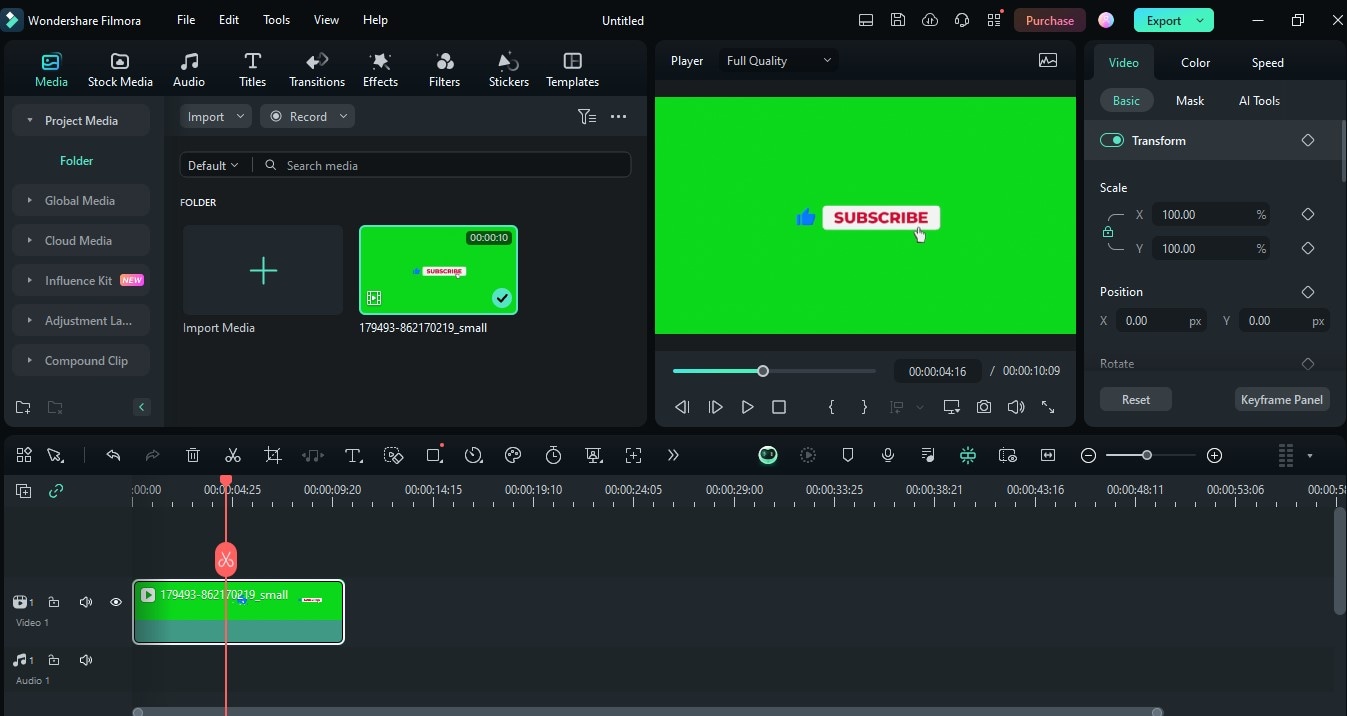
If you’re curious about how to remove green screens in videos, here’s a bonus section for you. Like GIMP’s green screen removal in videos is easy using the right tool. This example will use Wondershare Filmora- a powerful editing software. It has a complete and rich editing library equipped with advanced tools to ensure you get your creativity across your video projects with ease. Aside from that, you can also find an extensive portfolio of stock resources, from photos, videos, audio tracks, video effects, transitions, and more.
Here's a quick guide on how to remove green screens in videos using Filmora’s green screen remover:
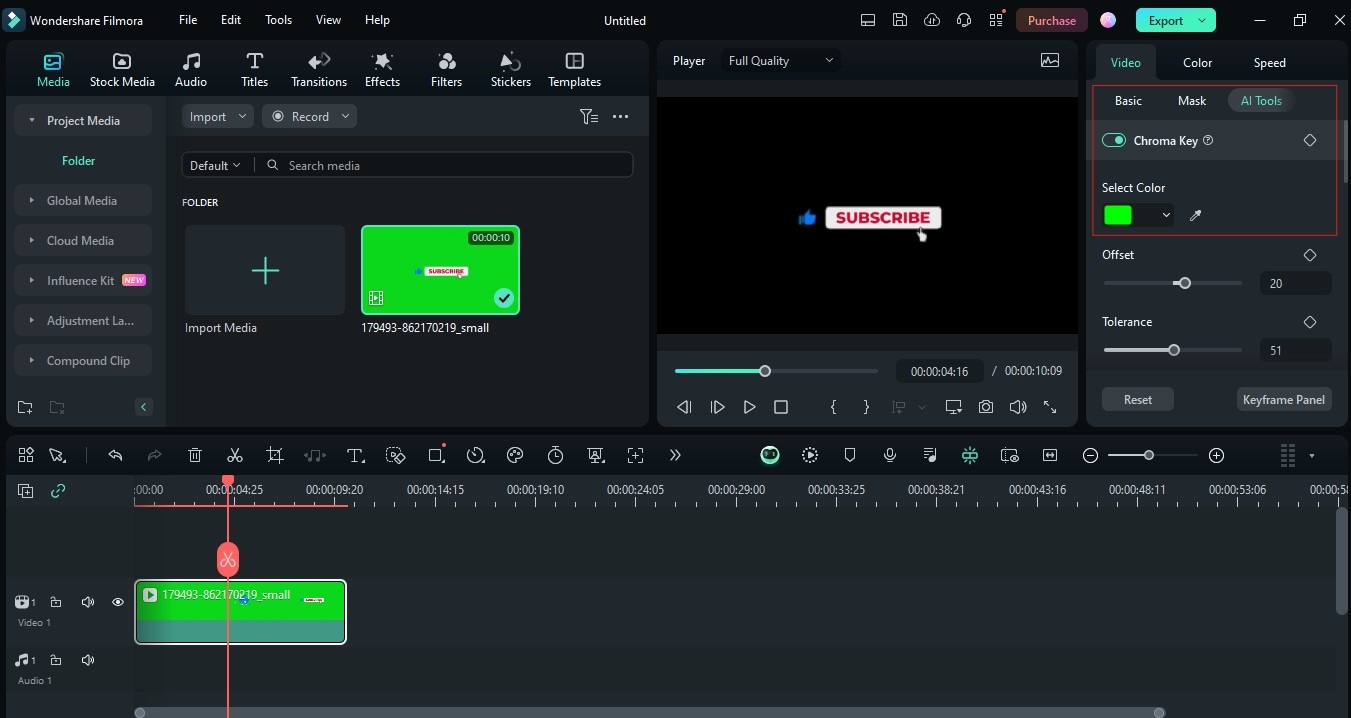
Aside from that, you can use other Filmora tools to enhance your video. You can also explore Stock Media and find stunning background images. Drag it over to the timeline and immediately replace your background.
Conclusion:
With green screens, you make countless creative edits to your photos. You can try it for your next office event, marketing, or any design idea for fun. Using GIMP’s free platform, you don’t need to spend a single dime while still maximizing the benefits of a sophisticated photo editor. Alternatively, you can also use other tools like Photoshop, Removebg, or Picsart, aside from GIMP green screen removal. For video editing, use Filmora to remove green screens from videos and create stunning video projects.
