When it comes to expert editing and modifying photos, digital artists turn to Photoshop. Using Photoshop retouching to edit and enhance images is a good approach for "getting creative with the resources you've got." There are several methods for increasing the attributes of the photo subject during design, including things like skin tone and flaws.
Working on the small details, hair, blemishes, and blending skin tones will significantly impact the final image. Even if photography is important, post-shooting and post-editing determine the image's appearance. Would you prefer to create exceptional and natural-looking photography?
In this article, learn the concept of photo retouching and how to do it in Photoshop. Also, the article highlights a powerful video and photo editing software – Filmora. Featuring some of the industry’s best AI features, learn how Filmora can simplify your editing tasks.
In this article
The best editor helps you edit photo and video without hassle.

Part 1: Understanding The Concept of Photo Retouching in Photoshop
Photoshop retouching involves creativity and individual taste. It significantly enhances a photograph's appearance to produce a better visual impact. A portrait may need to be beautified, have the body plasticized, have the characteristics adjusted, and even have the background removed or added. You might also need to eliminate facial wrinkles.
You can achieve all these with photo retouching in Photoshop. Retouching entails more modifications and image manipulation. Photoshop retouching entails removing any flaws and cosmetic enhancement of photo details, and it typically entails color and tone correction, the eradication of blemishes and eye bags, and adjusting brightness, contrast, and saturation.
Basic and advanced photo editing are the two categories of photo retouching available out there. A small adjustment to an image is what we refer to as basic retouching. Basic retouching features include brightening, removing interference, whitening teeth, removing blemishes, and smoothing skin. Advanced picture retouching typically gives the entire image an exquisite appearance.
Part 2: A Step-By-Step Guide To Photo Retouching in Photoshop
This section outlines the steps to making your photos extremely smooth and realistic-looking. So, explore how to retouch your images, eliminate pimples and blemishes, smoothen and soften the skin, and enhance the overall image:
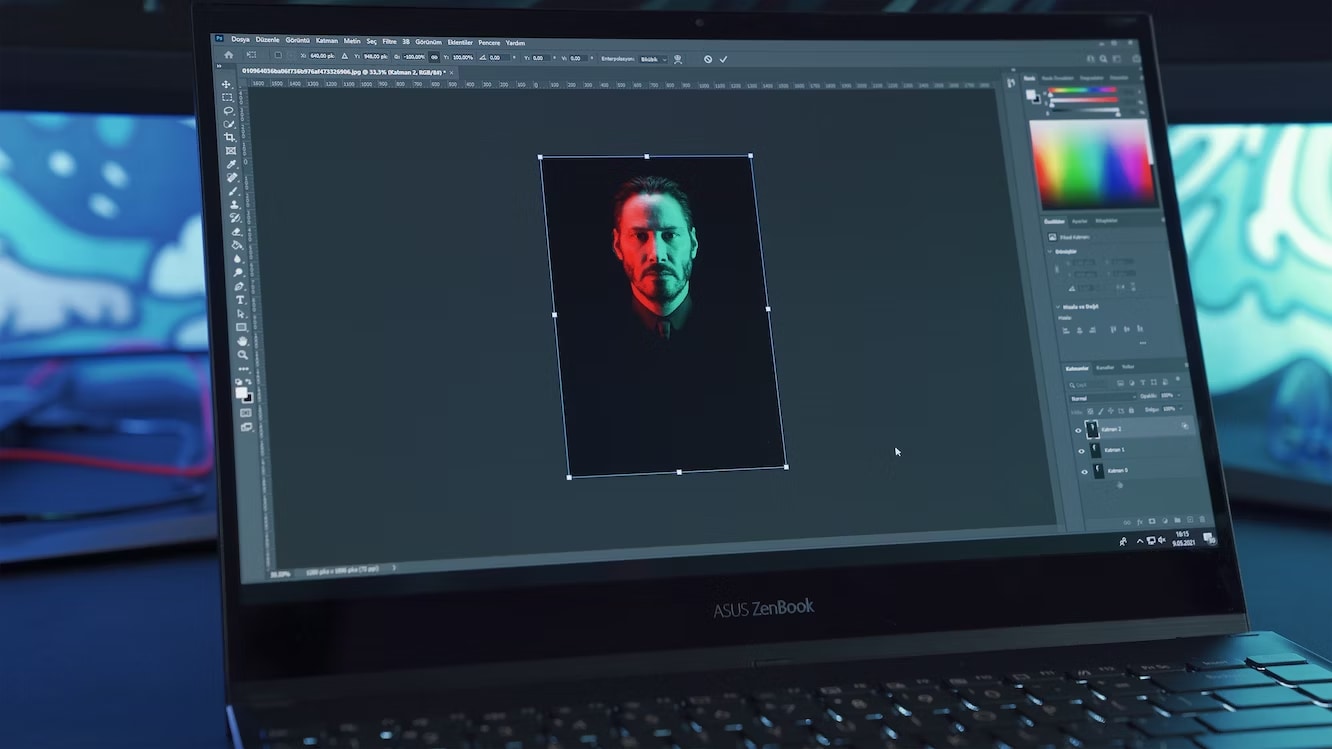
Step 1Importing the Image into Photoshop
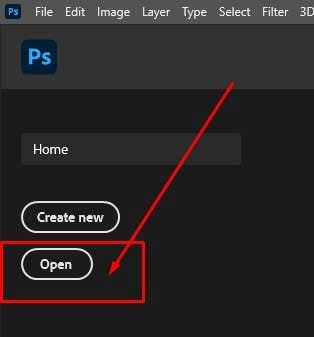
Open the photo taken during the model session to begin the Photoshop Skin editing. Simply choose File > Open in Adobe Photoshop and choose the model image from your computer's storage. The software would load the image on the interface.
However, it would take a while. You can begin editing your image once it has been loaded into the Adobe Photoshop interface. Make careful to perform the above steps sequentially.
Step 2Making Basic Adjustments
Now, select the precise colors for highlights and shadows using the gradient map tool. The intensity or softness of those colors can then be altered by adjusting the opacity, which results in a subdued but intriguing look.
Try Photoshop portrait actions and filters if you don't want to do these alterations yourself. You may easily improve the colors and tones of your portraits by using these pre-set combinations of modifications.
Step 3Remove Blemishes Using The Spot Healing Brush Tool
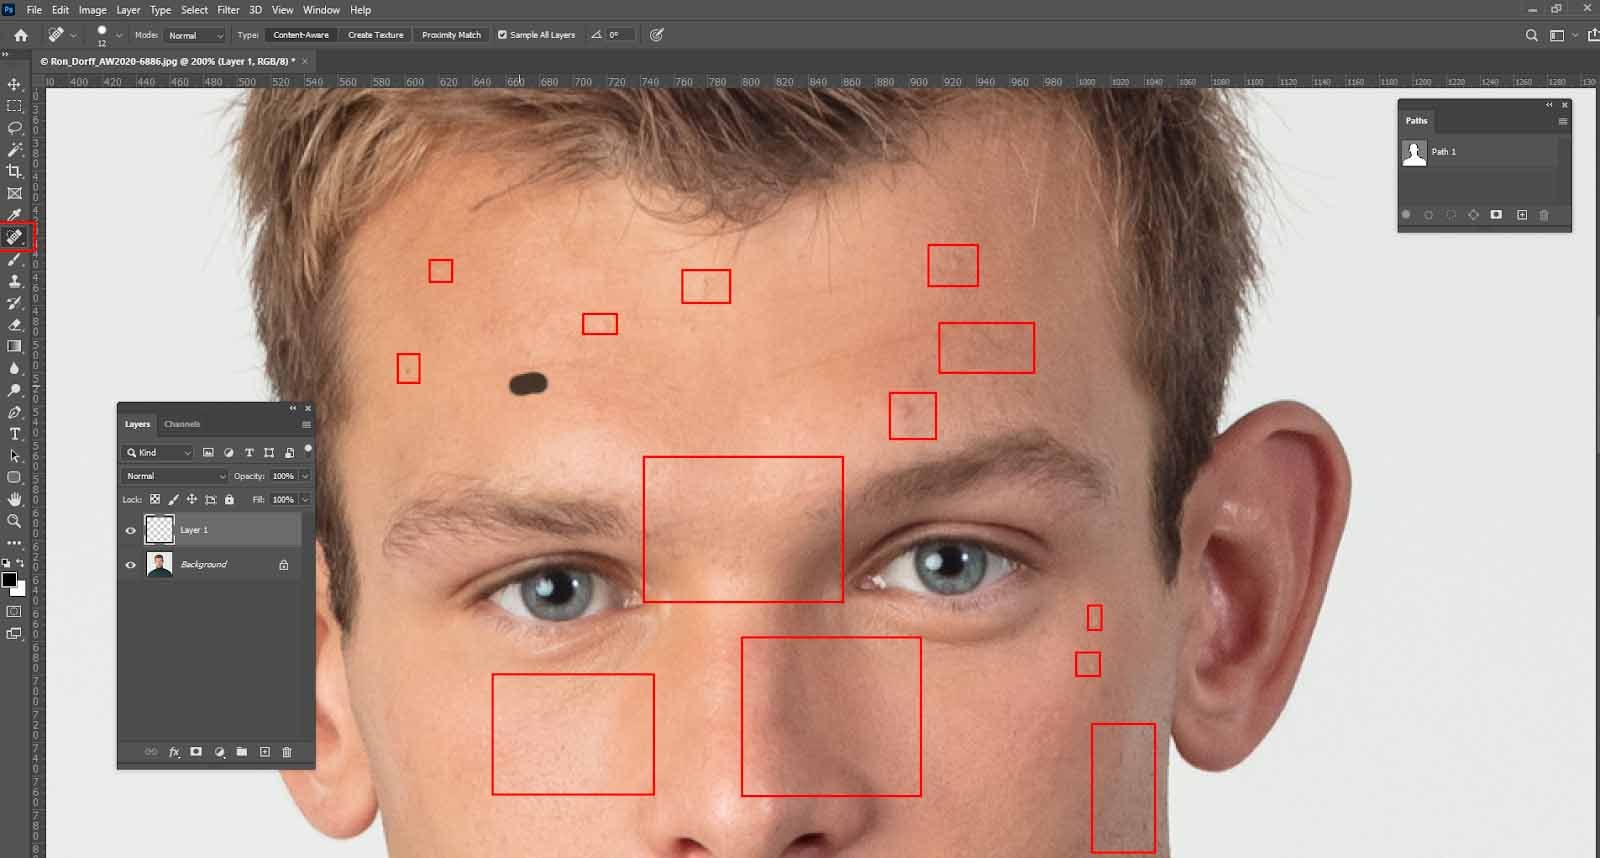
Choose the Spot Healing Brush tool via the Photoshop user interface after you have the new layer in Photoshop. The spot healing brush tool may be in Photoshop's left toolbar. Once selected, set the spot healing brush tool to content-aware fill, making Photoshop operate flawlessly.
It enables quicker removal of the imperfection from your model's face. Now focus on the imperfections and flaws you wish to fix in your model shot. Ensure your brush size is slightly larger than the imperfections you wish to eliminate. Next, click on the zit or imperfection. The following Photoshop retouching method removes blemishes like a magic bullet.
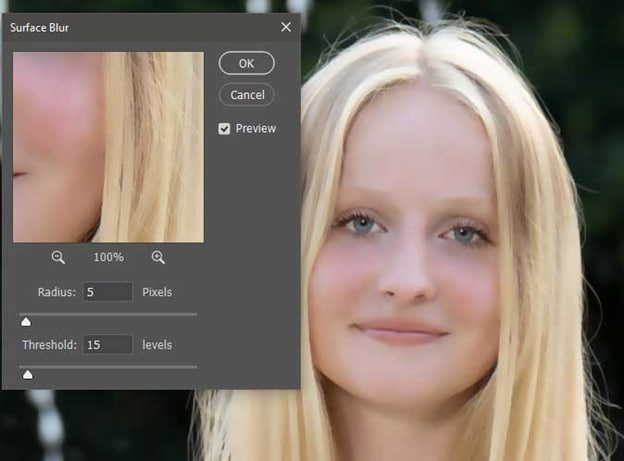
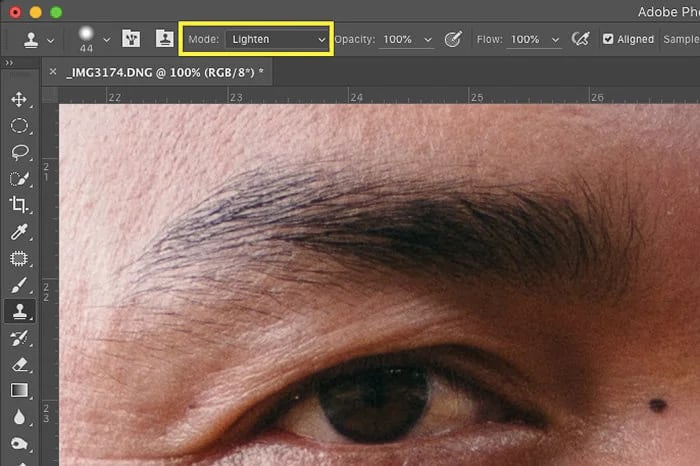
Step 4Try The Smoothing Skin Effect and Reduce Wrinkles
White is the color you should choose for the brush tool. Turn on the smoothing effect by painting over the skin after setting the Blend Mode to Normal, Opacity to 100%, and Flow to 100%. Also available is Filter > Noise > Dust & Scratches.
If the smoothing effect meets your desired outcome, check the layer mask. If not, reduce the opacity of the masked layer to your liking. For wrinkle removal, use the Patch Tool. To remove a wrinkle, use the Patch Tool to tap inside the selection and drag it to a different skin area.
Step 5Use Clone Stamp Tool To Enhance Eyes and Teeth
Remove eye bags using the Clone Stamp Tool. Set the brush's opacity to 20% and draw a line where the eye bags are. With the brush, go over it several times until the puffiness is gone.
Step 6Finalizing the Retouched Image

When you're happy with the portrait's color, tone, smoothness, and overall enhancement, you can crop, resize, save, and share it.
Part 3: Photo Retouching In Photoshop: Tips & Tricks You Must Know
Leverage Layers and Masks for Non-Destructive Editing

You can make an Adjustment Layer to apply a selection to the Layer Mask while it is active. Only the brighter pixels in your image will be the focus of this adjustment layer. If you make a change, you'll see that just the bright pixels are affected—the dark pixels remain unaffected.
Dark pixels can be selected by inverting the selection. Tap on the Invert in the Properties panel after selecting the Layer Mask. Now, if you make a change, the dark pixels—not the light ones—will be impacted.
Use the Clone Stamp Tool for Seamless Retouching
Choose the layer containing the content you wish to duplicate and use somewhere else in the image in the Layers panel. Tap on the Clone Stamp tool from the Tools panel.
Change the Clone Stamp tool's size and hardness in the settings bar to fit the item you are cloning. The Clone Stamp tool paints content into the new area by copying it from the source.
Transform Any Portrait Into Fine Art
Anyone facing difficulty finding the right way to turn their portraits in Photoshop into a painted version can leverage the Portrait Filters. Using these filters can give your image a hand-painted appearance. So, choose the dry brush filter from the filter collection, then tweak the color and saturation to your liking.
Use The Best Retouching Tool In Photoshop – deliciousretouch4
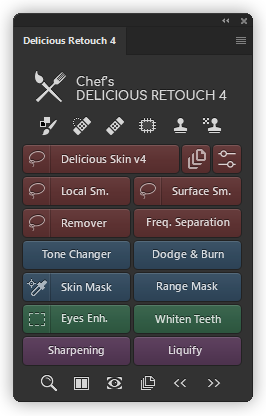
It's a Photoshop plugin that will speed up and simplify the process of body and picture retouching. And unlike most plugins, deliciousretouch4 won't give your portraits a phony (fake or more obvious) appearance. This panel will add powerful photo retouching tools to your workflow, giving you enough control to customize it to your preferences.
Part 4: Level-Up Your Editing Skills With Wondershare Filmora – An Industry-Leading Editing Software
Although Photoshop can make you the master of image retouching editing, your content won’t always generate results based on images, right? At some point, you’ll want to diversify to video and audio-based content too. This is where Filmora comes in.
While Photoshop is the go-to tool for editing images, Filmora is for videos and audio. Indeed, Filmora doesn’t have as many photo-retouching features as Photoshop. Still, it does offer some top AI photo editing features and other AI-powered features to simplify your image and video editing tasks.
Uncover The Filmora's Best-In-Class AI-Powered Editing Features
AI Copywriting
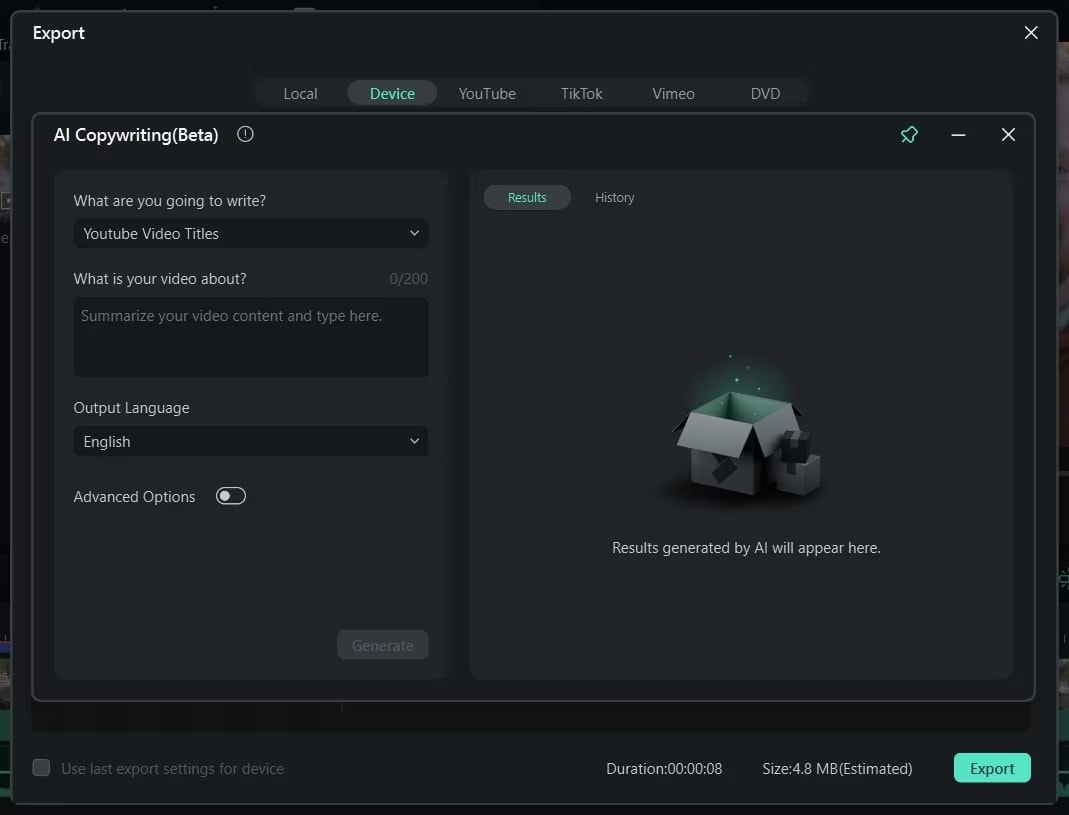
Thanks to Filmora’s AI Copywriting function, anyone can now learn and leverage the power of the specific integration of Filmora with ChatGPT API. Extracting original, unique, and creative scripts and captions for your videos and images becomes easier, faster, and simpler. Write image descriptions within seconds using Filmora’s AI Copywriting feature.
AI Image
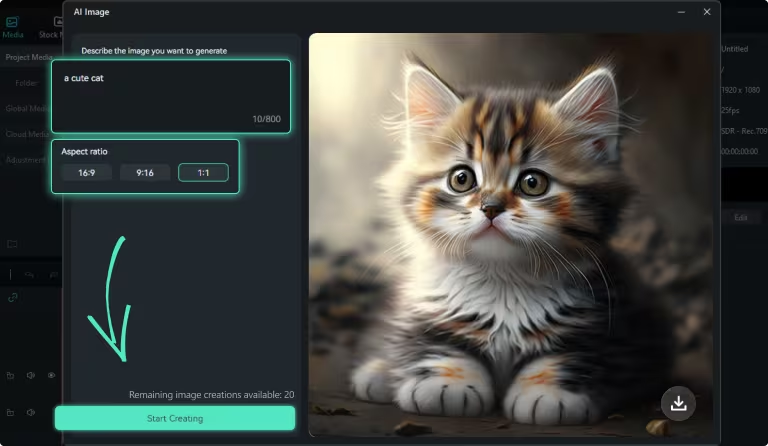
Filmora's AI Image function can create beautiful images from your description. Through this tool, one can quickly convert words into images. It also provides you with more AI-backed options for improving your outcomes.
AI Smart Cutout
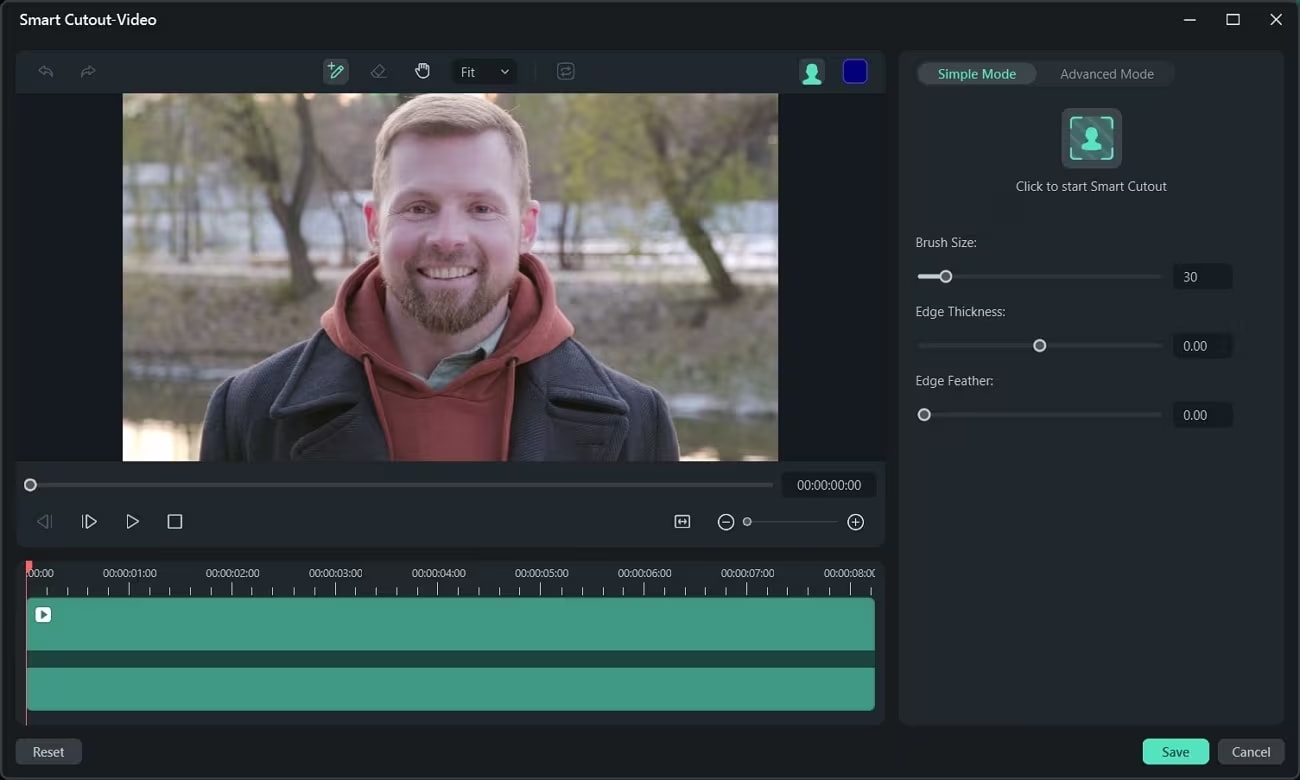
Is it challenging for you to remove an undesired object from your image or video? You may find and remove undesired portions from your content material with the help of the AI Smart Cutout feature. You can remove individuals from your image/video and boring backdrops using this cutting-edge AI feature.
AI Portrait
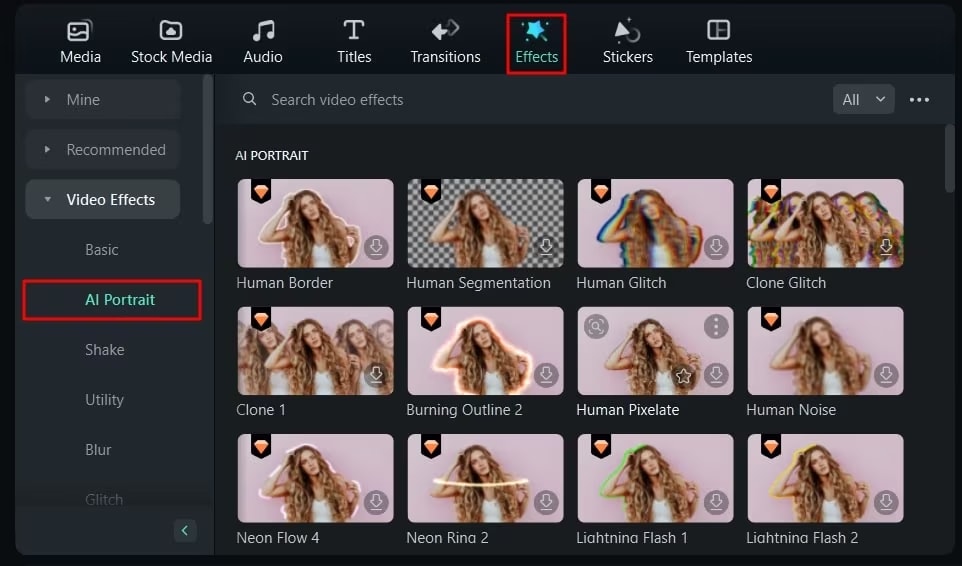
You can creatively enhance your images and video footage in various ways. For instance, you might use the AI Portrait tool to add creativity to your photos or recordings. With this Filmora AI feature, implement over 70 provided AI portrait effects. You may also add augmented reality stickers to engage and amuse your audience.
AI Audio Denoise
Specifically designed and featured for video editors, Filmora’s AI Audio Denoise feature helps you eliminate any unpleasant sound on your video background. Within seconds, this AI feature eliminates all wind, human, and crowd noises from your video clip.
Conclusion
Besides being time-consuming, manual photo editing may always be improved. AI image editors are highly recommended because they can automatically edit and enhance photos. In this article, we've come across Photoshop and Wondershare Filmora as two such AI-powered photo and video editing programs.
Although Photoshop is an option, we suggest trying the industry-leading free online image editor Filmora. Advanced capabilities in Filmora's AI tools can enhance the appeal of your photographs and films. Moreover, you can automate your tasks with these tools for incredibly high productivity and efficiency.