In this article
Understanding Color Grading
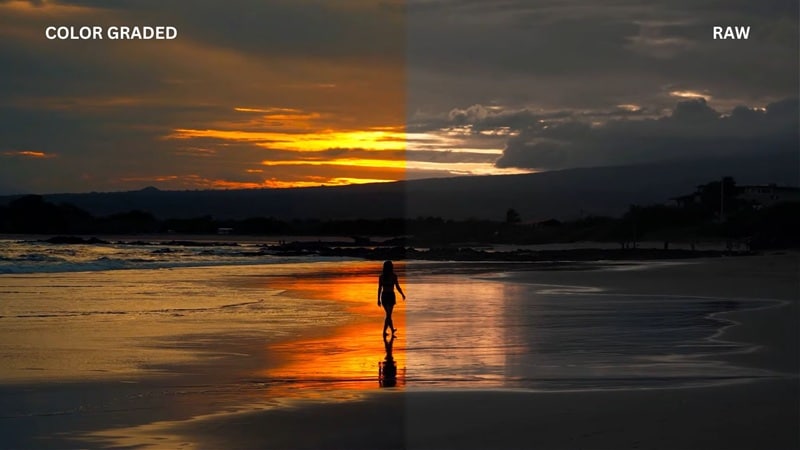
To make your shots look professional, consistent, and impactful, you need color grading. But what is color grading, exactly? Color can hold power in shaping how we feel about what we see. It can make a scene feel happy, sad, intense, or calm, sometimes without us even realizing it.
For this reason, editors and filmmakers use this to their advantage by carefully adjusting the color and tone of each shot. This creative process is known as color grading.
Color grading is a post-production process that involves adjusting and enhancing the colors in a raw video to create a specific mood, tone, or visual style. It includes fine-tuning elements like contrast, saturation, shadows, and highlights to give your footage a cinematic, consistent look.
This technique is commonly used in both photography and video editing. In video editing, filmmakers often use a defined color palette as part of their overall visual design. It helps maintain visual continuity between scenes, especially when filming under different conditions.
What is color grading in photography?
Similar to video editing, color grading in photography refers to the process of adjusting and refining the colors in an image to achieve a specific visual style or mood. The only difference is that in photography, you're working with a single still frame rather than a sequence of moving images.
Color Grading vs. Color Correction
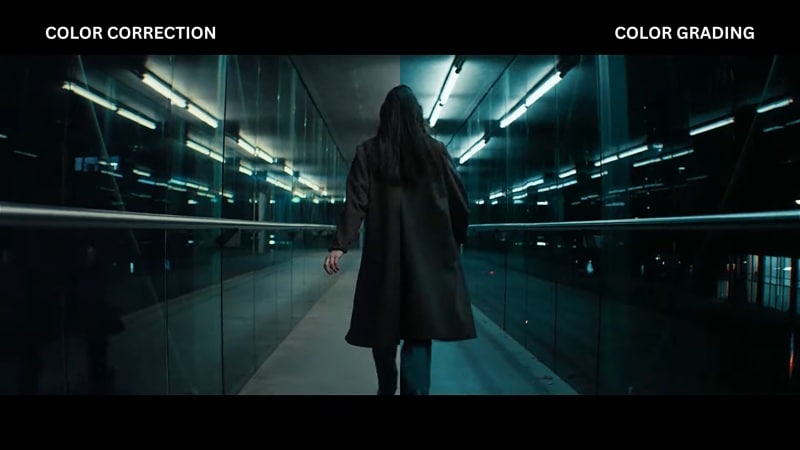
Color grading often goes hand in hand with color correction. While the two terms are sometimes used interchangeably, they actually serve different purposes in video editing. So, what is color correction?
Color correction is the technical process of fixing issues in your footage to make it look natural and balanced. The goal is to create a look that closely matches how we see things with our own eyes. Color grading, on the other hand, is the step that follows. It’s where editors stylize the visuals to match the desired mood, tone, or cinematic feel of the project.
The differences between color grading and color correction can be summarized in the table below.
| Aspect | Color Grading | Color Correction |
| Purpose | To create a specific mood, style, or visual tone | To fix exposure, white balance, and color issues |
| Goal | Make the video look cinematic, stylized, or match a creative vision | Correct lighting, color, or camera issues to achieve a neutral and clean baseline |
| Focus | Artistic enhancement and emotional impact | Technical accuracy and visual consistency |
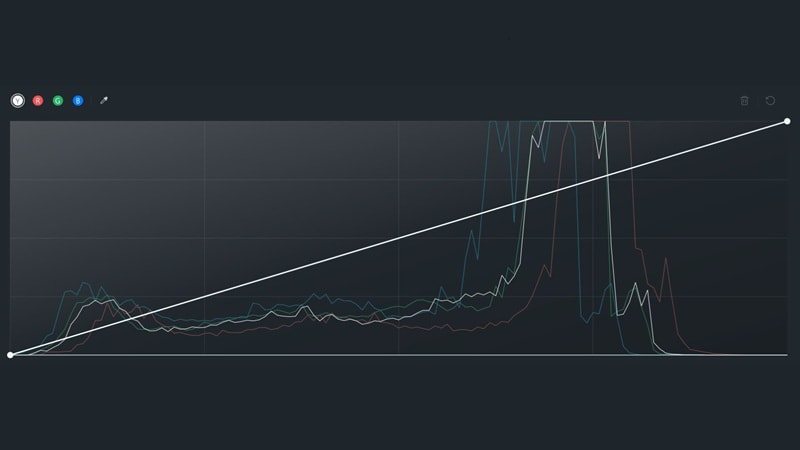
Essential Tools in Color Grading
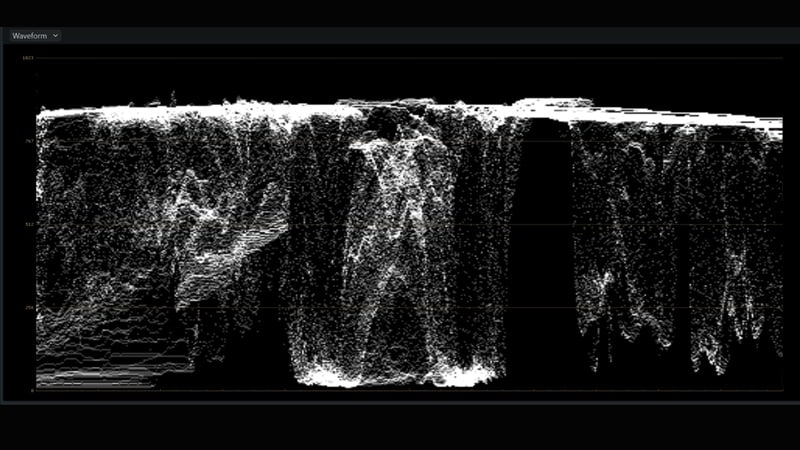
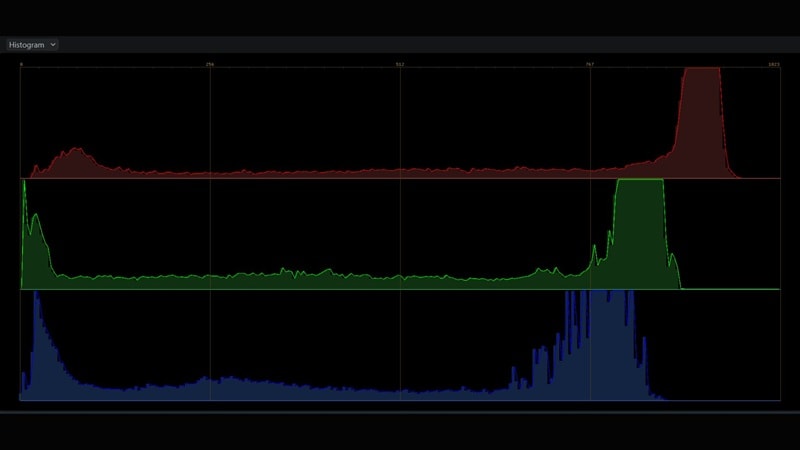
In the color grading process, several key tools help shape the final look of your video. These tools give editors precise control over how colors, contrast, and lighting appear in every frame.


Application of Color Grading
How Color Grading Is Used in Video Production
After understanding what color grading is in video editing, the next step is knowing how it’s used. You’ll find color grading in almost every type of video, such as in films, music videos, commercials, and even YouTube content.
Common Applications

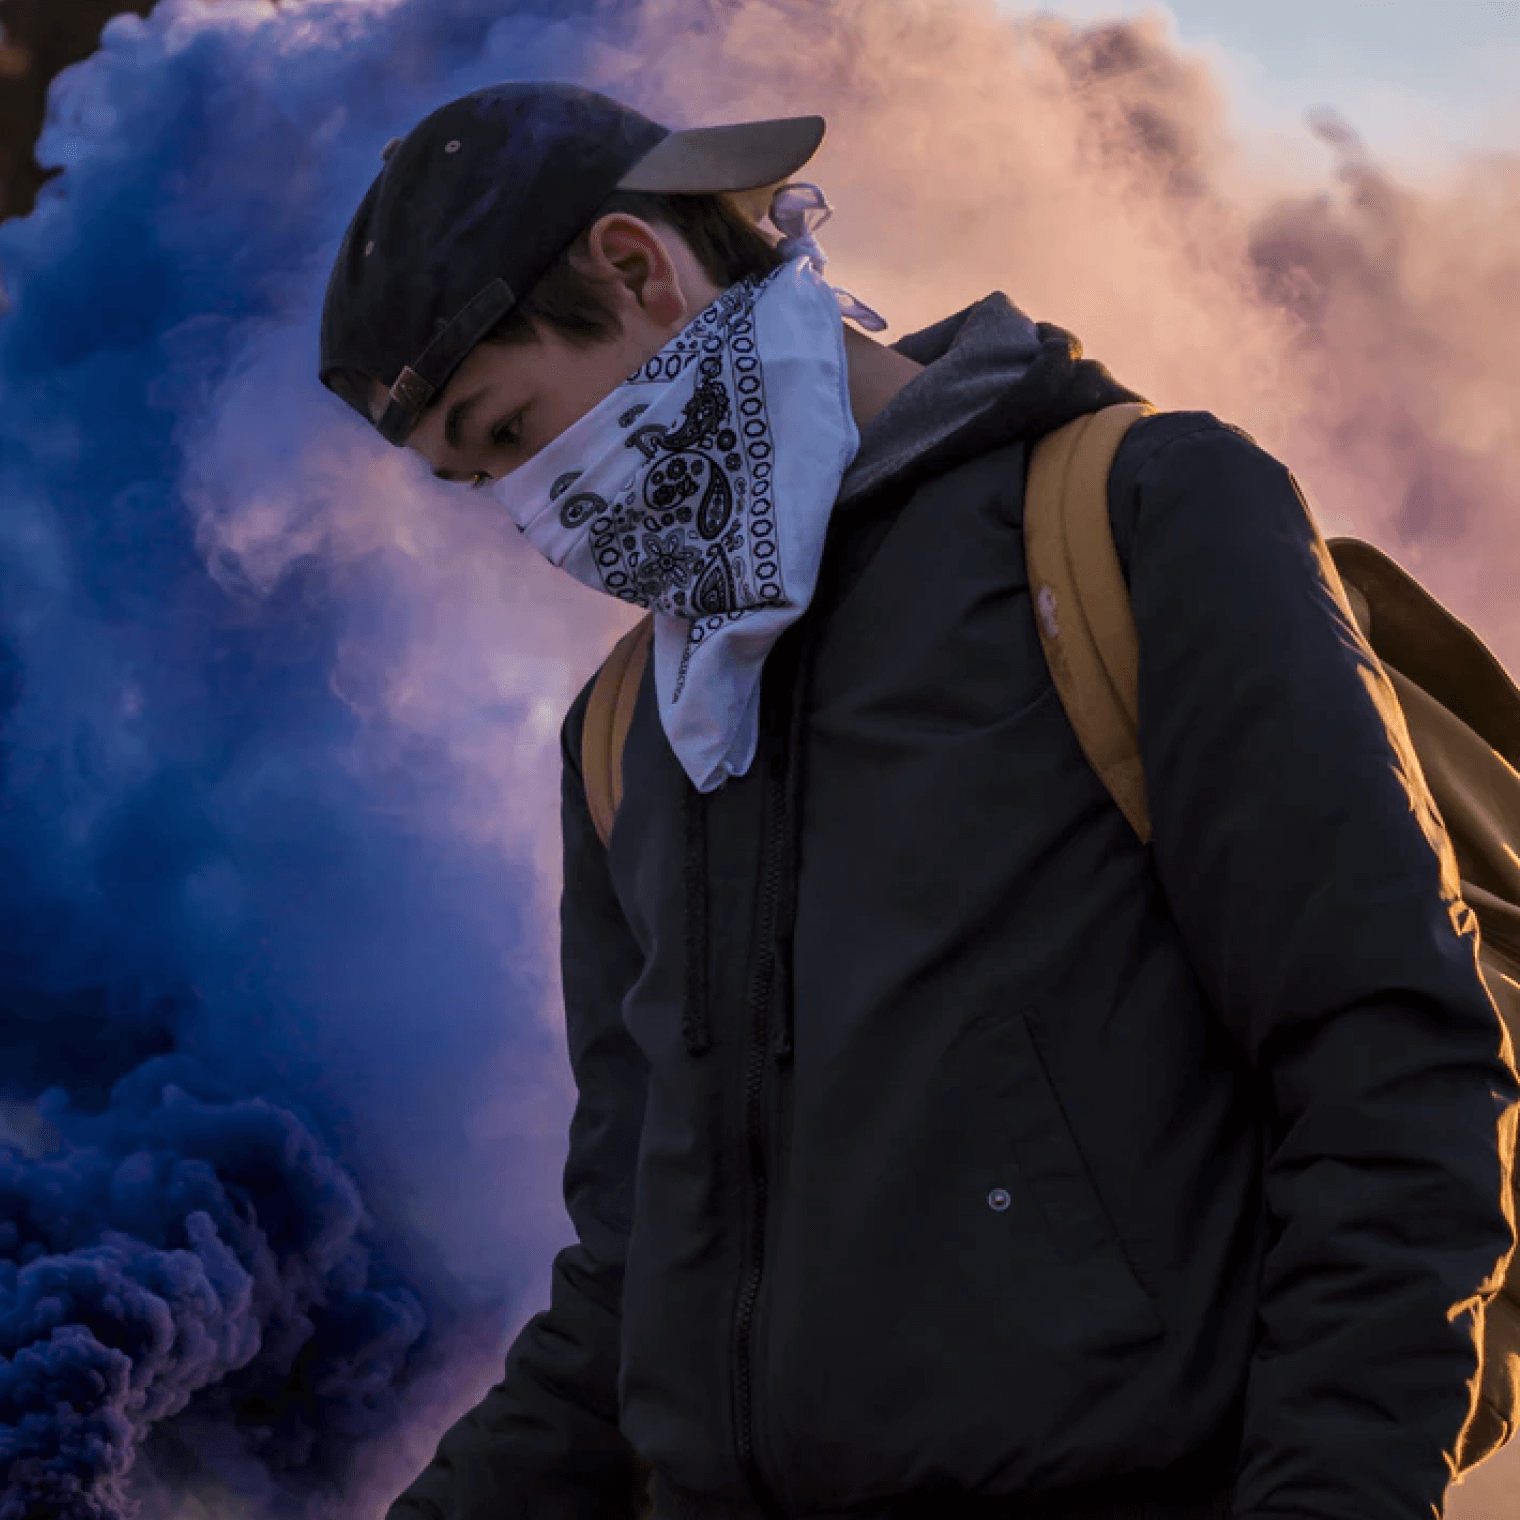
Types of Color Grading with Their Examples in Popular Media
Almost every movie you watch today uses color grading in some way, so it’s easier to use film examples as a reference when learning about different grading styles. Below are some of the most commonly used types of color grading, along with their examples.


Common Mistakes to Avoid
Understanding the basics of color grading might seem simple at first. But in practice, it’s easy to make mistakes that can affect the outcome. Even with the best footage and tools, color grading can go wrong if you're not careful. Some of the most common color grading mistakes are:
As mentioned earlier, color grading and color correction go hand in hand. Jumping straight into grading without fixing basic issues like white balance, exposure, or contrast can lead to problems later. If your base image isn’t clean, no amount of grading will make it look right.
Always start with color correction to balance your footage. Once the footage looks clean and accurate, you can move on to color grading.
Using different styles or tones across shots in the same project can make your video feel disjointed. This issue often happens when clips are graded separately without a reference.
Apply the same settings across similar clips to keep your grading consistent throughout the video. Use a color palette to maintain a unified color tone across scenes.
We often think that more color means a better image, but pushing saturation too far can actually hurt your footage. It can make the video look unnatural or distracting.
Aim for a balanced look. Use saturation adjustments to enhance the image, not overpower it. Always check skin tones, backgrounds, and key elements to make sure they still look natural and easy on the eyes.
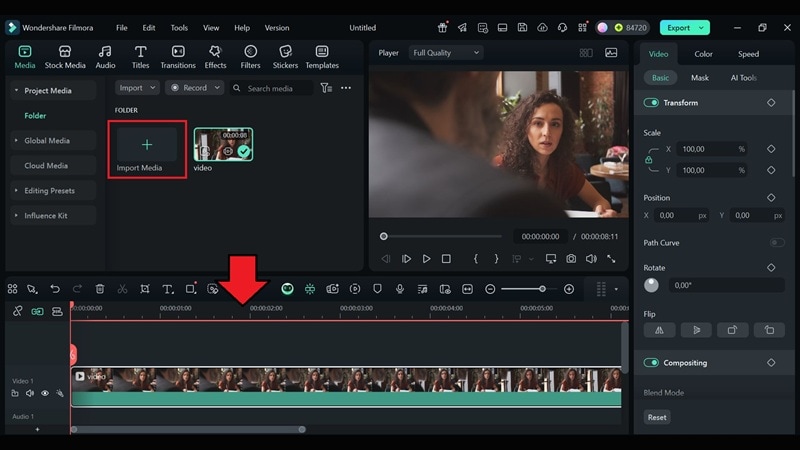
Practical Demonstration Section - How to Achieve Color Grading in Filmora
Applying color grading to your footage doesn’t always mean you need advanced software or years of experience. Many beginner-friendly video editors today offer powerful color tools that make the process simple and approachable. One of the most popular options is Wondershare Filmora.
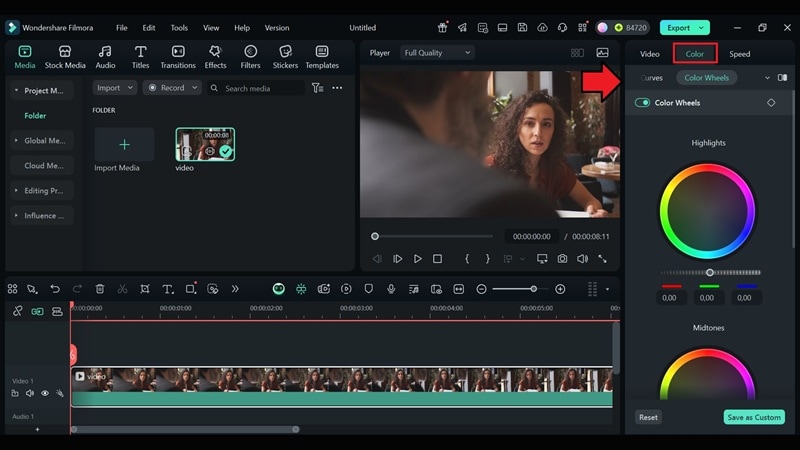
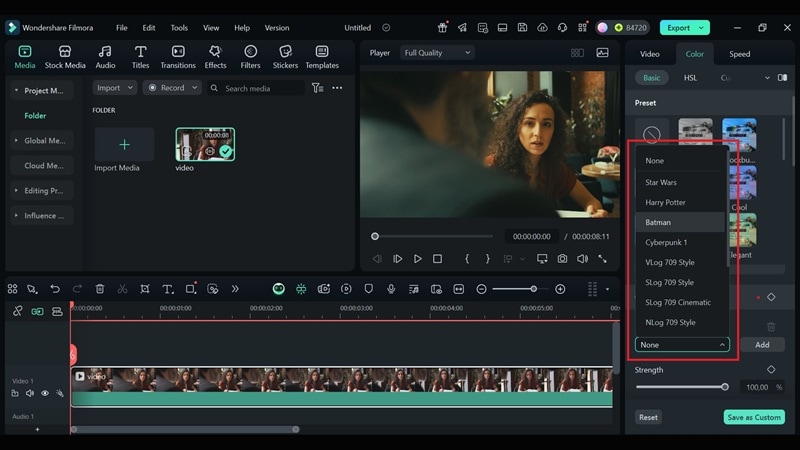
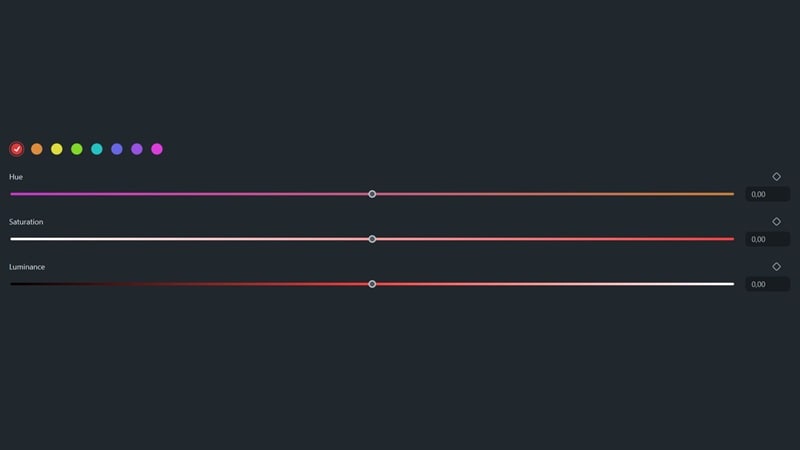
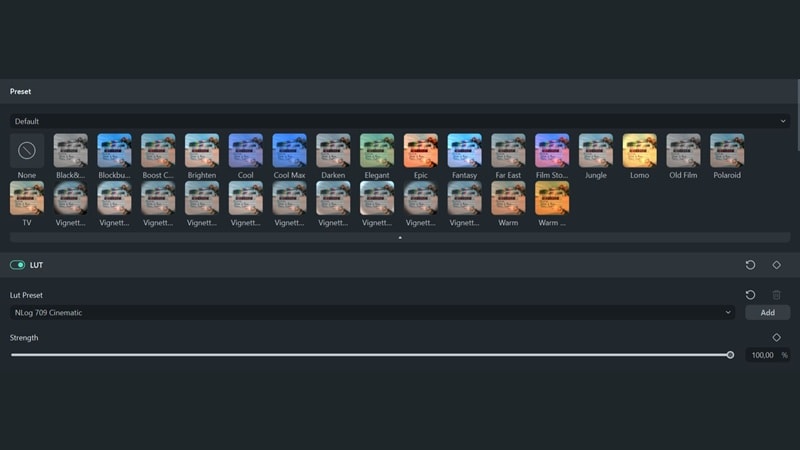
Filmora gives you access to color grading tools through an interface that is both intuitive and beginner-friendly. You can easily adjust brightness, contrast, saturation, and temperature, or use built-in LUTs to apply a cinematic look in just a few clicks. It also includes features like color wheels, curves, and HSL controls for more precise adjustments.