
 100% Security Verified | No Subscription Required | No Malware


 ChatGPT
 Perplexity
 Gemini
 Claude
 Grok
Grok
Photos with picture-perfect enhancements can speak louder than actual words. By simply adjusting their color settings, you can create a certain mood and evoke emotions. That's why you should always consider image color editing as essential, not just optional. Don't worry. There are many tools out there that can truly help you in this respect. Basically, you just have to select a photo color editor that matches your current needs and preferences.
In this article, we will delve into the importance and benefits of using an image color editor. We will also suggest some tools you can consider for photo and video color editing. Lastly, we will introduce the perfect counterpart for video content editing. Continue reading below to learn more.
Why Color Editing Matters?
Color editing goes beyond a simple aesthetic touch. It is also responsible for introducing the mood, establishing the focus, and creating the impact. Without it, you might have a hard time conveying a certain message using your visual materials. That said, it's true to say that colors can make or break your media files, whether it's a photo or a video.
Should you always consider video or photo color correction a vital part of the process? Of course. You should consistently include it in your workflow. But hold on. Keep in mind that color editing actually pertains to two different procedures. Color correction focuses on fixing technical impurities and making the visuals look natural. Meanwhile, color grading aims to apply creative enhancements to the visuals with the hope of evoking certain emotions or feelings.
Traditionally, this kind of procedure is considered complex. Why so? Well, let's just say that it's because the configurations are done manually. You have to adjust each setting by hand until you achieve a desirable result. Many video editors are still engaging in this meticulous procedure for the benefit of personalization and precision. However, take note that modern photo and video editing apps nowadays offer an alternative solution powered by artificial intelligence. Yes. AI image tools simplify this process and allow you to edit the photo or video color through automation.
The Best AI Photo Color Correction Tools to Try
While it's true that the options are abundant, choosing the best AI photo color correction tool is still a challenge. Of course. You have to consider different factors in order to arrive at the perfect choice. To help you out in this regard, you may check the list below to evaluate the choices based on your preferences.
Adobe Lightroom
First on the list of the best AI photo color correction tools is Adobe Lightroom. This tool has now embraced AI technology and integrated this tool into its traditional features. At present, you can now use AI to match colors, denoise the images, and mask photos for selective adjustments.
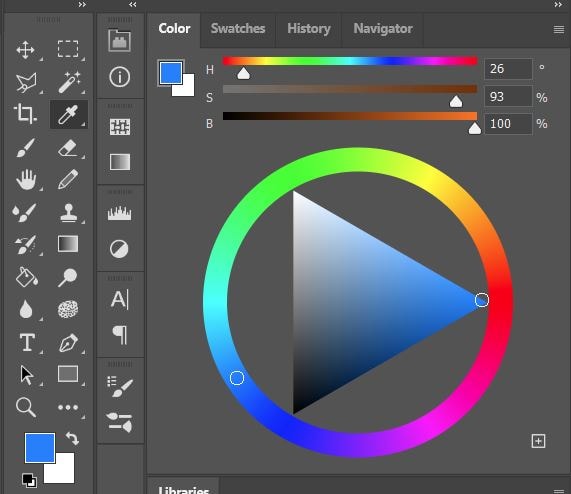
Adobe Photoshop
Another tool you can take into consideration is Adobe Photoshop. It is equipped with a variety of advanced tools you can use to edit different types of photos. While its workspace still supports manual configuration, this software has also started introducing some AI tools. At present, you can now use AI-powered tools, such as auto color, image upscaling, neural filters, and more.
Fotor
Fotor is among the online photo editors that offer AI tools for color correction. In this regard, you can make good use of its Photo Enhancer feature. What does it do? Well, it automatically refines the lightness, contrast, saturation, and hue of the images. Manual configuration is not necessarily required.
Aragon AI
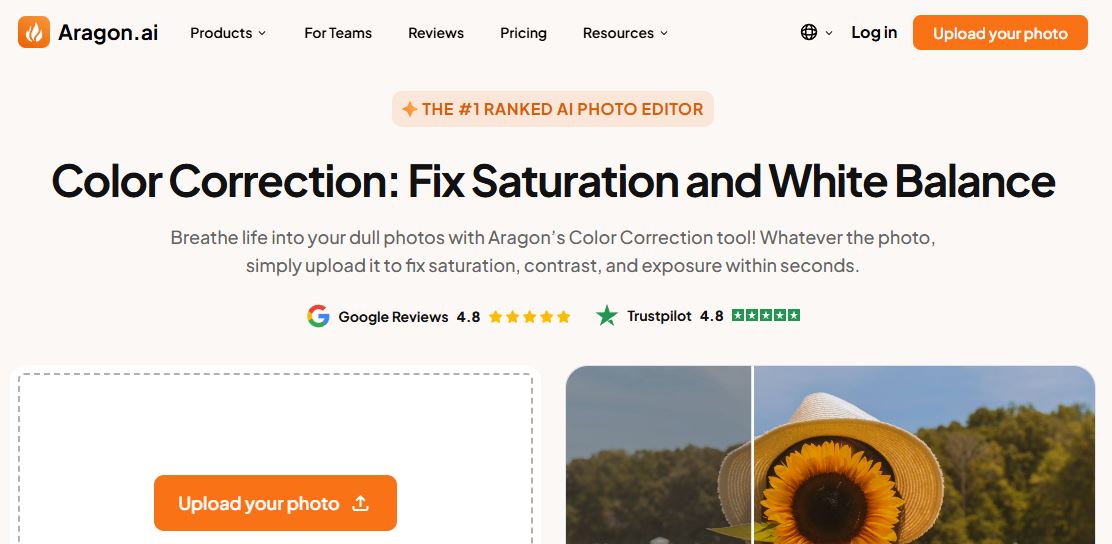
Last but not least is Aragon AI. This tool automates the basic photo color corrections. You can use it if you wish to enhance the saturation, contrast, and exposure of your image file. Again, no manual adjustments are required. You just have to upload a copy of your image.
NOTE: There are other paid and free photo color editors online aside from the ones listed above. You can explore them as well and choose the tool from there. Just ensure that your choice will reflect your preferences and needs to avoid inconveniences later on.
Manual Vs. AI-Powered Photo Color Editor
Which one is best for you: a manual or an AI-powered photo color editor? Of course. There is no definite answer to that question. It's totally up to you. However, don't forget that both methods have their own advantages and drawbacks. You have to be familiar with them in order to make the most of the benefits they have to offer. Do you want to know what those are? If that is so, then check out the list below to learn further.
Manual Photo Color Editor
Here are the pros and cons of using the manual photo color editor. Read them from the list provided below.
Pros
- You're given wide control over your creative process.
- It provides different options to help you fine-tune every color detail according to your liking.
- There are lots of high-performing tools that support manual photo color editing.
- It allows you to target specific areas that need color adjustments.
- It helps you produce outputs of higher quality when working on complicated projects.
Cons
- It takes time to make color adjustments and achieve a perfect result.
- It sometimes requires certain skills to implement your desired color changes.
- Most tools are too complicated to learn within a short period of time.
- It is not recommended for beginners.
AI-Powered Photo Color Editor
Here are the pros and cons of using the AI-powered photo color editor. Read the items provided below to learn more.
Pros
- It automates most parts of the color grading process and makes everything more efficient.
- AI-powered tools often have an intuitive and beginner-friendly interface.
- It allows you to create quality-consistent outputs in just a snap.
- It enables you to finish and produce high-quality outputs within a few minutes.
- It can be easily integrated into various project workflows.
- It is very easy to pick up, regardless of your expertise level.
Cons
- You may need to use other tools to personalize the outputs.
- The creative aspect of the project relies heavily on the user input.
- You have to specify your preference in the form of text prompts or reference media.
Quick Tips For Color Changer Workflows
Whether you're using an AI-powered or manual photo color editor, a well-planned workflow is important. Don't worry. It's not that hard to build one. To get started, check out the tips below.
- Organize your files very well.
- Plan the implementation of the creative effects you want to apply.
- Use the batch editing tool to apply the same color effect across the entire project.
- Explore the available color presets and try to apply one that suits your preference.
Following a great workflow while using manual and AI photo color editors will surely help you produce stunning images. Can you do the same for video content? Of course. That is absolutely possible. There are many similar tools you can use when working on videos. Read the following sections to learn more about it.
The Limits of Traditional Video Color Correction
Indeed, the video color can also be corrected and customized. Depending on your preference, you can opt for the traditional method or try AI tools to implement changes. Many people are still considering the former. Well, why not? Similar to photo color editing, this option gives a wide-ranging set of tools for customization. You can do the same as well if you want to. However, we cannot deny that the latter can also be a great choice under specific circumstances.
Manual color correction for video content is time-demanding and technically challenging. You cannot complete it instantly with just the snap of a finger. Most of the time, you have to configure each control by hand. If you're working on a long video project, this procedure will surely take a lot of time. In the same way, manual color correction requires enough skills and familiarization. You might have a hard time navigating around the platform if you're relatively new to it.
Having said that, the accessibility to the manual method of video color correction has become limited. Not everyone can use it to fix simple lighting issues, understand complicated grading curves, or keep mixed footage consistent. If you're one of them, keep in mind that it's not the end of the world. Just like when transitioning from a conventional image color editor to an AI-powered one, the process is quite easy. As you know, tools equipped with AI technology are designed to be convenient and accessible. For the most part, it can automate everything on your end. You just basically have to sit back and wait for the results.
BONUS TIP: Get to Know Filmora's AI Video Color Grading Magic
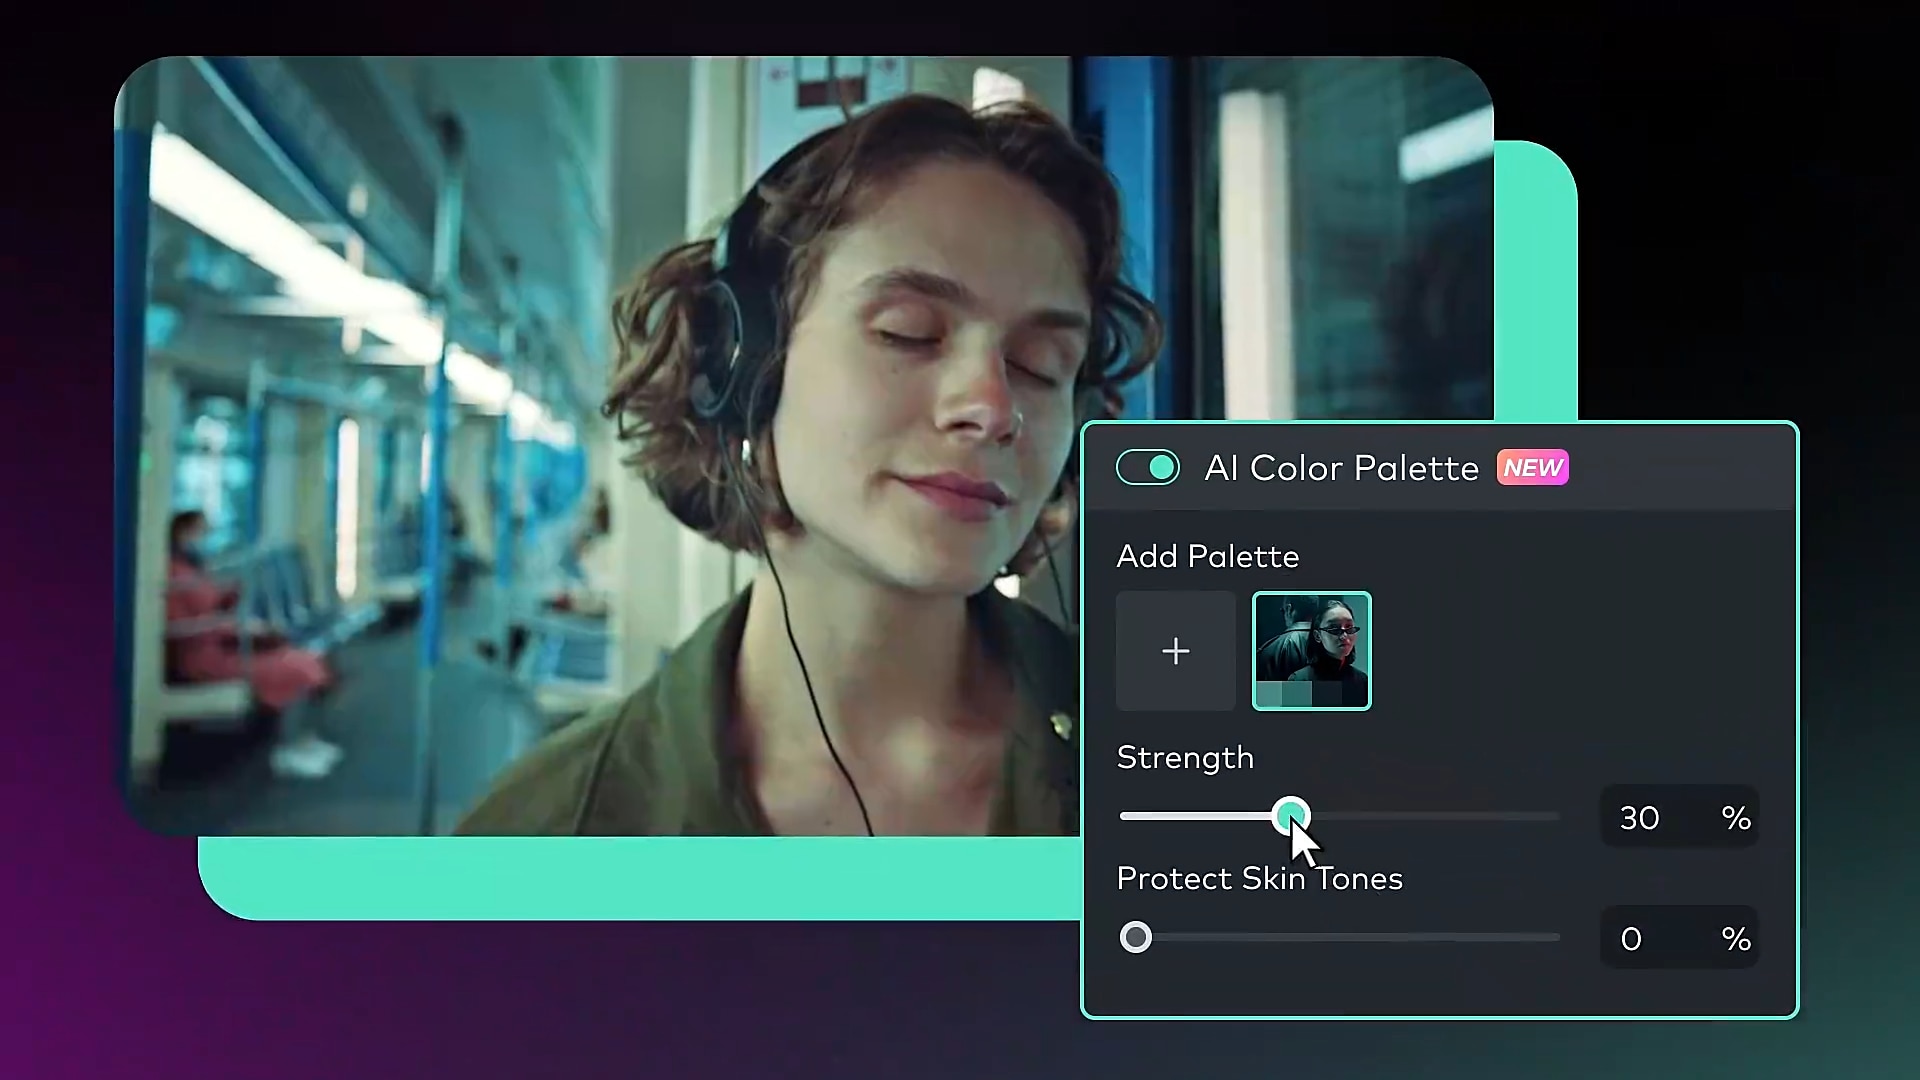
Have you decided to embrace the power of artificial intelligence for video color grading and correction? Well, that's great. In this regard, Wondershare Filmora has a special feature to offer to you. It is equipped with a built-in AI Color Palette feature that you can use to correct and customize video color. Basically, it works very similarly to traditional color grading tools. But since it is powered by AI, the process is fully automated. You just basically have to provide a reference input and let the tool do the rest of the job. Yes. Just like the AI image color editor, it is very convenient to use. Do you want to give it a shot? If that is so, here's the list of AI Color Palette features you should take to your advantage.
 secure download

- Instant Analysis: It is capable of analyzing the color profile of the reference media and applying the same effect to your project. For instance, the configuration for white balance, exposure, and saturation is adapted automatically.
- Smart Matching: It applies a consistent level of enhancement across the entire content of your video project. Despite using multiple clips with varying lighting and style, you can still create an output with a coherent visual tone.
- Customization: You're given a couple of options to customize the final look of your video. In this regard, you can set the Strength and Protect Skin Tones level according to your liking.
- Fully integrated workspace: The final output generated by AI Color Palette can be edited further using the color grading panel of Wondershare Filmora. You can apply LUTs in one click or make color adjustments according to your liking.
- Other useful features: Within the Wondershare Filmora platform, you can enjoy other useful video editing features. Among them are scene detection, batch processing, and GPU acceleration, which improve your workflow well.
How to Get Started With Filmora?
Wondershare Filmora has a very intuitive and responsive workspace. Whether you're editing basic video content or correcting video colors, you'll not have a hard time, for sure. You'll know your way around and use this platform for easy video color grading. Do you want to get started now? If that is so, then check out the Filmora tutorial below and follow the indicated steps accordingly.
01of 06Import your media files
On Wondershare Filmora's main workspace, head over to the Elements Panel and click Import under the Media tab. Choose all the files you are going to use and upload them to the platform. Once the assets are ready, drag them to the Editor Timeline and finalize their arrangement based on your preference.
02of 06Access the Color tab
After that, navigate to the Editor Timeline and select the clips you want to edit. A new panel will then open on the right-side corner. From there, tap the Color tab to get started.
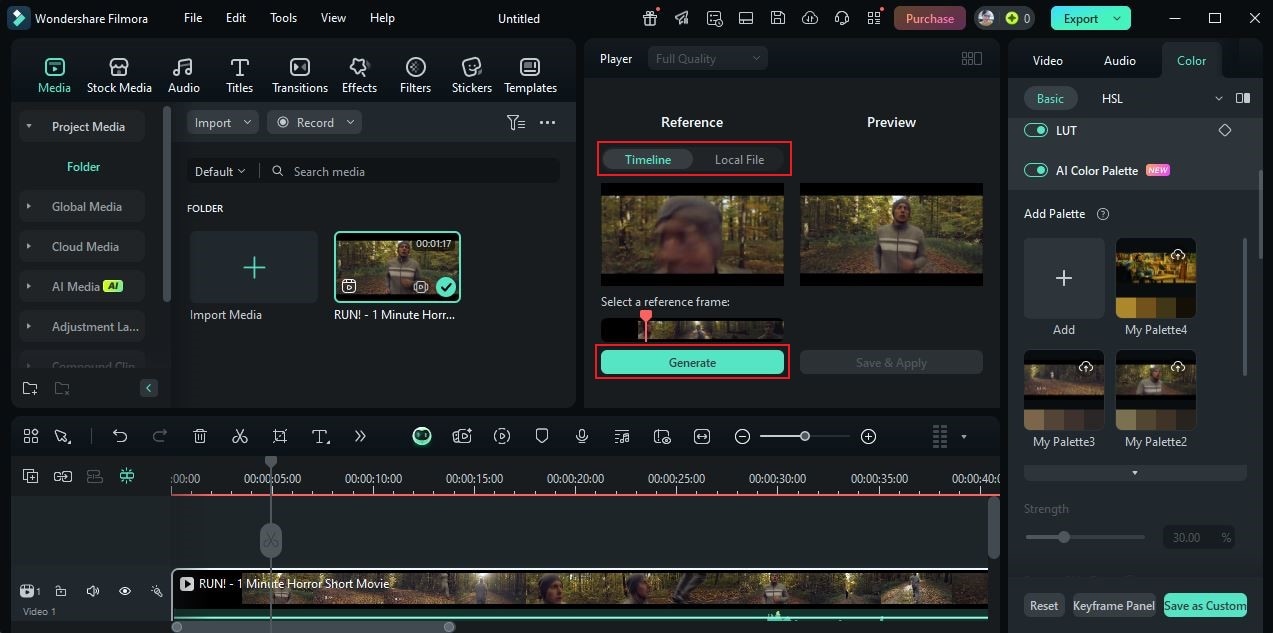
03of 06Enable AI Color Palette
Under the Basic tab, find the AI Color Palette option and switch on the toggle button beside it. Click the Add Palette option right below it to specify the reference media you want to use.

04of 06Add reference media
Head over to the Preview Panel afterwards, then select the Timeline or Local File tab. For the former, simply move the playhead to a specific timestamp that contains the color configuration you want to extract and apply. On the one hand, upload a separate file if you decide to go for the latter method. Once done, tap Generate and review the output. If you're satisfied with the result, click Save and Apply.
05of 06Customize the output
Configure the Strength and Protect Skin Tones sliders to customize the output according to your liking.
06of 06Export your video
Finally, tap Export to render the video and save a copy to your computer.
PRO TIP: Like the AI image editor, you can also save your configuration for future use. Do the same thing if you wish to make your video projects look consistent. On the same note, you may also use photo-inspired presets as your reference input when using the AI Color Palette. Try this tool on your end. Download Wondershare Filmora and make the most of its free trial version.
Conclusion: Edit Smarter, Not Harder
Simply put, we can say that color correction is necessary for both photos and videos. You should not skip this procedure to maintain the aesthetic and technical value of your outputs. While you can opt for manual editing, don't forget that AI is there to save you the hassle. If you wish to give it a shot, then download Wondershare Filmora and use its AI Color Palette feature. It's one of the best AI color editors that works both on video and image assets. No need to use separate tools. Want to try the AI color magic? Filmora bridges photos and videos effortlessly. It is perfect for photo editors- it's Lightroom's simplicity, but for videos. Try it now!
secure download 