100% Security Verified | No Subscription Required | No Malware


 ChatGPT
 Perplexity
 Gemini
 Claude
 Grok
Grok
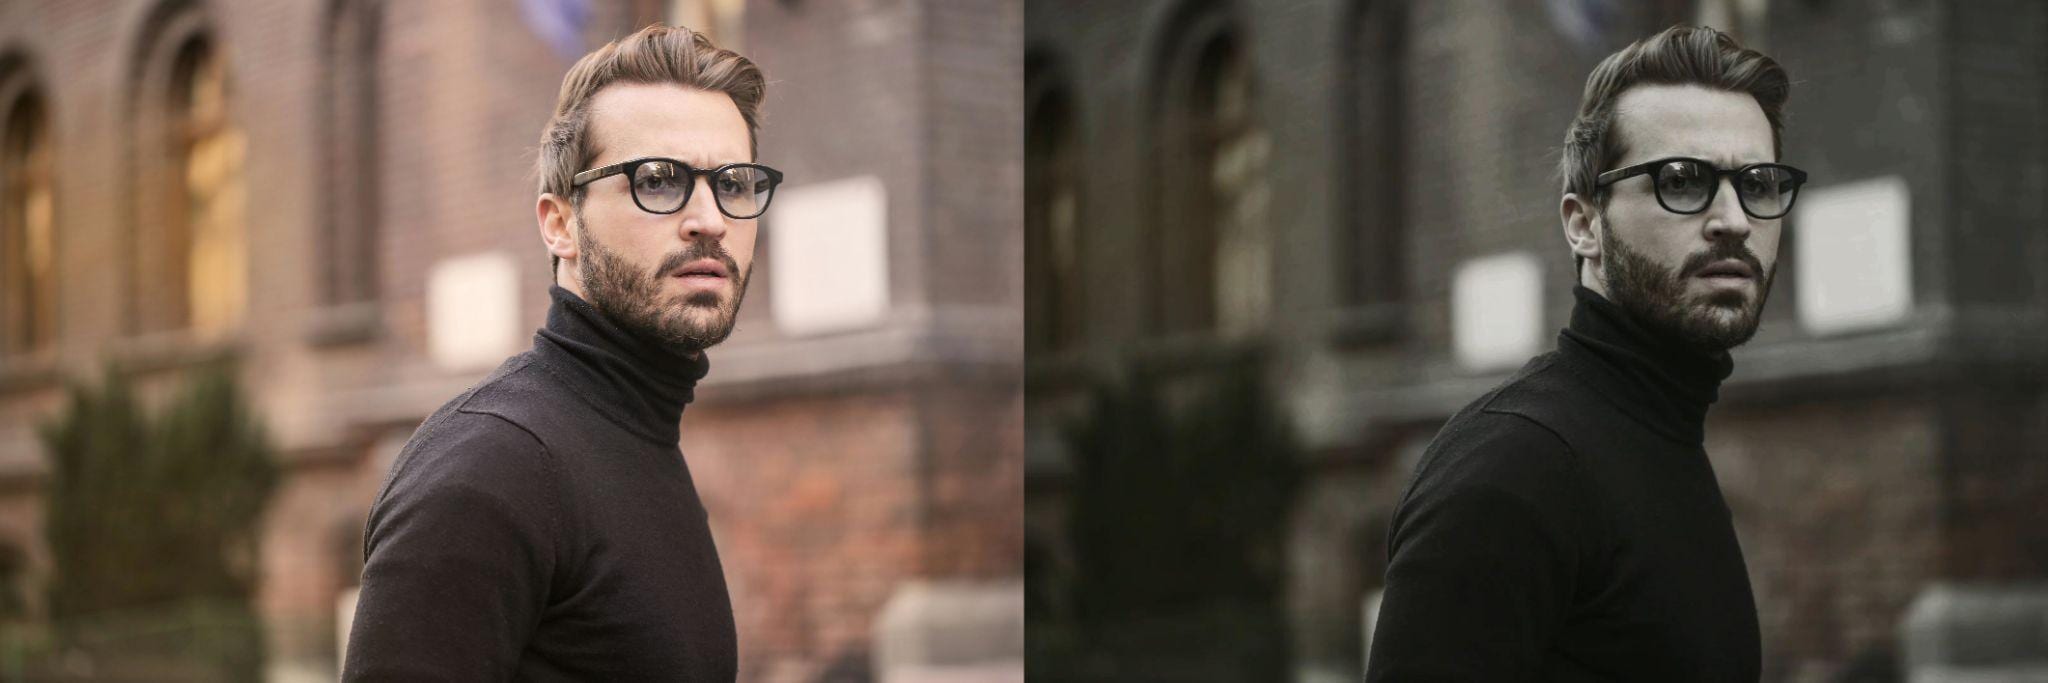
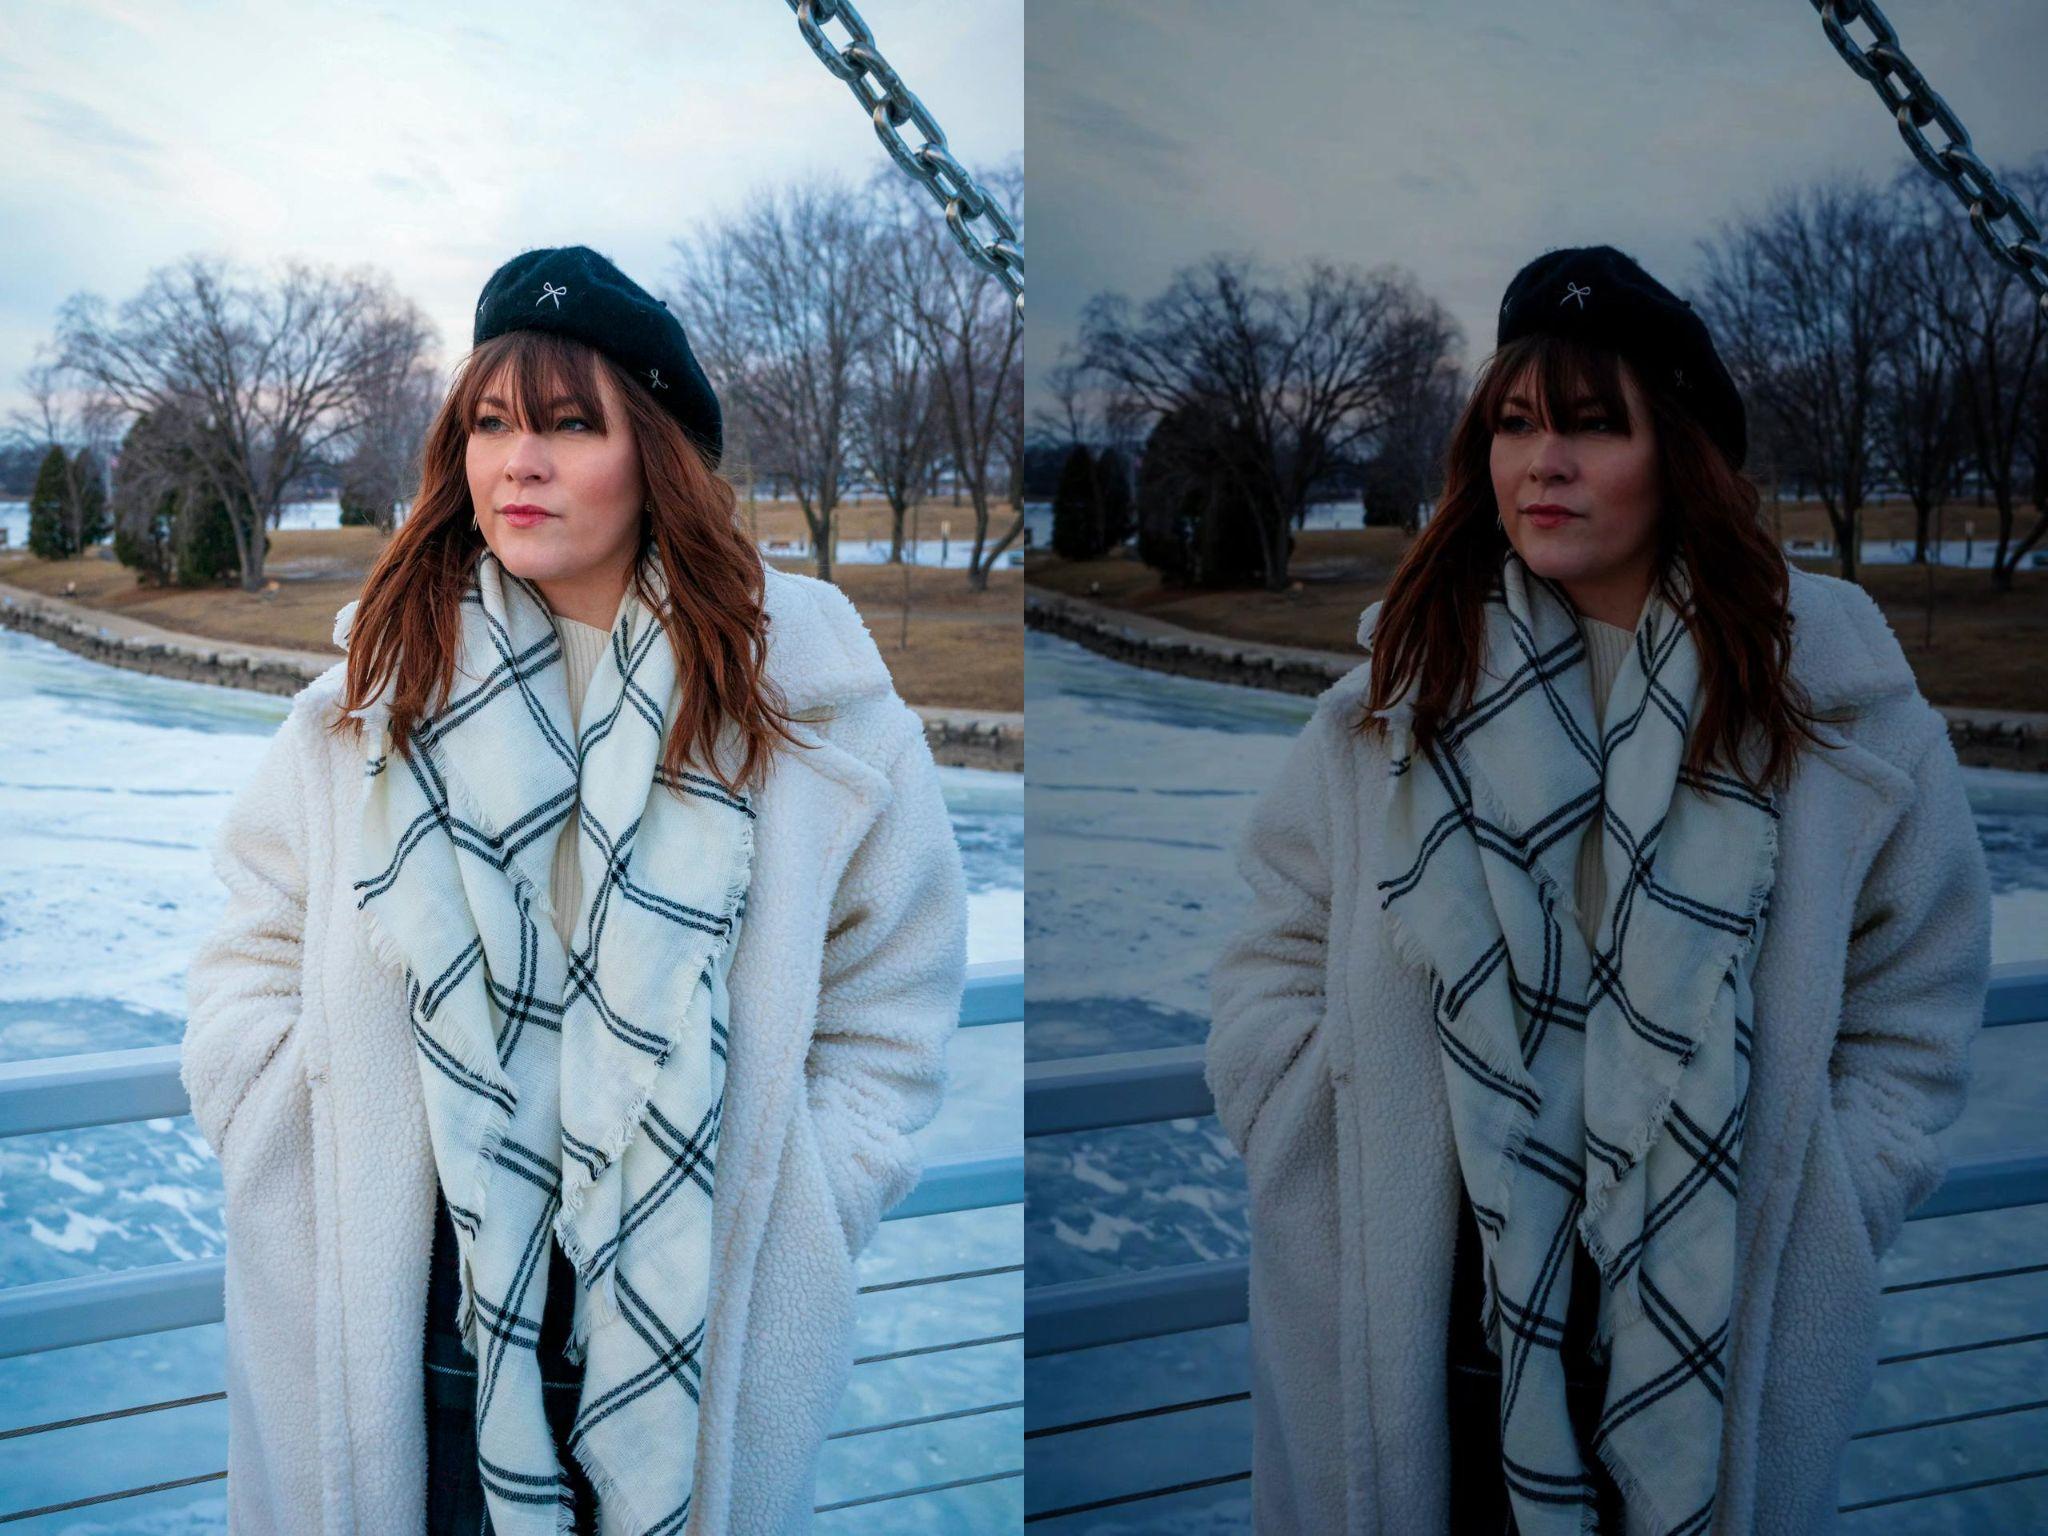
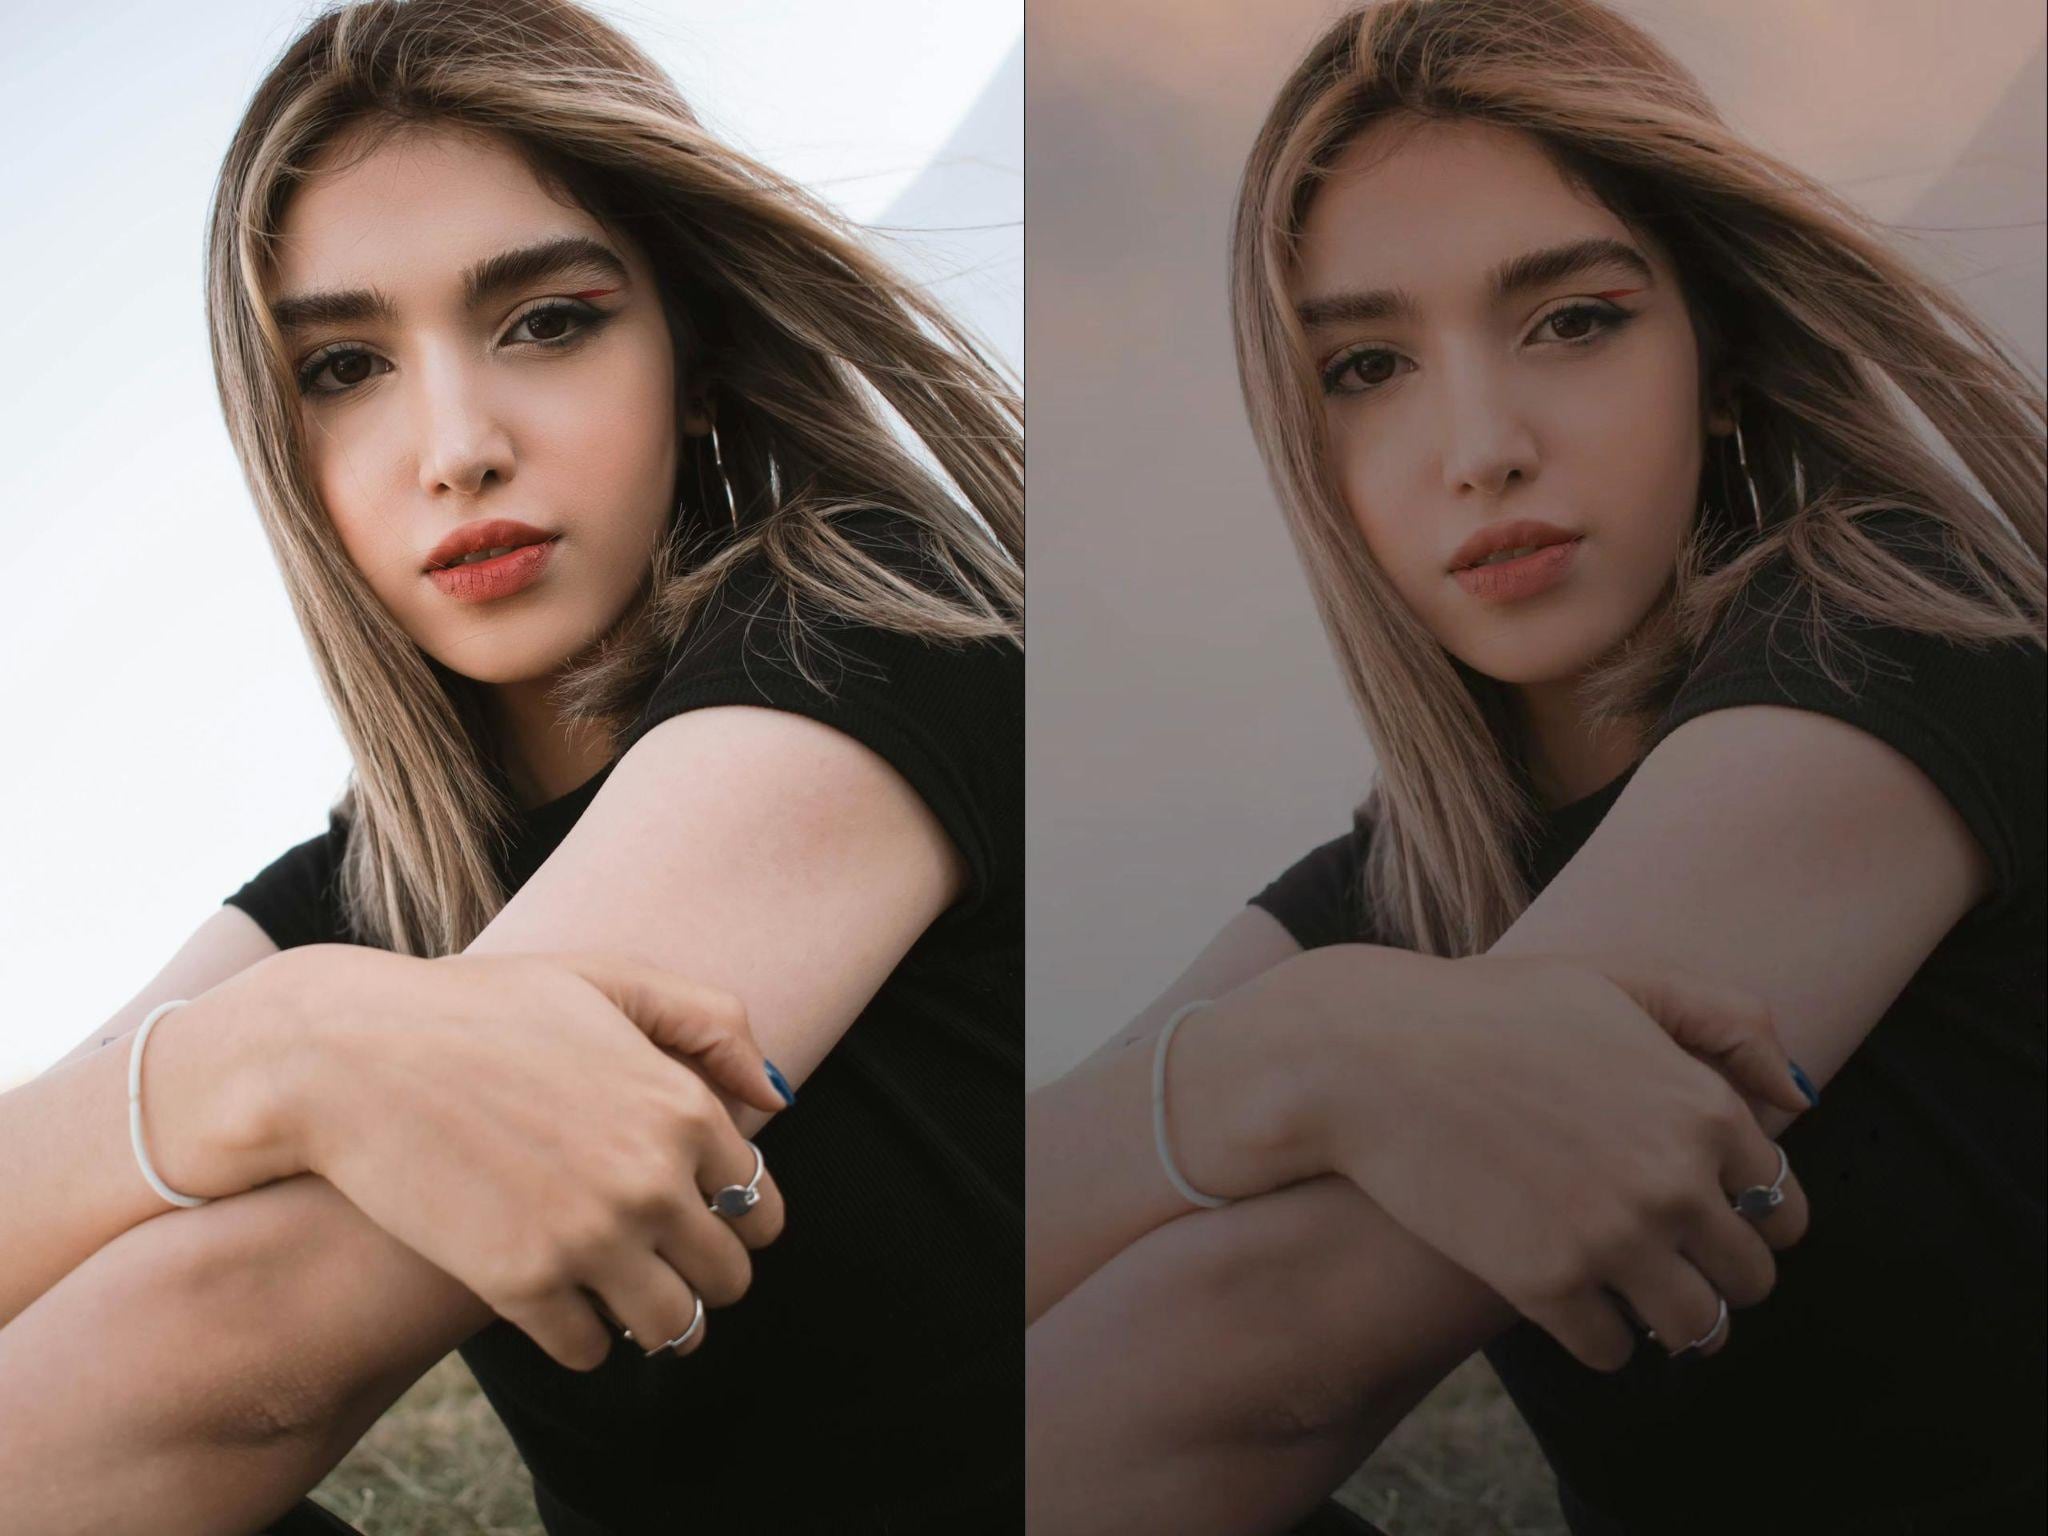
One of the most widely used photo editing tricks is a dark filter. It adds a bit of mystique to even the most mundane photos and can also help you set a more serious mood. While some people like it for the artistic twists it provides, others just want to create a more serene scene with a bit of contrast.
Whatever the case, it can be quite useful, and we will go over some of the best ways to darken a photo.
In this article:
What Can You Do with A Dark Photo Filter?
Before we delve deeper into the various image darkener tools and their use in creating a darker photo, let's examine a few basic scenarios in which these effects are applied. The most common ones include:
Improve Text Visibility in Certain Designs
If there are too many bright colors in the background, they might clash with the text in ads or art projects, particularly if it is also lighter. Darkening everything helps the letters pop and become more legible.
Set the Right Mood or Tone for the Scene
A photographer may only have a limited time to complete a shoot, so the lighting may not be just right for the tone they need. In some cases, shooting in the dark may not be possible, so you need to do a bit of editing to darken the atmosphere.
Improve Images by Correcting Overexposure or Harsh Lighting
Photos from the beach, a hiking trail, or any other natural surroundings you take during the hottest months can have issues with overexposure or just be a bit too bright. This is easily fixed with the right filter.
As you can see, there are plenty of cases where a dark filter can come in handy, so we should explain how to find the right one and apply it.
How to Darken Photos?
If you need a quick way to add a darker hue to your images directly on your phone, Filmora Mobile is an excellent app for you. It has a lot of great features, and we will go over all the basic steps to darken photos in three main ways – using a specific dark filter for photos and through a bit of editing.
Method 1: Darken Photos with Dark Filters
Here is a quick rundown of using one of Filmora's specially designed filters to darken an image.
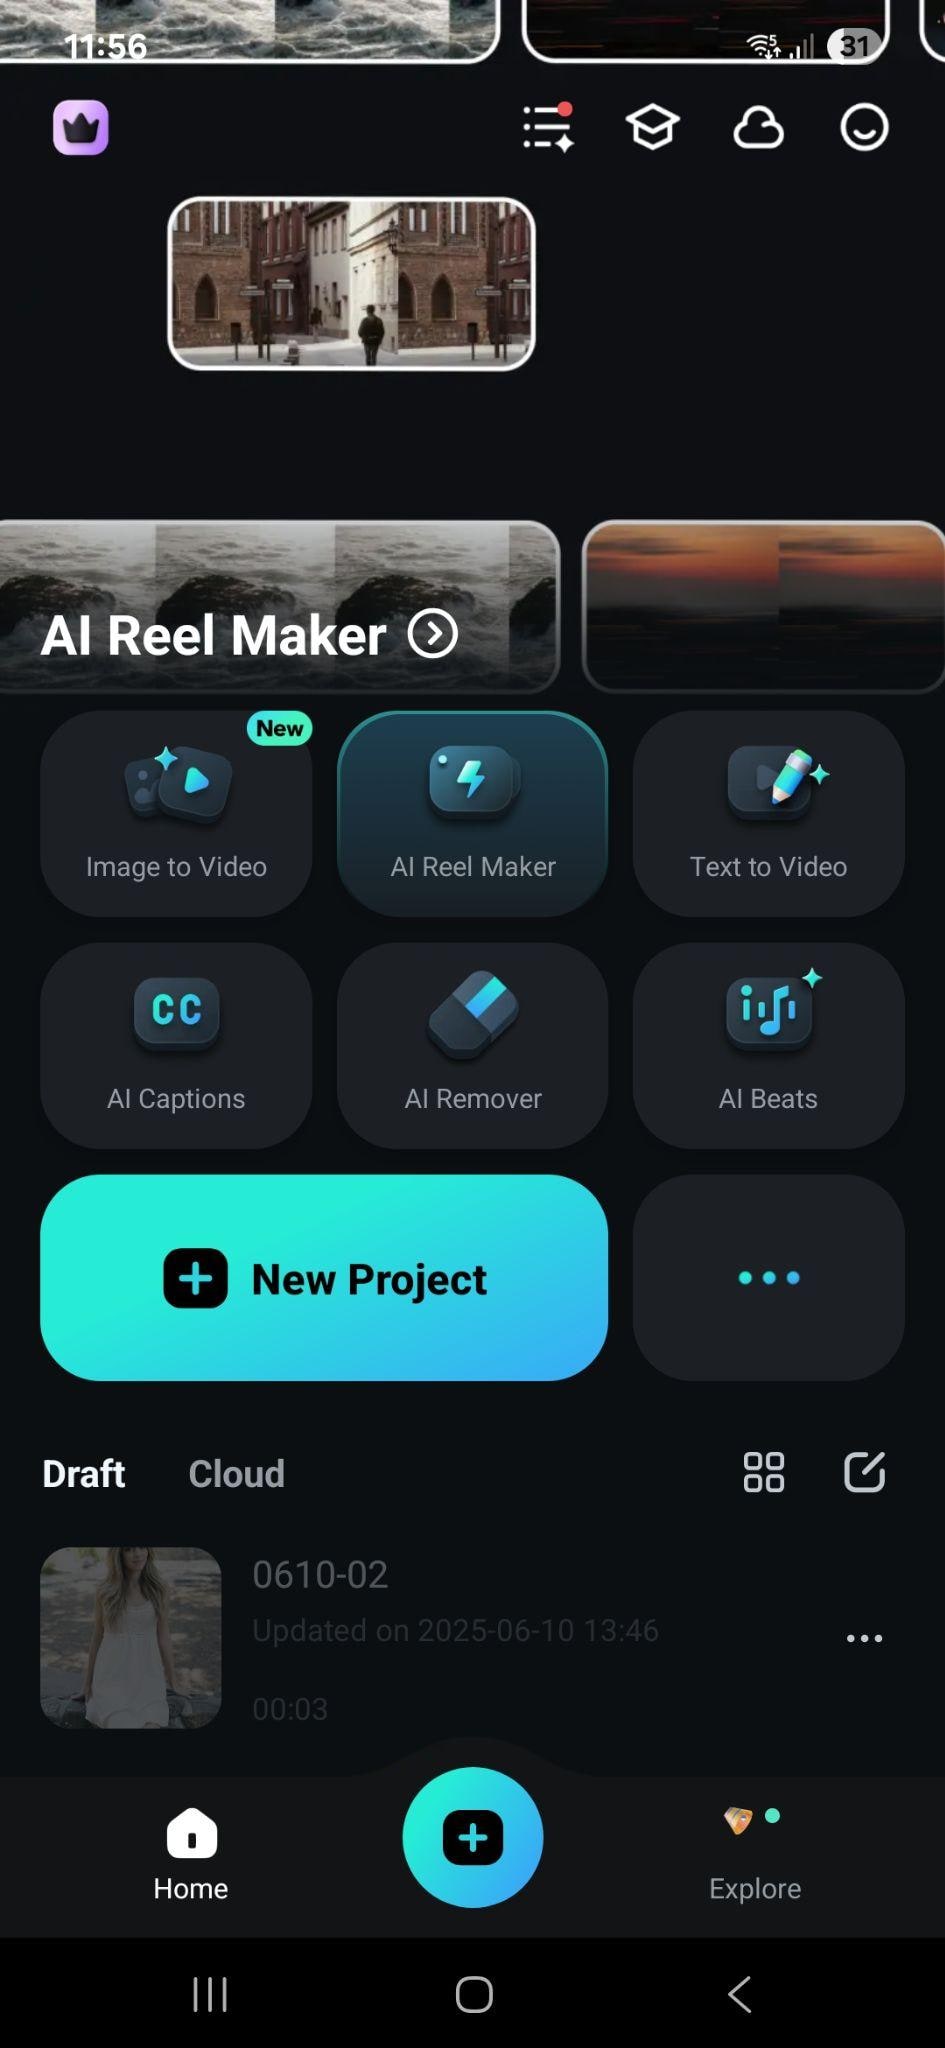
Step 1: Download and run the app, then tap on New Project and choose the pictures you want to use.
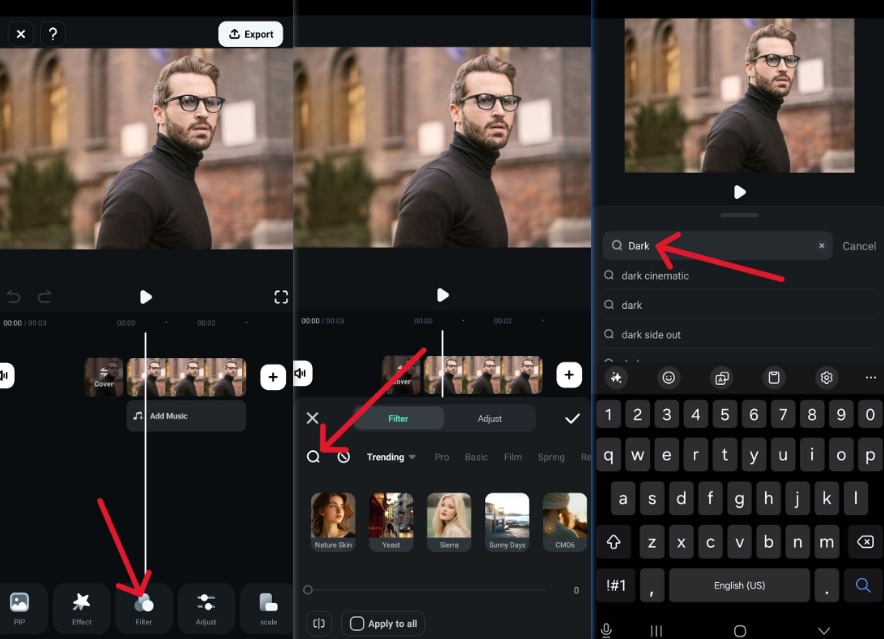
Step 2: Tap on Filter on the bottom of the screen, go to the Search icon, and type in "Dark".
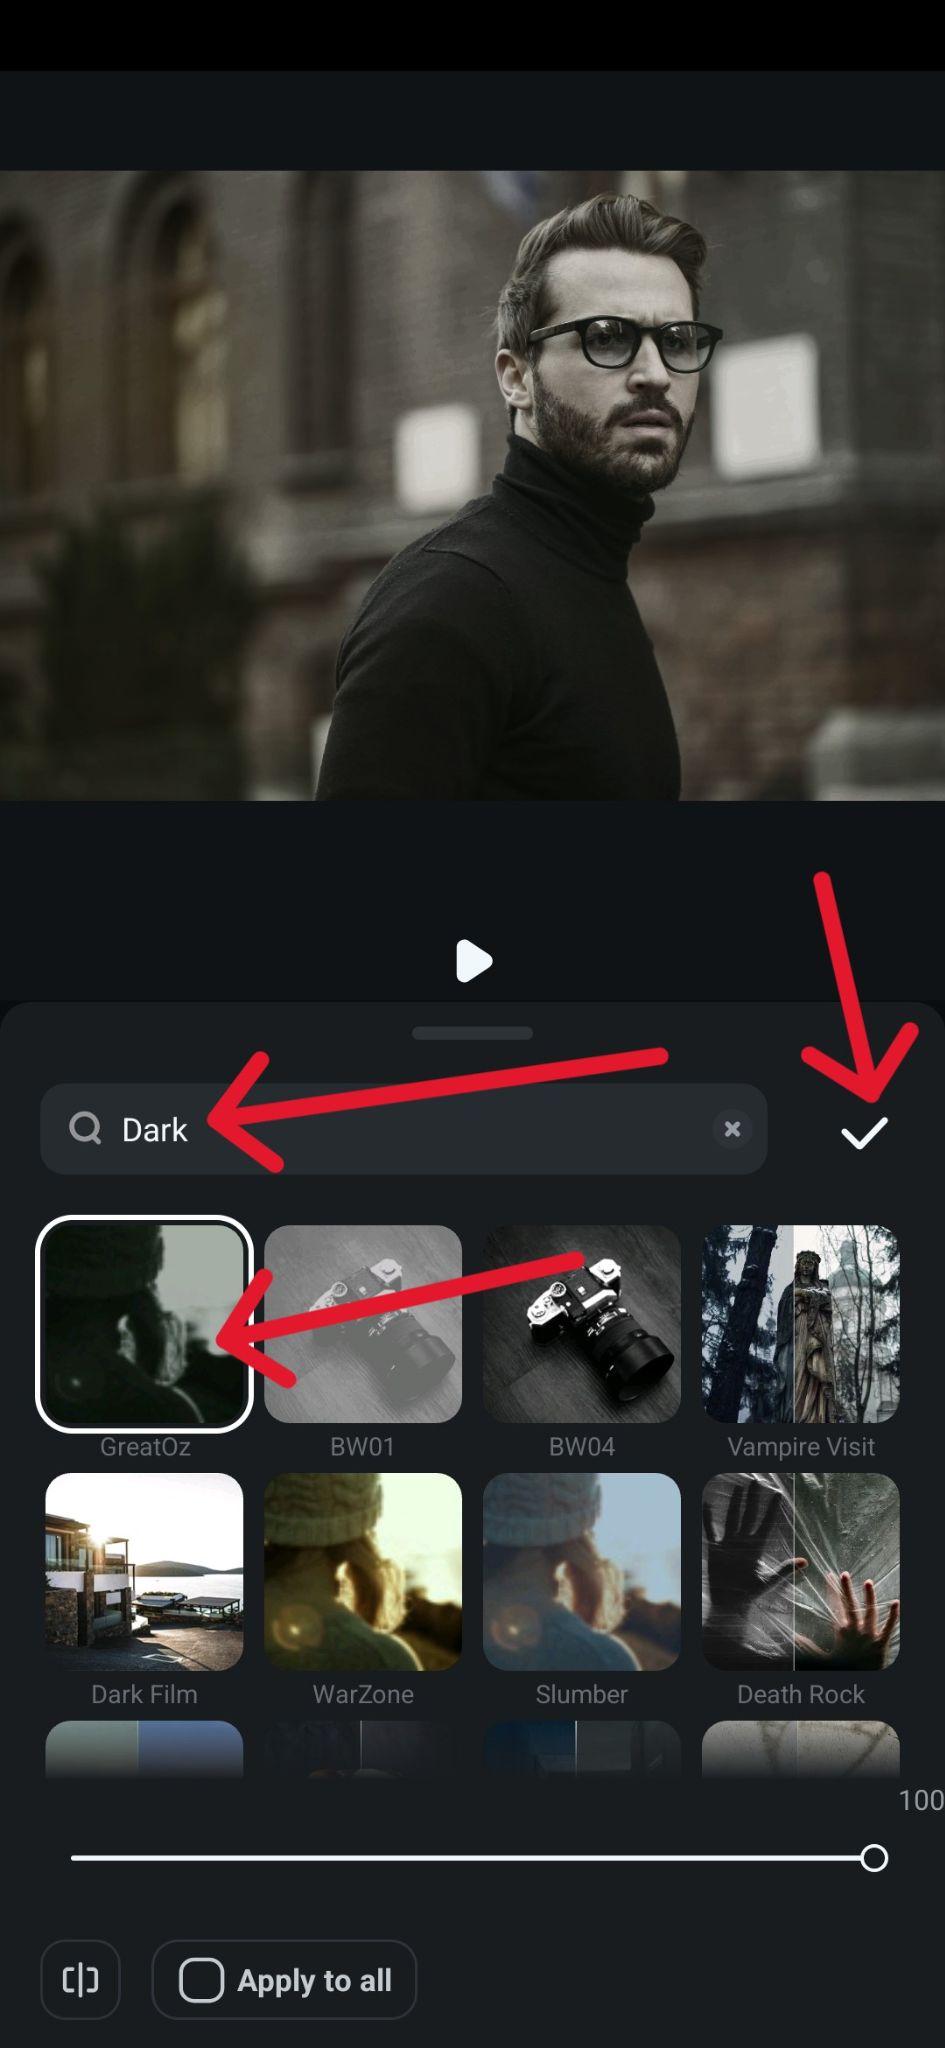
Step 3: Scroll through the filters to find the one you like and tap the checkmark icon to apply it.
There is also an alternative approach if you want more control over the whole editing process.
Method 2: Darken Images with Basic Editing
Another way to do it is through some basic editing by adjusting a couple of the main sliders. Just follow these steps:
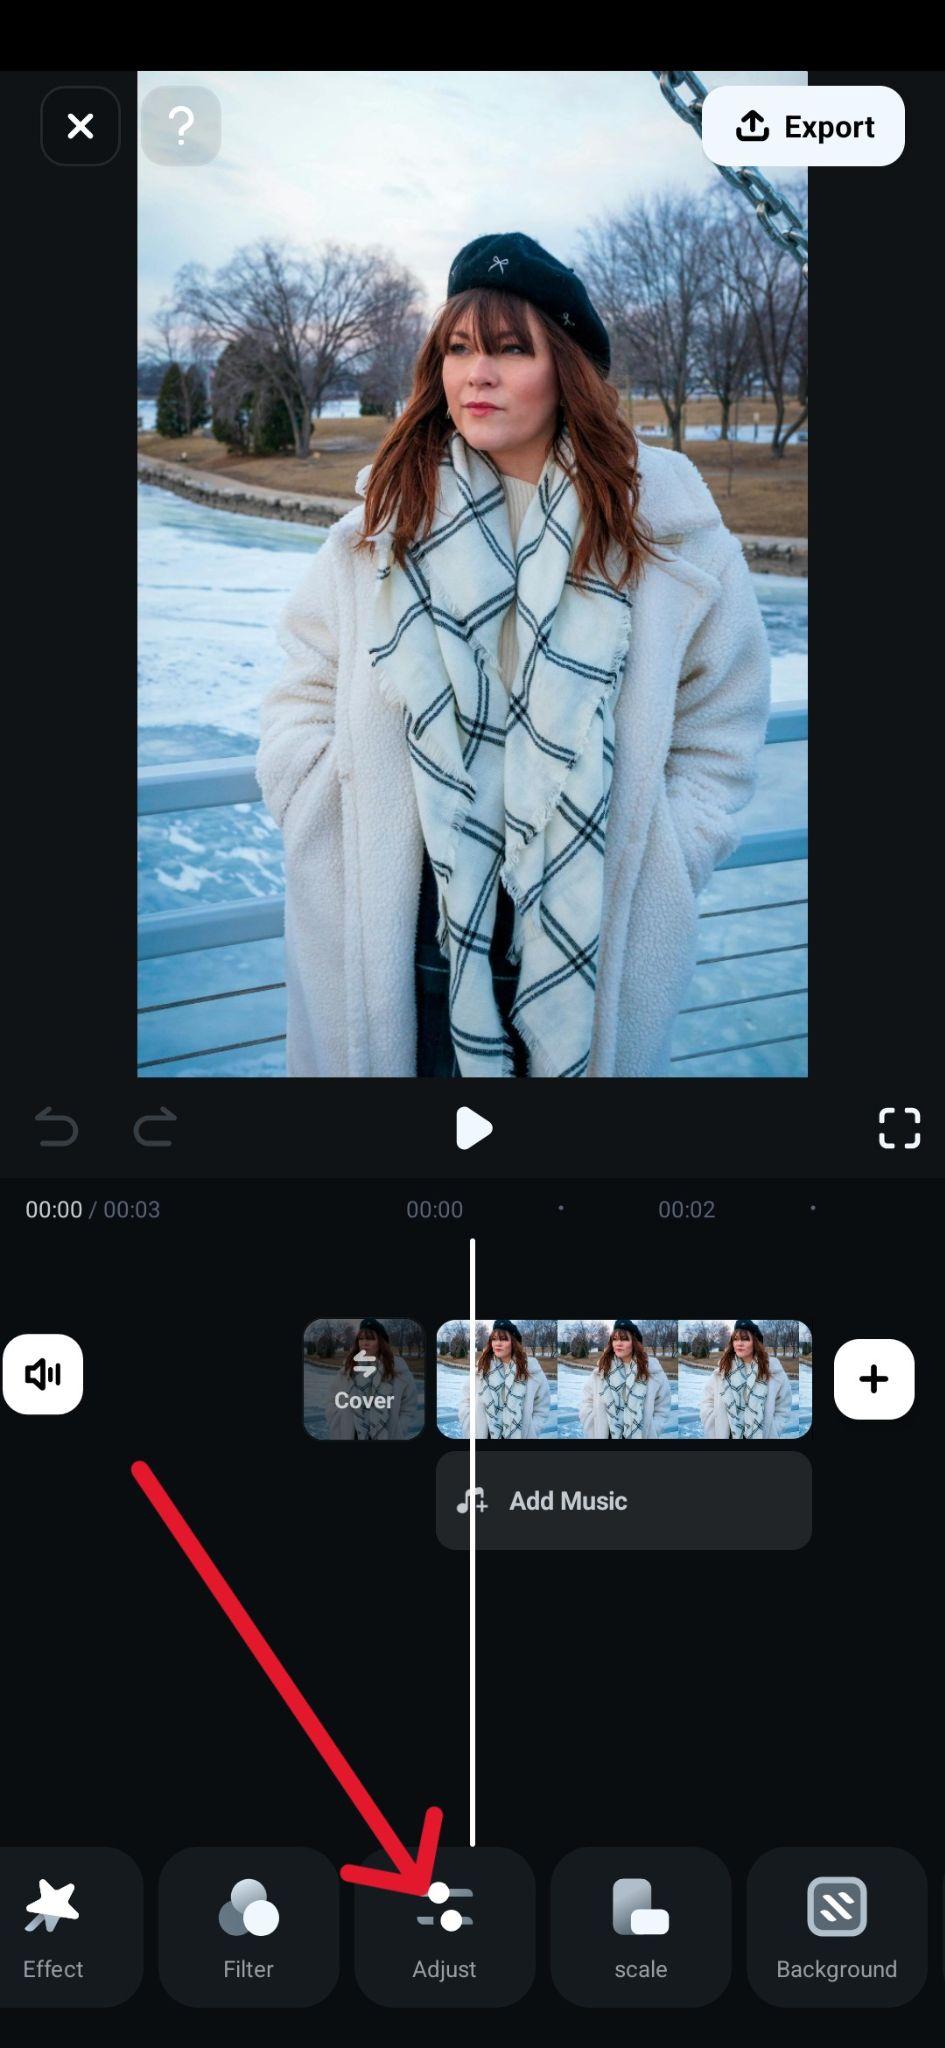
Step 1: Add the image you want to edit, and then go to the bottom of the screen and tap Adjust.
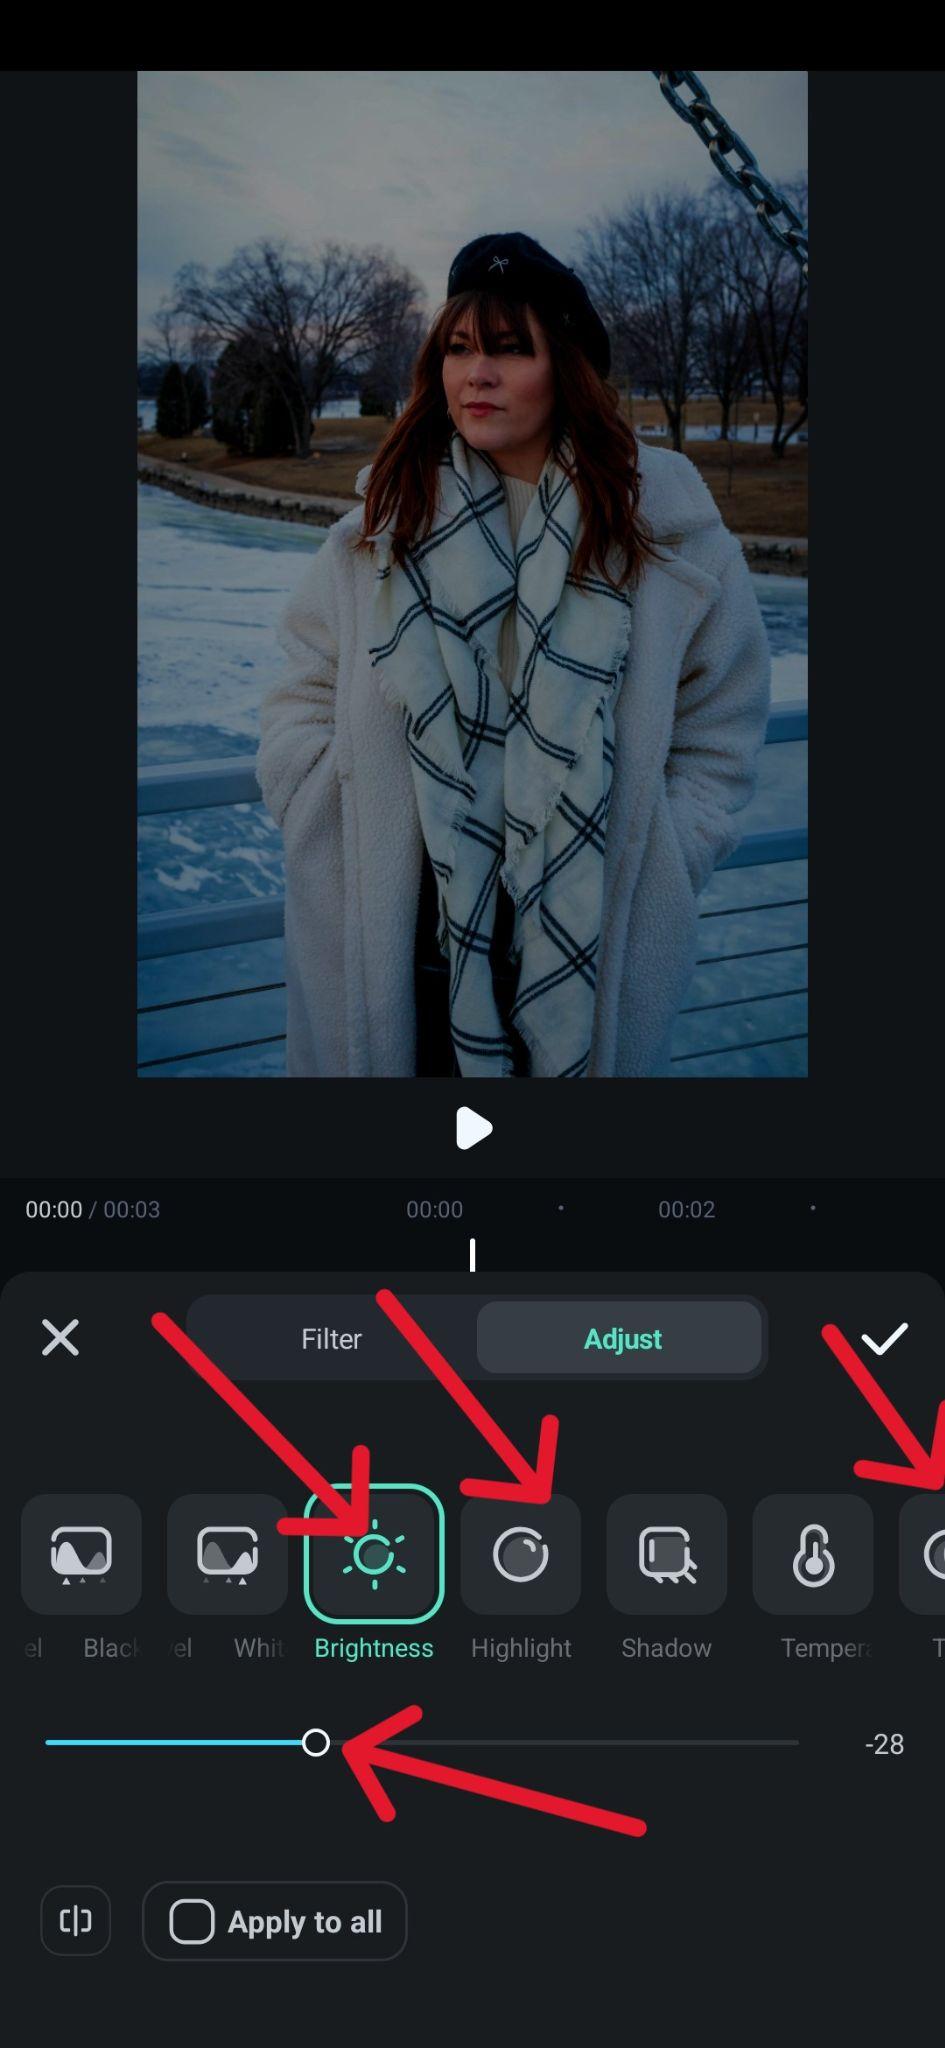
Step 2: Play around with the sliders for Exposure, Brightness, Contrast, and Shadows to get the right amount of darkness.
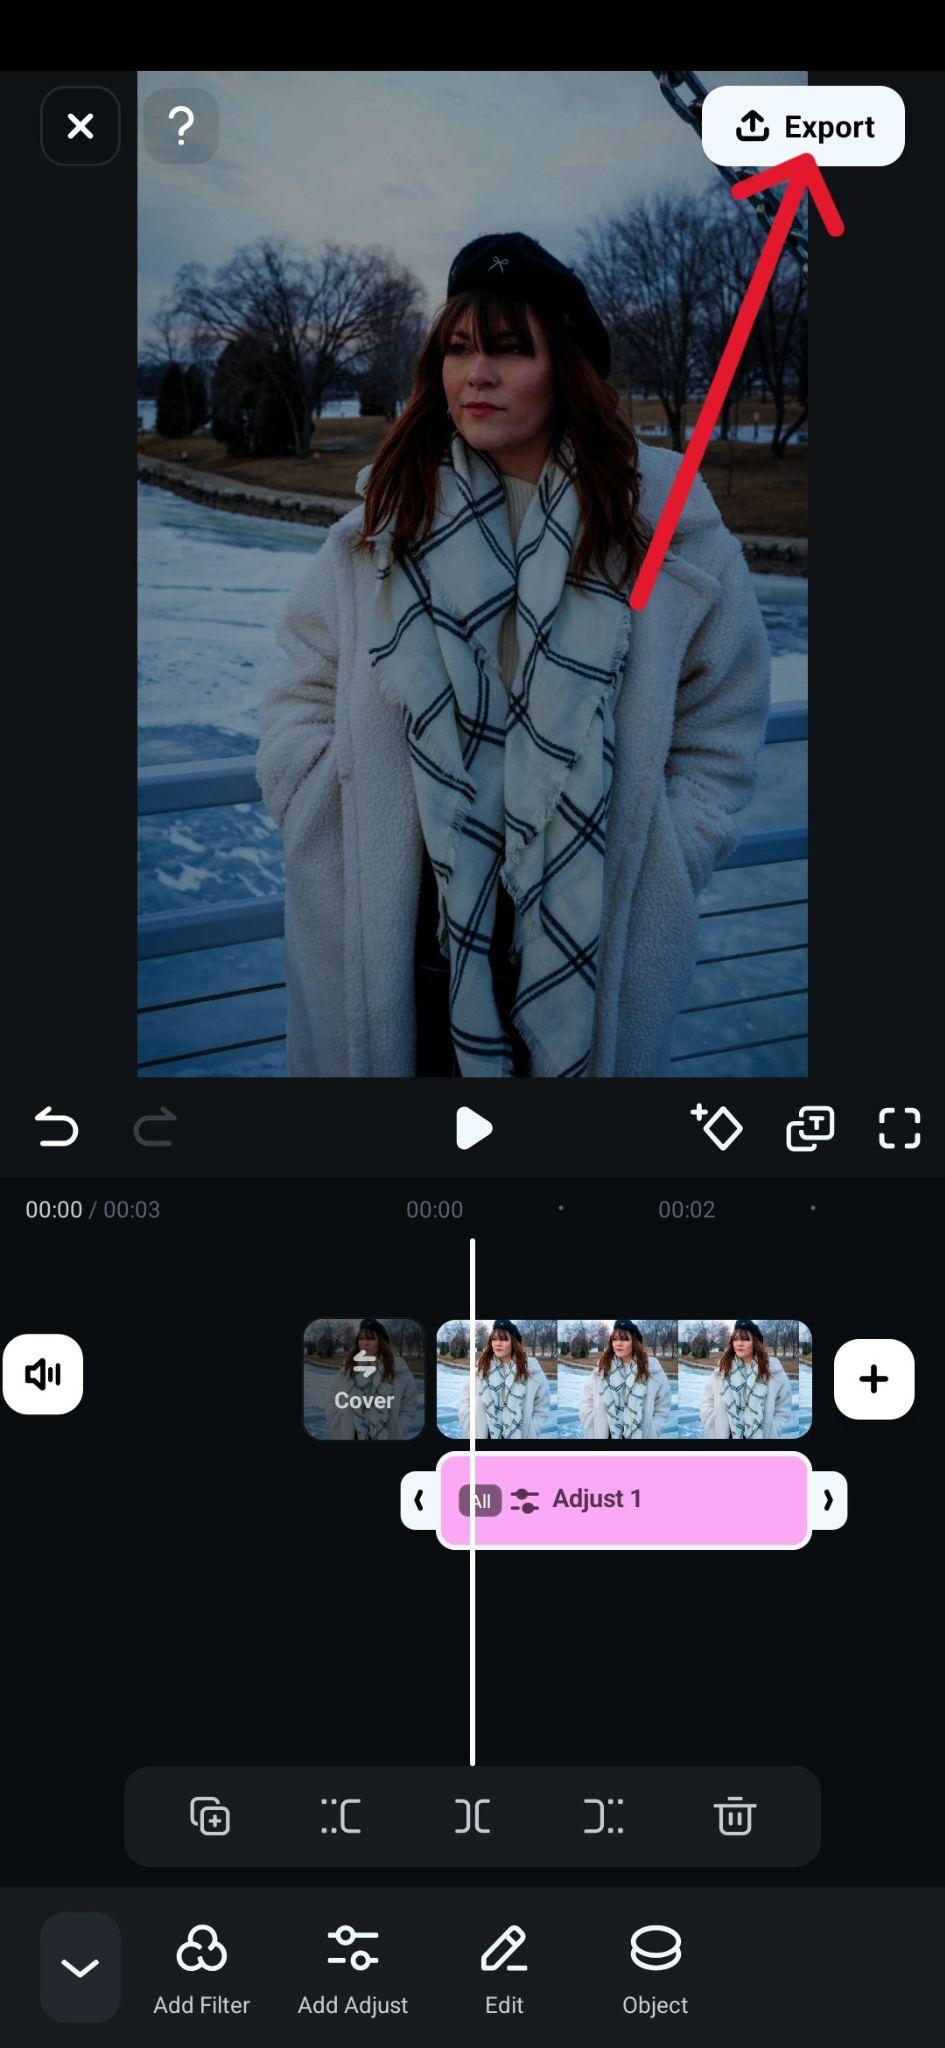
Step 3: When you are done, go to Export to save the image.
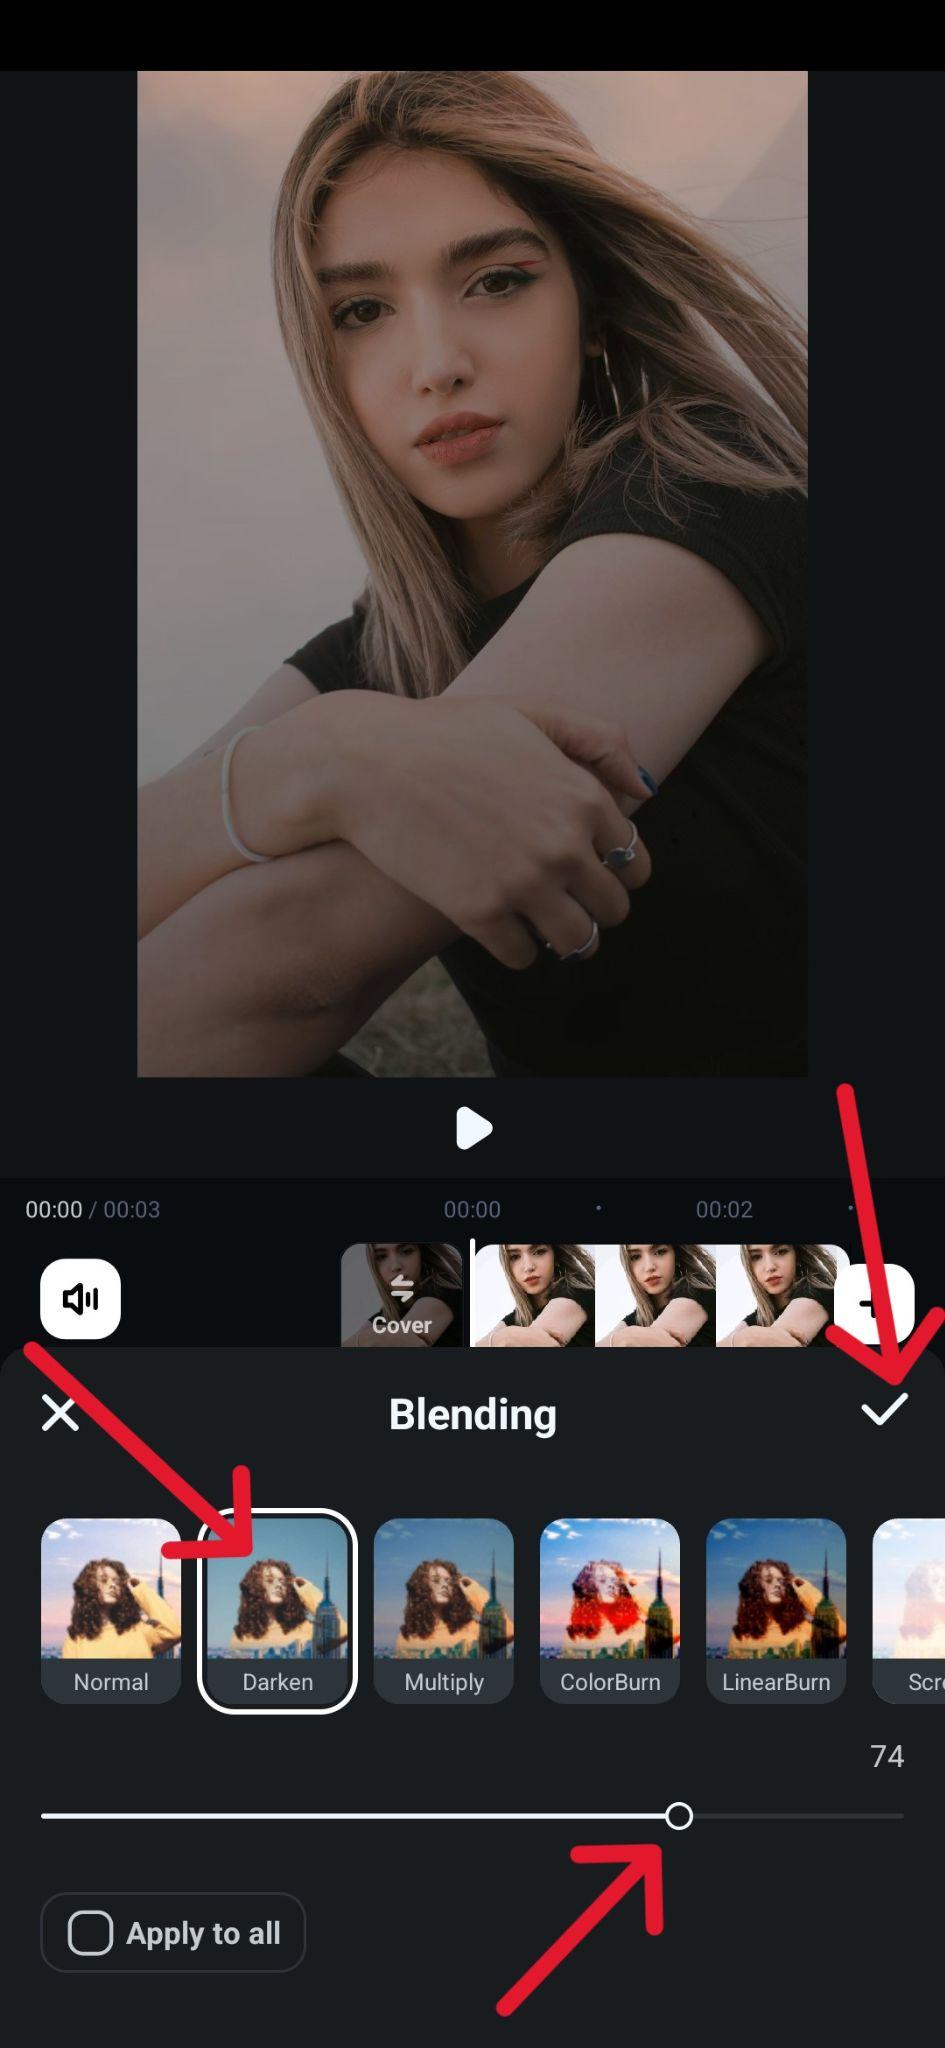
Method 3: Darken Photos with Image Blending
There is also a way to splice two photos together so that the background adds darker tones to the main image, and there is an additional darkening feature you can use when blending to take it a step further. Just follow these steps:
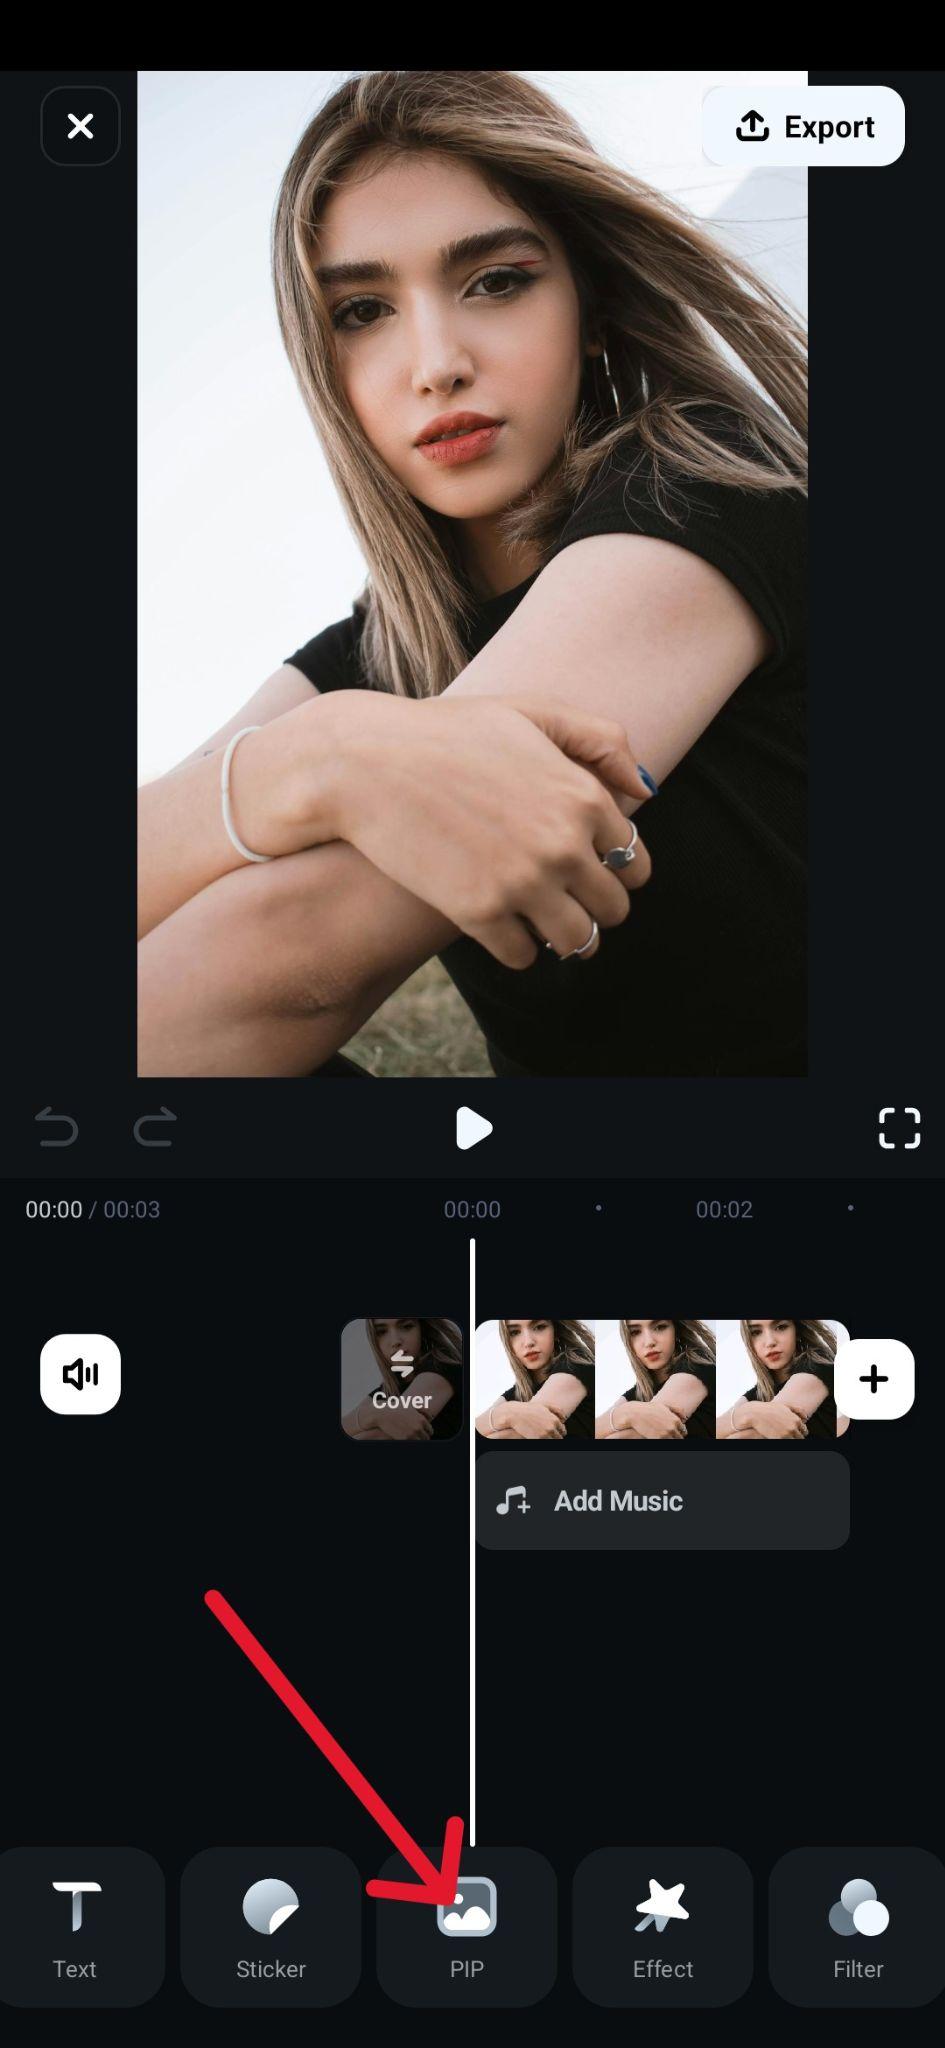
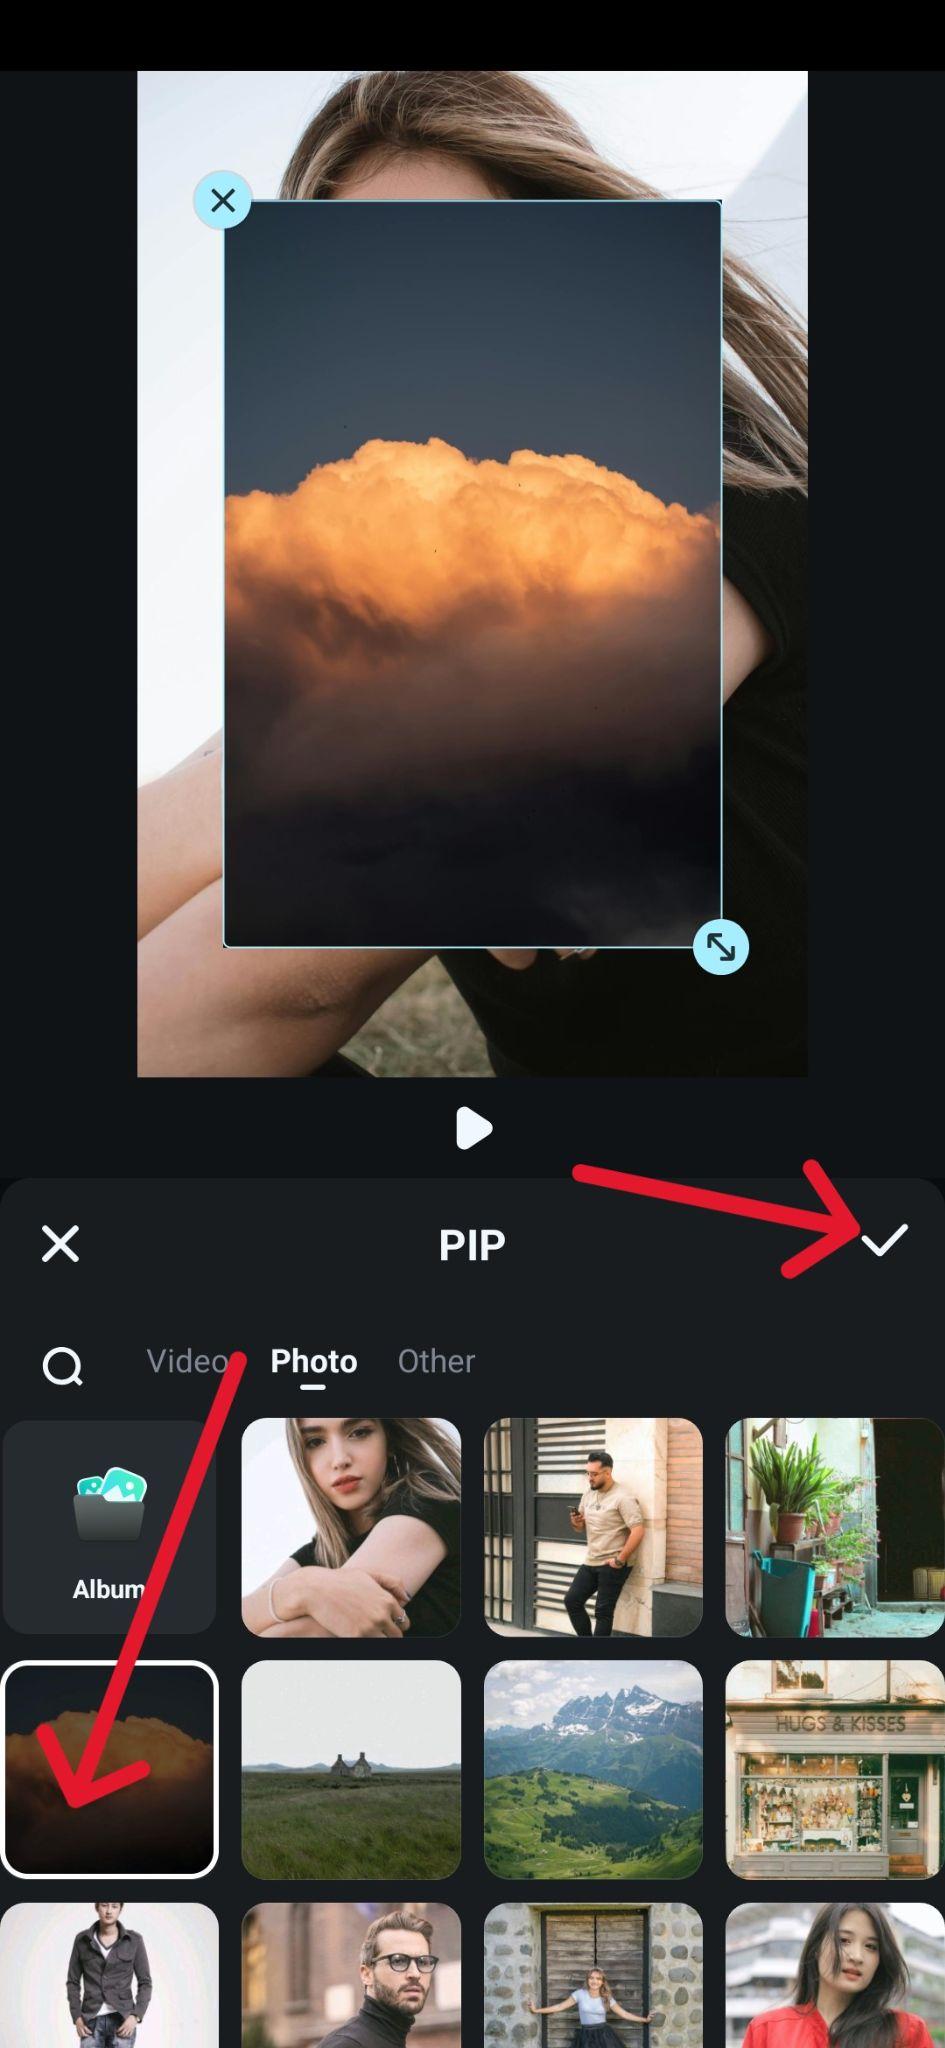
Step 1: Add the picture you want to edit, then at the bottom, swipe to the left to find the PIP icon (Picture in Picture) and tap it, then choose another image to serve as your background and tap the Checkmark icon.
Step 2: Tap the two-directional arrow icon on the new image to resize and rotate it. When you've positioned it correctly, you can even make it larger than the first image and fit just the darkest parts by tapping Blending.
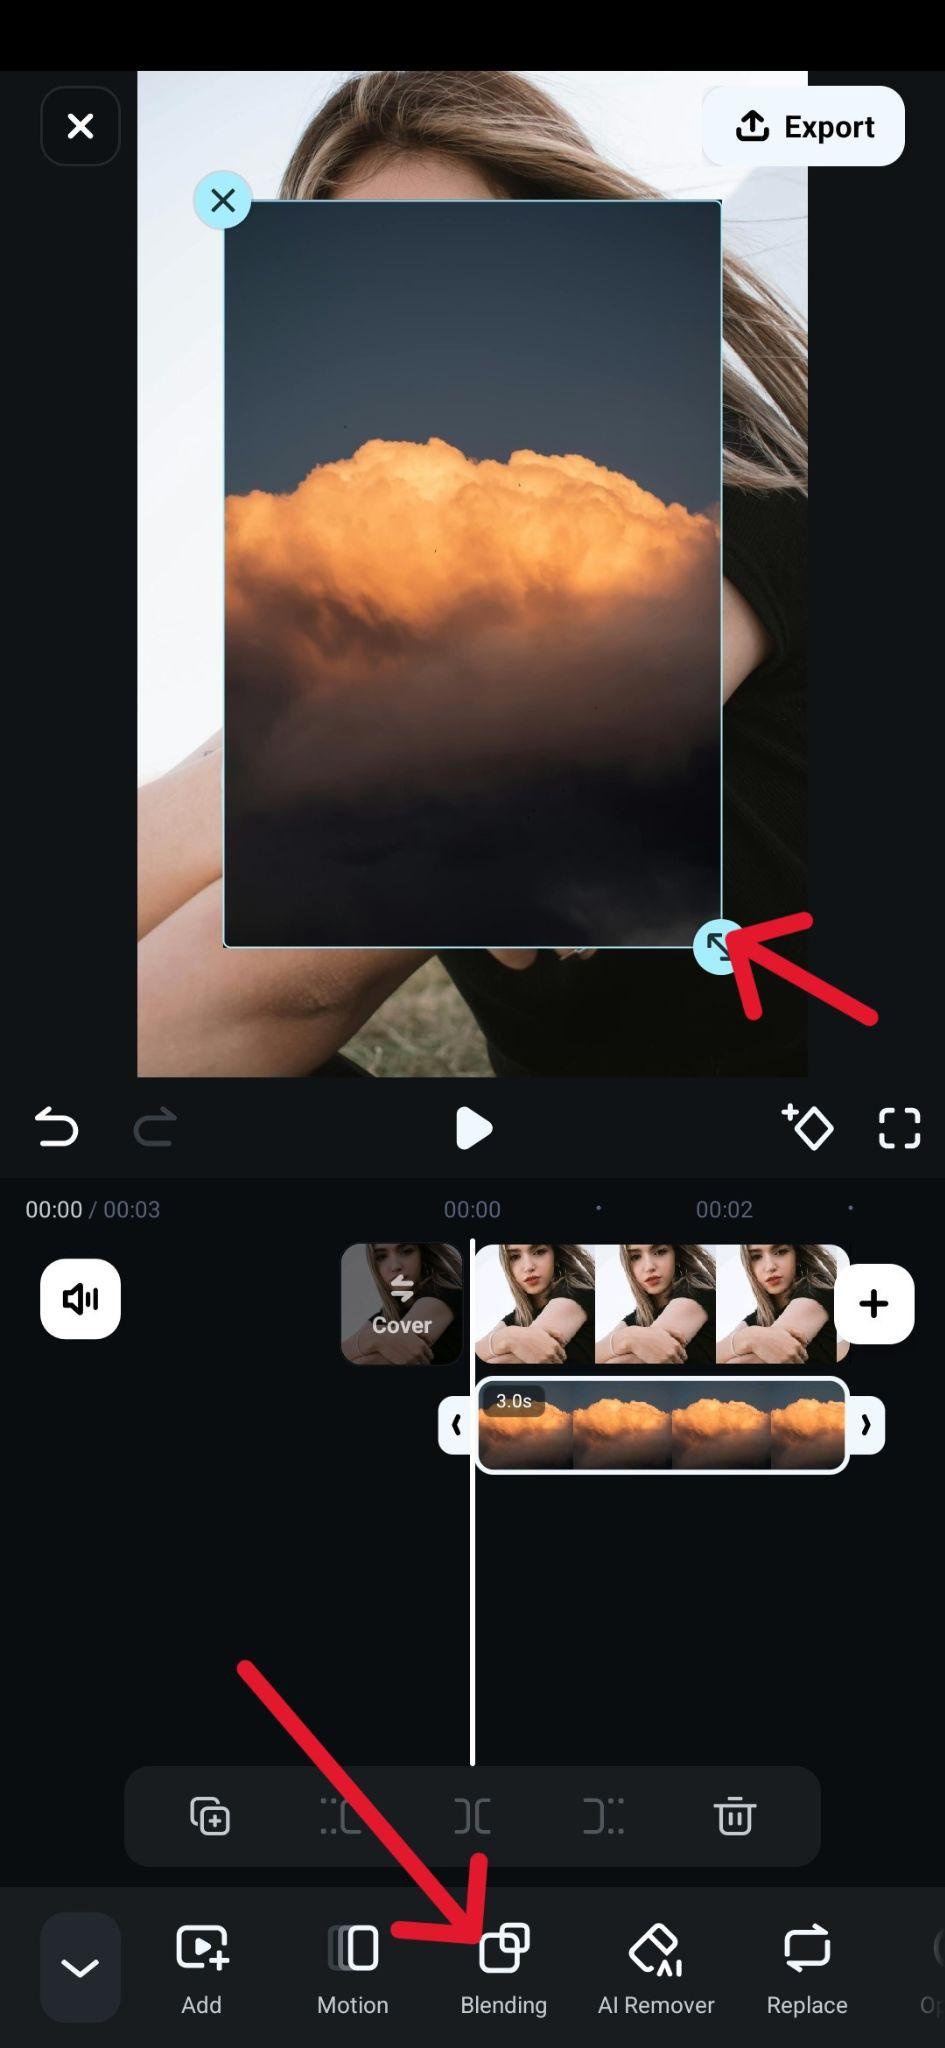
Step 3: Choose the Darken feature and then move the slider to determine the desired opacity. Once you've found the right look, tap the Checkmark icon to finish.
Explore Other Photo Filters
While the previous methods will work quite well, there are also several other interesting filters that you can use to get a darker tone but with a bit of a unique twist. Here are three good options to try out.
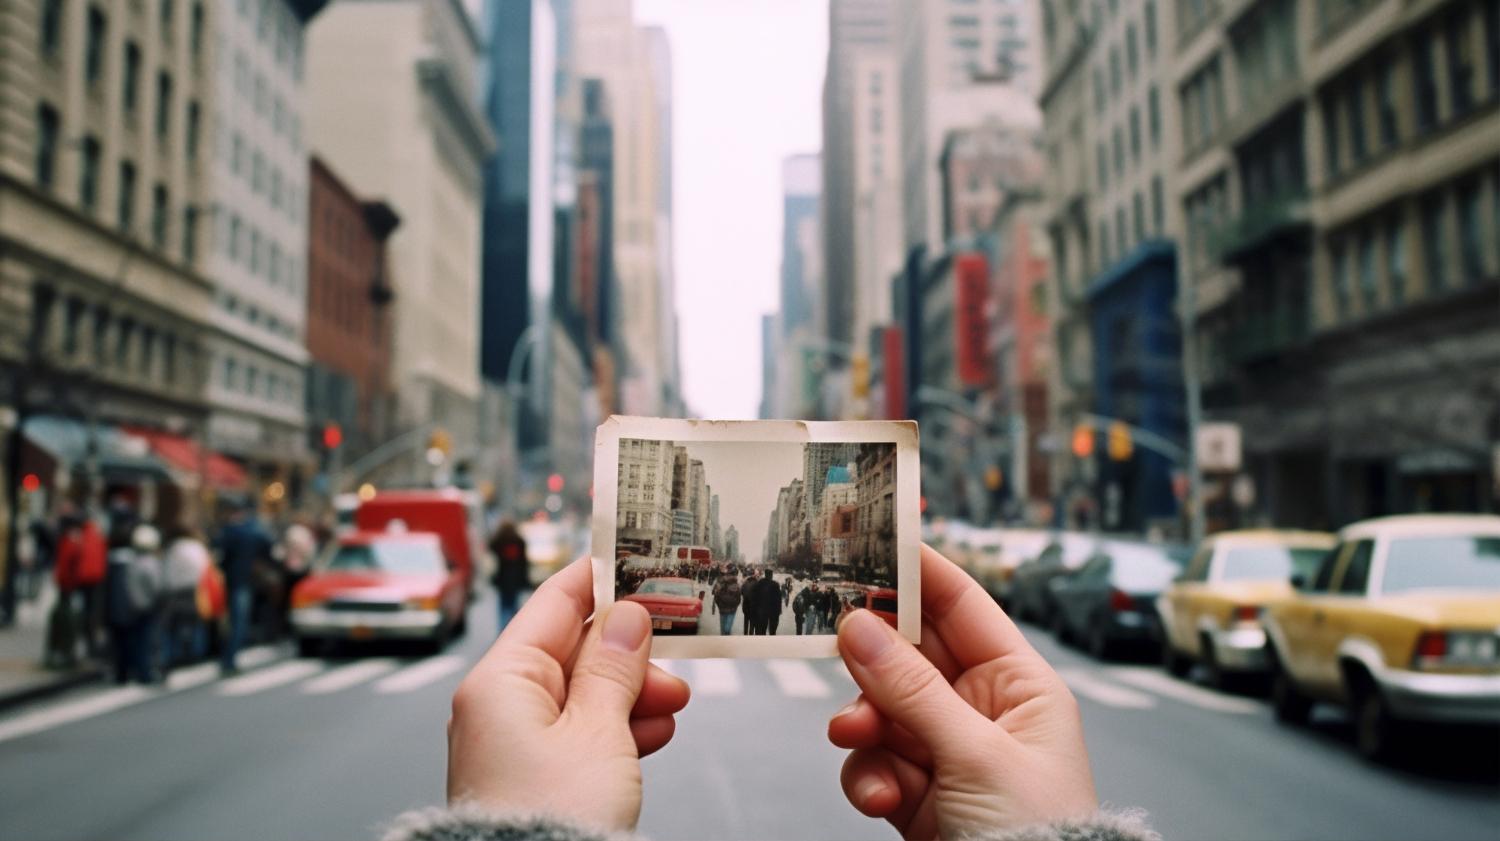
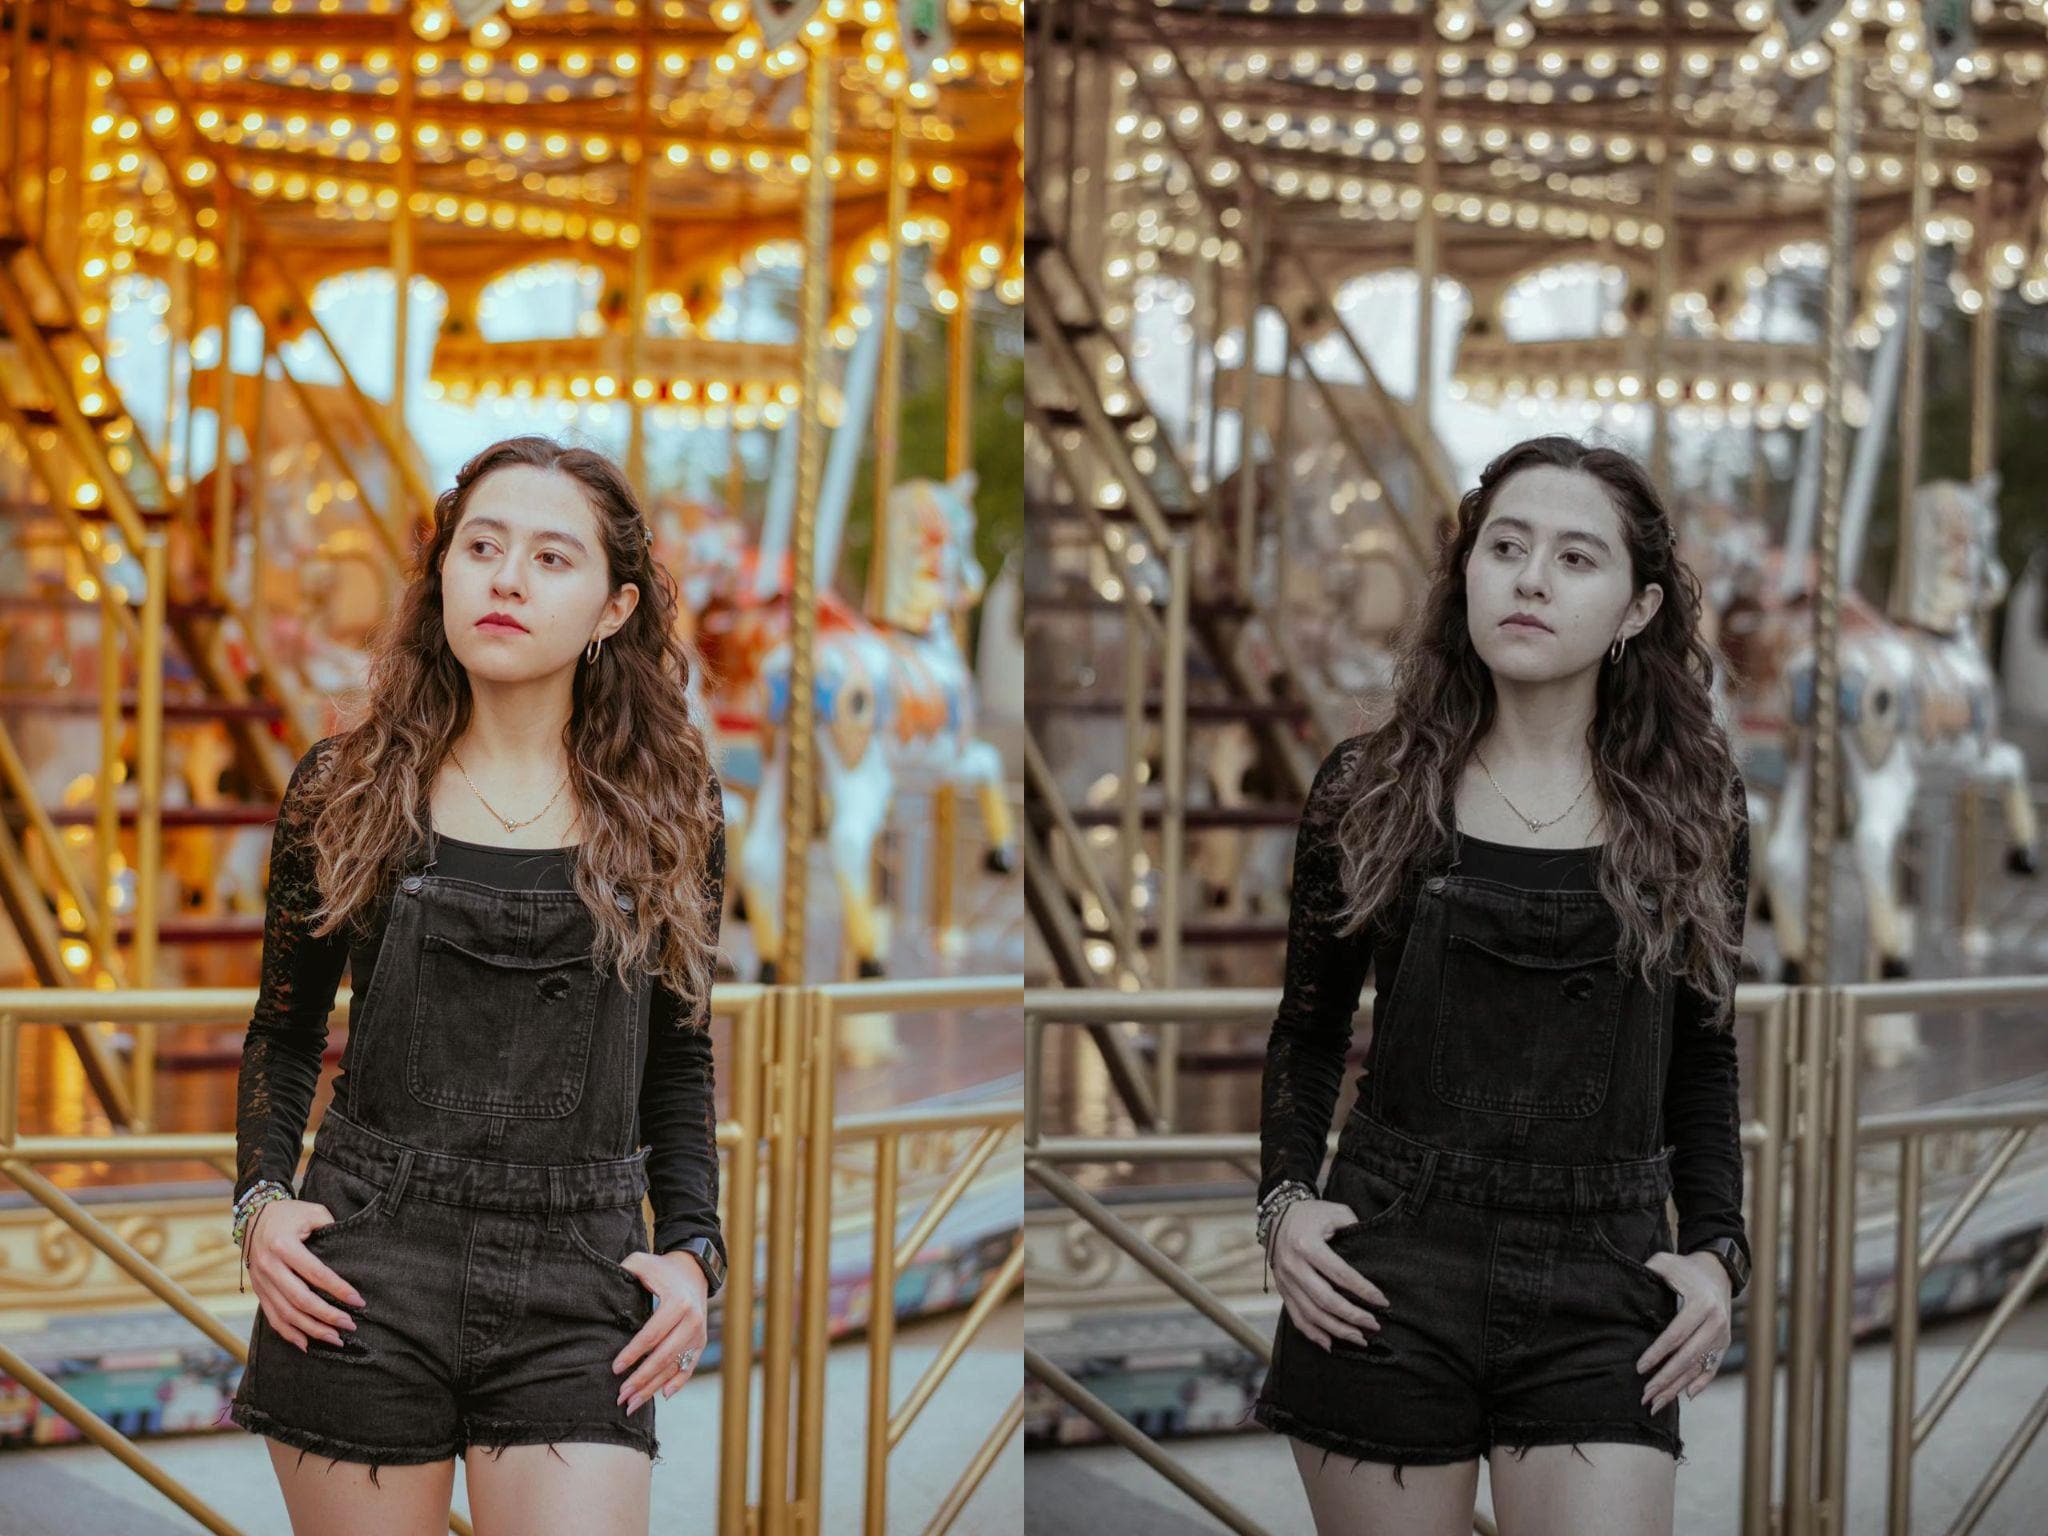
Retro Filters
A little bit of smoother lighting with subdued colors and a classic old-school hue for a darker overall look – what's not to love? It's an easy way to give your photos a hint of nostalgia. There are a couple of different variations of this filter, and it looks something like this.
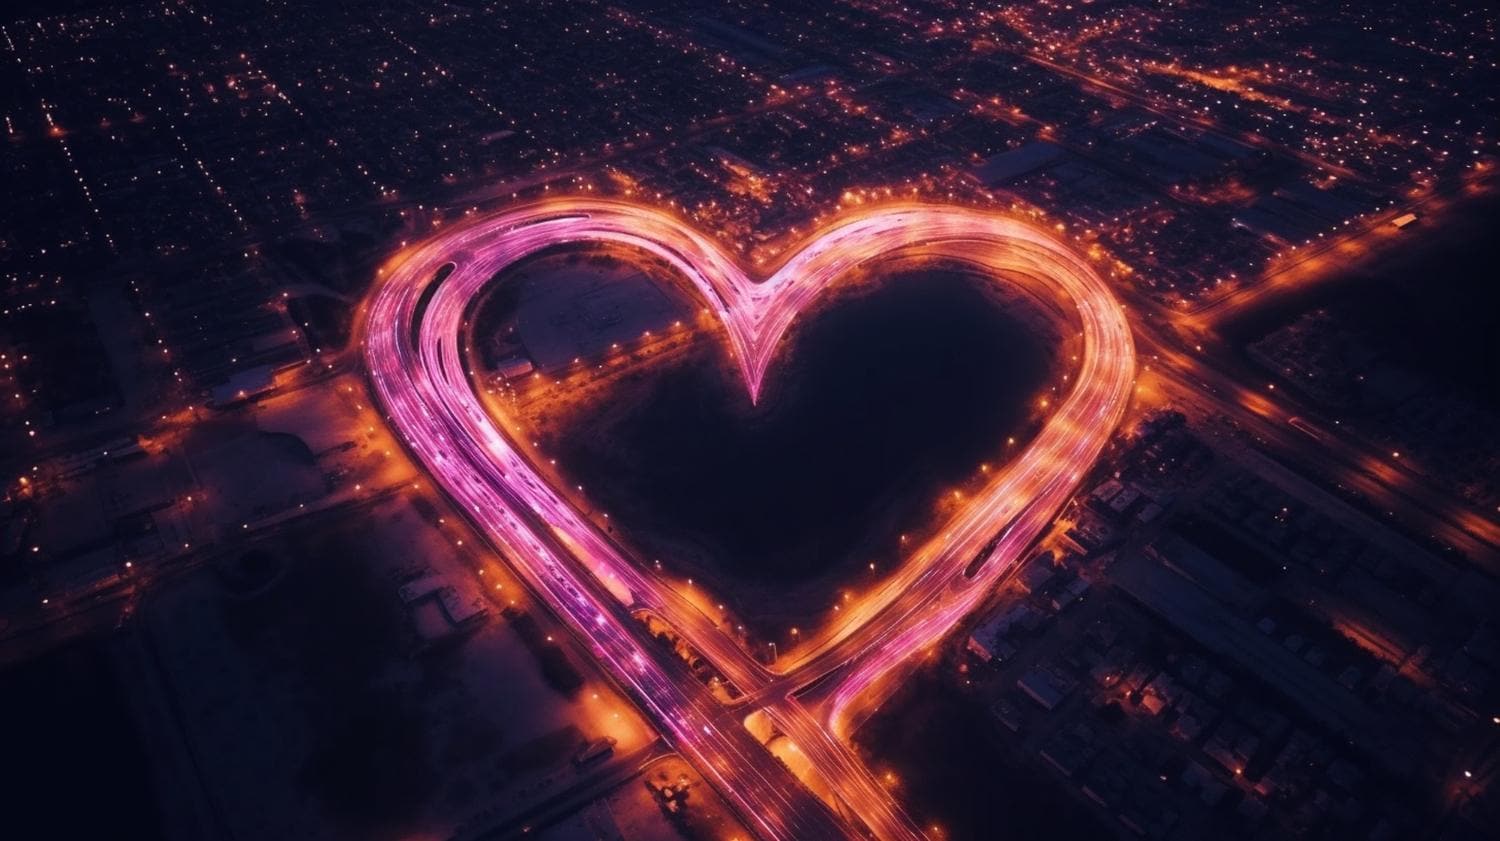
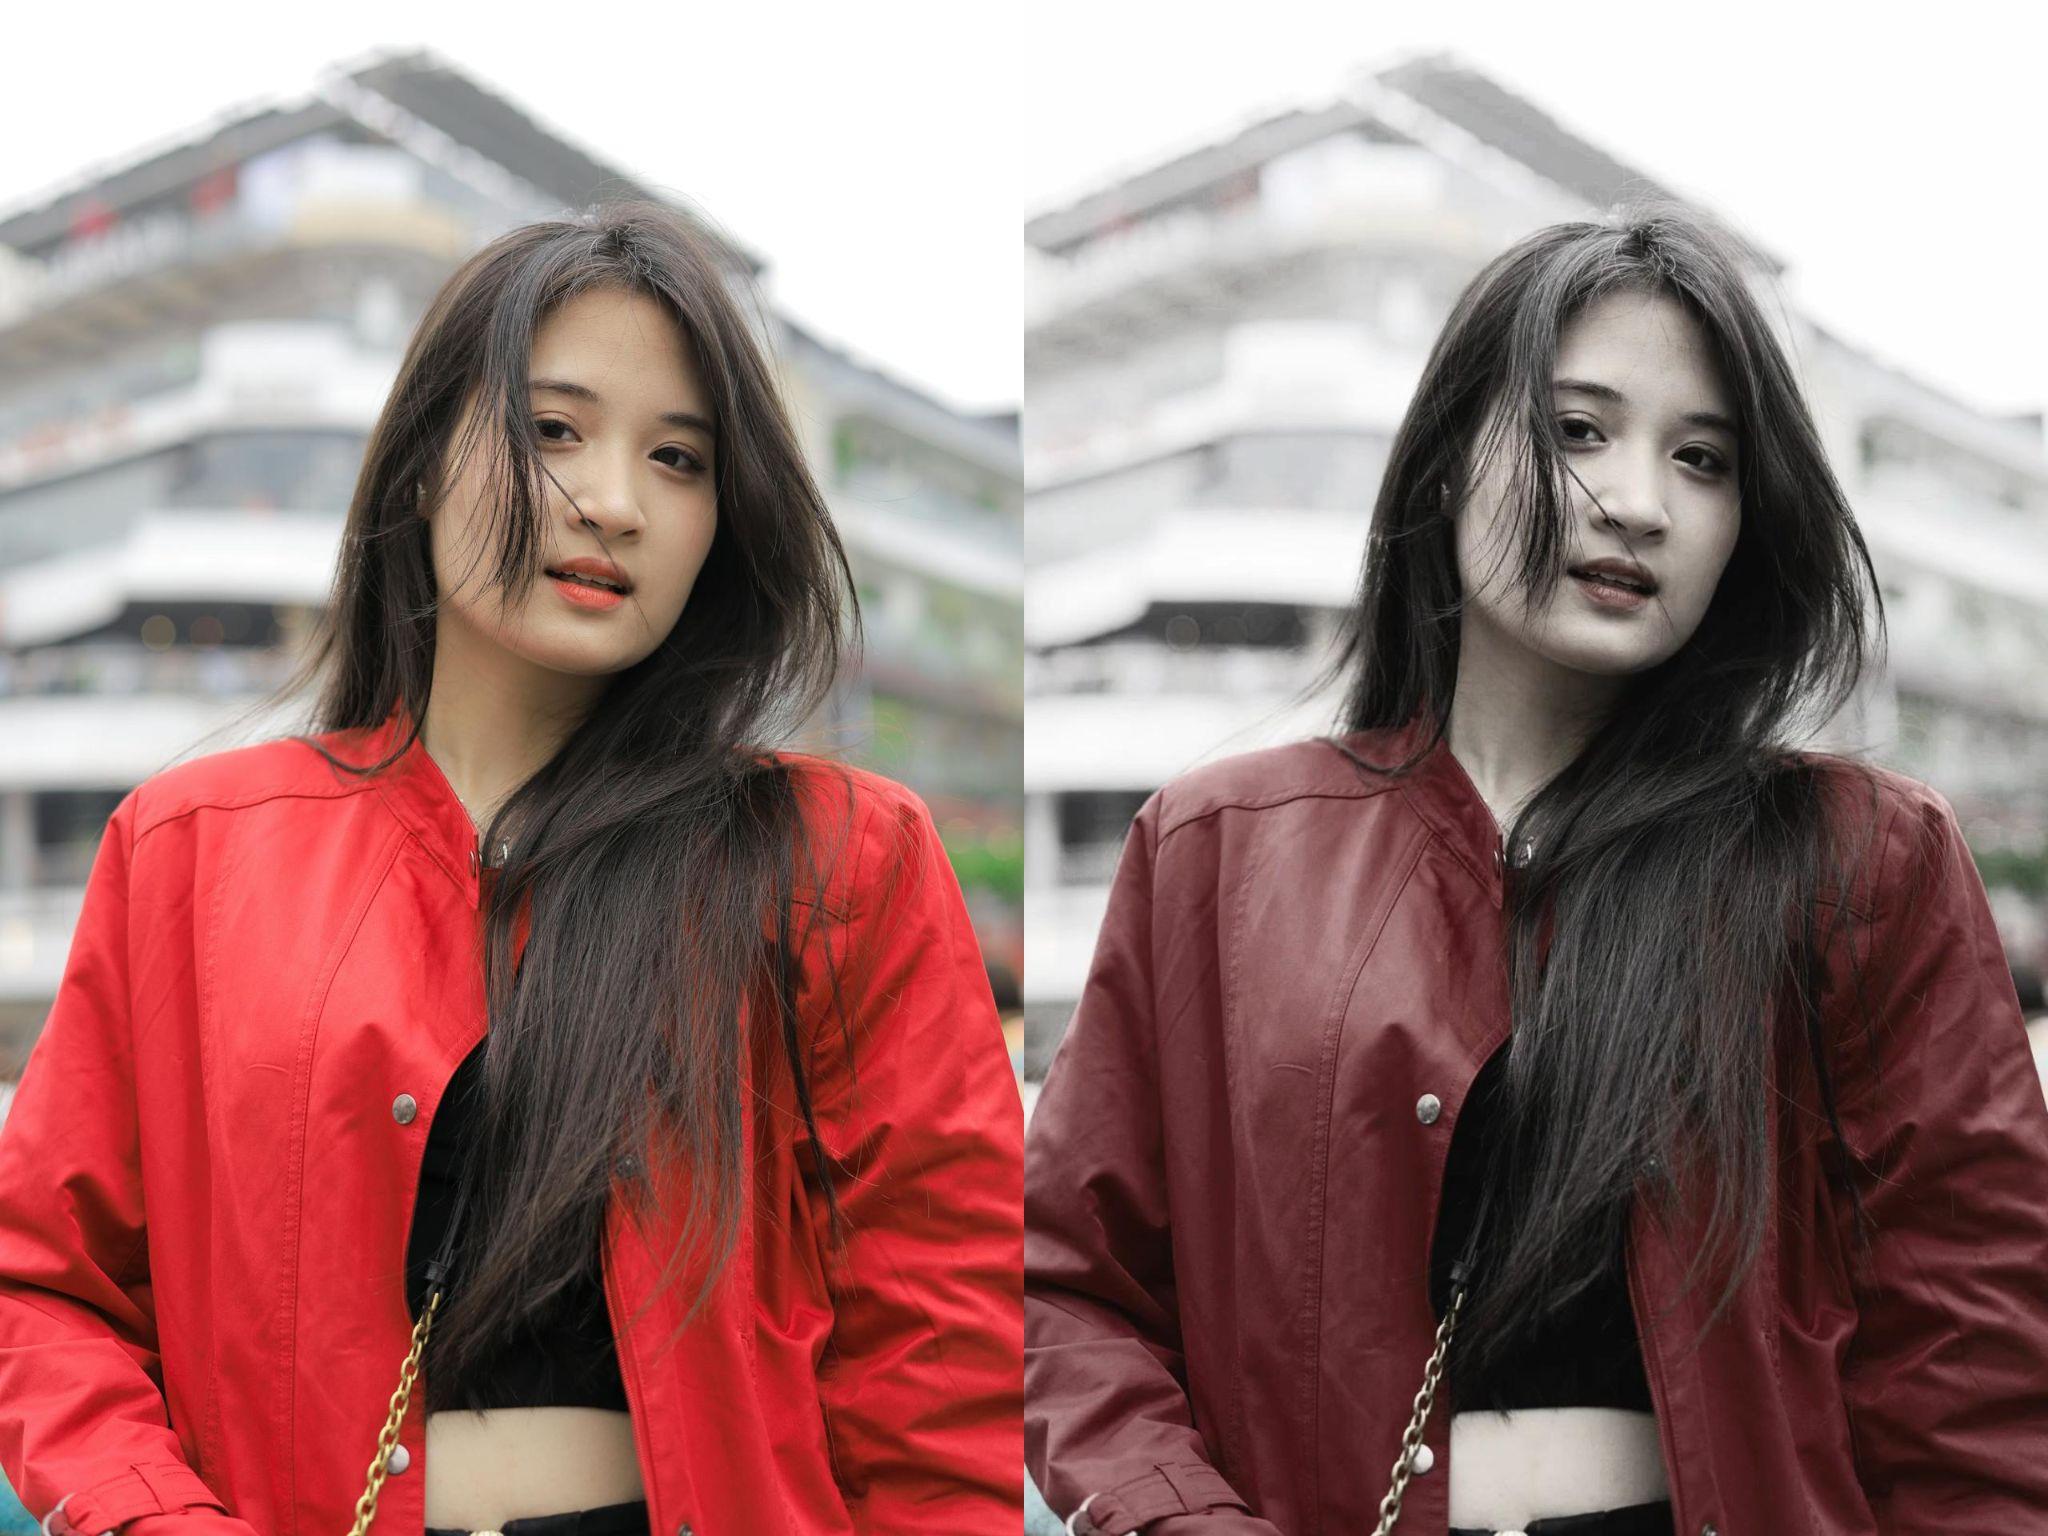
Black and White Filters
If you want to go more artistic and classy, there's no better option than black and white, and Filmora has plenty of options for you. It's everything from a sort of 40s and 50s Hollywood movie aesthetic that fits a lot of different projects. A fun one to try is the Monochrome filter that gives that unique vibe, but still keeps some pops of color to spice things up.
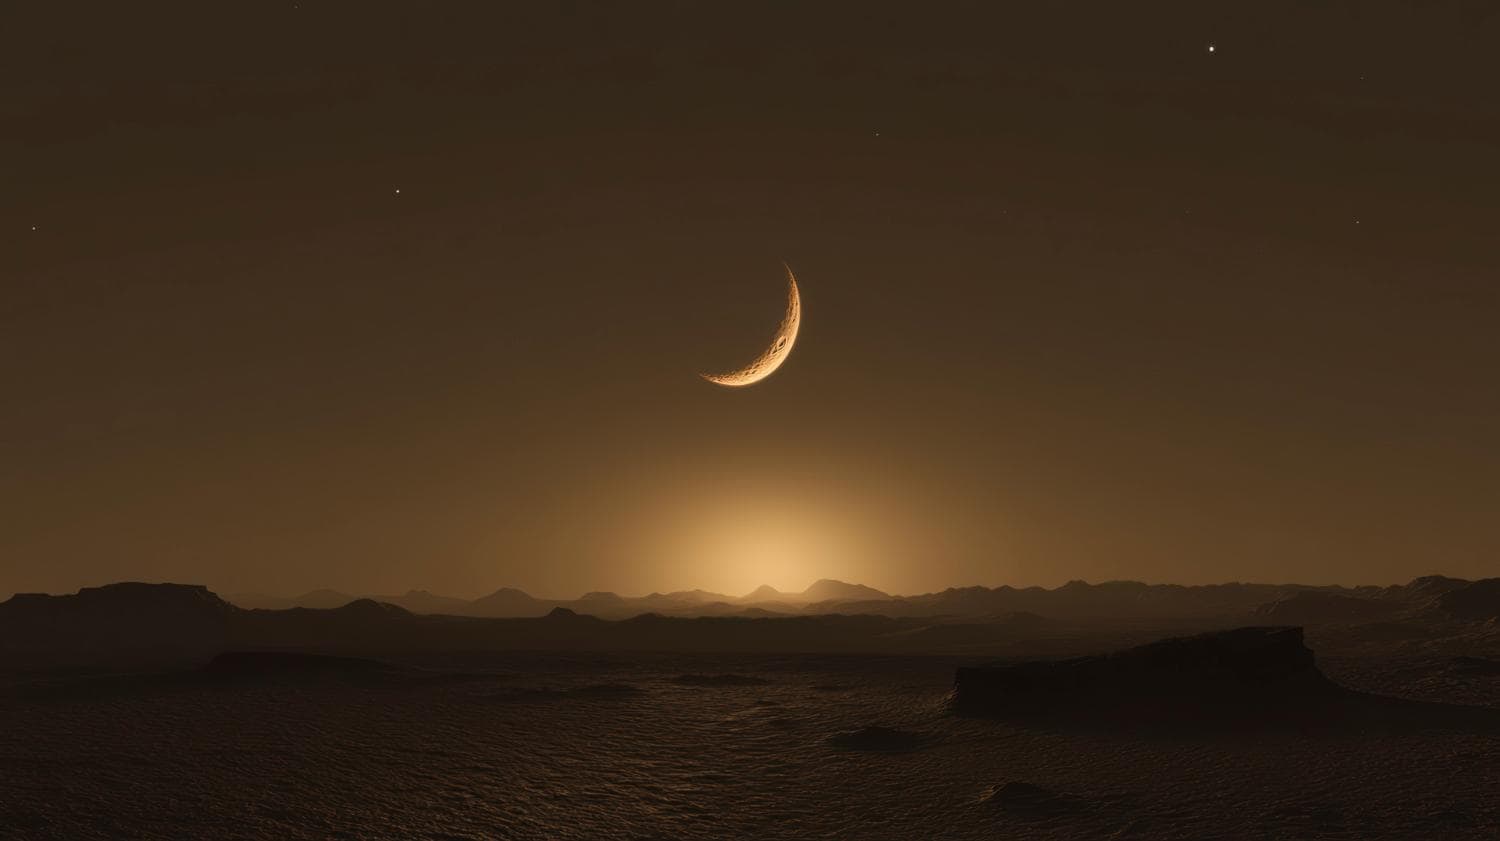
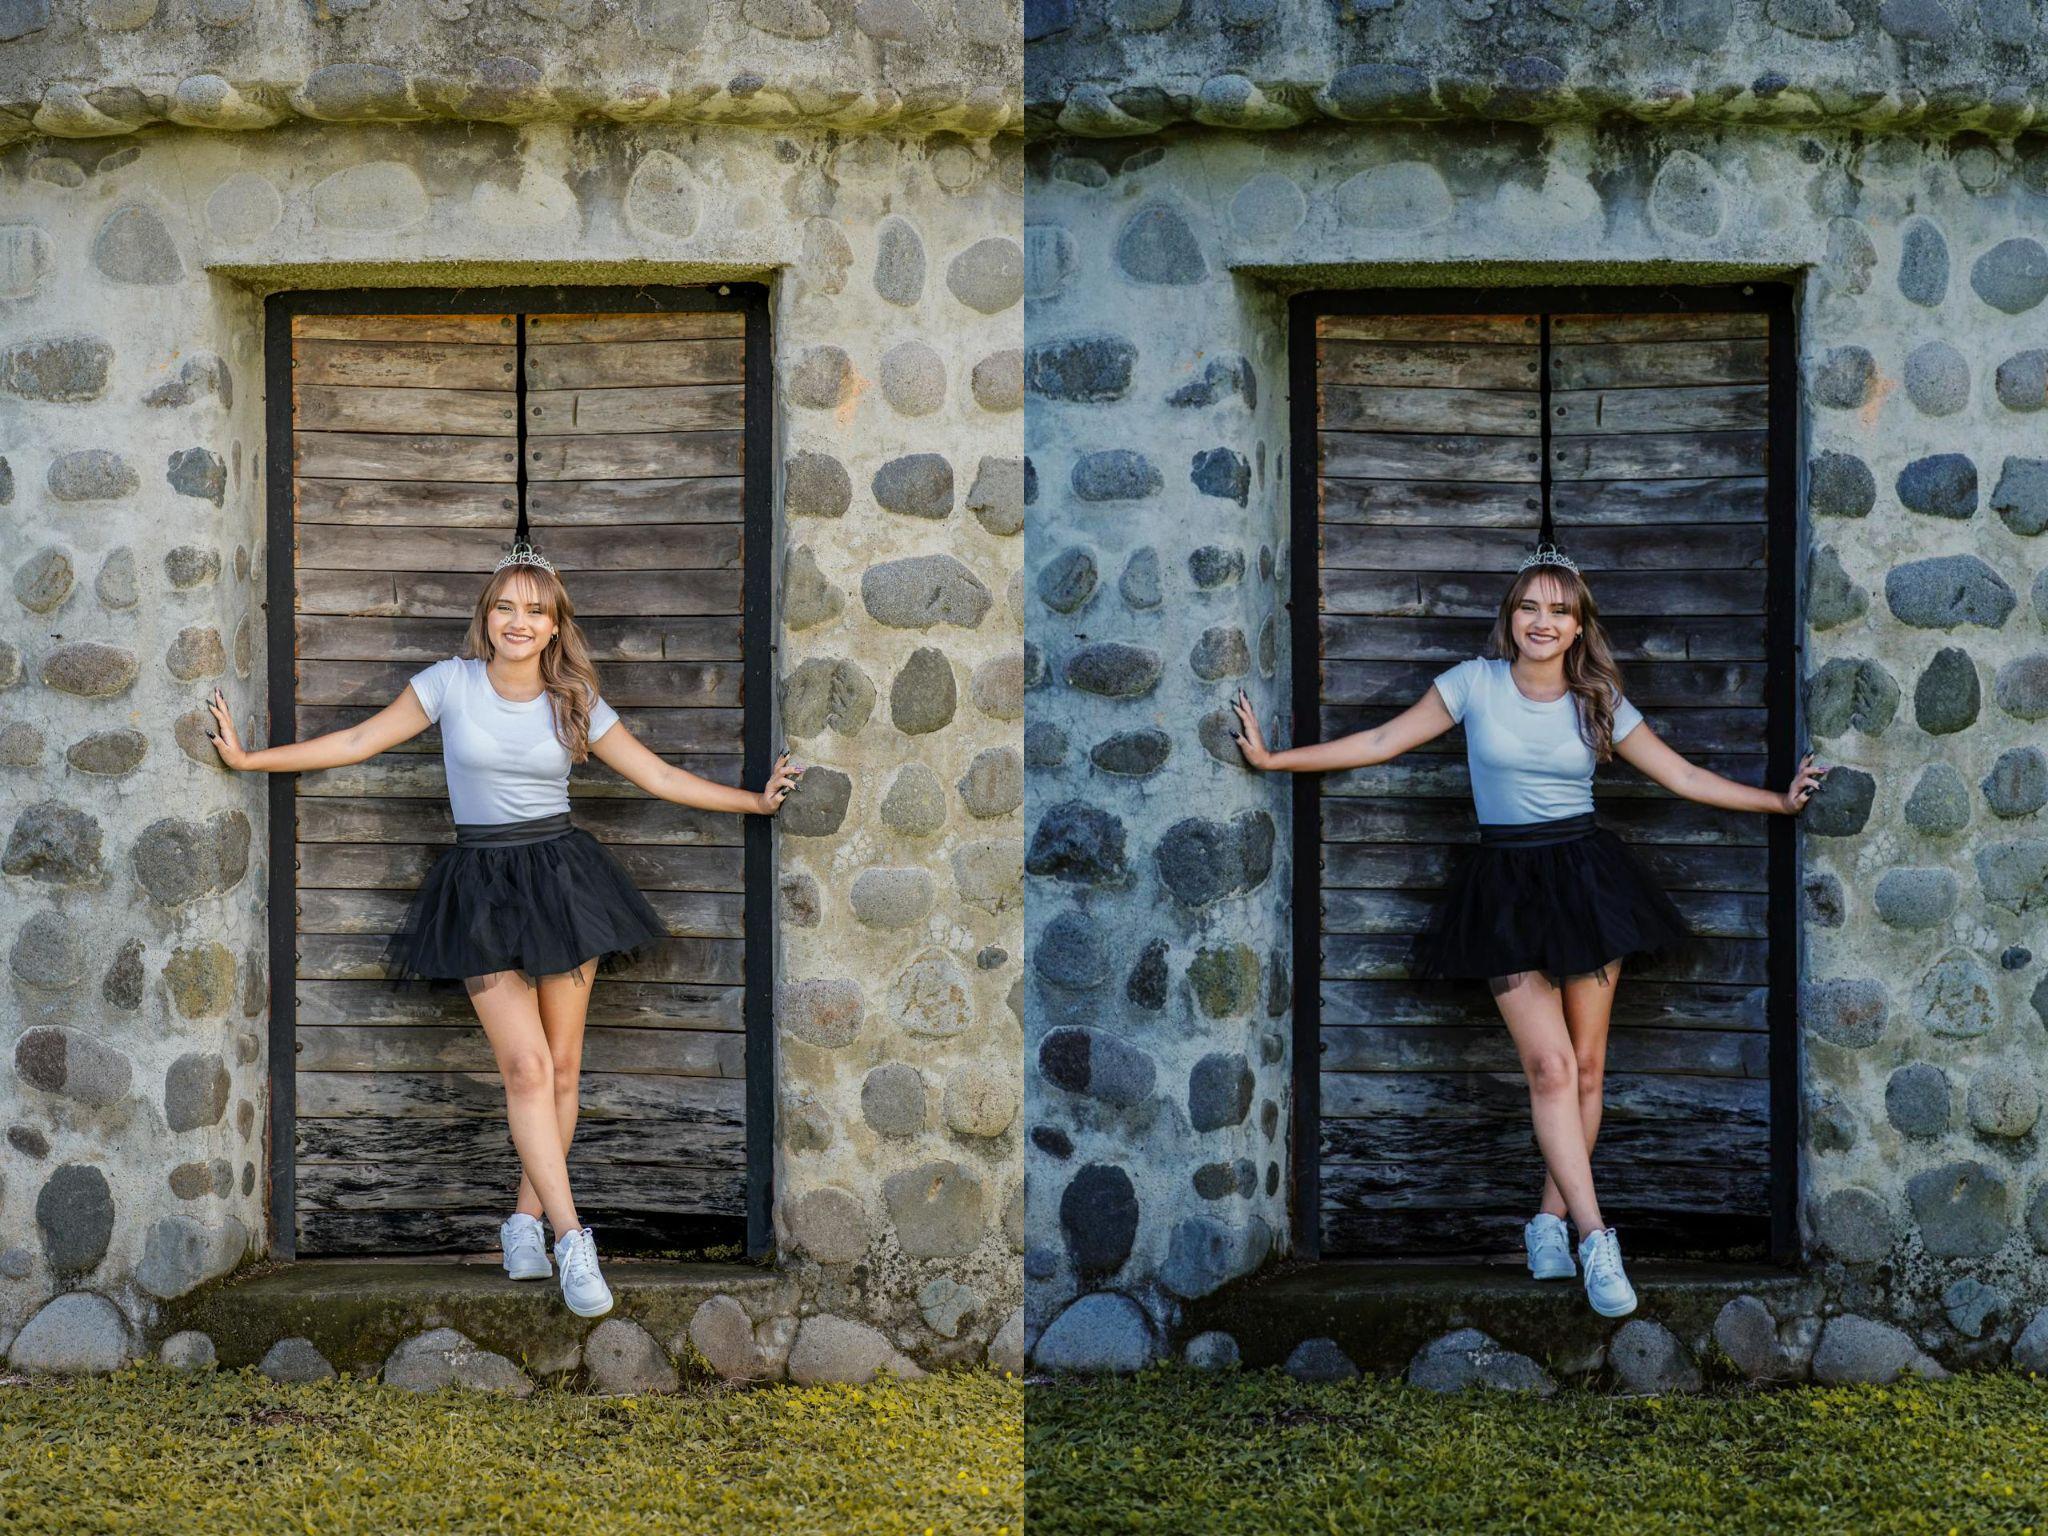
Night Filters
For those who don't want that big of a change and just want to make a picture taken in bright sunlight look more like the sun is setting and everything is getting slightly darker, then search for the word Night in the filter sections. There are several subtle options, and the HO04 filter works particularly well, as you can see in this example.
Conclusion
Regardless of why you need to darken a picture – to get a specific aesthetic, make some elements more visible, or fix issues with overexposure and harsh lighting – the Filmora mobile app has everything you need.
You can experiment with all the different filters and make small adjustments to get it just right, and the whole process is quick and easy. If you prefer to work on your computer, there is also a desktop version of Filmora available for both Windows and iOS.
You can get started right away and find your favorite effects and filters that will make all your future projects stand out.