Guide On How To Add Video Watermark Animation In Filmora
With the need to own more content with zero effort, people often steal someone else content for their purpose and tasks. Ultimately, it urges content creators to be more careful with protecting their content. Are you a video content creator? This tutorial on Filmora will teach you the implementation of video watermarks and prevent copy infringement issues.
-
The Basics of Creating Typewriter Effect in Premiere Pro
-
Contextually Understanding All Techniques to Create Text Typing Animation
-
3D Text Animation Making Made Easy Finding the Best Solutions!
-
Guide On How To Blur Background Of Vertical Video Using Filmora
-
Guide On How to Blur Background of Any Video In Filmora
-
Text Animation Bar - Bottom of the Screen - Filmora - Tutorial
-
How To Make Travel Maps Animation In Filmora | Step-By-Step Tutorial
-
Tutorial - How To Make Magnify Animation On Filmora
-
Tutorial | How to Fake Camera Movement with Filmora 12
Guide On How To Add Video Watermark Animation In Filmora
What you need to prepare:
- A computer (Windows or macOS)
- Your video materials.
- Filmora video editor
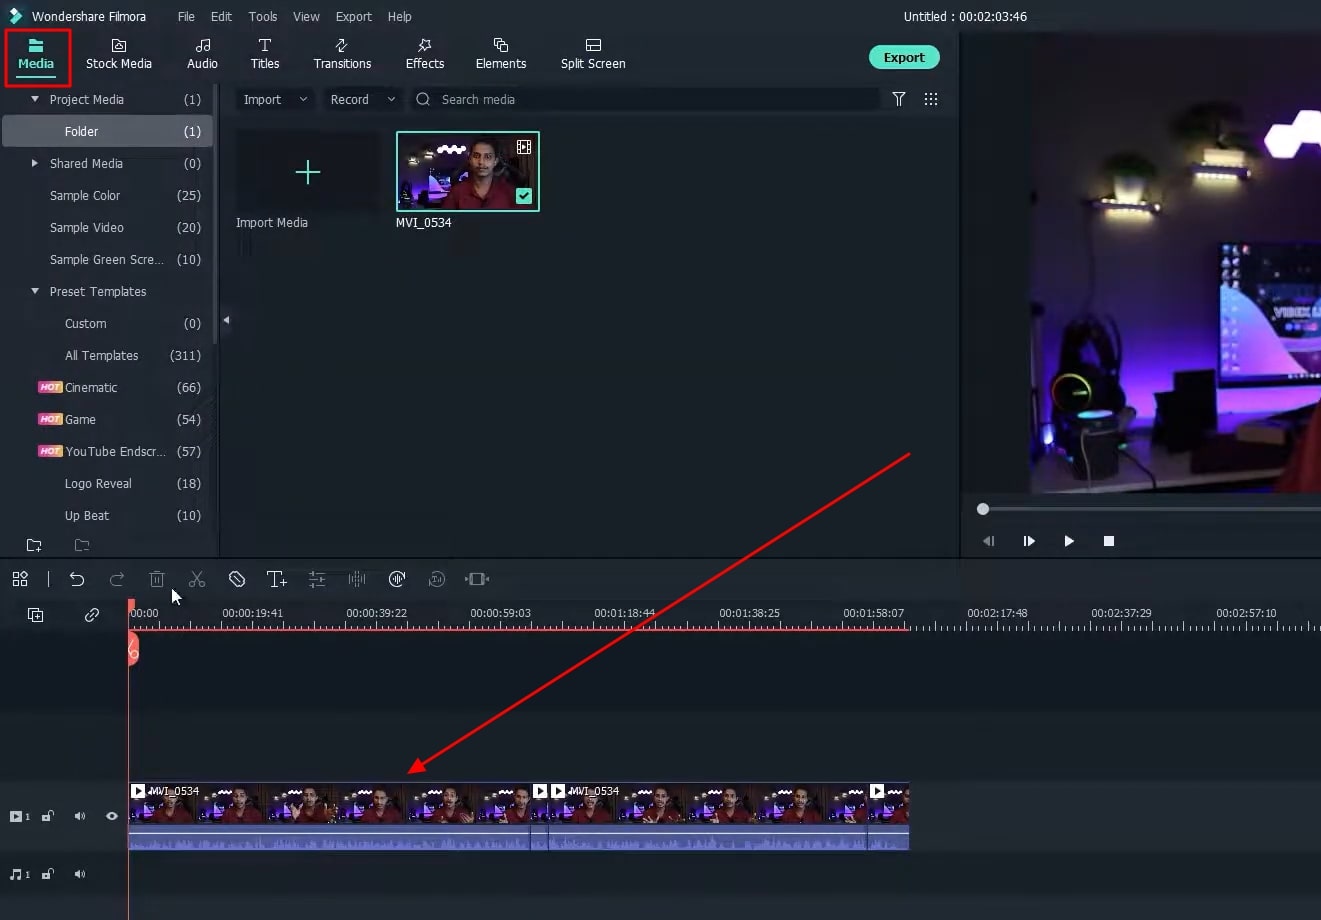
Start Wondershare Filmora and Import Video
Click on the "Media" section from the top-left corner of the screen. Afterward, click the "Import Media" button to import your video to Wondershare Filmora. Once imported, drag the video to the project timeline below.
Use Titles for Visual Navigation
Move into the “Titles” tab from the top and choose your desired text title template from the options. Afterward, drag it to the timeline below. Now right-click on your title track, select "Duration," and adjust "Input Duration" as required. Click “OK” after the changes.

Modify the Text Title
Double-click on your title track from the timeline, and from the editing window, customize the title. You can write anything. You can adjust the font, size, style, position, and margin of the text.
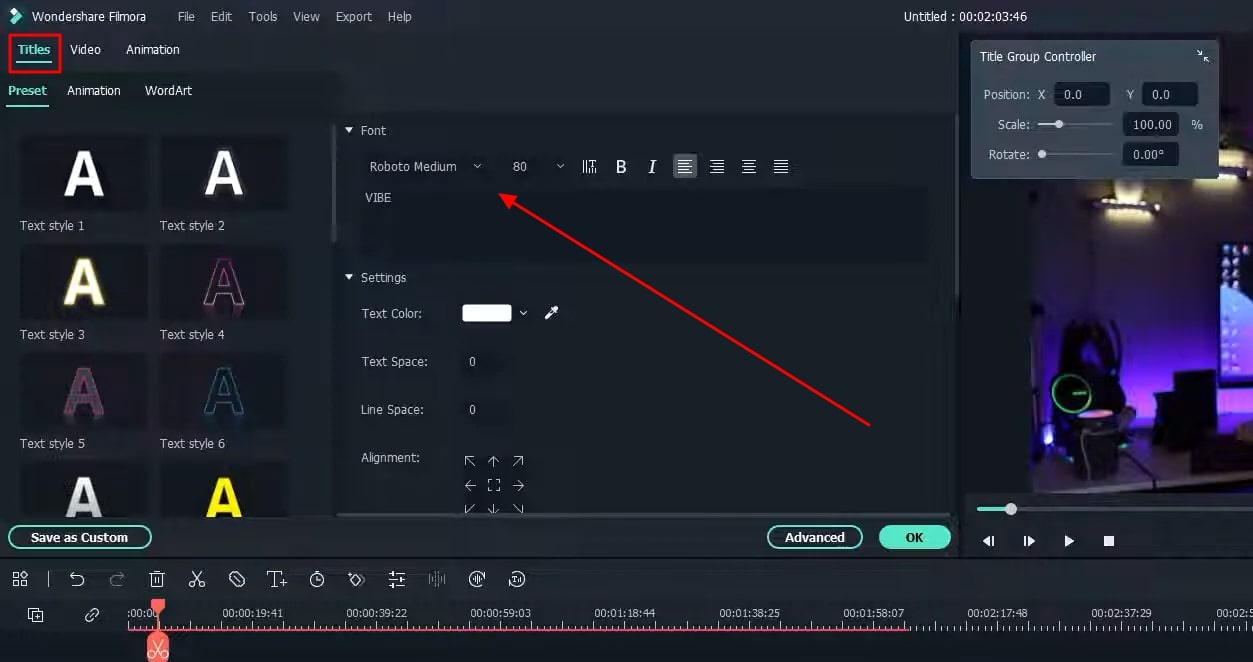
adjust title settings
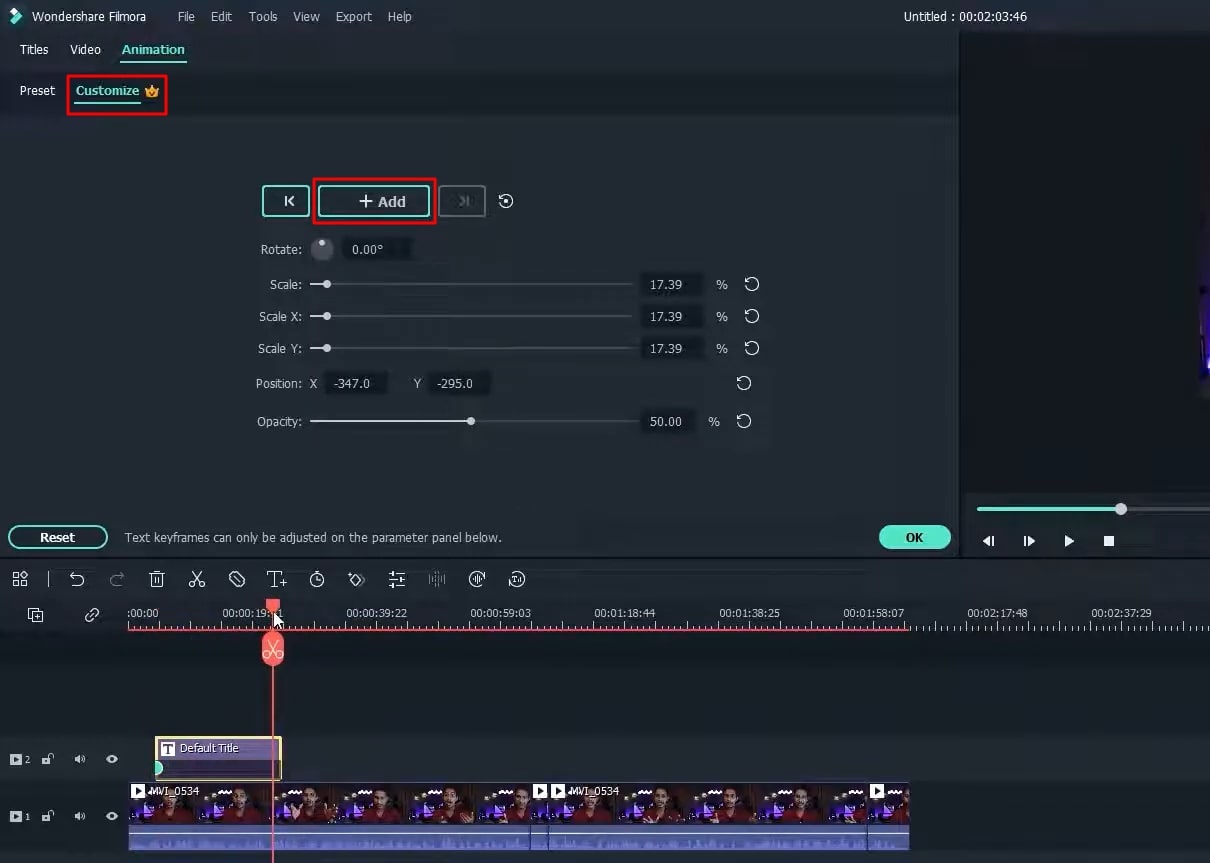
If you want to apply keyframes to your title, double-click on the title track and select "Animation" from the available window. After this, press "Customize," adjust the position of the playhead in the timeline, and then press the "Add" button to apply a keyframe. Adjust your text animation with further customizations on different parameters and scale ranges.
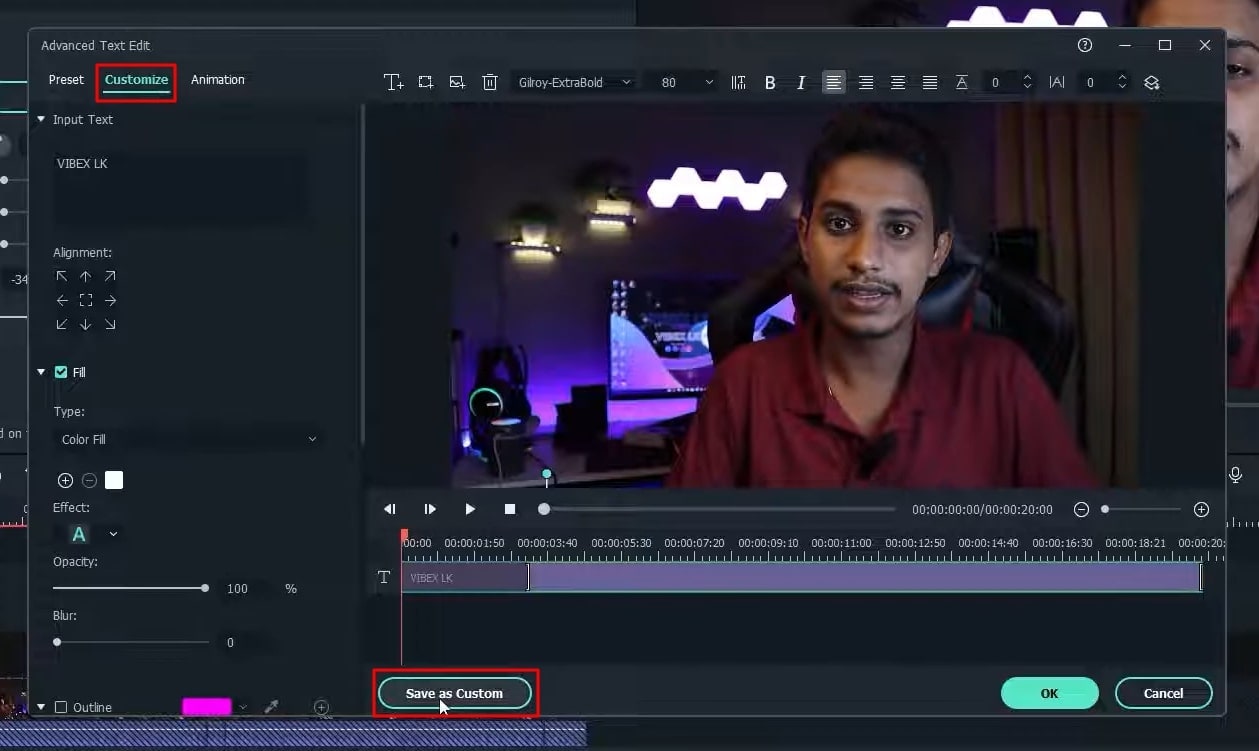
Make Advanced Keyframes Adjustments
Now right-click on your title track, select "Advanced Edit," press "Save as Custom," and name your custom text as required. Click "OK" after the changes are done.
Now your title track is edited according to your requirements, and also keyframe adjustment is added to it. Right-click on the track, select "Copy," move the playhead on the end of the title track, and now again right-click and select "Paste." Repeat this process if you want to add more title tracks to match the length of your video.
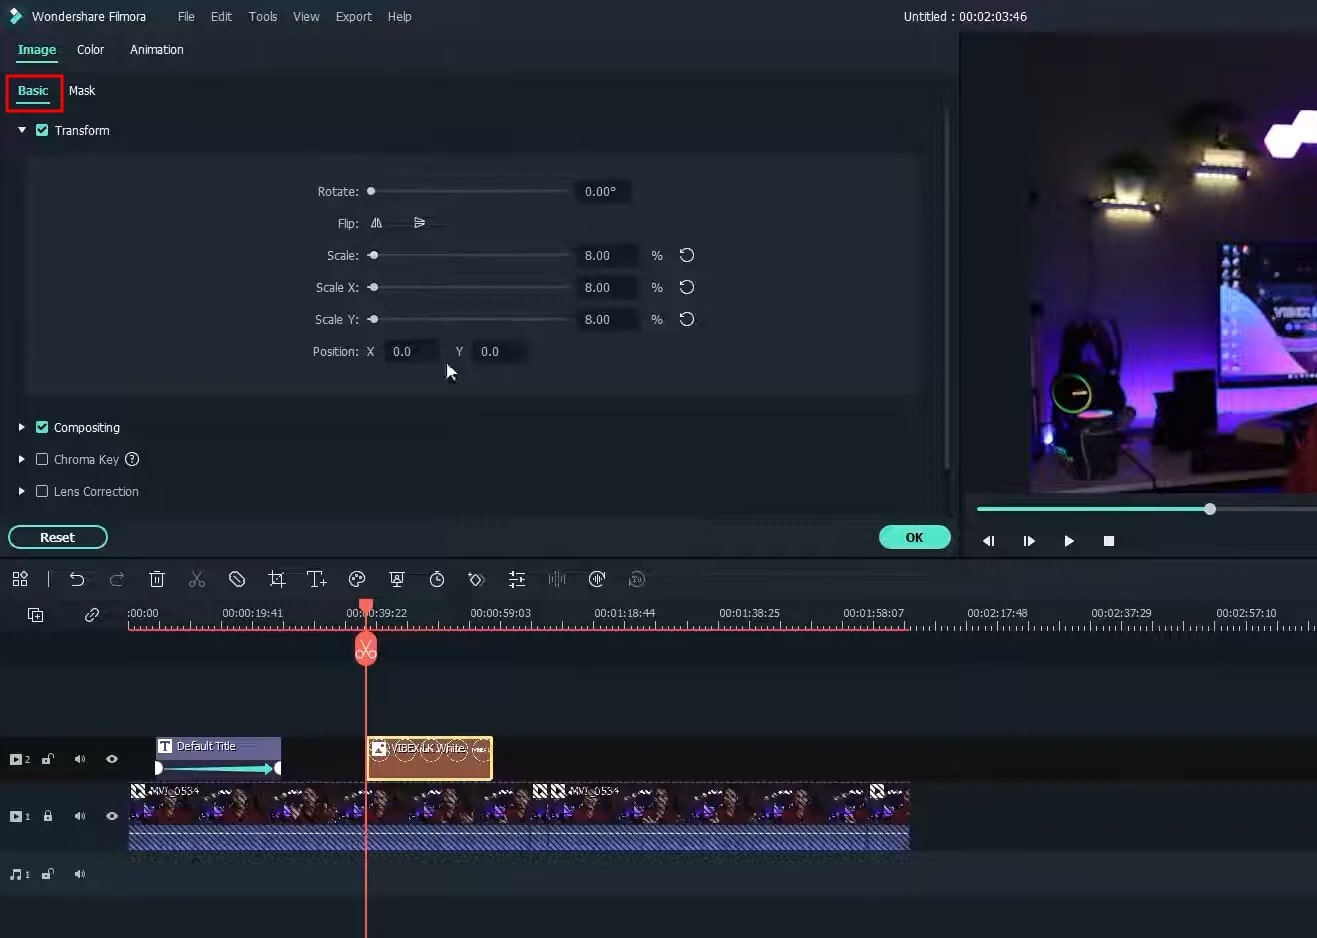
Embed Personal Logo to Video
Click on the "Media" option from the top left side of the screen, and press the "Import Media" button to import your logo. After this, move the logo to the project timeline below.
If the logo is required to be edited, double-click on it a window will appear. Now select "Image" from the top, choose "Basic," and adjust from the "Transform" customization. To apply the animation keyframe, select "Animation" from the top, then choose "Customize," keep the playhead at the start of your logo track, and press the "Add" button.
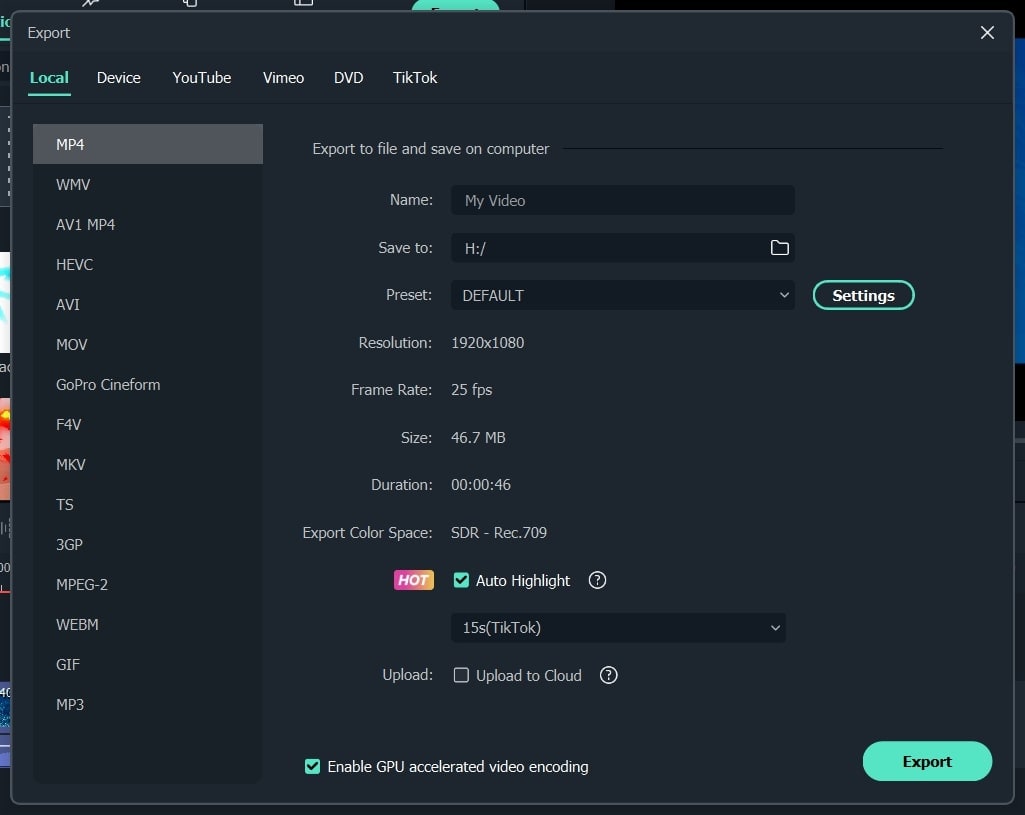
Preview and Export Final Project Video
Now preview your final video by clicking on the “Play” icon from under the screen. If you’re okay with the video, move ahead by clicking on the “Export” button to save the watermark video to your device.
These days when digital theft is considered a common practice, thus preventing your content is the need of the hour. For this purpose, adding a watermark is a great way to protect your content from illegal usage. This tutorial on Filmora provides you with simple and easy steps on the implementation of a personal watermark to your videos.