Tutorial - How To Make Magnify Animation On Filmora
Magnify animations are a great way to divert major focus to the main subject of your video. It allows you to completely blur or remove unwanted background objects which caused your video to look bad. With this tutorial on Filmora, you can easily blend magnified animation into your all-important videos to make them more useful.
-
The Basics of Creating Typewriter Effect in Premiere Pro
-
Contextually Understanding All Techniques to Create Text Typing Animation
-
3D Text Animation Making Made Easy Finding the Best Solutions!
-
Guide On How To Blur Background Of Vertical Video Using Filmora
-
Guide On How to Blur Background of Any Video In Filmora
-
Guide On How To Add Video Watermark Animation In Filmora
-
Text Animation Bar - Bottom of the Screen - Filmora - Tutorial
-
How To Make Travel Maps Animation In Filmora | Step-By-Step Tutorial
-
Tutorial | How to Fake Camera Movement with Filmora 12
Transcript
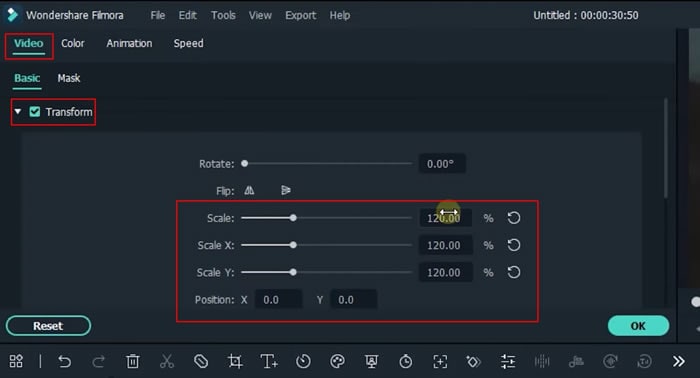
So open Filmora and import your file. I already imported my file. Then drag your video into the timeline. Then drag the same video into the upper track. Then double click on the upper video and go "Transform," set the "Scale” value to 120, then click “OK."
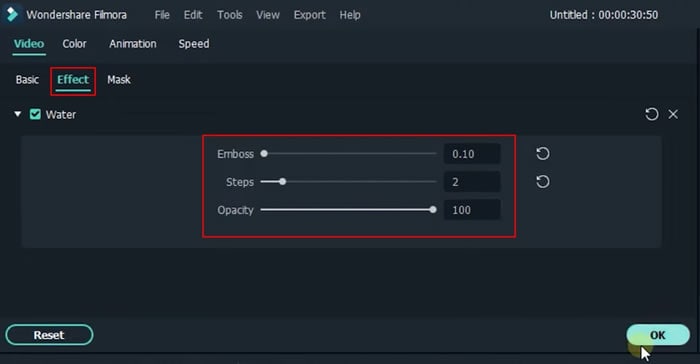
Then go to "Effects" and search “Water.” Add the water effect to the upper video. Then double-click on this and go "Effect" section. Set “Emboss” to 0.10, and set “Steps” to 2. Let’s see a preview.
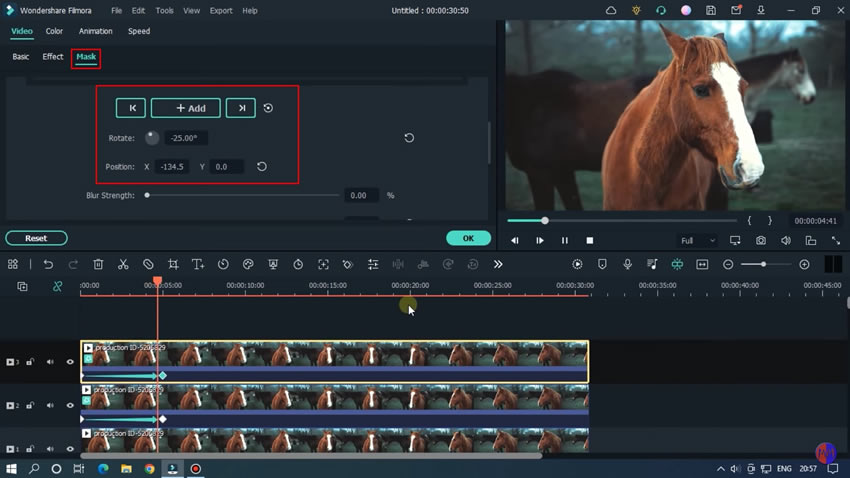
Okay, now double click on this and go “Mask." Then select the "Double Line” mask from here. Then go down and set this parameter. First, set the width to 25 and also set “Rotate” to 25. Then set the position out of the frame. Just drag like this. I set the position to -154. Then add a keyframe here. Then go 5 second later. Then just reverse the position value. I set it to 154. Let's check now.
So, as you can see, our first part animation is done. Okay, now, copy this and paste it on the upper track. Now you just need to reverse the animation. Go to the first keyframe, change rotate value to -25, and change position to 154. Then go to the second keyframe. Also, change the rotate value to -25 and set the position to -154. Let’s check now. So as you can see, our animation is done. In this way, you can add up-down animation or left-right animation.
Okay, now let's add text. Select the upper two videos and drag to 1 track higher. Then add text here, enter your text, and change font and size. Let's check now. So as you can see, our animation is done.
Tutorial - How To Make Magnify Animation On Filmora
What you need to prepare:
- A computer (Windows or macOS)
- Your video materials.
- Filmora video editor
Import Video On Filmora Edior
First, you’ve to import your video to Filmora. To do this, you must click the "Media" bar from the top-left side of the screen and then press the “Import Media” button.
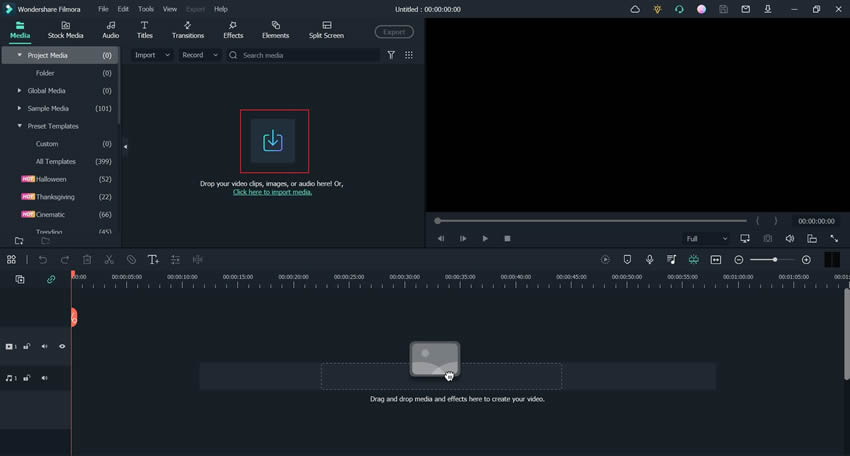
Drag the Video to the Project Timeline
Once your video is imported, drag it to the project timeline below. Repeat this process by dragging the same video again to the project timeline.

Apply Transform to the Second Video
Double-click on your same-second video from the timeline, and a window will appear on your screen. Select "Video," then click on "Basic" and choose "Transform," where you can adjust different margins and parameters of the transform effect. Click “OK” once you’re done with the changes.
Add Effects for Improved Visuals
Select the "Effects" bar from the top of your screen, search water, and add the "Water" effect to the upper video in the project timeline. Then double-click on the effect from the timeline, and you'll see a window. Press "Video" and choose "Effect" in the provided menu.
Adjust your effect with scaling options, which include setting "Emboss" to 0.10, "Steps" to 2, and "Opacity" to 100. You can set the margins as per your requirements. Click "OK" after the changes.
Integrate Masking Effect for Cinematic View
Again, double-click on your upper video and a window will open. Select "Video," then choose "Mask," and select "Double line" mask from the given options. To edit the mask, scroll down in the window and adjust the width, rotation, X and Y position, and other parameters as per requirements. After changes are done, click "Add" and add a keyframe by adjusting the playhead in the timeline.
If you need to apply reverse animation, it's possible. Simply right-click on the upper video with the keyframe, and select the "Copy" option. Click on "Manage tracks" and select "Add Video Track," and then again right-click and choose "Paste." A new track will be added with a second keyframe.
Now, on the first keyframe, change rotate value to, e.g., -25 and set position X at 154. Now, click on the ">|" icon and go to the second keyframe where you keep rotate value to 25 and position X to -154.
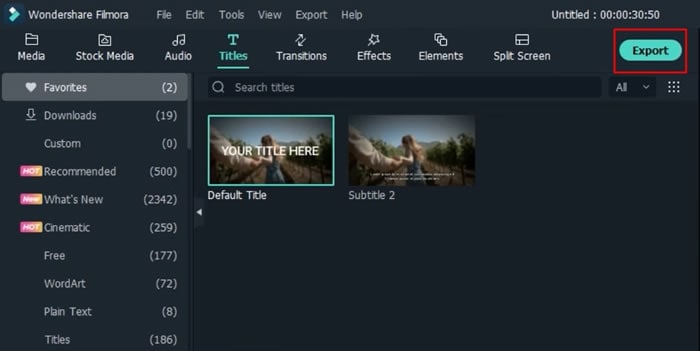
Add Titles, Play Your Video, and Export to Device
Your video with magnified animation is ready. You can also add the titles to your video from the “Titles” tab. Click on "Render Preview" for smooth video playback. Navigate to the "Export" button, set your desired file location, and your video will be successfully downloaded.
Videos are very close to us, and animations can make them more special and interesting. Thus, magnified animations are a great addition to all videos that inspire us because of the special objects in them. This tutorial on Filmora will help everyone design their videos with magnifying animation, as it provides easy-to-understand steps.