In this article
Understanding the Rule of Thirds
Creating the perfect photo or scene in a video cannot be done without following a few rules. The colors need to be perfect, the lighting has to be spot on, and the overall mood should encompass the emotion you want to convey in your art. But there is one rule that goes before everything else, and that is the rule of thirds. The ultimate goal is to help you create beautiful and balanced scene compositions and attract as many viewers as you can.
Let's start with the definition and expand our knowledge from there.
The rule of thirds is one of the oldest and most important grid-based rules. It was invented in the late 18th century, and it is still in use today.
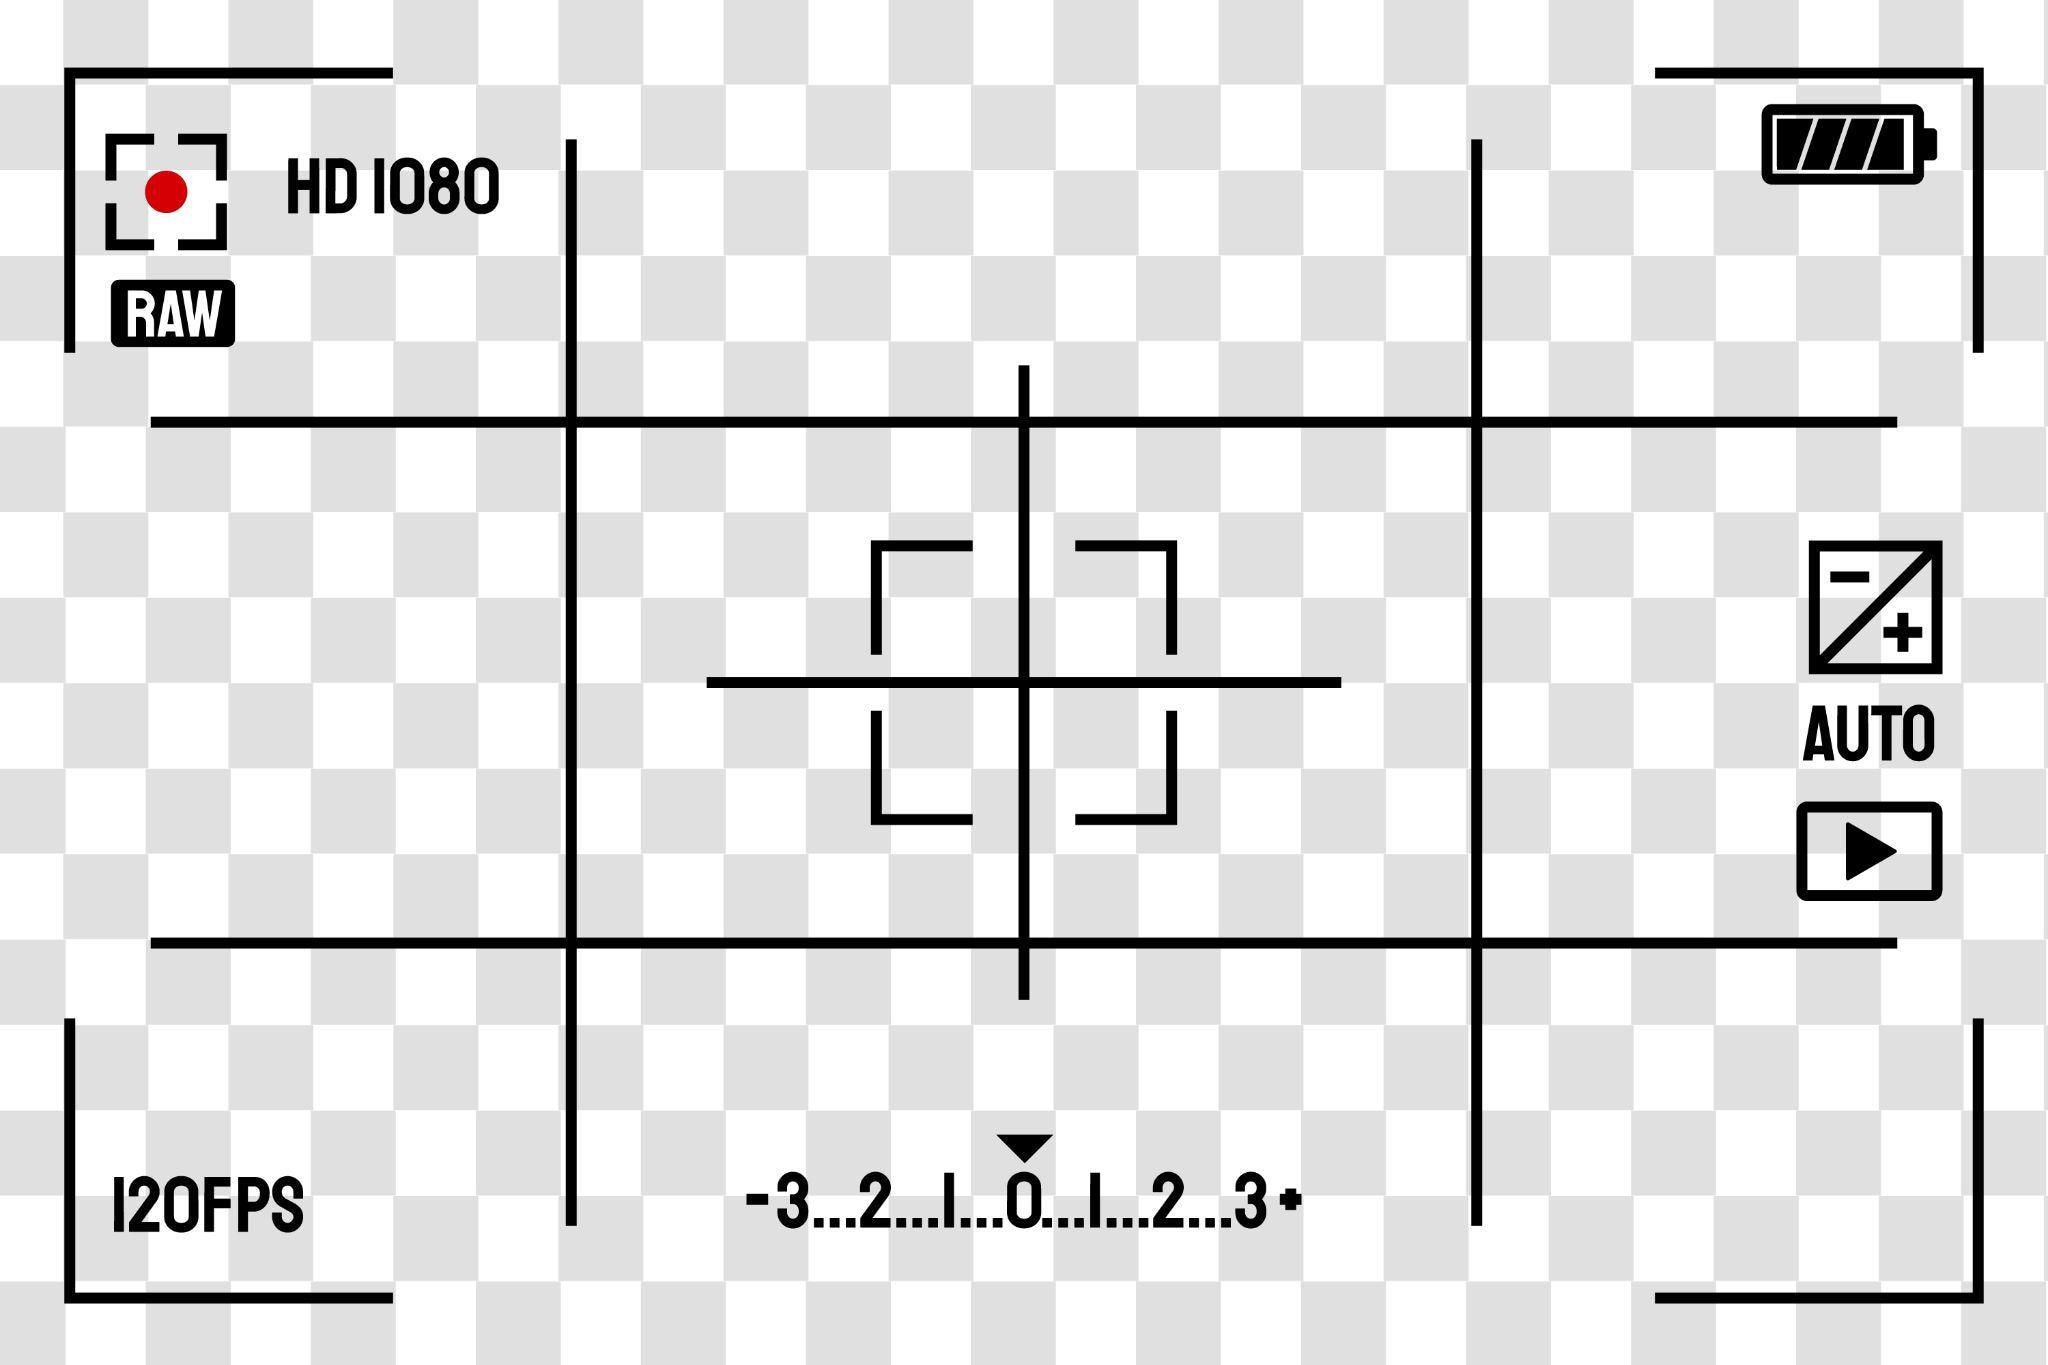
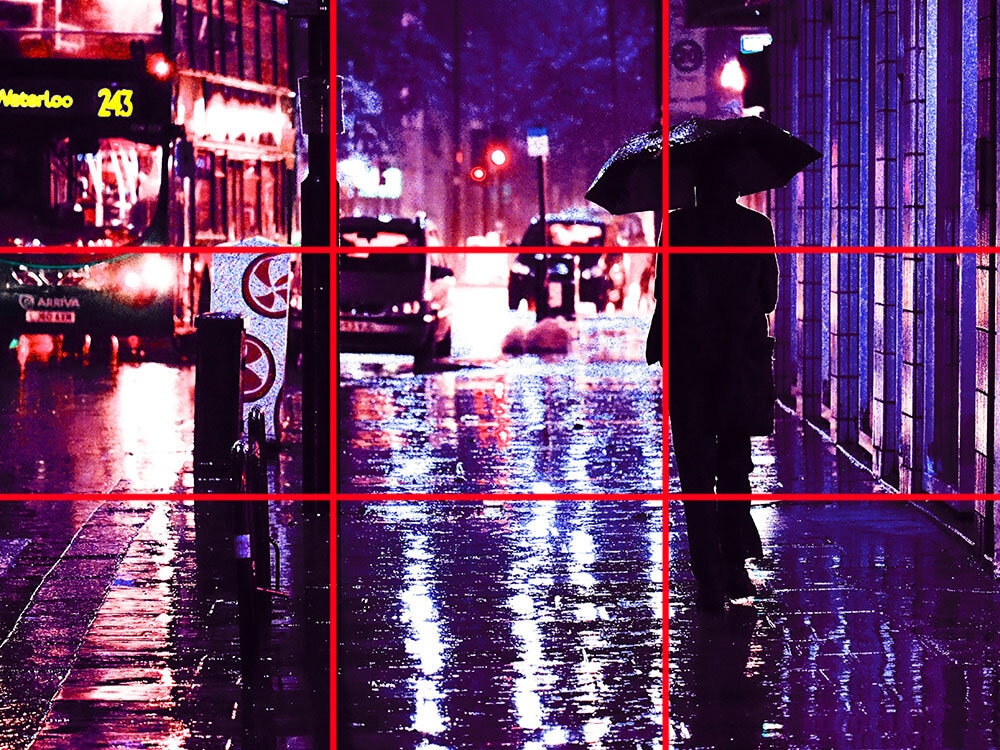
The rule of thirds is a compositional guideline in the visual arts. According to the rule, you need to divide your scene into nine parts by placing two imaginary lines that are at an equal distance from the edge of the frame, both horizontally and vertically. Then, the goal is to place important compositional elements along these lines or at their intersections to create a scene that looks balanced and beautiful in every conceivable way.
The Top Three Visual Characteristics of the Rule of Thirds
We will explain the three most important aspects of this grid-based setup to help you understand this rule more thoroughly.
Now that we have covered the basic theory, let's move on to some concrete examples.
Examples of the Rule of Thirds and How to Use It
As you might have imagined, the rule of thirds is applicable in different types of photography and videography projects. Let's look at the most common examples.
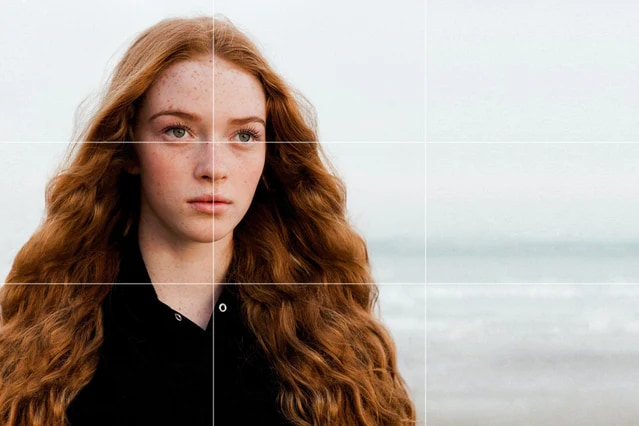
If you are snapping a portrait photo, make sure to align the subject's eyes with the top horizontal third line or at one of the vertical intersections. And, of course, place the subject off center. If you consider the example below, you will see that the model's eyes sit exactly on the upper line, and the portrait occupies the two vertical thirds from the left.
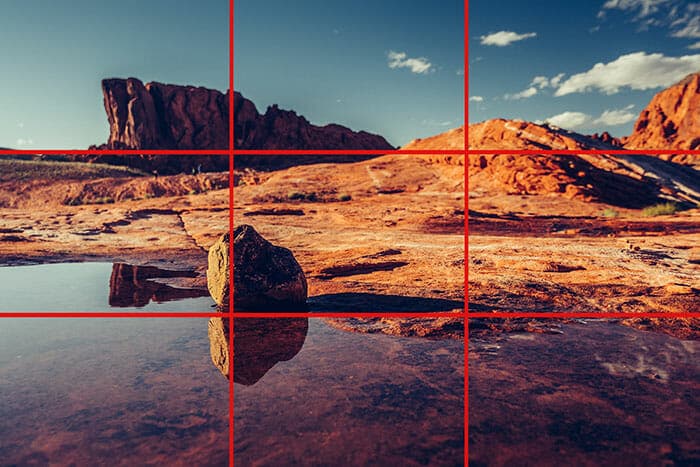
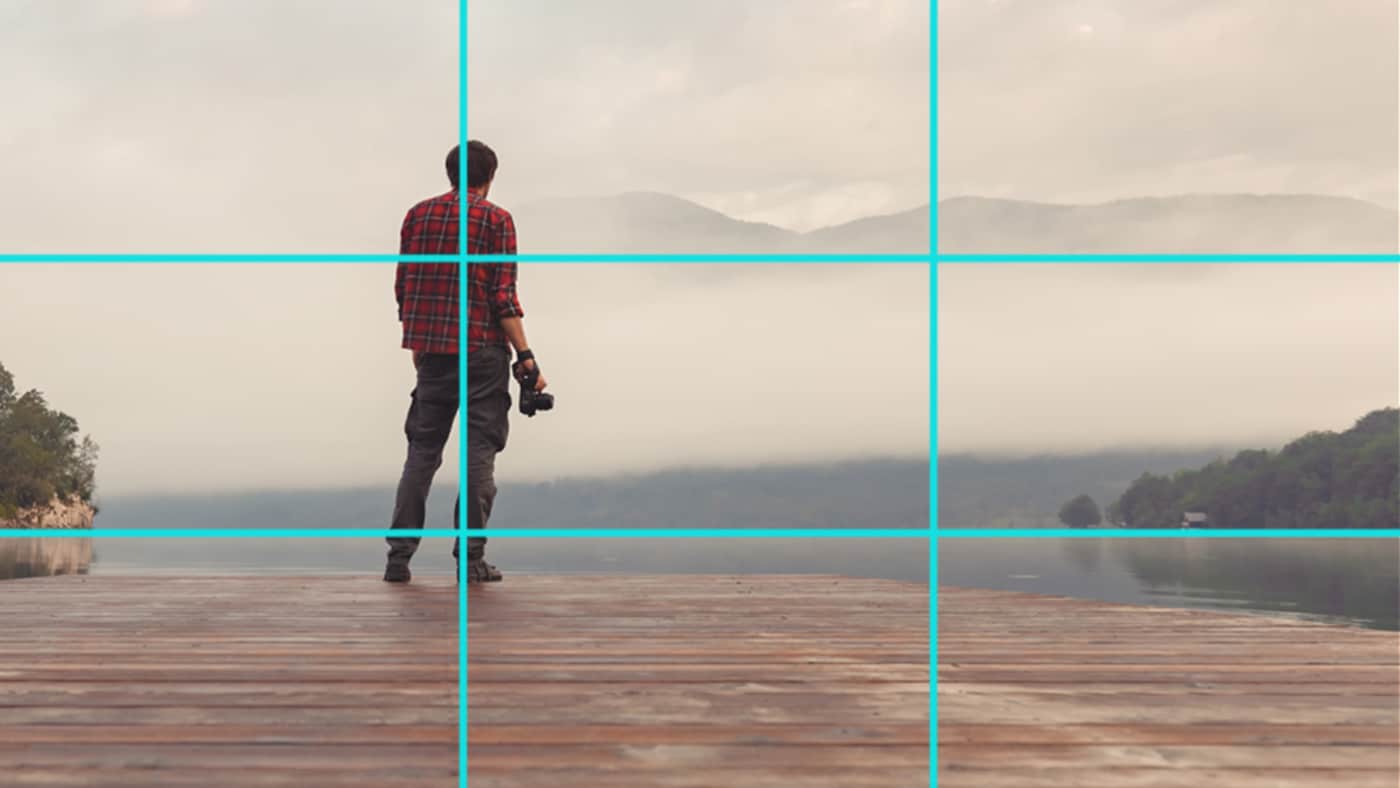
When shooting a landscape, the horizon line will always be present. Make sure that this line is placed along the top or bottom third of the grid, depending on whether you want to focus on the sky or the land. In the example below, the horizon line is placed in the top third of the grid because the focus is on the beautiful mountains and water reflections.
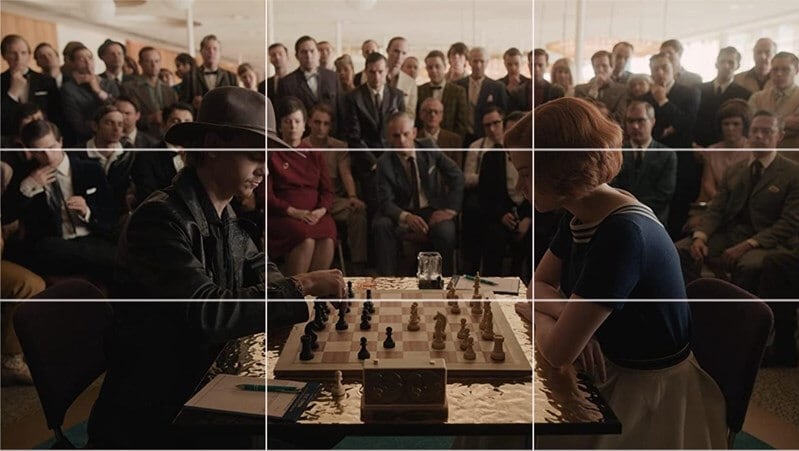
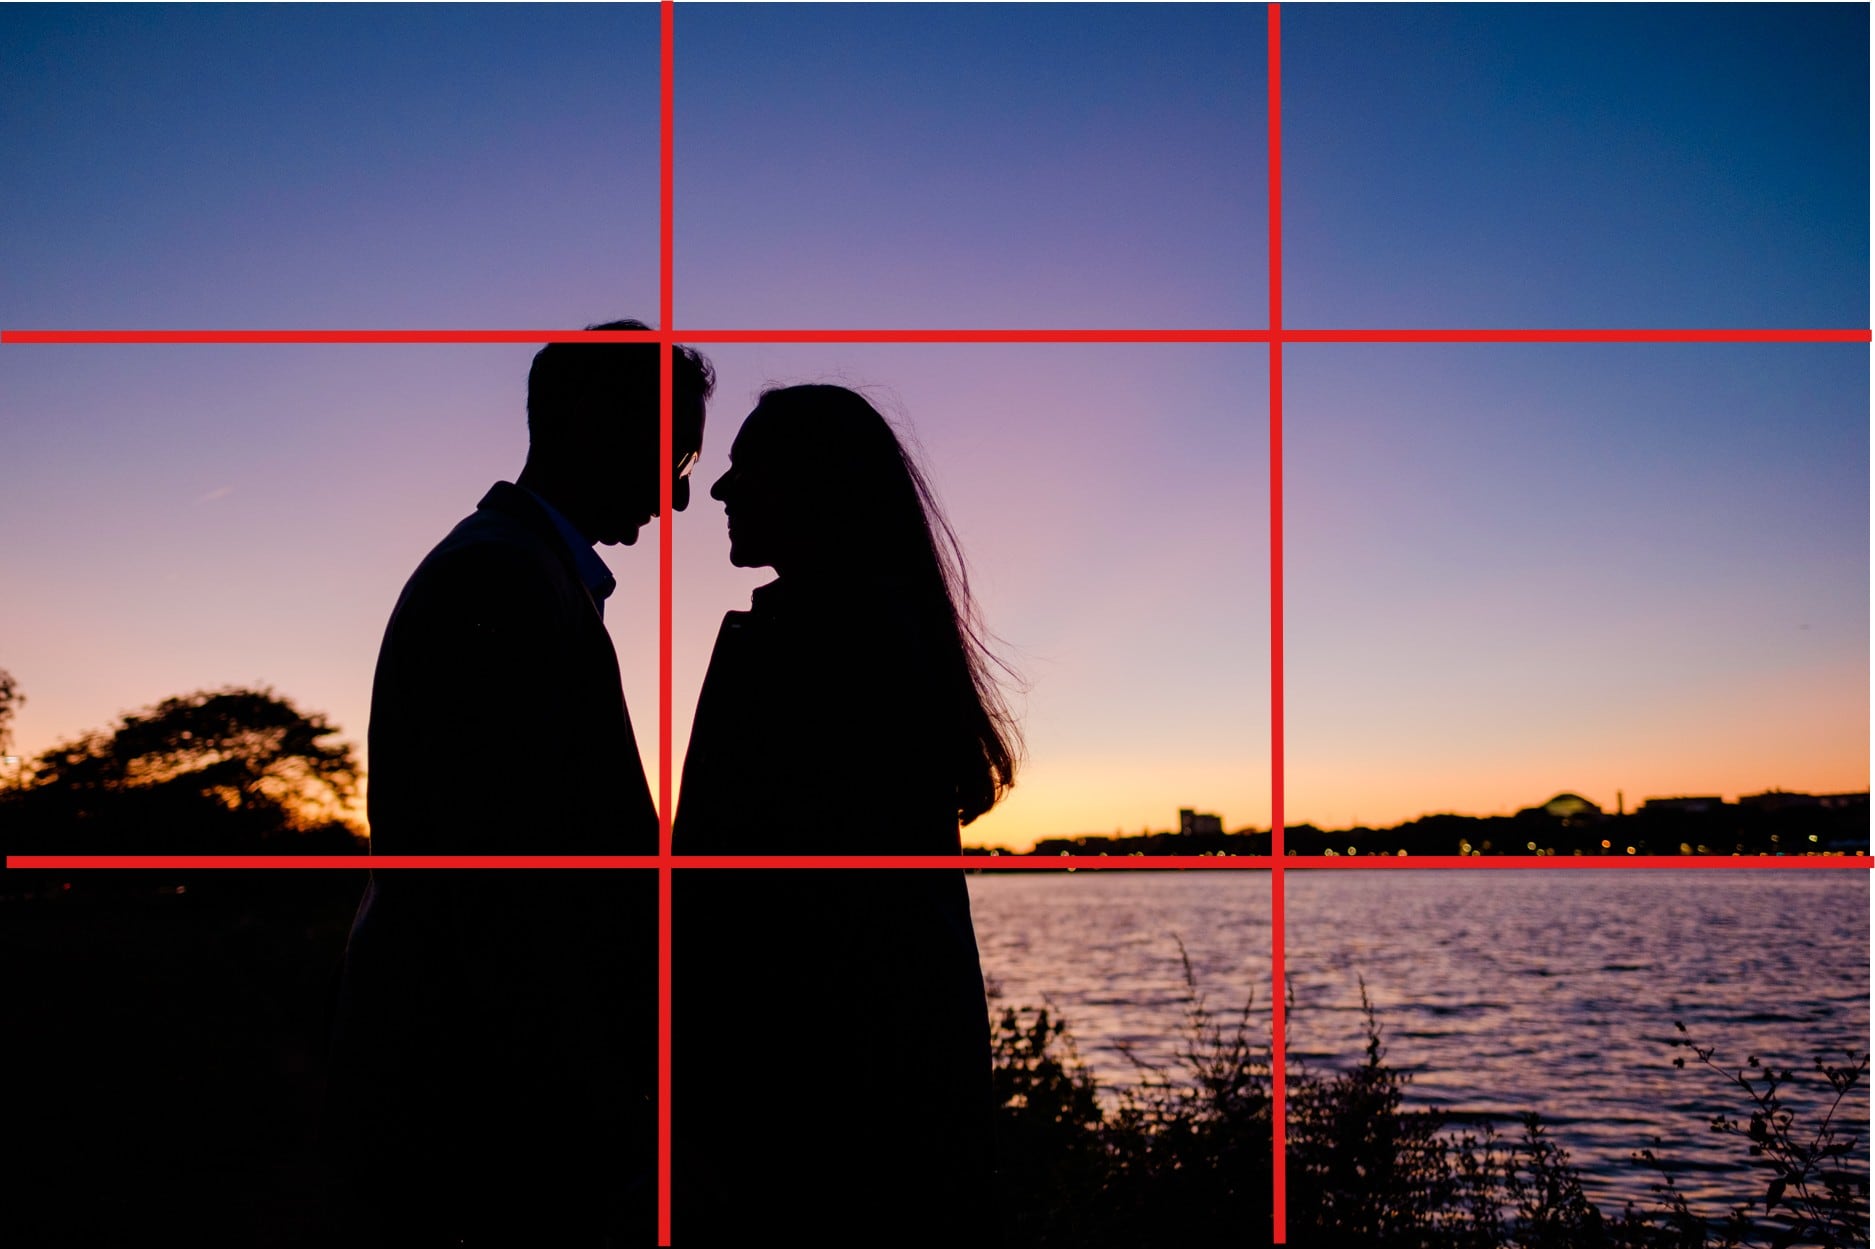
Not every scene in a video is suitable for this rule because it has many moving parts. However, if you are creating a static scene with only a few moving elements, you should follow the same rule as with portrait photography. Make sure that the subject's eyes are on the grid so that the audience will be drawn to them and focused on them.
This heartbreaking scene from Les Misérables follows the rule of thirds. Just imagine the grid above this video.
How to Enable the Rule of Thirds on Your Phone?
Whether you are using an Android or an Apple phone, you can practice the rule of thirds by activating the grid function in their respective camera apps. This will help you take perfect vacation snaps and selfies because you will have some reference points and be able to compose your shot just the way you like it.
On iPhones, the process is simple. Open the Settings app and find the Camera settings. Then, under Composition, simply toggle the Grid function. Here's a YouTube short that explains it perfectly.
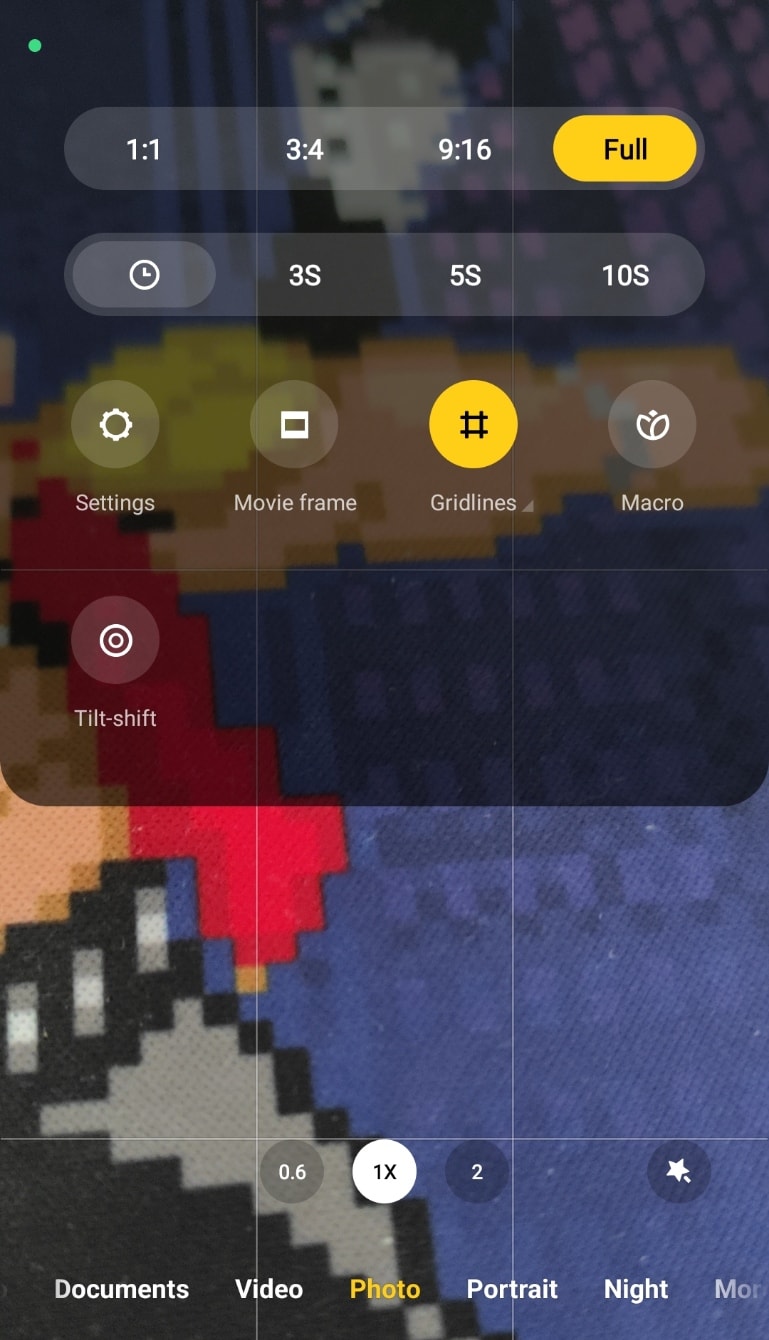
Depending on your Android phone's type (Samsung, Xiaomi, etc.), you might have a few options to activate the grid, but in all instances, you need to open your Camera, go to Settings, and activate the Grid feature. Here's a short video on how to do it on the new Samsung S25 model.
If your phone has Stock Android, the grid is available as soon as you open the Camera app and tap to explore more options. Just activate the Gridlines.
When and Where to Use the Rule of Thirds?
After you finish a few practice sessions, it's time to use the rule of thirds in a professional setting. Take a look at how this concept is used in modern art.
The Most Common Genre-Specific Applications for the Rule of Thirds
Experienced photographers and movie directors use the rule of thirds in many different genres, but we have identified the top three ones where it is most common.
How to Combine the Rule of Thirds with Other Creative Techniques
As one of the most important and most basic rules in photography and videography, the rule of thirds can be combined with other creative techniques to create amazing art. Here are a few options to consider, along with examples.
-
Pair the Rule of Thirds with an Over-the-Shoulder Shot: If you activate the grid on your camera during an over-the-shoulder shot, you will have a much easier time keeping your scene composition intact. You can move along with the scene, making sure that the grid lines follow the moving objects or characters.
Example: In a scene where a couple is arguing, the man is always centered around the left horizontal line while the woman is always on the right. Through the scene, they change places and move around, but the camera follows them and keeps the composition stable.
-
Enhance the Rule of Thirds with Depth of Field Effects: Experimenting with the depth of field setting on your camera can lead to very interesting shots that, when paired with the rule of thirds, can lead to very exciting compositions. You can control how much of the scene is in focus and let the audience admire the best aspects.
Example: In a horror scene where the rule of thirds is applied to focus on a person on the right, you can use the depth of field to distort objects in the background on the left, making the audience feel a sense of unease, not knowing what will come from the corner.
-
Introduce the Rule of Thirds with a Push-In Transition: A scene using the rule of thirds is usually visually stunning, so it's important to introduce it with a cool transition that emphasizes the new scene. A push-in transition effect is perfect for this as it will push the new scene in from the side, adding more momentum.
Example: Before you introduce a perfect landscape shot with the rule of thirds employed to get the best composition possible, you use the push-in transition effect to introduce the scene from the side. When the landscape shot appears, it will be mesmerizing.
The Two Most Common Artistic Considerations About the Rule of Thirds
Here are two tips to help you create the perfect scene composition with the rule of thirds.
And now, since we have gone through all the theories regarding the rule of thirds, it's time to learn to use an awesome tool that will help you practice this concept while making videos.
How to Practice the Rule of Thirds and Make Art?
If you have already shot the pictures or videos, and want to customize them to be more perfect, you can use a powerful editor to apply the rule of thirds technique.
You can follow the rule of thirds in Filmora with ease. Let's see how.
A Step-by-Step Guide to Following the Rule of Thirds in Filmora
Before you begin following our easy three-step tutorial, make sure that you download and install Filmora on your PC, open the program, create a new project, and import the photo you would like to edit. Let's jump into the steps.

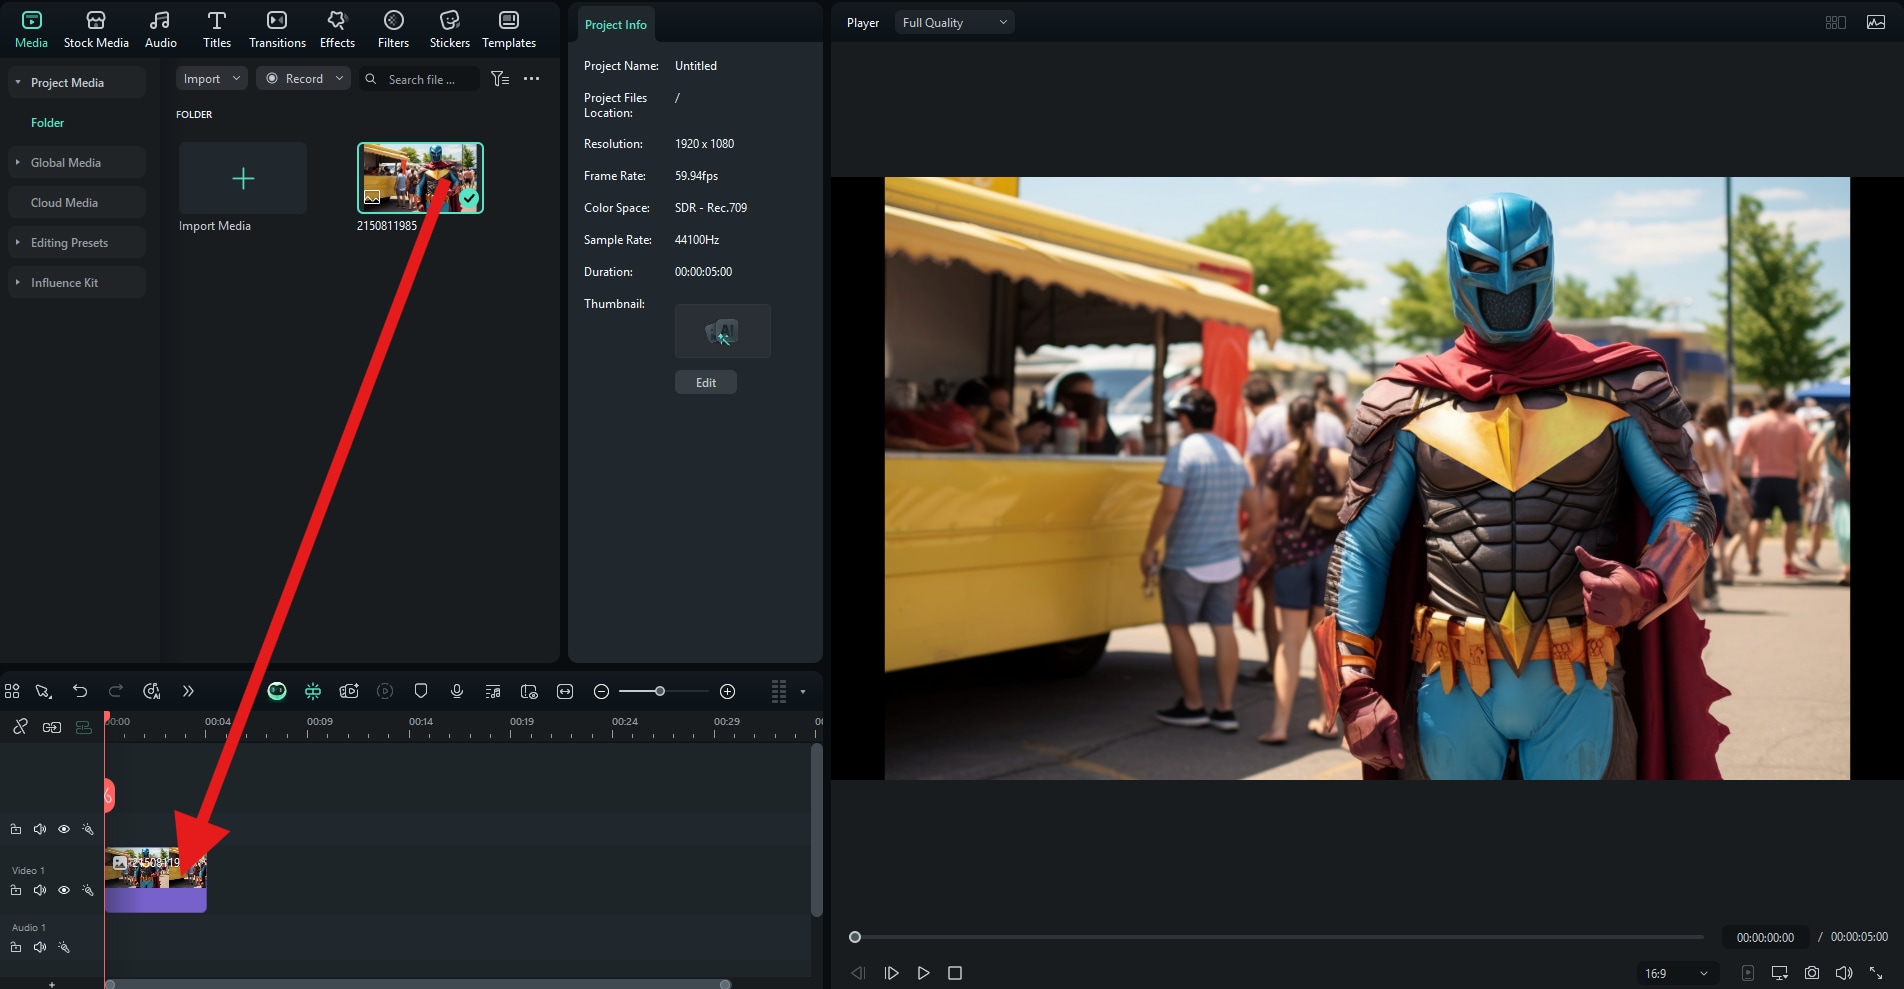
Drag your photo to the timeline.
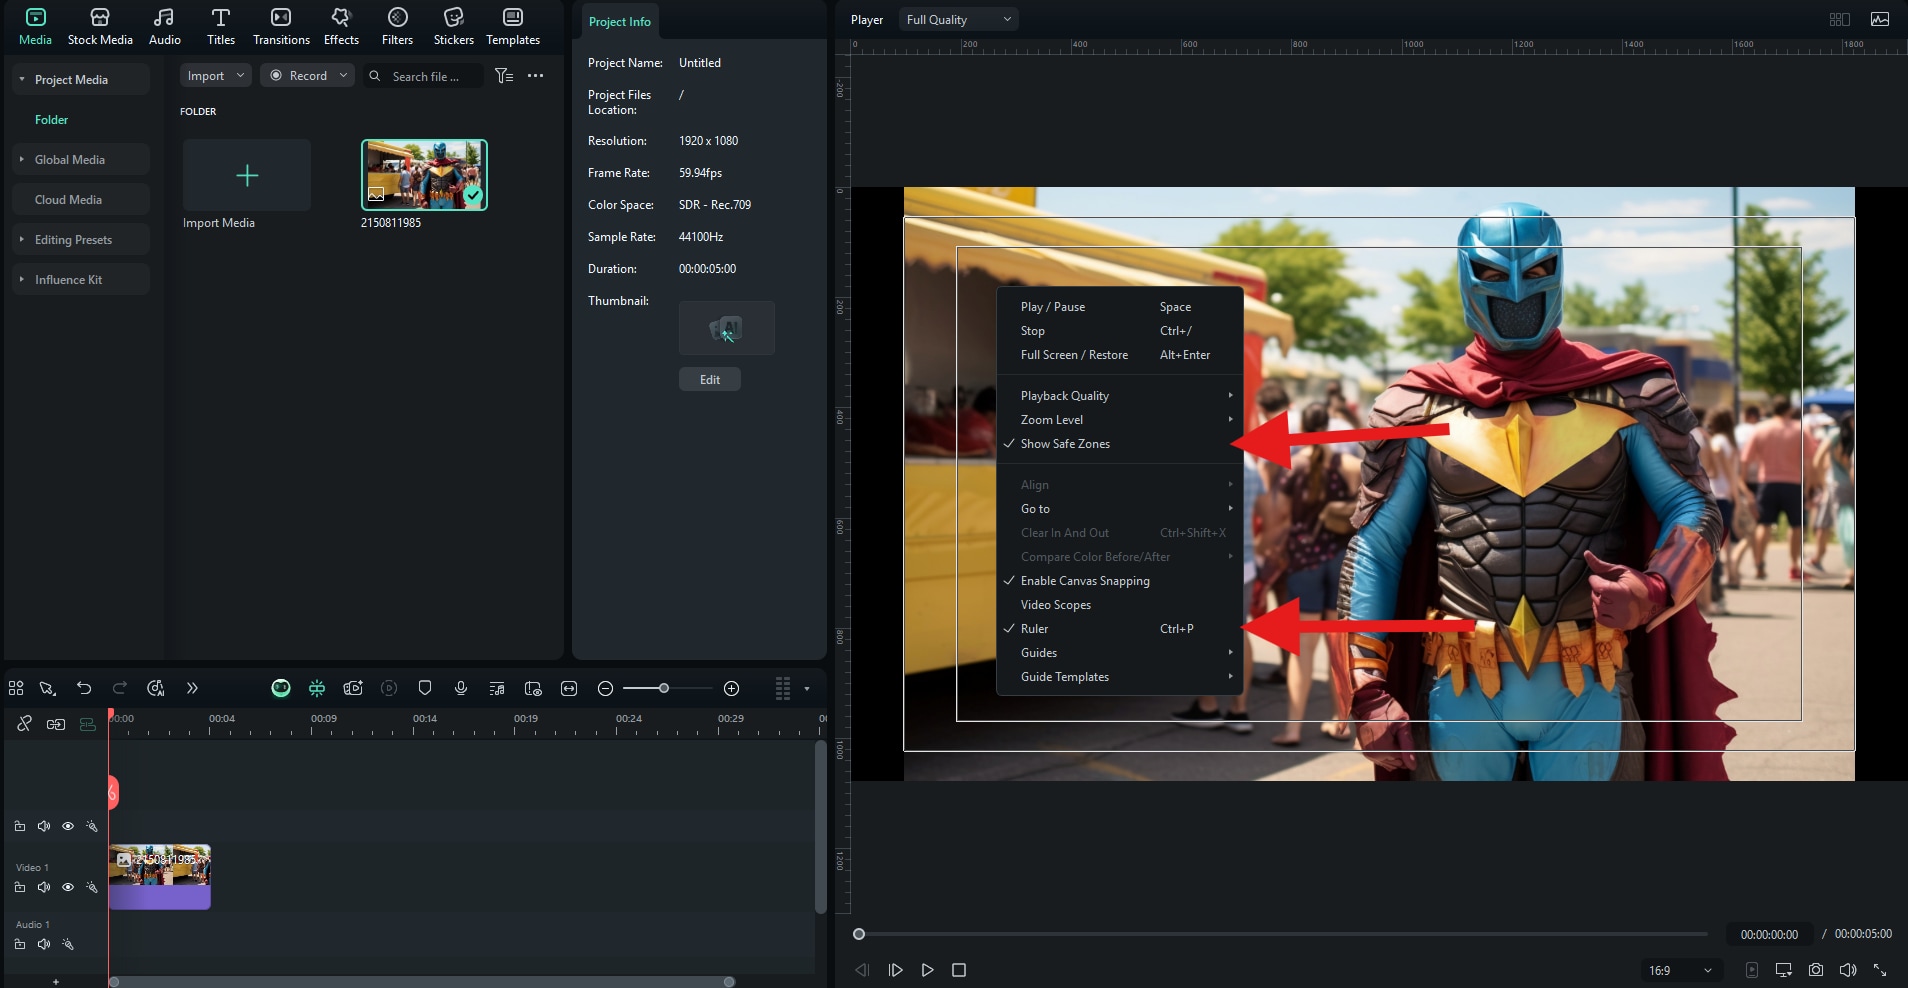
Right-click on your photo and activate the Show Safe Zones feature, and activate the Ruler. You can see both features active in the screenshot below.
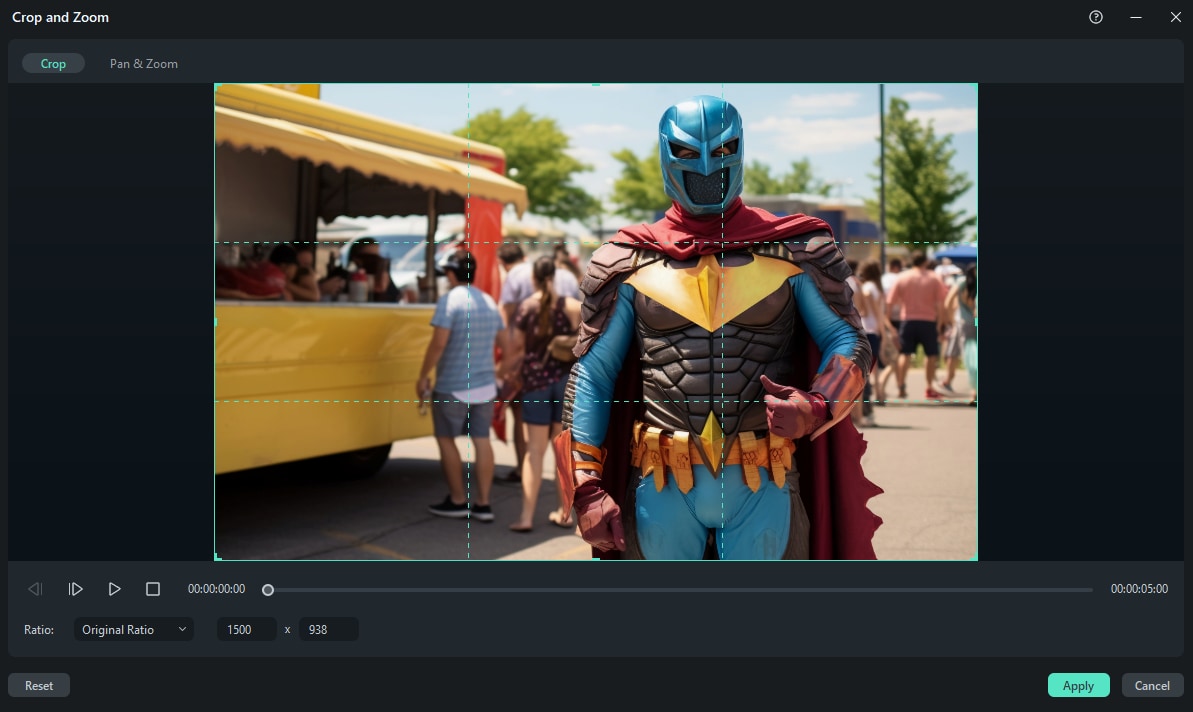
Finally, right-click on the photo and select the Crop and Zoom feature. This feature implements the rule of thirds grid, which you can use to check your composition.
What Are the Most Common Issues with the Rule of Thirds?
In this final section, we will discuss some common issues that photographers and videographers encounter with the rule of thirds, and we will provide a simple solution for each issue.