Knowing how to make some basic video edits is always a good skill to have. You might want to post a video to your social media account, but it's a bit too long and gets improperly shortened by the platform. You might need to share a specific part of a meeting recording with your team members. You might just need some extra storage space but don't want to delete all your files.
Knowing how to cut your videos would be highly beneficial in all these cases. Fortunately for you, Windows 11 offers a few different methods for this.
Learn about the top three methods to edit a video on your Windows 11 computer.
Table of Content
Can You Use Movie Maker to Edit Videos on Windows 11?

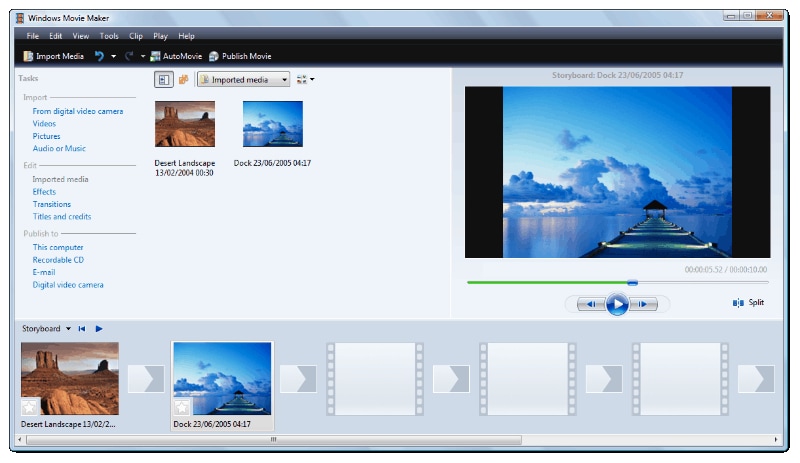
Windows Movie Maker is perhaps the most well-known video editing software for PC. Launched in 2001, it was a staple that came free of charge and pre-installed with all operating systems since the XP.
While it wasn't the most robust solution, it came with all the basic features you could need - visual effects, transitions, titles, audio effects, and even video stabilization. It supported numerous audio, image, and video file formats and was perfect for making basic edits.
Unfortunately, though, it was discontinued in 2017. So, if you wanted to edit videos on Windows 11 (available since 2021), you're out of luck if you were hoping to do it with the Movie Maker.
Still, there are other ways to edit videos on a Win 11 device.
Three Methods for Editing Videos on Windows 11
Although Movie Maker forfeited the game, you can still access convenient video editing methods. Windows still has useful built-in tools designed for this, and you can also rely on different online and downloadable third-party solutions. Check them out.
Method 1. How to Trim/Cut Videos on Windows 11 Using Built-in Tools

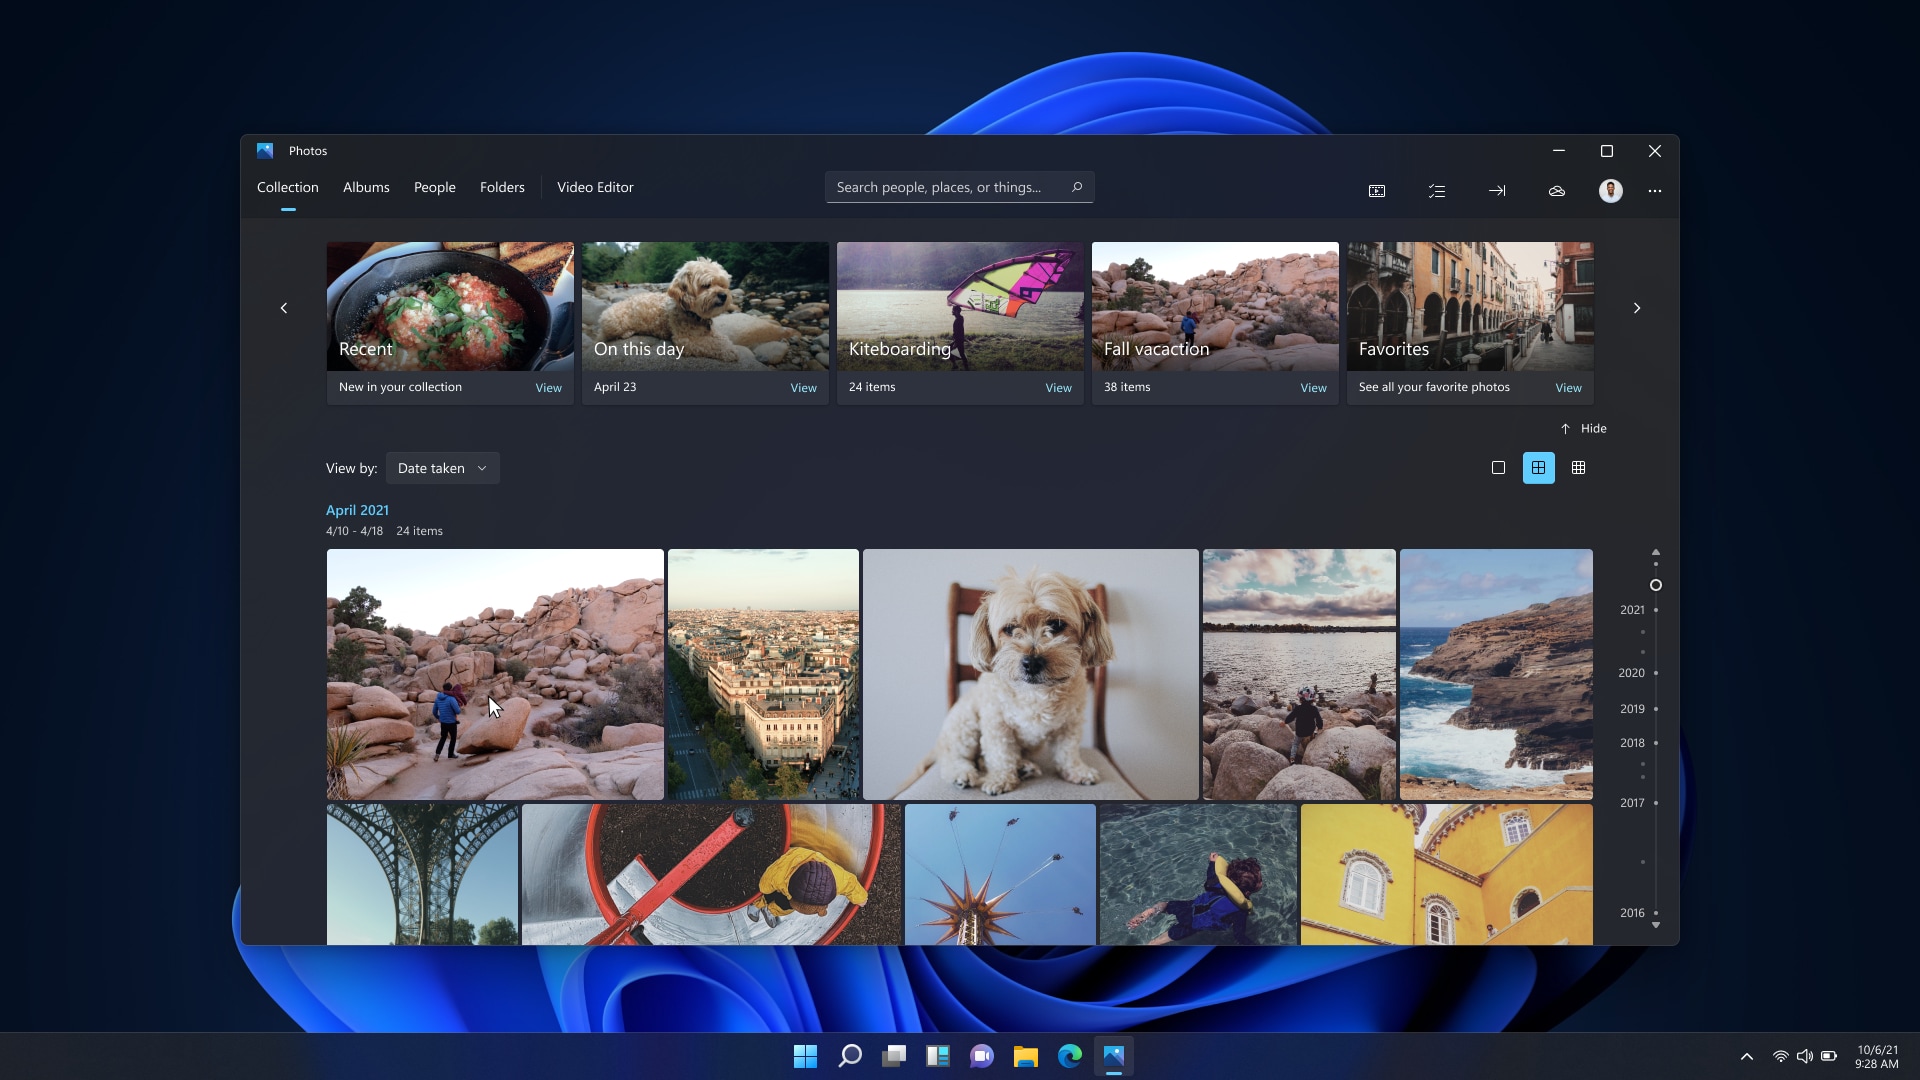
Windows didn't just hang its users out to dry by discontinuing Movie Maker. It replaced it with the Microsoft Photos App.
Despite the name, the Photos App doesn't work solely with images. It's the free pre-installed app on Win 10 and 11 for viewing all your media files - photos and videos. Moreover, it allows you to make basic edits on both, so it's a great tool if you want to perform a simple task like trimming videos on Windows 11.
You can use it to keep your media nicely organized and easily shareable from your PC, OneDrive, or iCloud account.
While it's not quite as feature-packed as downloadable editors or even earlier freeware like Movie Maker, it gets the job done when you need to quickly trim your clips.
Here's how to cut videos on Windows 11 with the Photos App:
- Open File Explorer and find the video you want to trim;
- Right-click on the video and go to Open with > Photos;

- Click the Video Trim icon at the top of the screen;
- Drag the Sliders at the beginning and end of the seek bar to trim your video;

- Click Save as, select your save location, and click Save.
Method 2. How to Trim/Cut Videos on Windows 11 Using Online Tools

In some instances, the built-in tools on Windows 11 won't be able to cut it. Your file format might not be supported or need access to some additional features. The next best thing you could do is use an online tool.
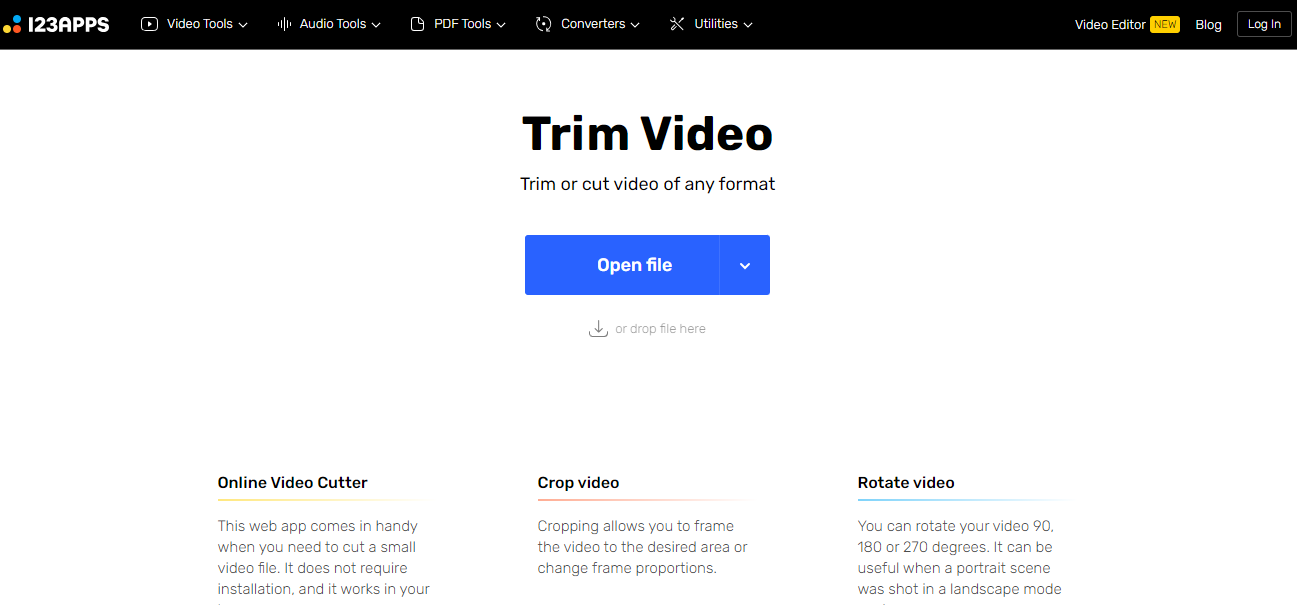
These tools come in all shapes and sizes - some are basic free video cutters, while others are comprehensive cloud-based online editors. If you want to keep things simple and need to just quickly trim your video, you could use a tool like Online Video Cutter.
Developed by 123apps, it's a simple solution. It's free to use and requires no downloads or sign-ins. Simply visit the website and trim your video.
You'll also have access to a few additional features for free:
- Crop video
- Rotate video left or right
- Flip vertically or horizontally
- Change resolution
- Adjust volume
- Change video speed
- Loop video
- Add image
- Add text
Here's how to cut your video on Windows 11 using the Online Video Cutter:
- Open your browser and access the Online Video Cutter website;
- Click Open File or drag and drop your video;

- Once your video uploads, click the Trim icon;
- Drag the Sliders on the seek bar at the beginning and end of your video to cut it;

- Click Save > Save;
- Find your video in your Downloads folder.
Method 3. How to Trim/Cut Videos on Windows 11 Using Video Editing Software

Built-in and online tools can be sufficient for quickly trimming your video and sharing the shortened version on social media, for example. But what if you want to cut a few clips, merge them, personalize your trimmed videos with effects or stickers, and do more advanced editing in Windows 11?
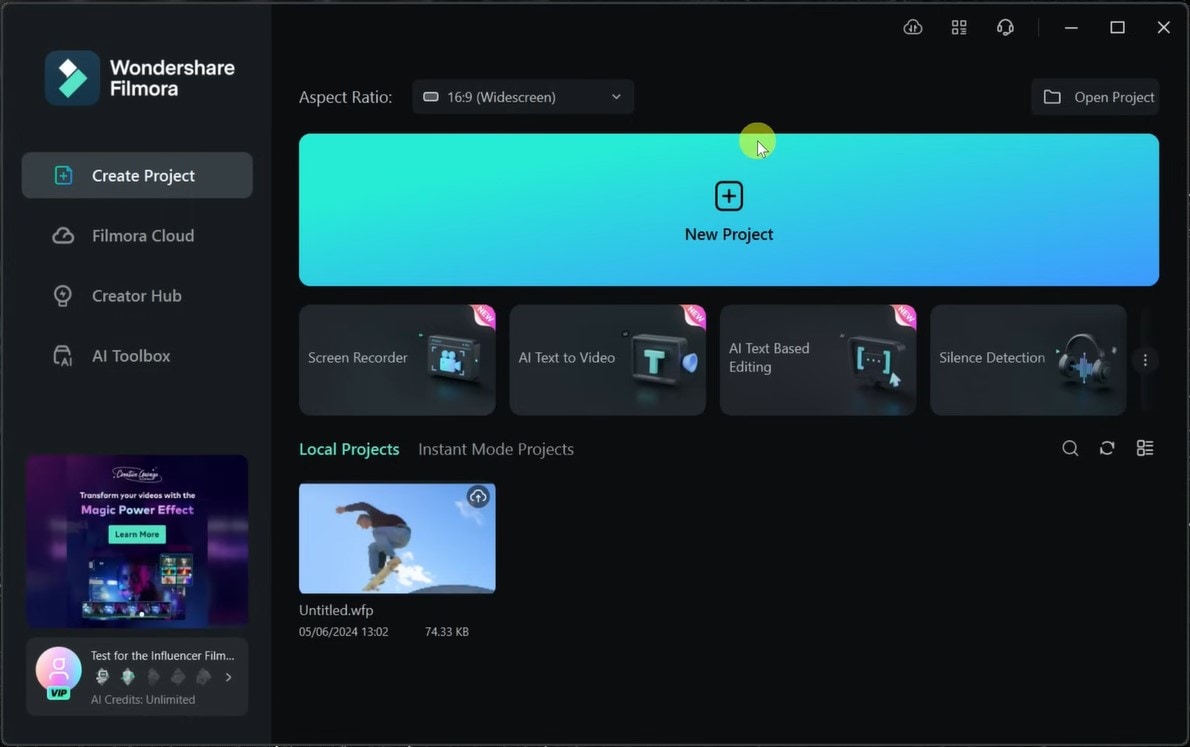
In those instances, you need a professional video editor like Wondershare Filmora.
A sophisticated AI-powered tool, Filmora is an all-in-one editor with exceptional capabilities. You can rely on it to quickly cut and trim your videos but also to create eye-catching content suitable for personal and professional use.
Whether you just want to enhance the quality of your social media posts or create marketing content, educational videos, tutorials, and more, Filmora will have your back.
Here's how to cut videos on Windows 11 using Wondershare Filmora:
- Install and launch Filmora, then click the Login button to register your account;
- Click New Project, go to File > Import Media, and upload your video;

- Drag your video to the timeline below;
- In the timeline, hover your cursor over the clip until the Trim icon appears;

- Drag the Trim icon at the beginning of your clip to the frame where you want the cut video to start;
- Drag the Trim icon at the end of your clip to the frame where you want the cut video to end.
If you want, you can continue editing your video using more advanced techniques. If it's just video cutting you wanted, click the Export button to save your trimmed video or share it to your chosen platform.
Tips for Editing Videos on Windows 11
Making basic edits is relatively easy on Windows 11. Here's what you can do to ensure that your edits always look great:
- Use the right tools - not all editors are the same. If you need to make simple edits, basic tools like the Photos app or online solutions could be enough. If you need more advanced editing, you'll want a solution like Filmora;
- Use high-quality videos - low-resolution, shaky, and poorly shot videos will always leave something to be desired. You need high-quality footage if you want your edits to come out professional;
- Remove excesses - pauses at the beginning or the end of your videos, unnecessary shots, and awkward silences in the middle of your videos should always be removed;
- Start small - if you're not experienced with editing, start small and first work on projects that aren't important;
- Familiarize yourself with the editor - even the simplest editor takes some getting used to. Take the time to familiarize yourself with it before you start editing important projects.
There are countless great video editing apps designed for the Windows 11 operating system. Whether you go with built-in tools, online solutions, or comprehensive third-party editors, you should be able to find the tool you need with the utmost ease.
Conclusion
Cutting your videos shorter on Windows 11 is a simple editing task. If you just want to remove excess footage, built-in tools like the Photos app or free online solutions like the Online Video Cutter can do the job just fine. However, if you want more out of your video editor, give Wondershare Filmora a try. With Filmora, your only limit is your imagination.


 100% Security Verified | No Subscription Required | No Malware

