
 100% Security Verified | No Subscription Required | No Malware

Changing eye color in a video can completely transform a person’s look. From subtle edits to fantasy effects, this technique helps add style. They also add mystery or emotion to your content. With Wondershare Filmora, you can make this edit using AI, motion tracking, and masking tools. It takes just a few clicks.
In this guide, you will learn how to change eye color in video editing using smart tools. You will also see how to get clean and polished results in a few steps. Filmora makes it simple for creators who want fast and impressive edits. Are you ready to learn more? Keep reading!
In this article
Part 1. Why Eye Color Changes Make a Big Impact in Video
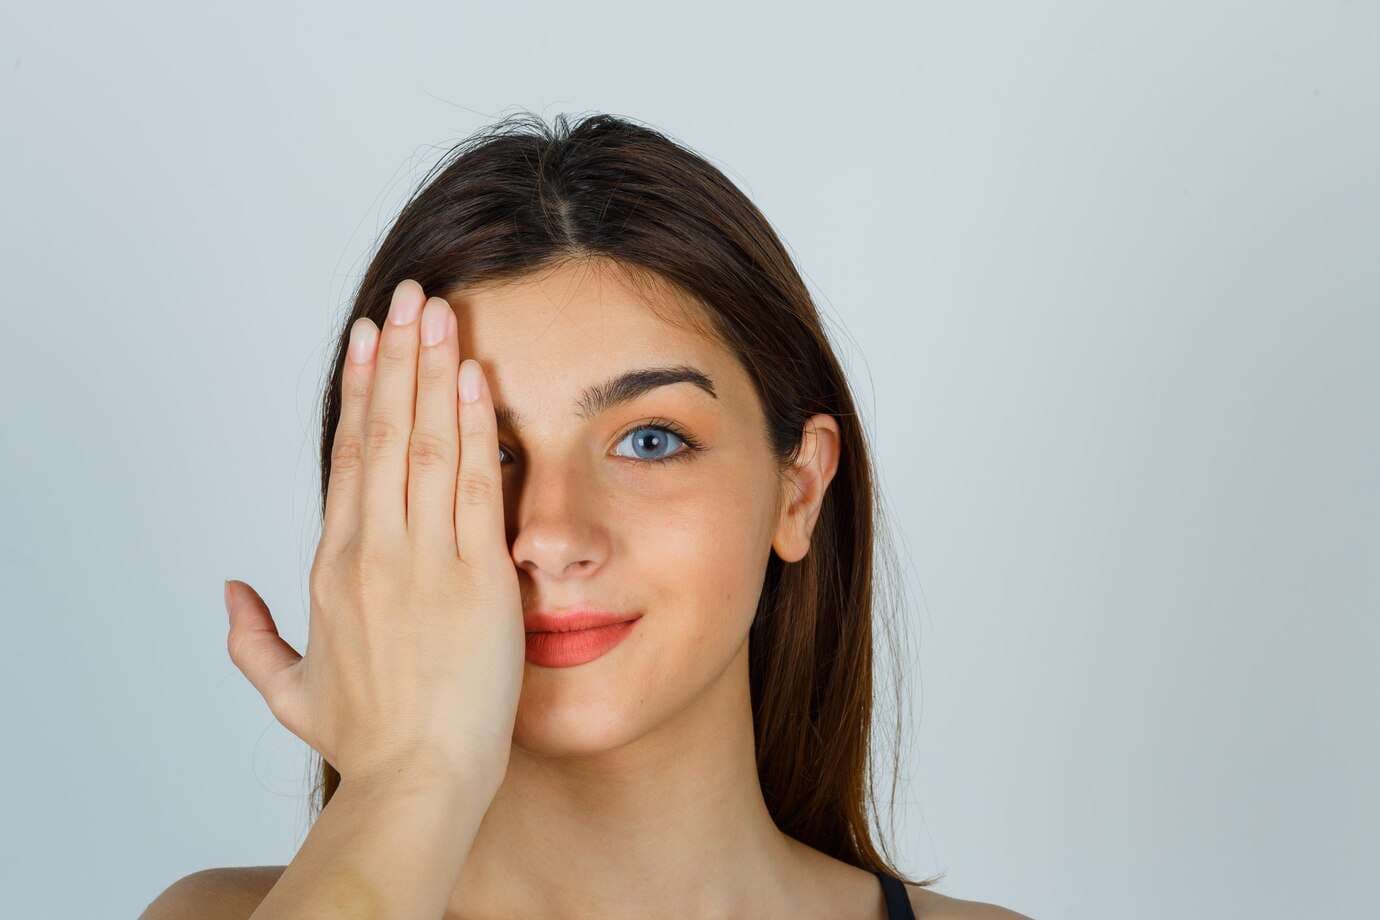
Eye color is one of the first things people notice in a face. When filming close-ups or medium shots, the iris often becomes the center of focus. Changing the color can change the entire feel of your video.
For storytelling, eye color can be used to express different moods or characters. Here are some examples of how it makes an impact:
- Bright blue or green eyes help create a magical or fantasy look.
- Red, black, or pale eyes work well in horror or supernatural scenes.
- Metallic or neon eyes fit well in sci-fi or cyberpunk settings.
- Cosplayers can match their eye color to the character they are portraying.
- Makeup artists and beauty influencers can show off different styles and share ideas.
- Character designers can test different looks for unique branding or identity.
Eye color effects are also useful in ads, music videos, and short films. They help you stand out and leave a lasting impression.
Before smart tools existed, changing eye color took a lot of time. Editors had to draw the masks frame by frame and keep adjusting them as the person moved. This method worked, but it needed skill, time, and patience.
Now, Wondershare Filmora has a faster solution. You can use masking tools, apply motion tracking, and pick from AI presets. The effect stays in place, even if your subject moves or blinks. Filmora changes that with smart editing tools that save time and give professional results. Here’s how:
 secure download


Filmora makes it easy to isolate the iris using shape masks. You can create a circular mask, resize it to fit the eye, and apply it only to the color matte. This removes the need for complex selections or manual drawings.
Filmora can track eye movement automatically. Once you mark the iris with the tracking box, the color overlay follows it frame by frame. This keeps the effect consistent, even when your subject moves, turns, or blinks.
- Adjustable Blending and Opacity
You can fine-tune how the new color blends with the real eye. Filmora lets you choose blending modes like “Soft Light” or “Overlay,” and adjust the opacity to make the result look natural instead of painted on.
- AI Eye Color Presets
If you want fast results, Filmora’s AI tools detect eyes instantly and let you apply new colors in one click. Filmora’s AI eye color changer includes natural tones, vivid fantasy colors, and options that work great for beauty and stylized content.
Part 2. How To Change Eye Color in Video Editing
This section shows you how to change eye color in video editing step by step using Filmora. Follow the guide below:
Step 1: Import Your Video into Filmora
Download and install Filmora on your computer. Launch the tool and log in or register for a Wondershare account to get started. Create a new project and choose Import. Select your video file. Drag the clip into the timeline to begin. Alternatively, you can choose an asset from the Stock Media menu.
secure download 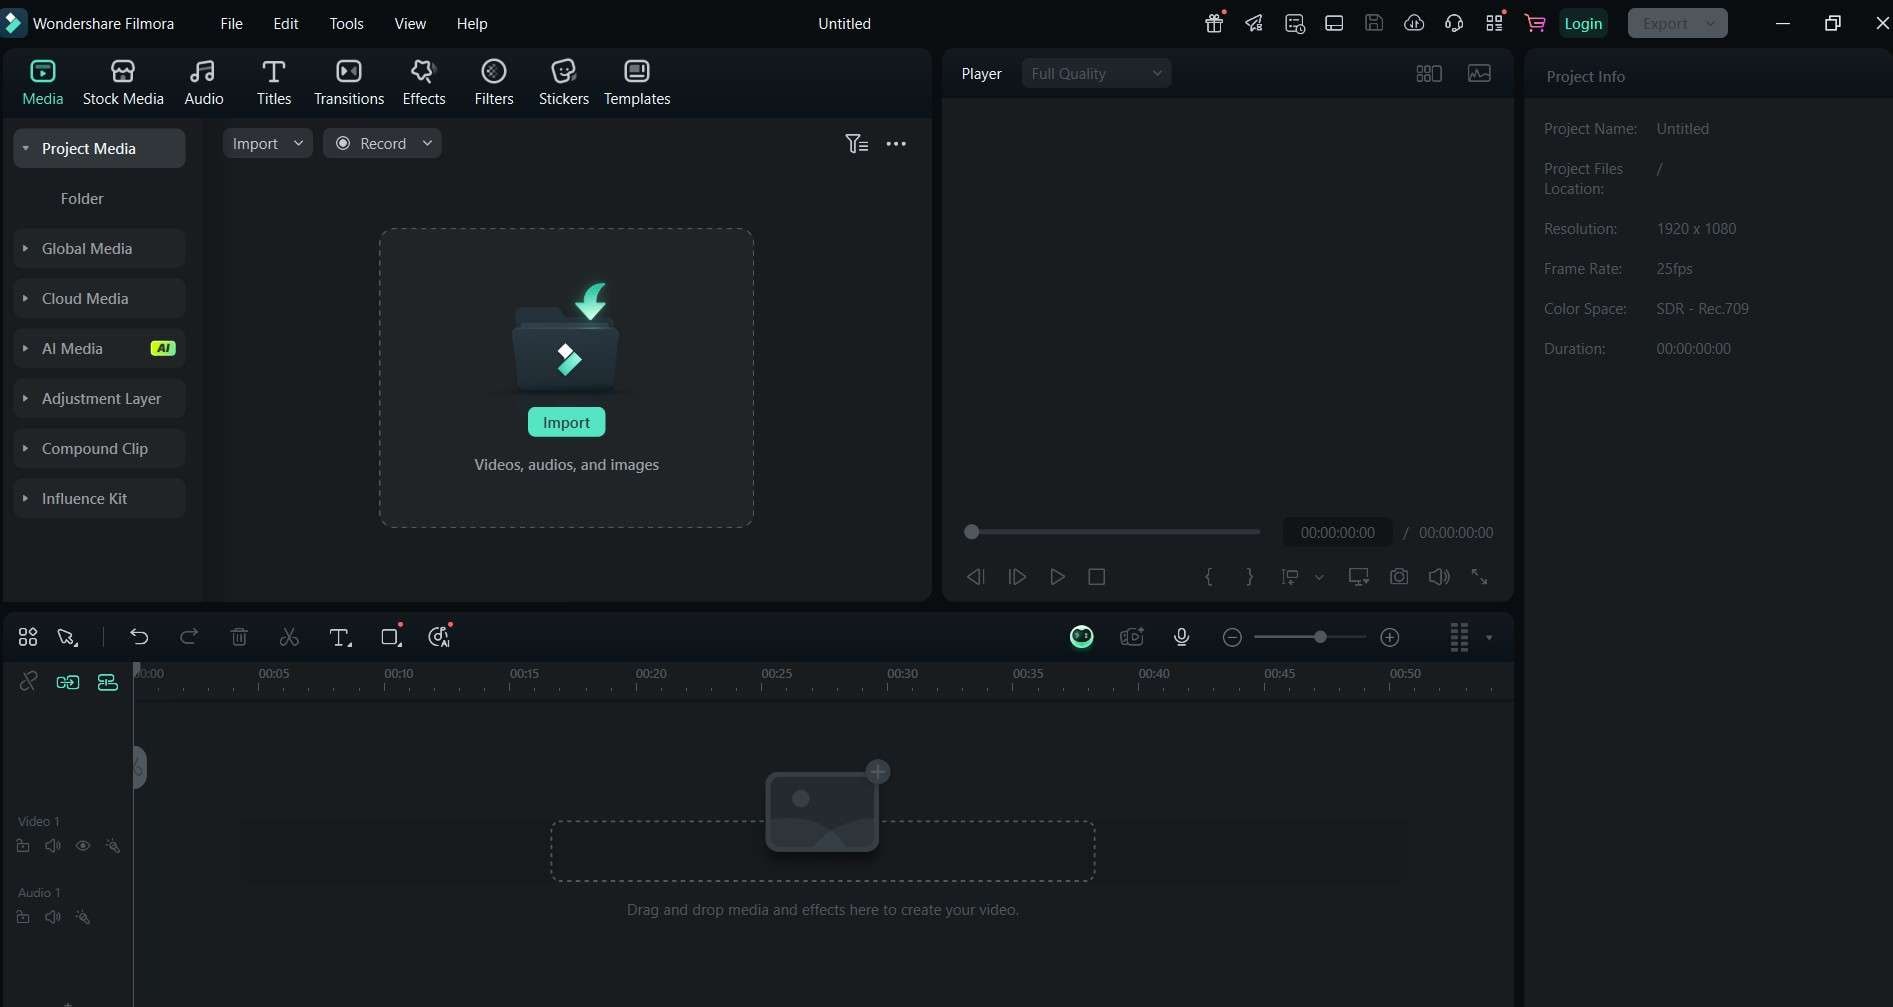
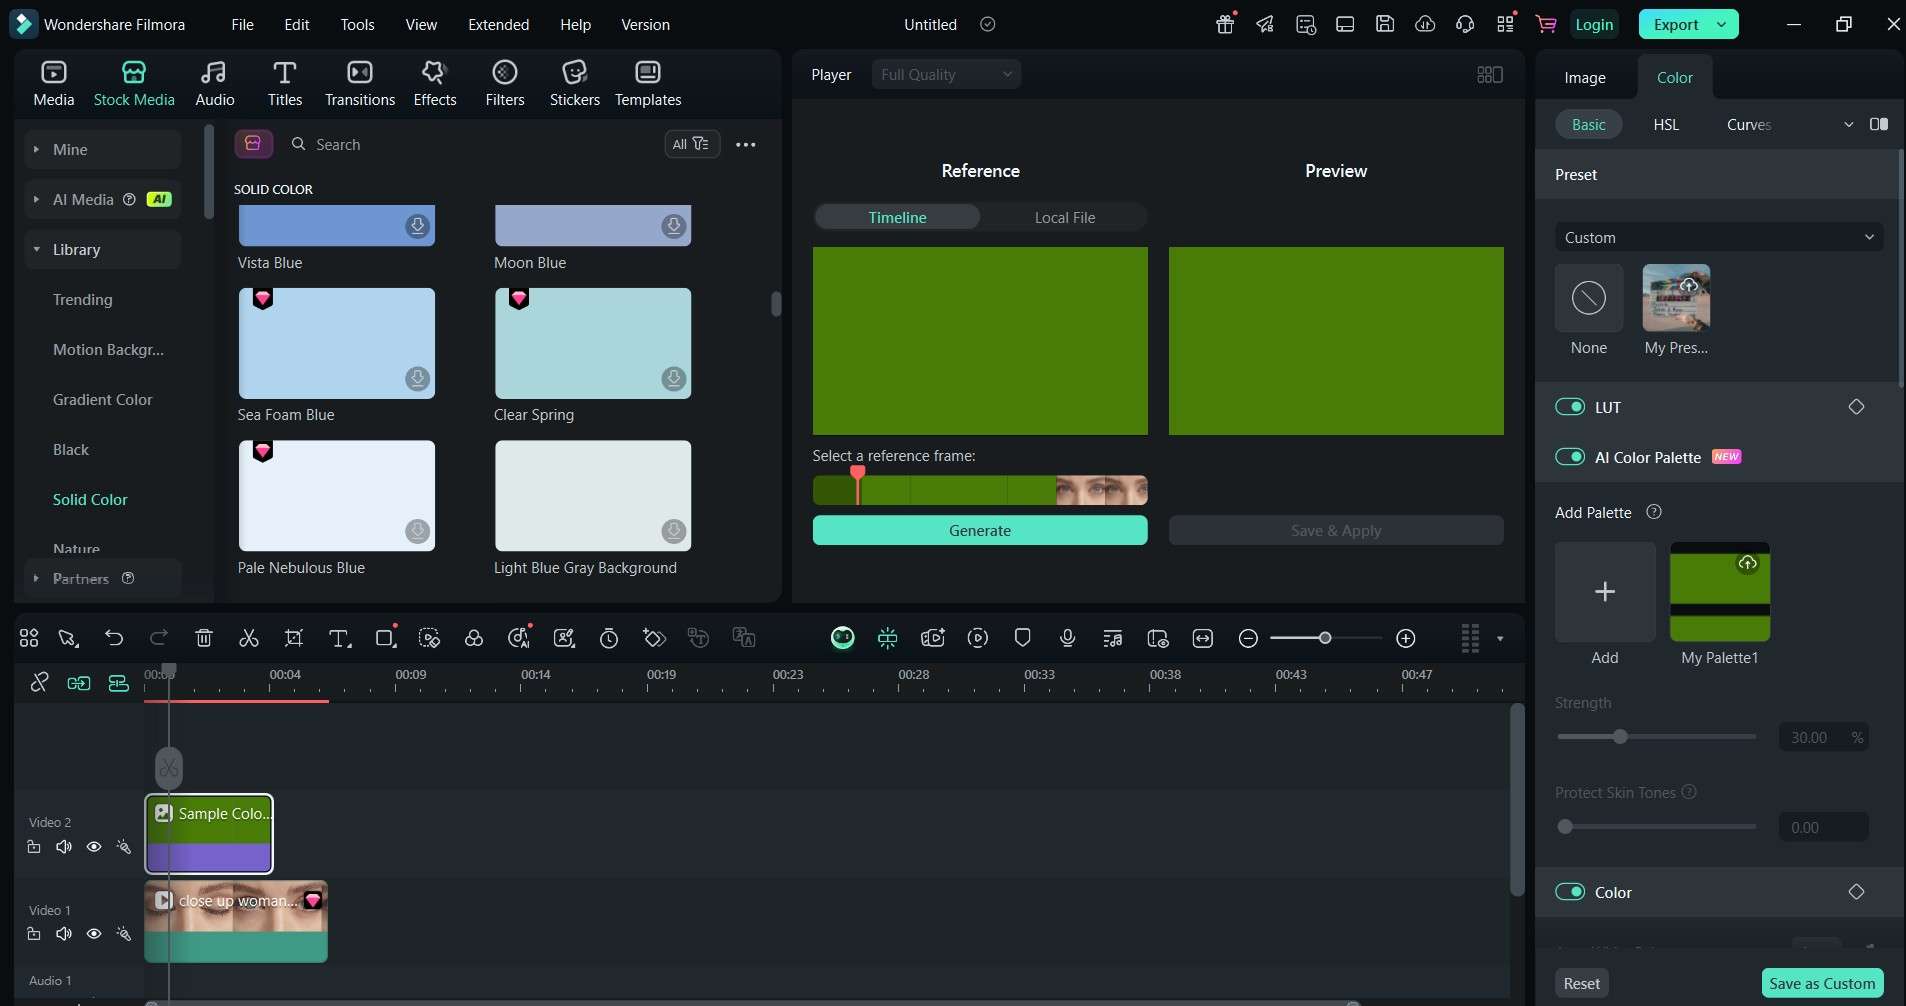
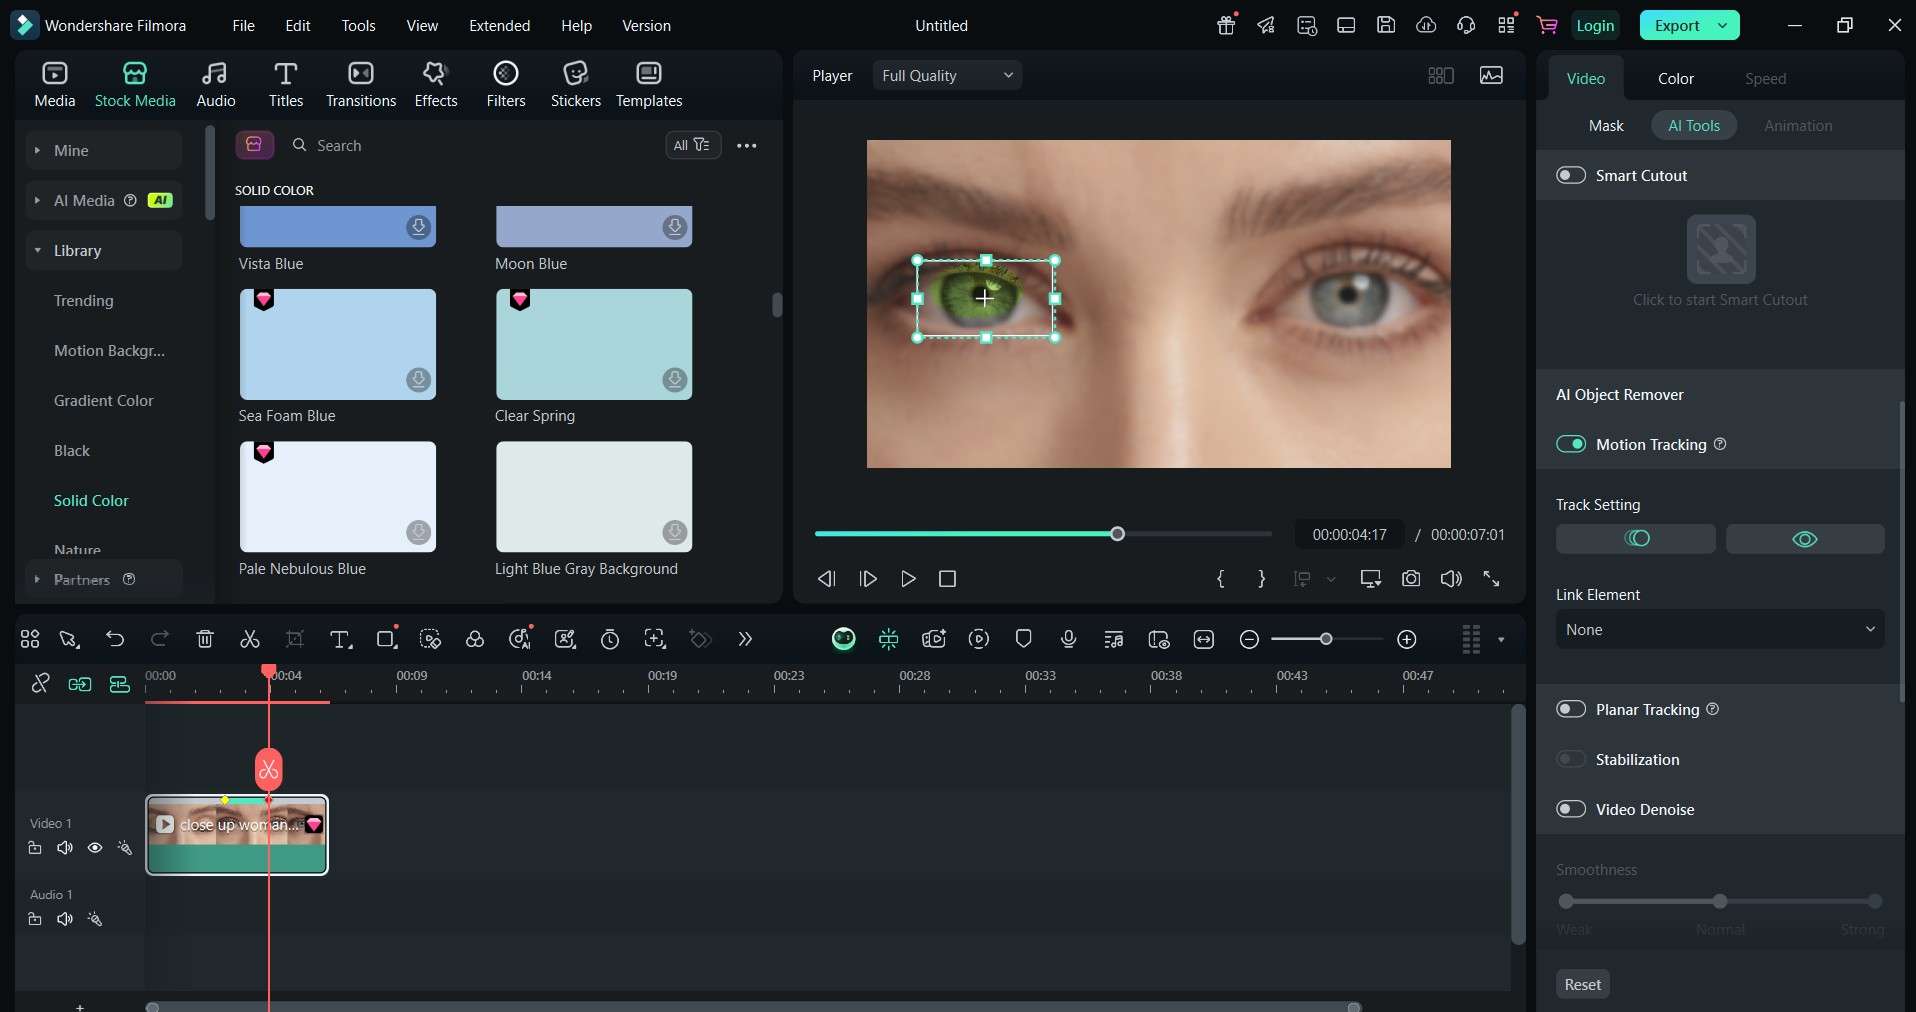
Step 2: In the Stock Media menu, click Solid Color. Choose a color that matches your desired eye color. Drag the color matte to a new layer above your main video track.

Step 3: Click the color matte layer. On the right-side panel, choose Color > Basic > AI Color Palette. Select a reference frame and choose Generate, then Save & Apply it. Adjust the Strength using the sliders.
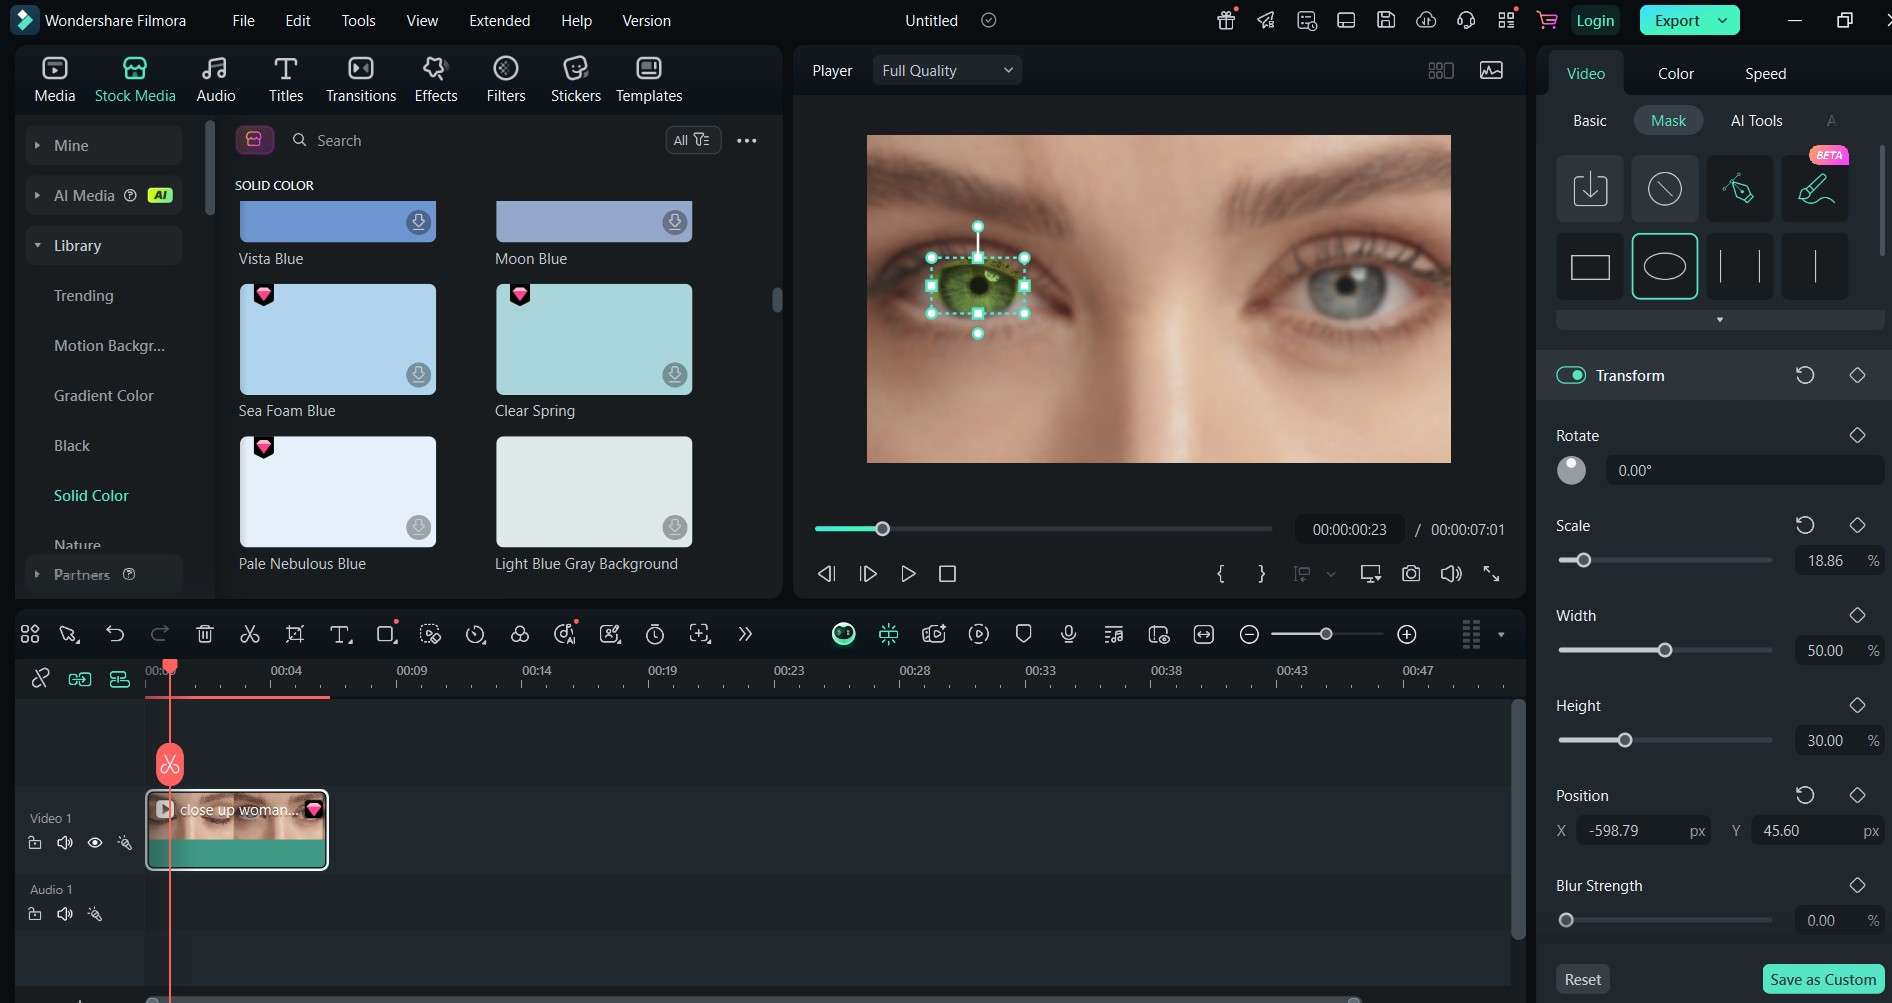
Step 4: On your video file, choose Video > Mask, then select the circle shape. Adjust the mask so it fits over the iris. You can move, resize, and shape the mask to match the eye area.
Step 5: Add Motion Tracking
Click your video layer. Choose Video > AI Matting > Motion Tracking and place the tracking box over the eye. Filmora will follow the movement. After tracking, link the color matte to the tracking point. The new eye color will now stay in place.
Step 6: Click Export when you're done. Choose MP4 for general video or GIF for short loops. Use 720p or 1080p resolution for the best balance of quality and file size.
With these steps, you can change eye color in a video quickly and with precision. You do not need advanced editing skills to get good results. Try Filmora’s smart tools today to create strong, eye-catching visuals.


Part 3. Top GIFs & Videos to Showcase Eye Color Change Effects
Seeing how the eye color effect works in action is the best way to understand what makes it so powerful. In this section, you’ll find GIFs and video clips that break down each part of the effect.
If you're looking for inspiration before you change eye color in a video online or on your desktop, the visual samples below will give you a clear idea of what to expect:
GIF 1: Side-by-Side Eye Color Change
This side-by-side comparison shows edited eye colors on the top and bottom versions of a clip. You can instantly see how the effect changes the tone of the face. It’s perfect for creators who want to test new looks for beauty content, cosplay, or fantasy edits.
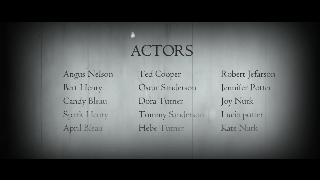
GIF 2: Isolating the Iris with a Mask
This clip shows how a circular mask is applied to the iris area. It demonstrates the importance of precision in placement. A tight, feathered mask helps blend the new color naturally without affecting the rest of the eye or face.
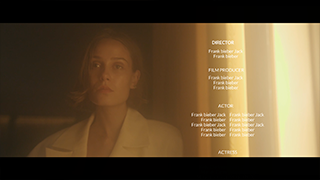
GIF 3: Applying and Blending a New Color
In this example, the editor places a solid color layer over the masked iris and adjusts the blending mode. The change from harsh to smooth overlay shows how much difference a soft blend makes. This is a key part of making the color change look realistic.
GIF 4: Motion Tracking the Eye
This GIF shows the software tracking the iris as the subject moves. Once motion tracking is applied, the new eye color stays perfectly aligned, even with blinking or subtle head movement. The clip highlights why tracking is essential for dynamic videos.

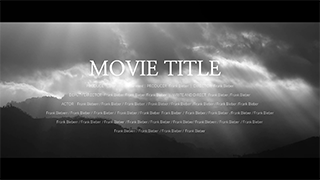
GIF 5: Enhanced Eyes with Glow Effects
This short loop shows many eye color changes. A soft light effect is layered on top of the new iris color, creating a magical or otherworldly vibe. This clip is great for sci-fi, storytelling, or gaming-style content.
Recommended YouTube Tutorial: Filmora’s Official Eye Color Change Guide
If you want a full walkthrough, Filmora’s official YouTube tutorial covers the exact steps to change eye color in a video using their tools. It includes masking, motion tracking, blending, and AI presets. Watching the tutorial helps you follow along while you edit your clips.
Export Tip for Sharing
When exporting videos or GIFs of your eye color edits, use 720p to balance the quality and file size. This resolution looks sharp on mobile and desktop, and loads quickly on social platforms like TikTok, Instagram, or YouTube Shorts.
These visual examples not only make it easier to follow the process but also inspire creative ways to use the effect. Whether you're making dramatic edits or testing subtle color shifts, watching the transformation in action helps you understand how powerful this tool can be.
Conclusion
Eye color can make or break a scene. A simple change adds drama, mystery, or a new look. It helps your content stand out and leaves a strong impression. With Filmora, changing eye color in a video is easy. The software offers AI eye color changers that make the process fast and smooth. You can edit on your desktop or in your browser.
Use this effect in vlogs, cosplay edits, makeup videos, short films, or social content. You can get professional-looking results without advanced editing knowledge. Try it today and give your videos a fresh new look!
