
 100% Security Verified | No Subscription Required | No Malware


 ChatGPT
 Perplexity
 Gemini
 Claude
 Grok
Grok
From action movies like the original Blade to footage of rock concerts and incredible parties at exclusive clubs, what really sets the tone of all-out excitement are the quick flashes of light before everything falls back into darkness.
It really gives an old-school movie projector vibe, breathing an air of mystery and dream-like visuals into any video, which is why it’s such a popular effect in Premiere Pro. We’ll give you a quick guide on how to add the strobe light effect in this software, though we know that it can be a bit difficult to master all the other features.
Don’t worry if it’s a bit too much for you – we also have an excellent, affordable, and beginner-friendly alternative that will give you the same results.
In this article
How to Add Strobe Lights in Premiere Pro
While there’s a lot to learn about Premiere Pro before you can use it effectively, the strobe lights effect is one of the simpler ones. Here’s what you’ll need to do.
Step 1: Open the program and start a New Project.
Step 2: Import the video you want to modify and place it on the timeline.
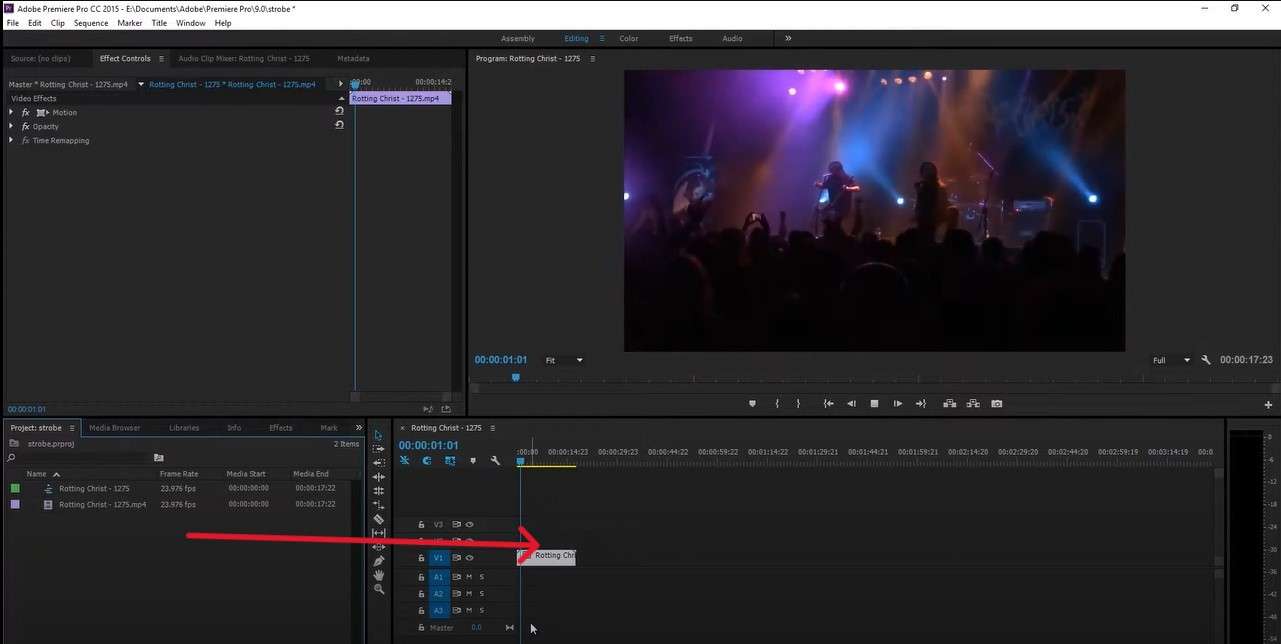
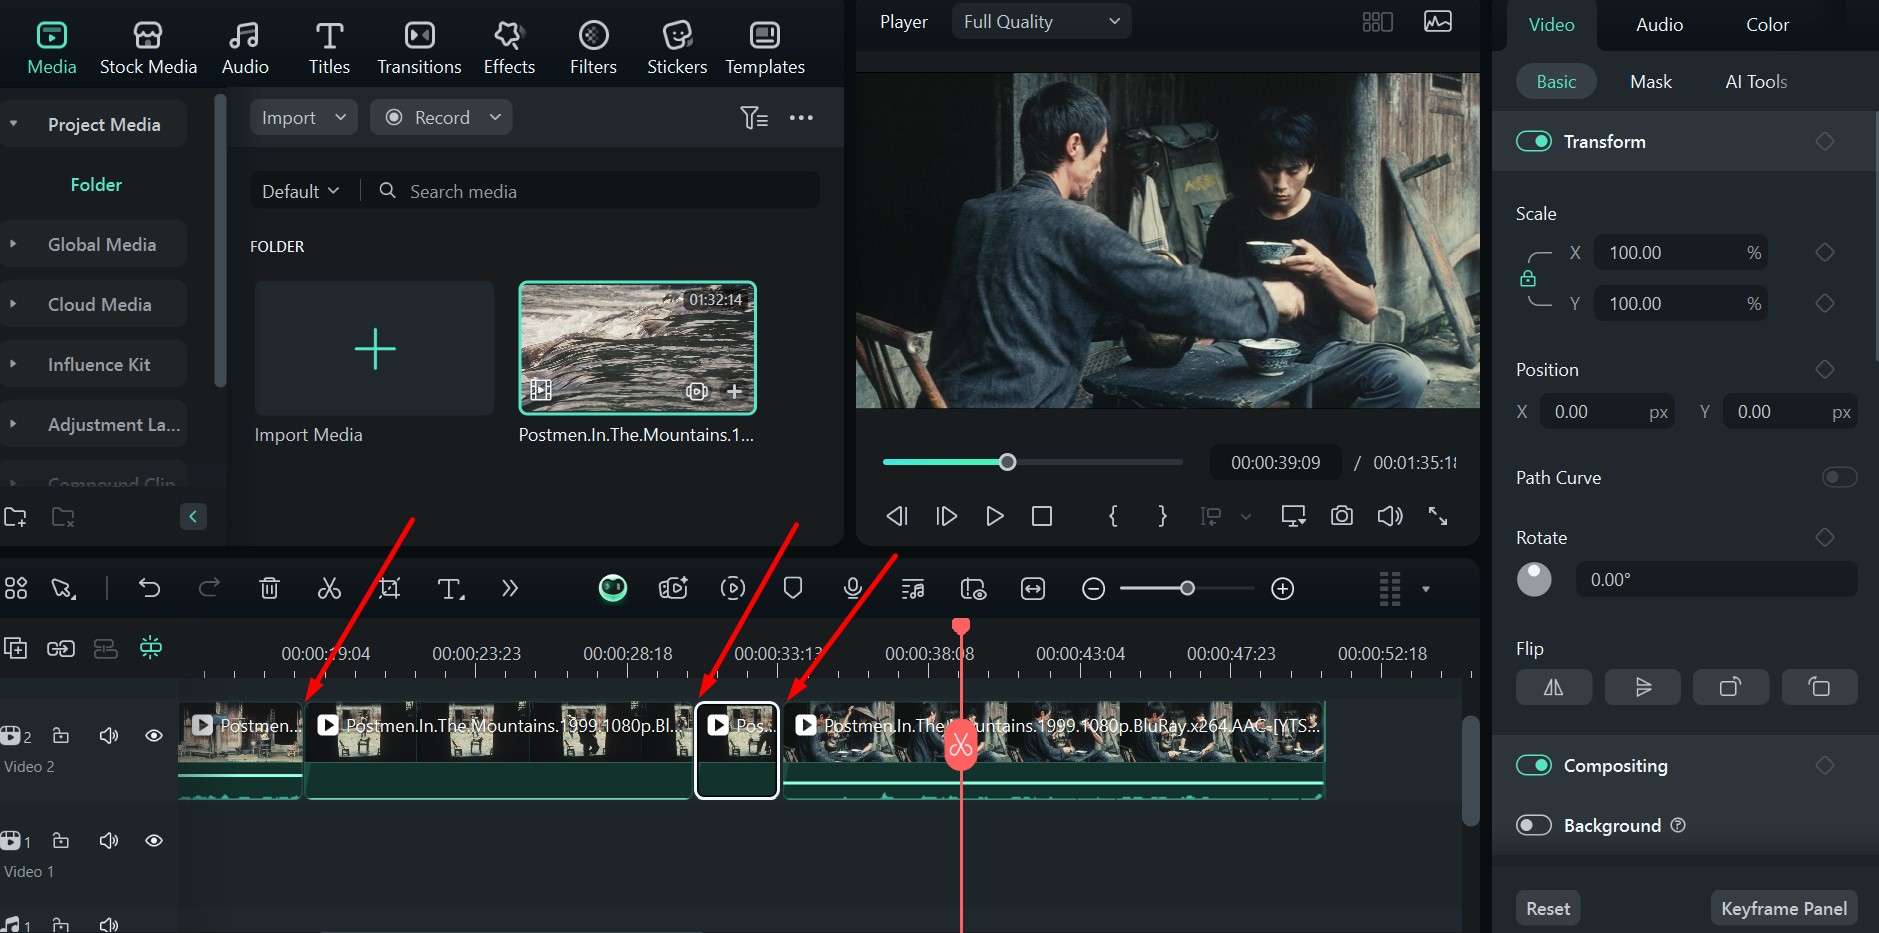
Step 3: In the Effects tab at the bottom left, type “Strobe light” in the search bar and drag the effect to the timeline.
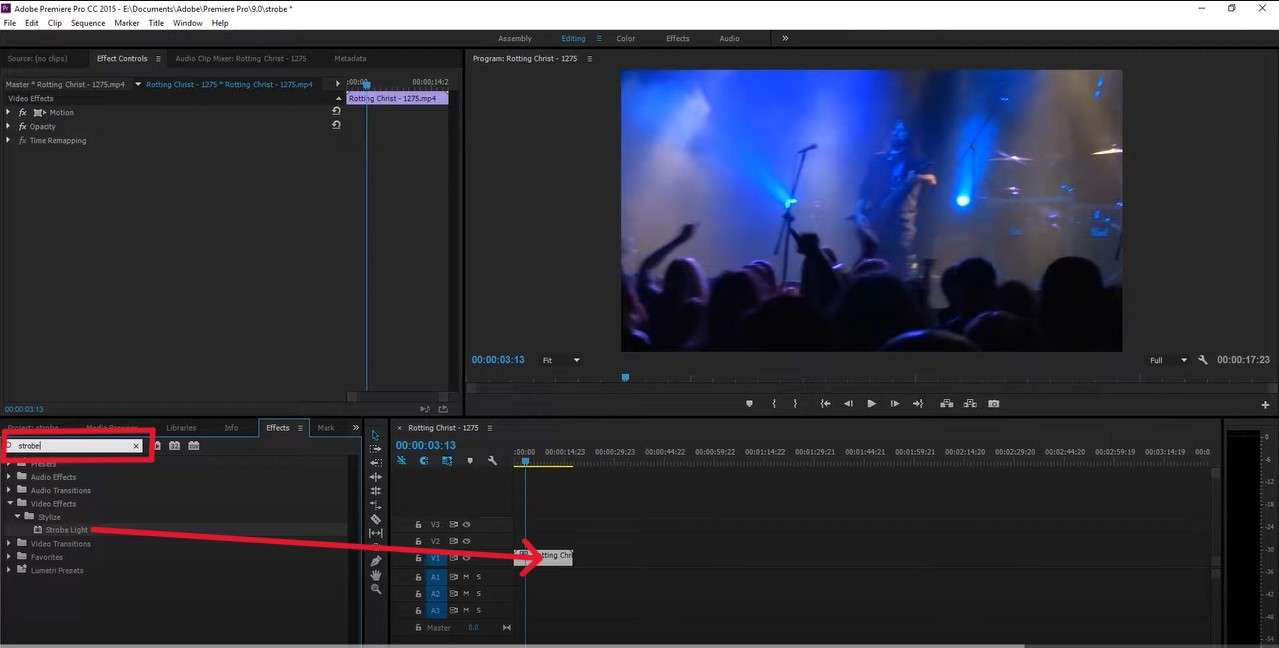
Step 4: Go to the Effect Controls tab in the upper left where you will see several options to modify the strobe light.

Step 5: Set the Strobe duration and Strobe period depending on how frequently you want it to flash and for how long. It’s best to set the duration at about 50% of the period.
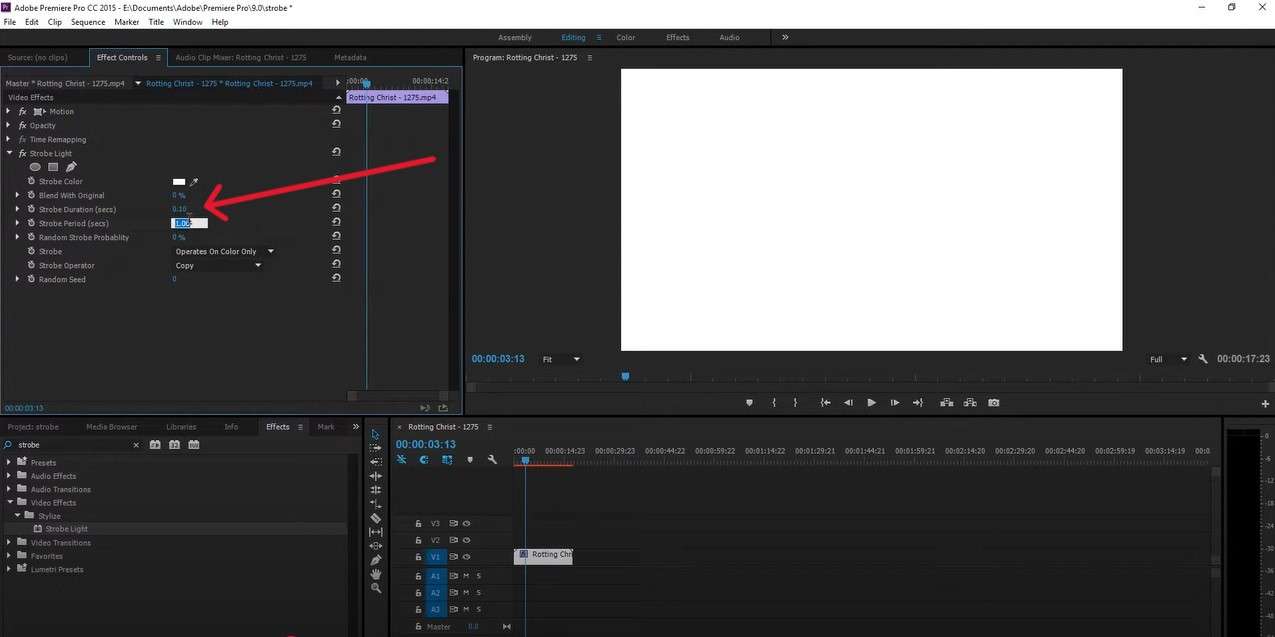
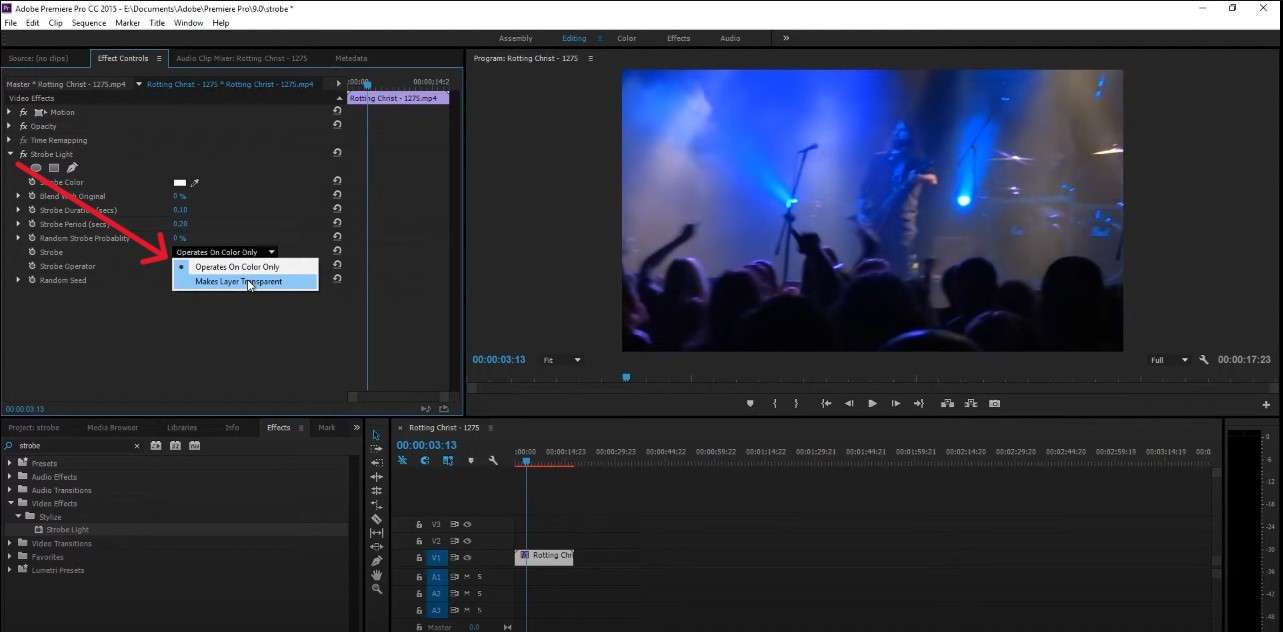
Step 6: Under Strobe, you can choose Operates On Color Only or Make Layer Transparent. We chose the latter for this example so you can still use the background video to a degree while it flashes.
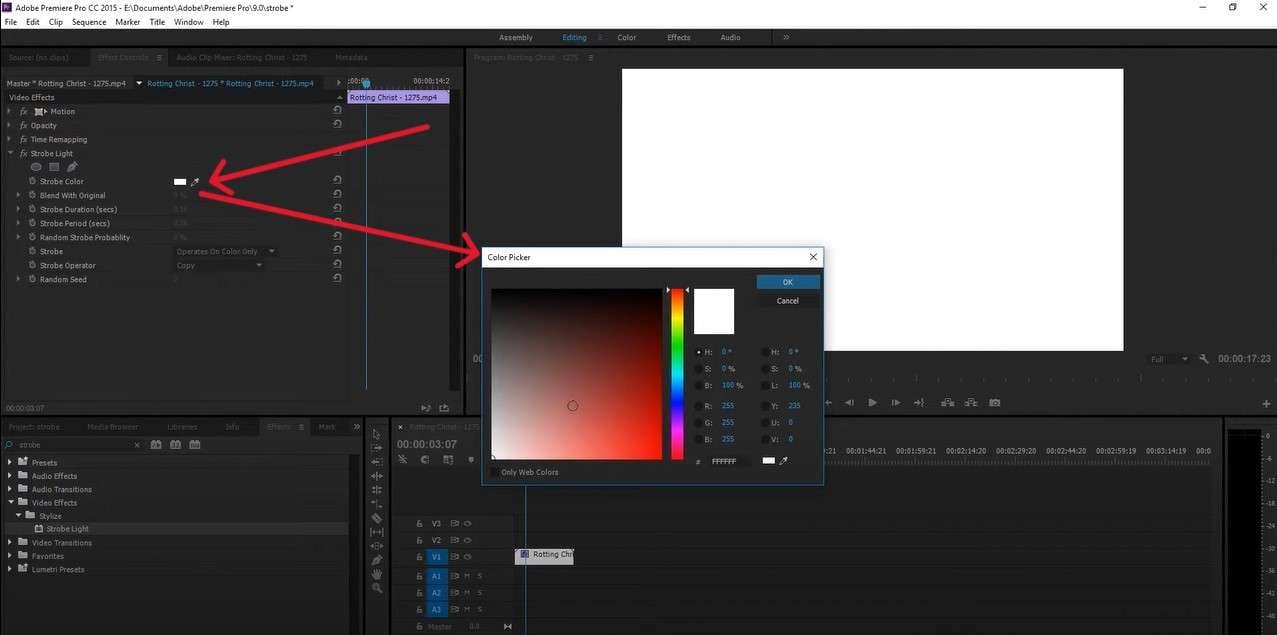
Step 7: To change color, go with Operates on Colors Only and under Strobe Color, choose whichever you like best. You can play around with the Color Picker to get it just right.
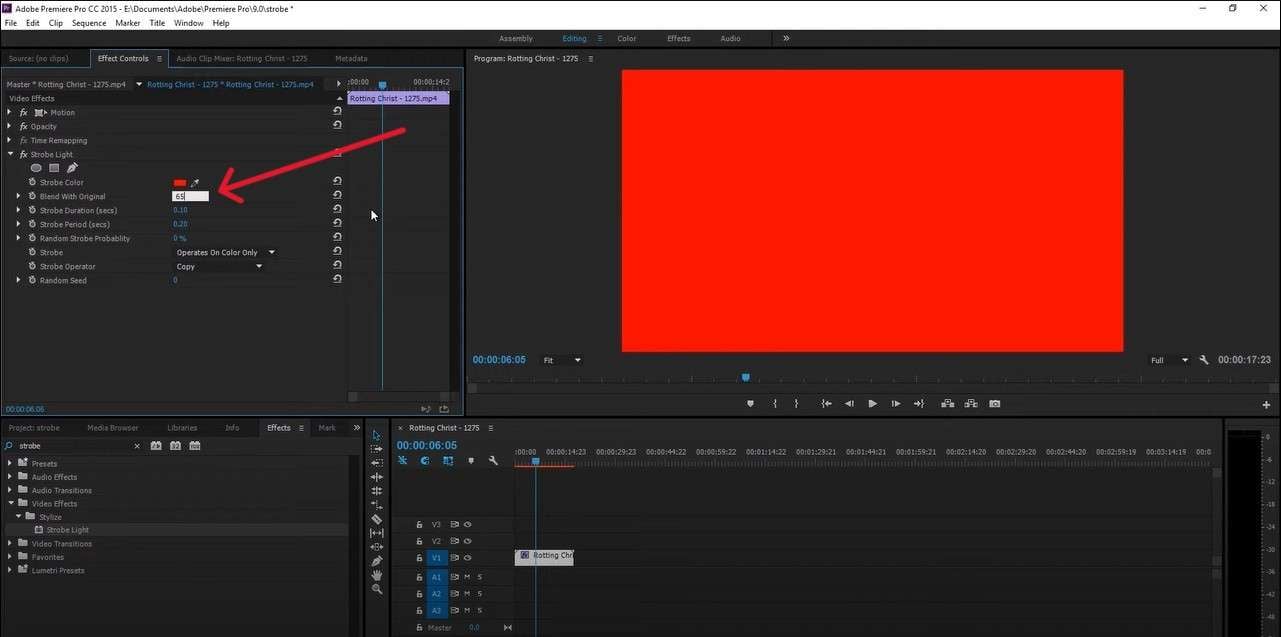
Step 8: To see your video through the flashes, you can increase the effect opacity by entering a number between 0% and 100% in the Blend with Original setting.
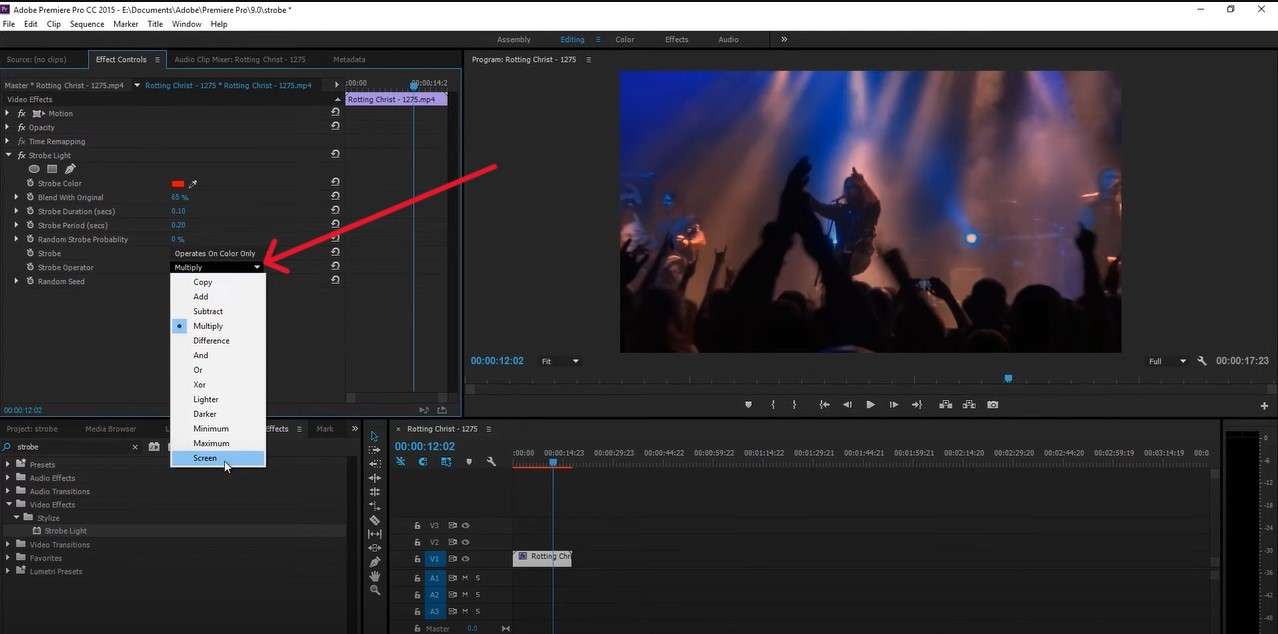
Step 9: You can add some more effects by clicking the Strobe Operator feature and choosing one from the dropdown menu.
Step 10: When you are done fine-tuning things and are satisfied with the results, just save your project.
As you can see, there are a few options to plate around with here, but if you are looking for a significantly more affordable option than Premiere Pro, which is also easy to use and has tons of editing features, you can check out Wondershare Filmora.
Tip for Beginners: Add the Strobe Effect Using Filmora
This software works well for beginners and more seasoned video editors alike, and creating cool effects and transitions in your videos is a breeze.
 secure download

Step 1: Open the app, start a New Project, and import the videos you want to edit.
Step 2: Make a split where you want to make the transitions.
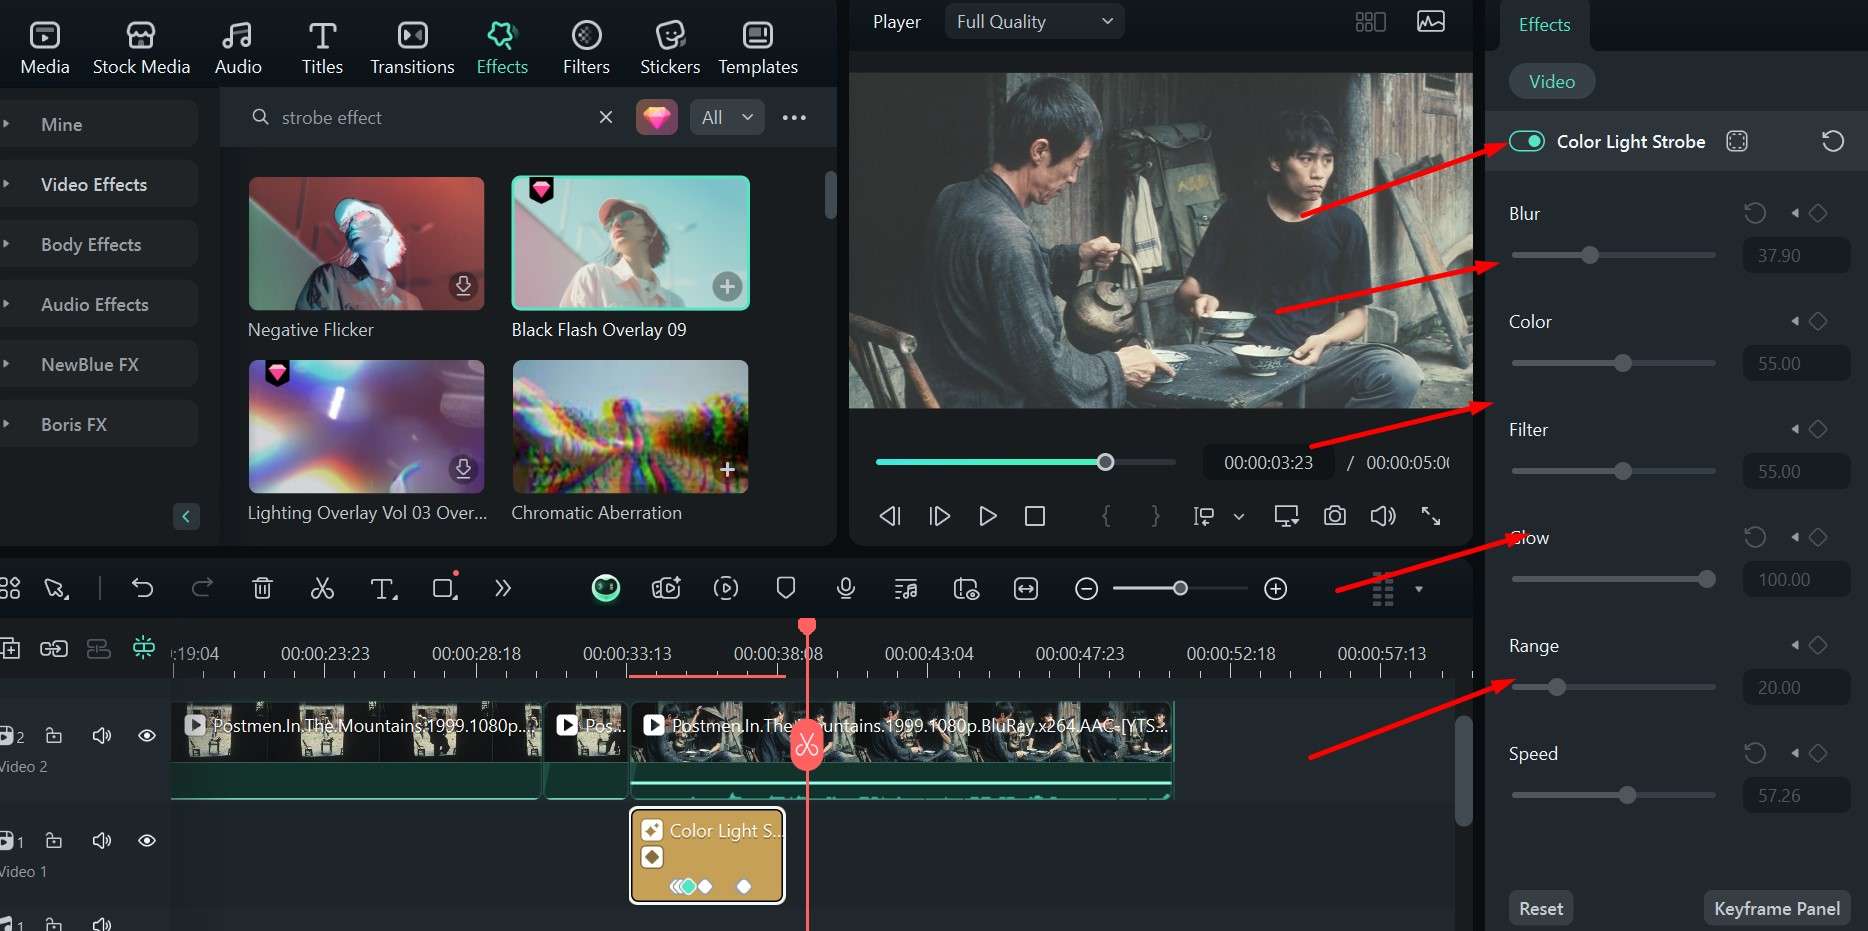
Step 3: Click on the Effects tab and type in “strobe effect” in the search bar.
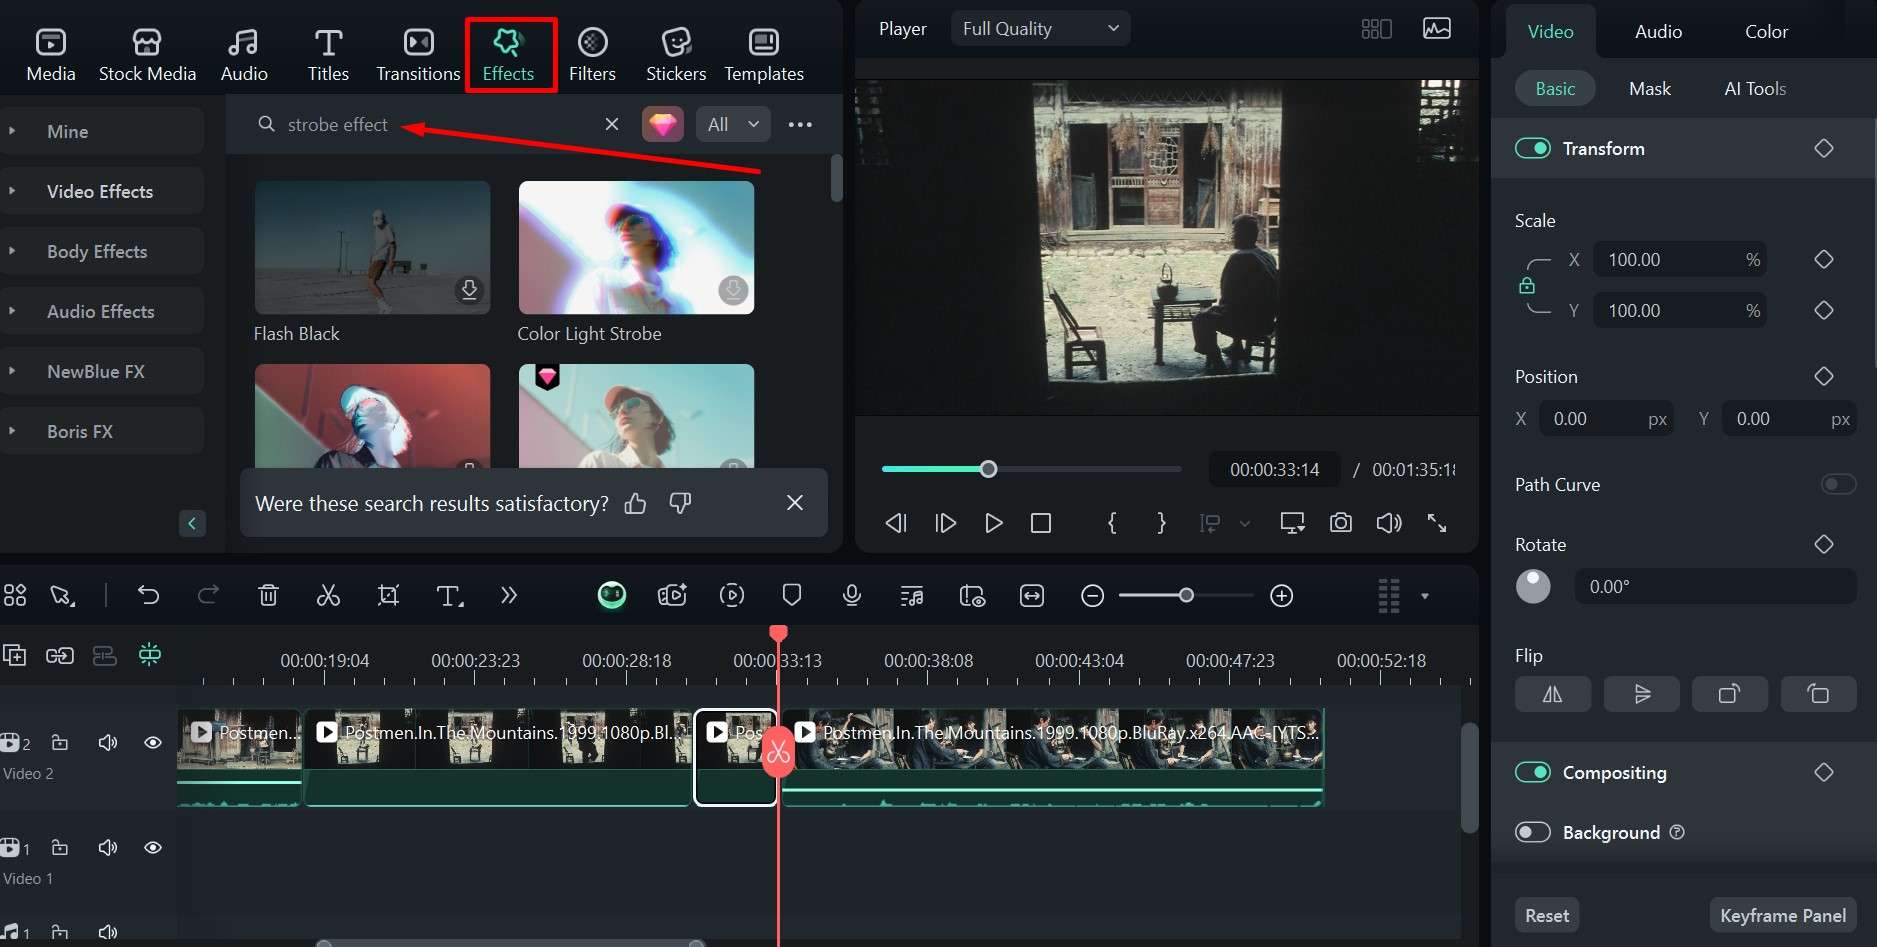
Step 4: You can click on any of the effects you like to see a preview on the right when you hit Play.
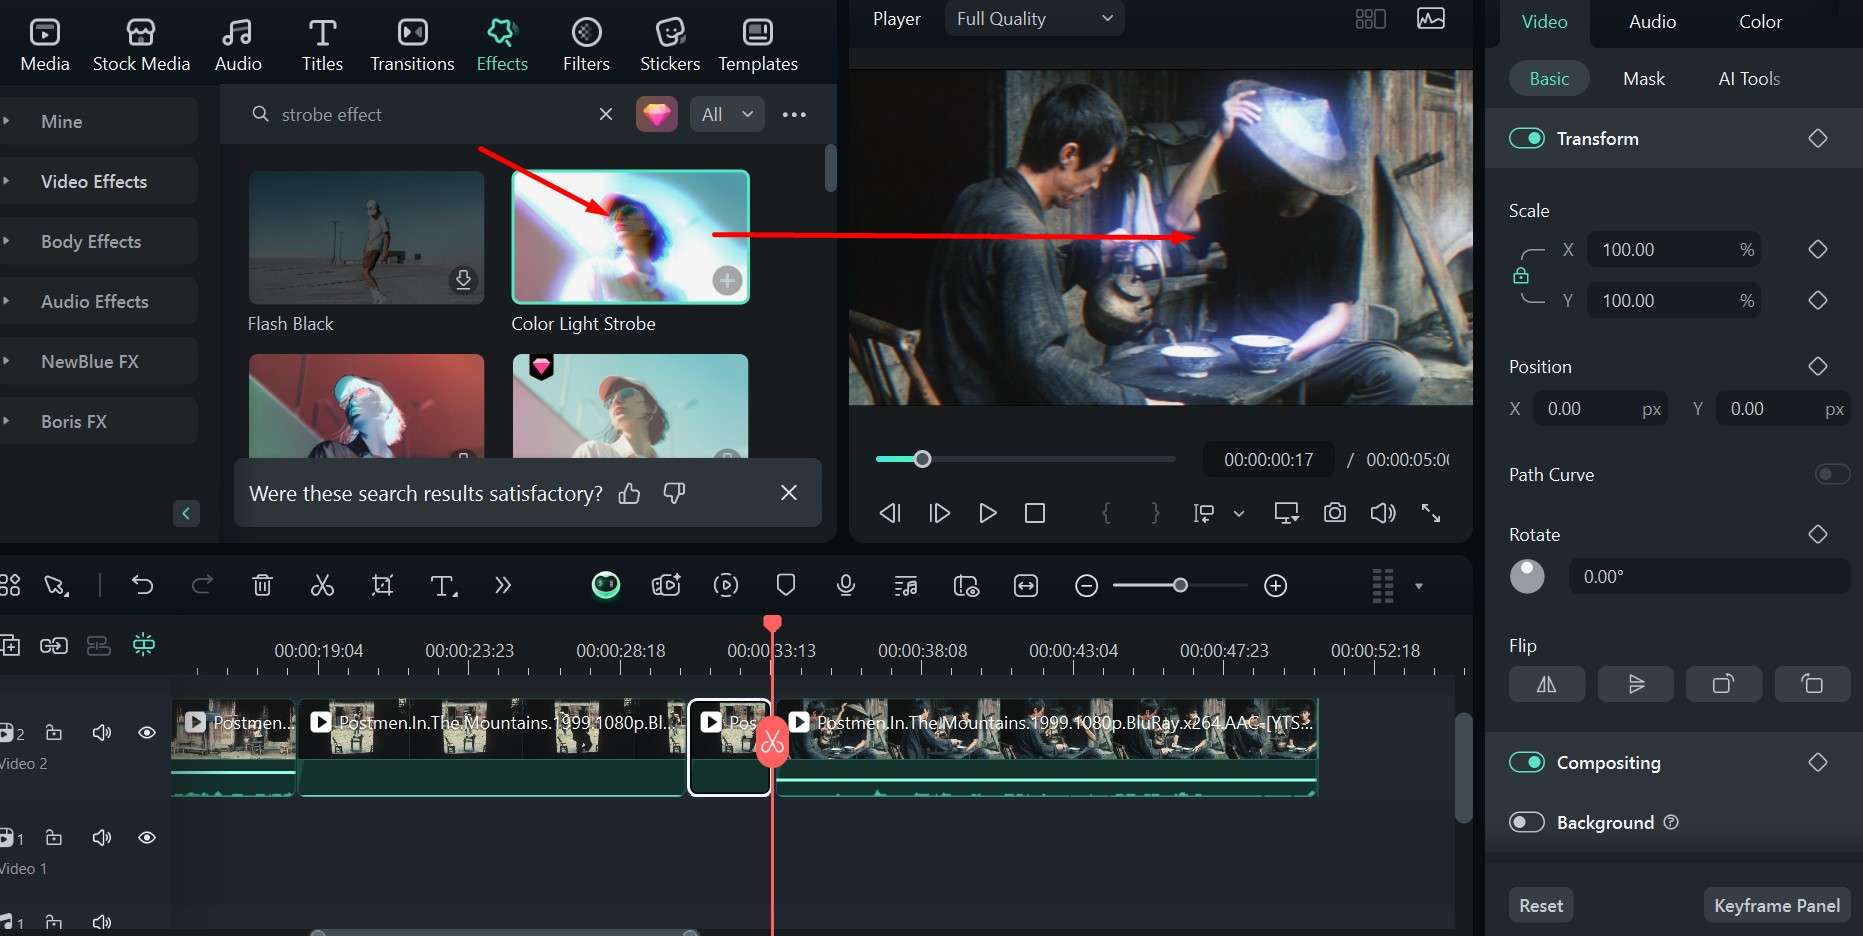
Step 5: When you are ready, click the + button on the effect card to add it to your timeline, where you can find the perfect place for it.
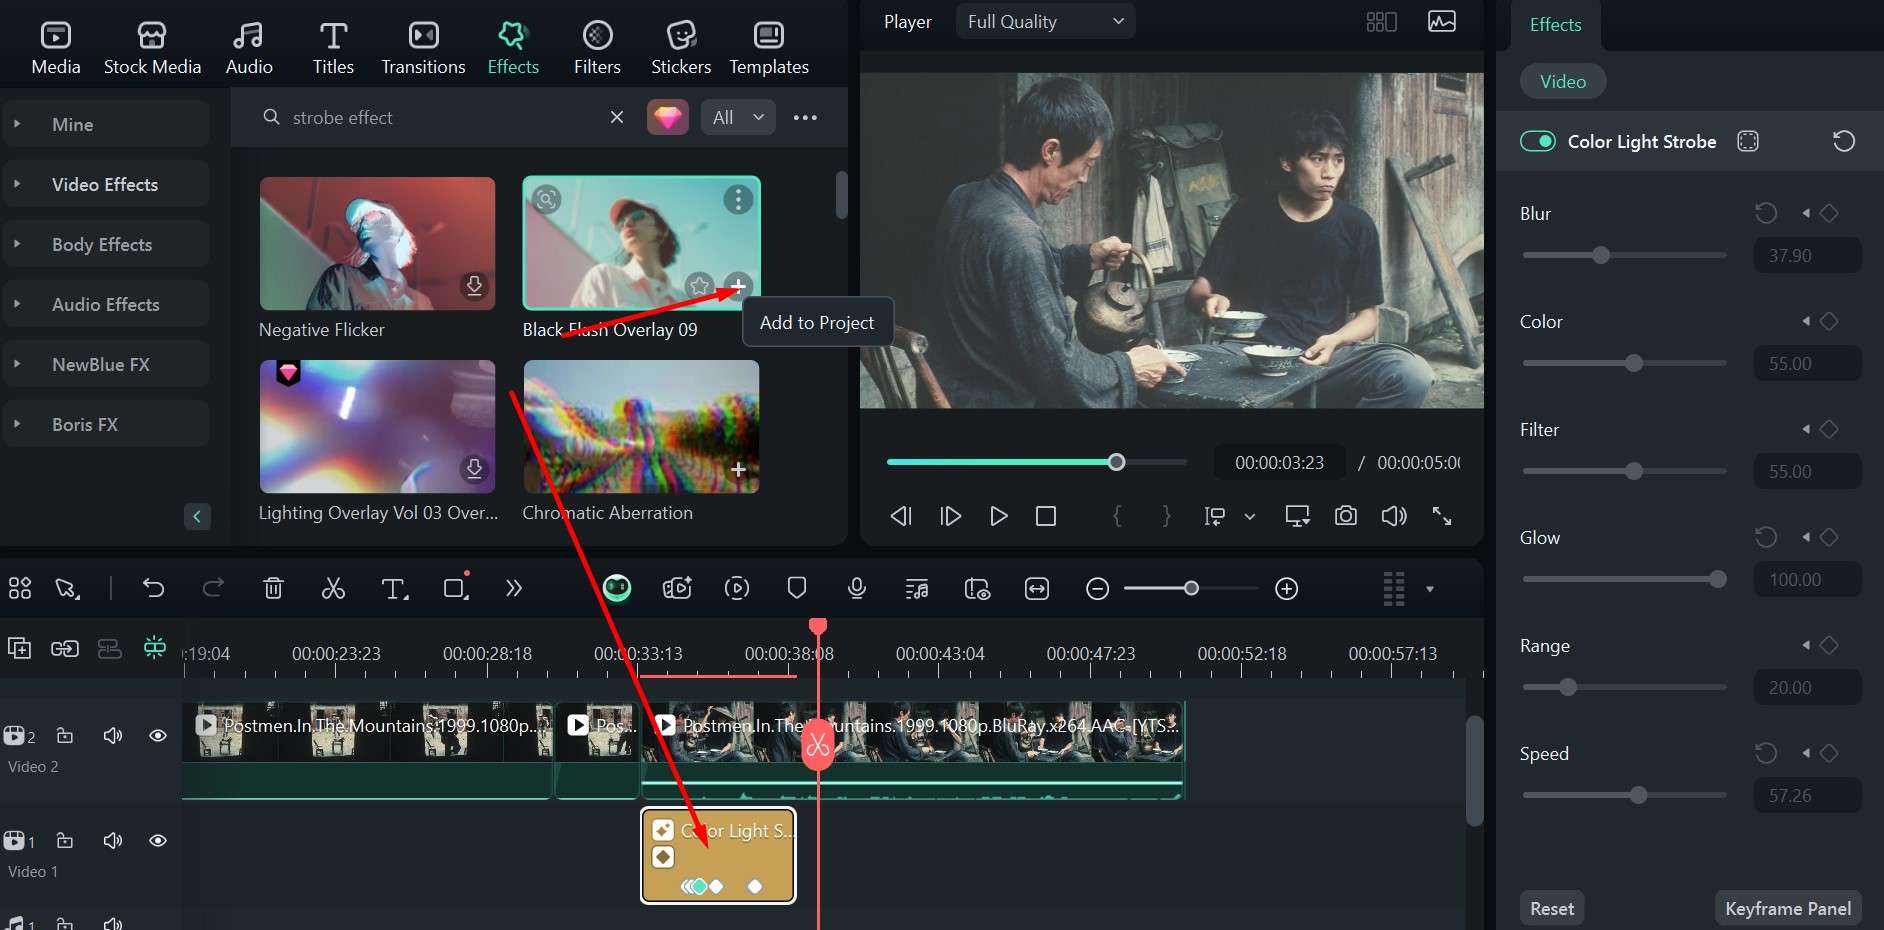
Step 6: You can play around with the different settings, like Color, Glow, Blur, and Duration, to fully customize the effect to fit your artistic vision.
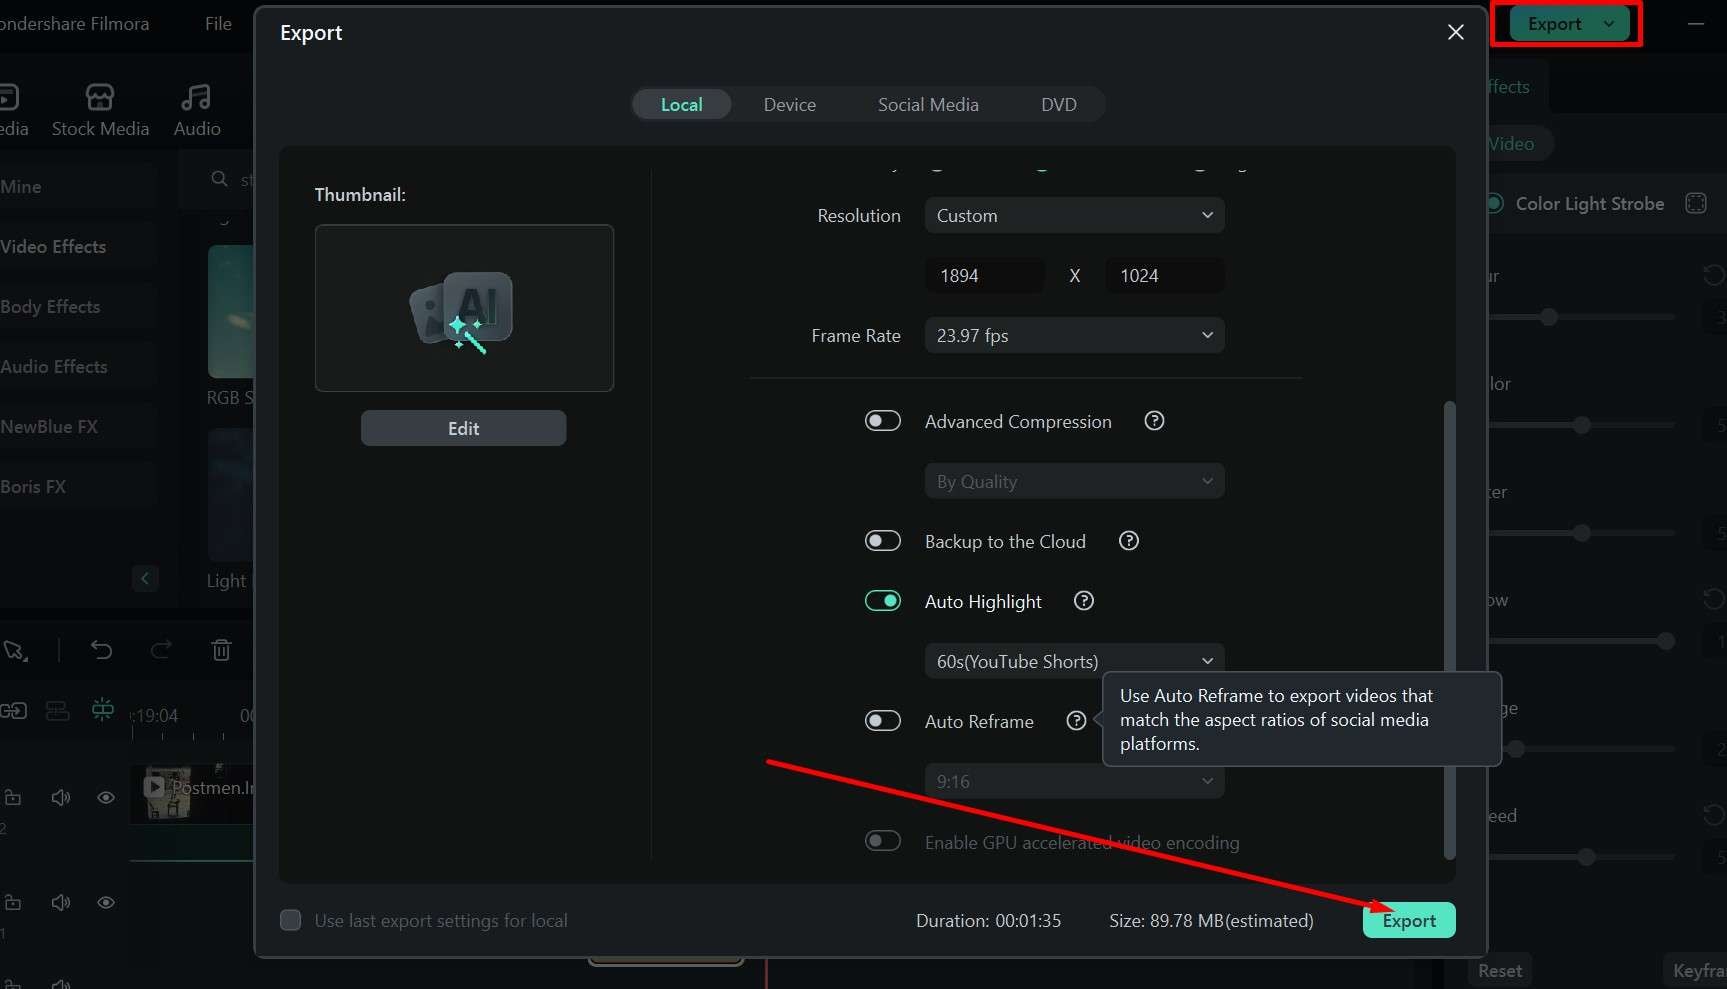
Step 7: When you feel everything is just right, click Export, then choose the options you like in the pop-up window and confirm by hitting Export again.
This process should give you a great strobe effect for a transition, or you can play around with these settings to create a strobe effect in many different scenarios. Once you are done, you can use a few other useful features to edit your video further.
Explore Filmora’s Extensive Transitions Library
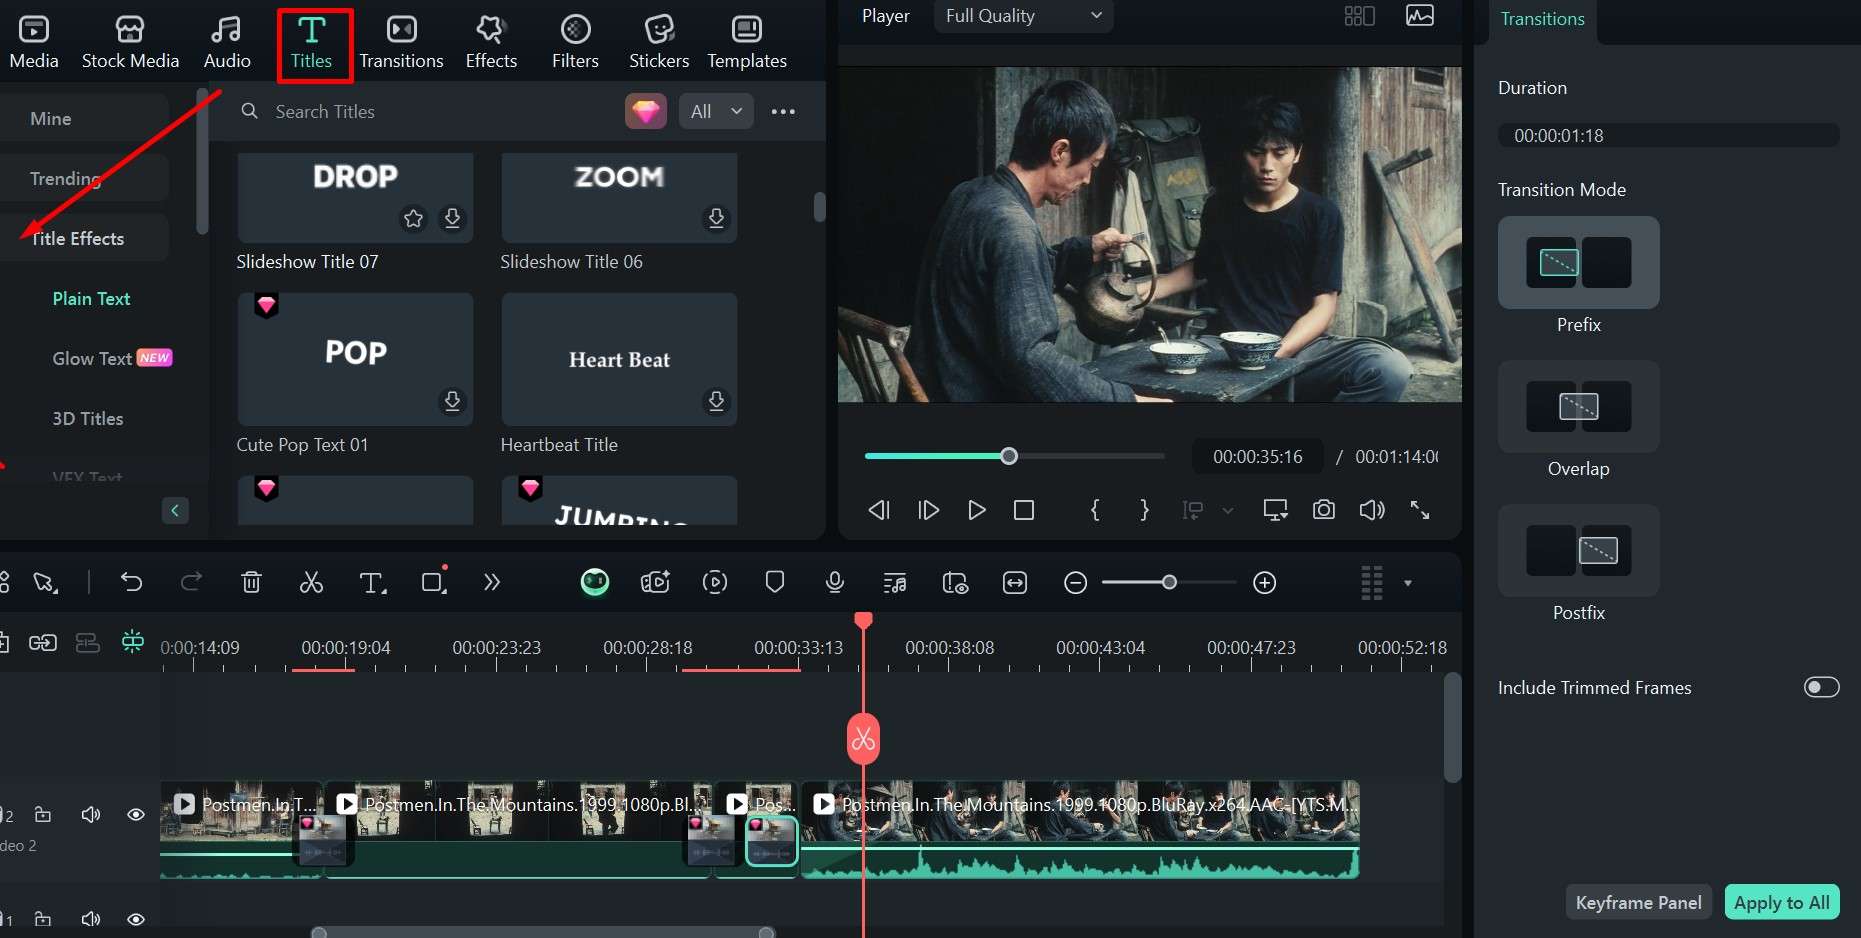
Filmora has 130+ unique transitions for you to choose from if you want to experiment with something other than the strobe light effect. Here’s how you can add transitions in a few simple steps.
Step 1: Place the videos you want to edit on the timeline and make cuts where you want different clips to meet.
Step 2: Click on the Transitions tab and scroll down the menu on the left to find the options you like the most. There are many categories and individual effects.
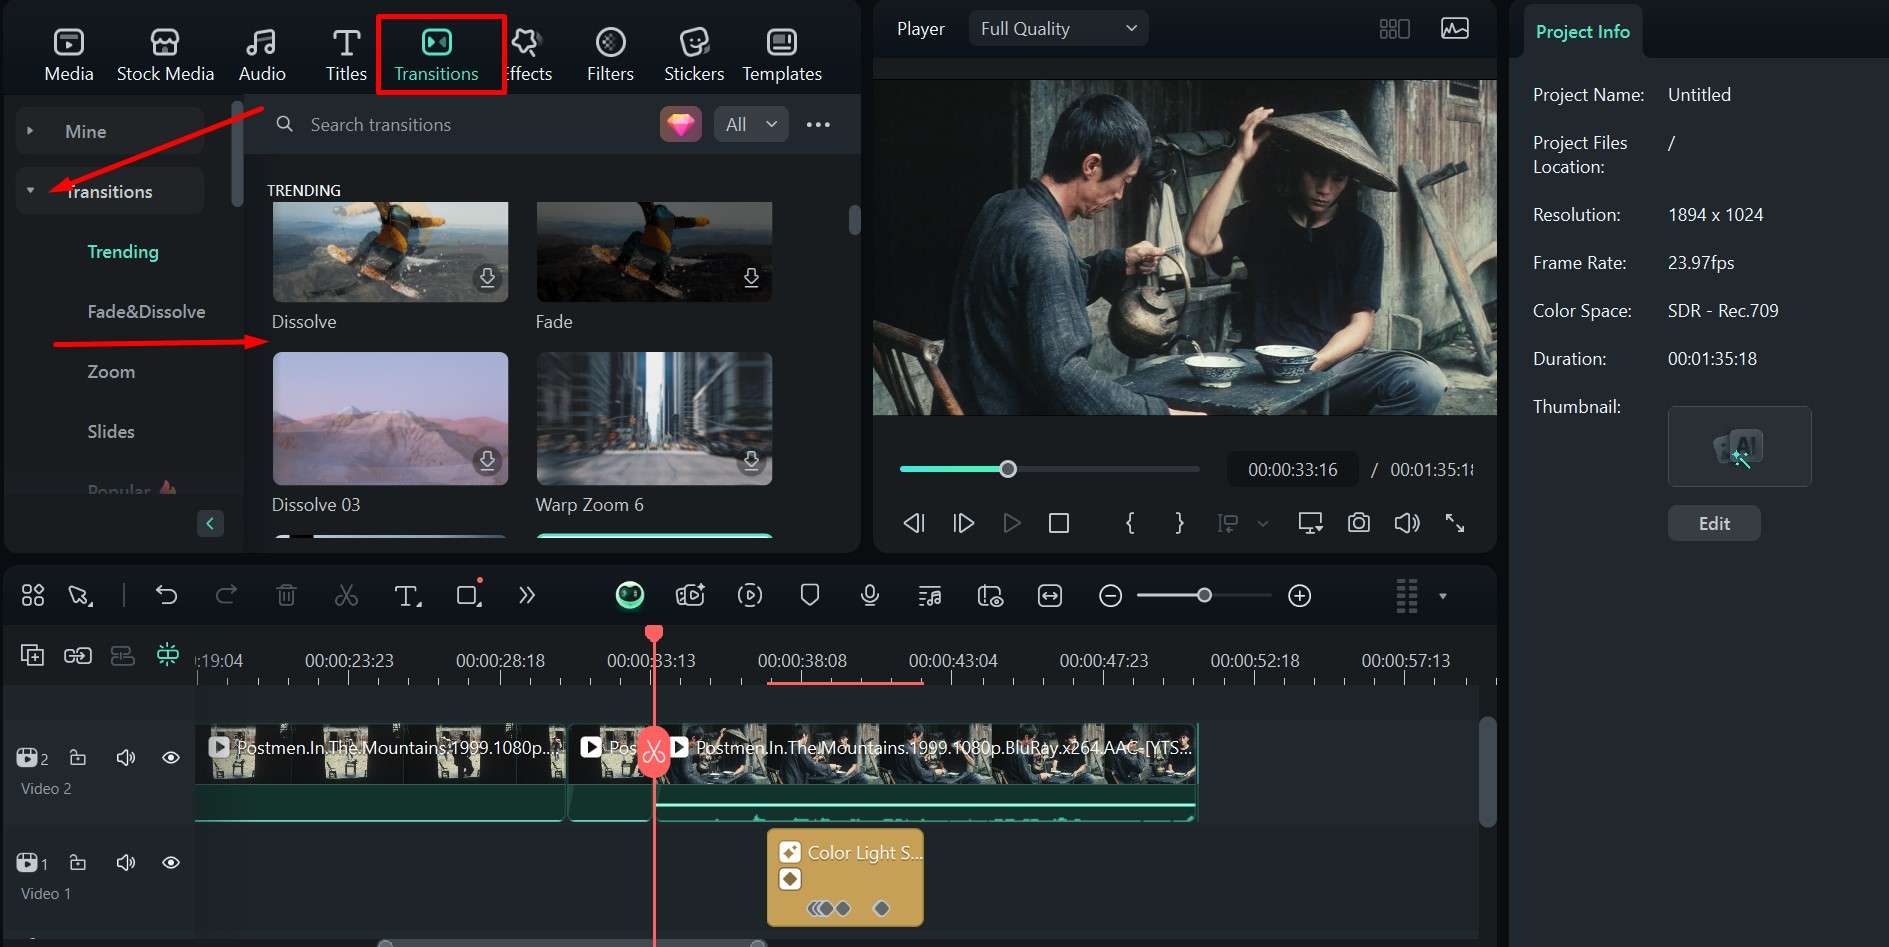
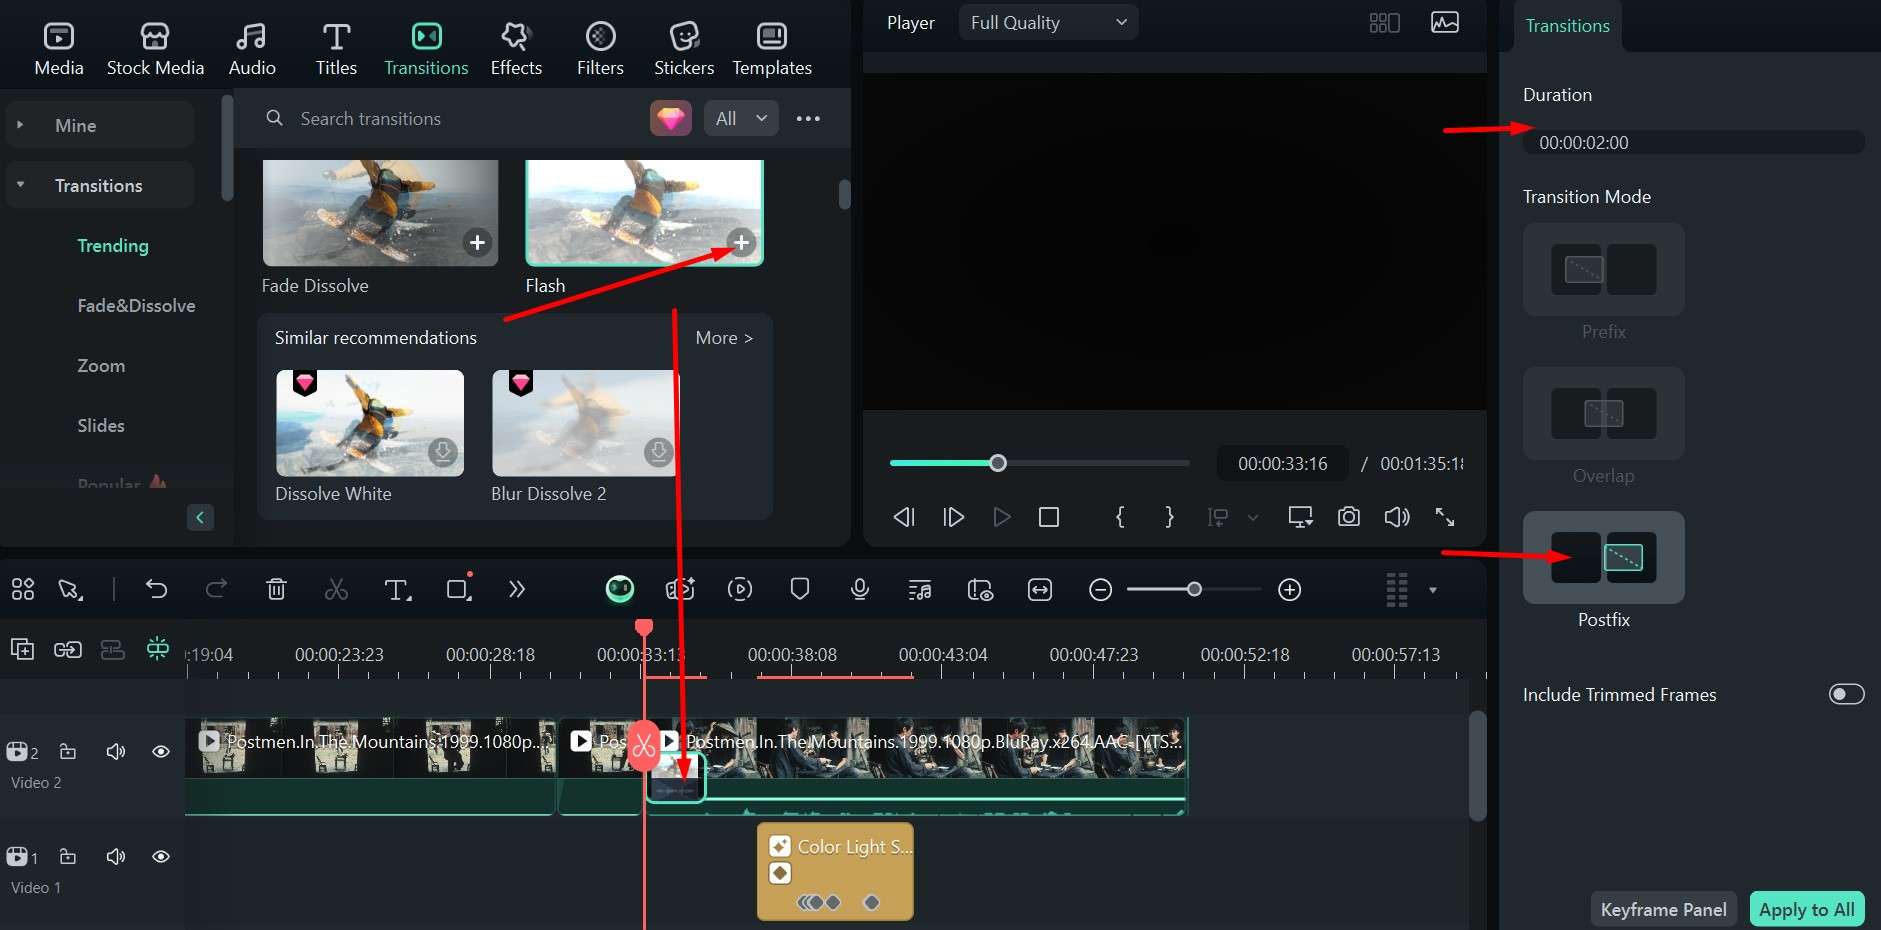
Step 3: Like with the strobe effect, you can click on the transition tab to preview it in the window on the right when you click play, and when you find one you like, click the + button to add it to the timeline.
Step 4: You can also set the duration time and whether the transition starts at the end of the previous clip, the beginning of the next one, or overlaps.
Step 5: Experiment with different effects to find the best fit, then click on Export to save your project.
Use Some Pre-Made Title Animations
Because Filmora offers a lot more useful editing tools and customization options, you don’t have to stop here – you can also add animated titles for the intro or outro of the video, for example. It’s a quick process but offers incredible visuals, so here is everything you need to do for that added cool factor.
Step 1: Click on the Titles tab and look over the categories on the right and specific effect blocks just below.
Step 2: Click on the + button on any of the effects to place them on the timeline below and move it to wherever it fits best.
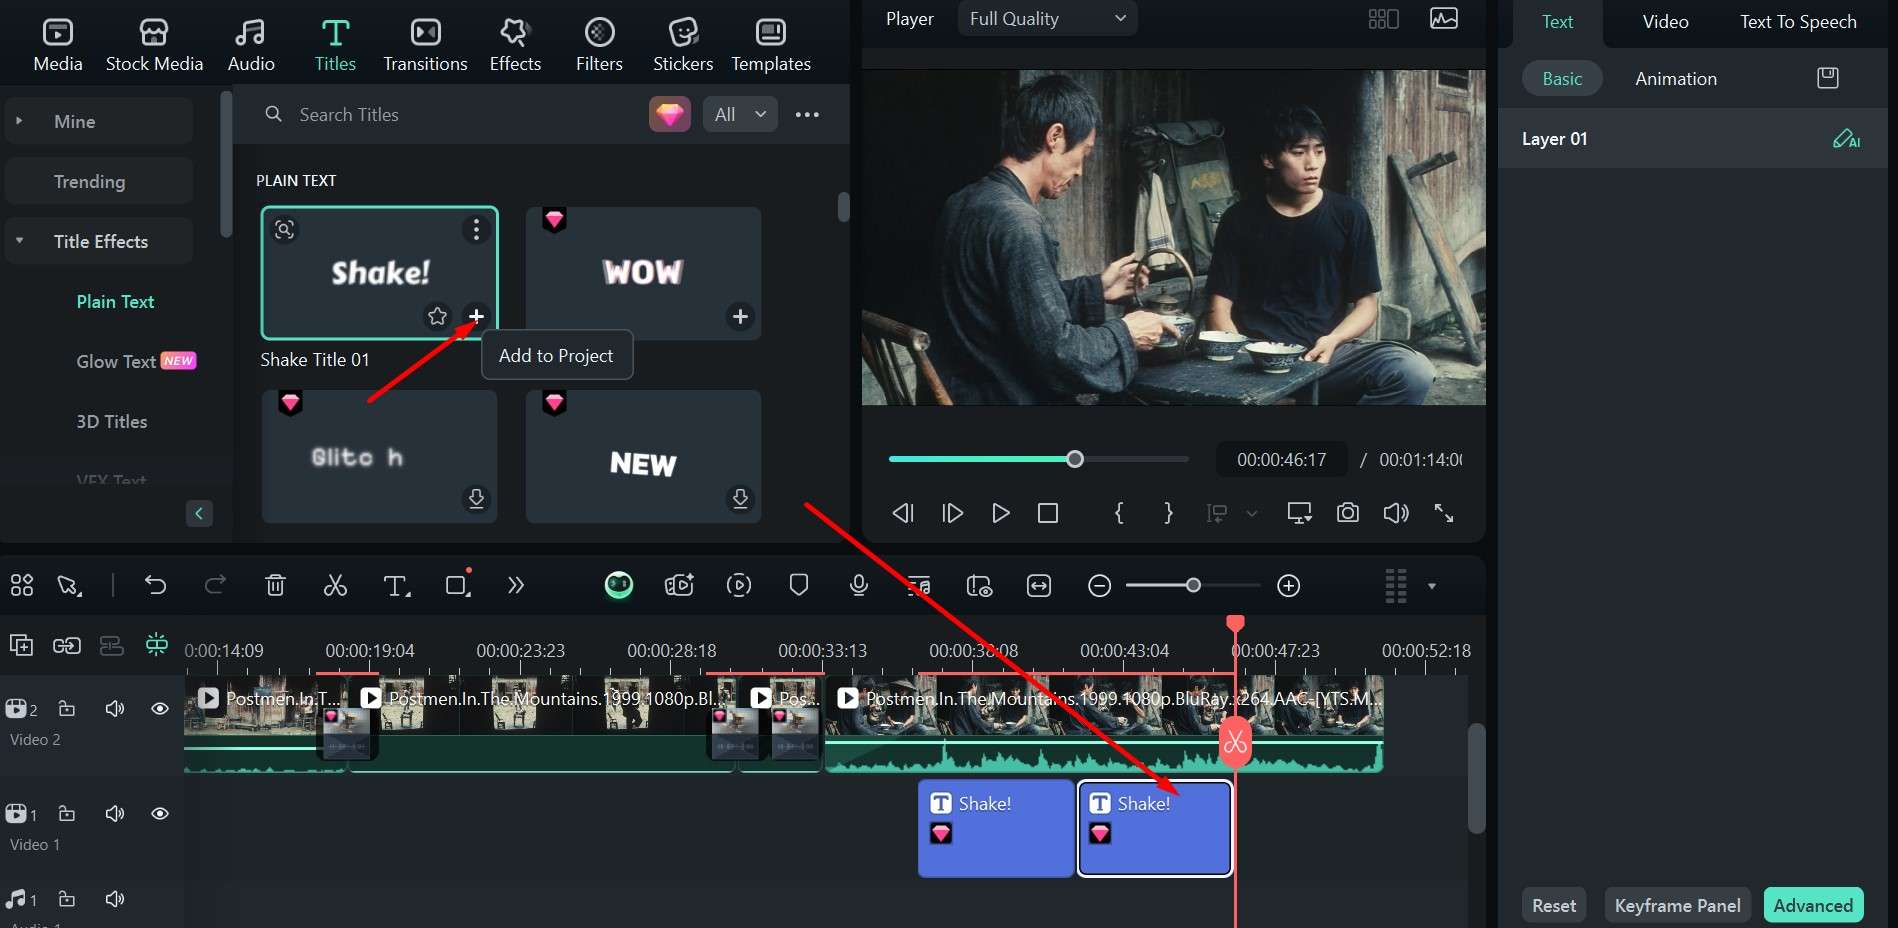
Step 3: Check everything one last time, add minor adjustments if needed, and hit Export to save the video.
Add Animated Stickers as a Fun Element
If you are making short videos for TikTok or Instagram reels, you can be even more creative and add additional layers to get your audience hooked. A fun little extra icing on the cake could be an animated sticker, which will only take you about a minute to create using Filmora. Let’s see what you’ll need.
Step 1: Click on the Stickers tab, find something that really catches your eye, and move it down to the timeline.
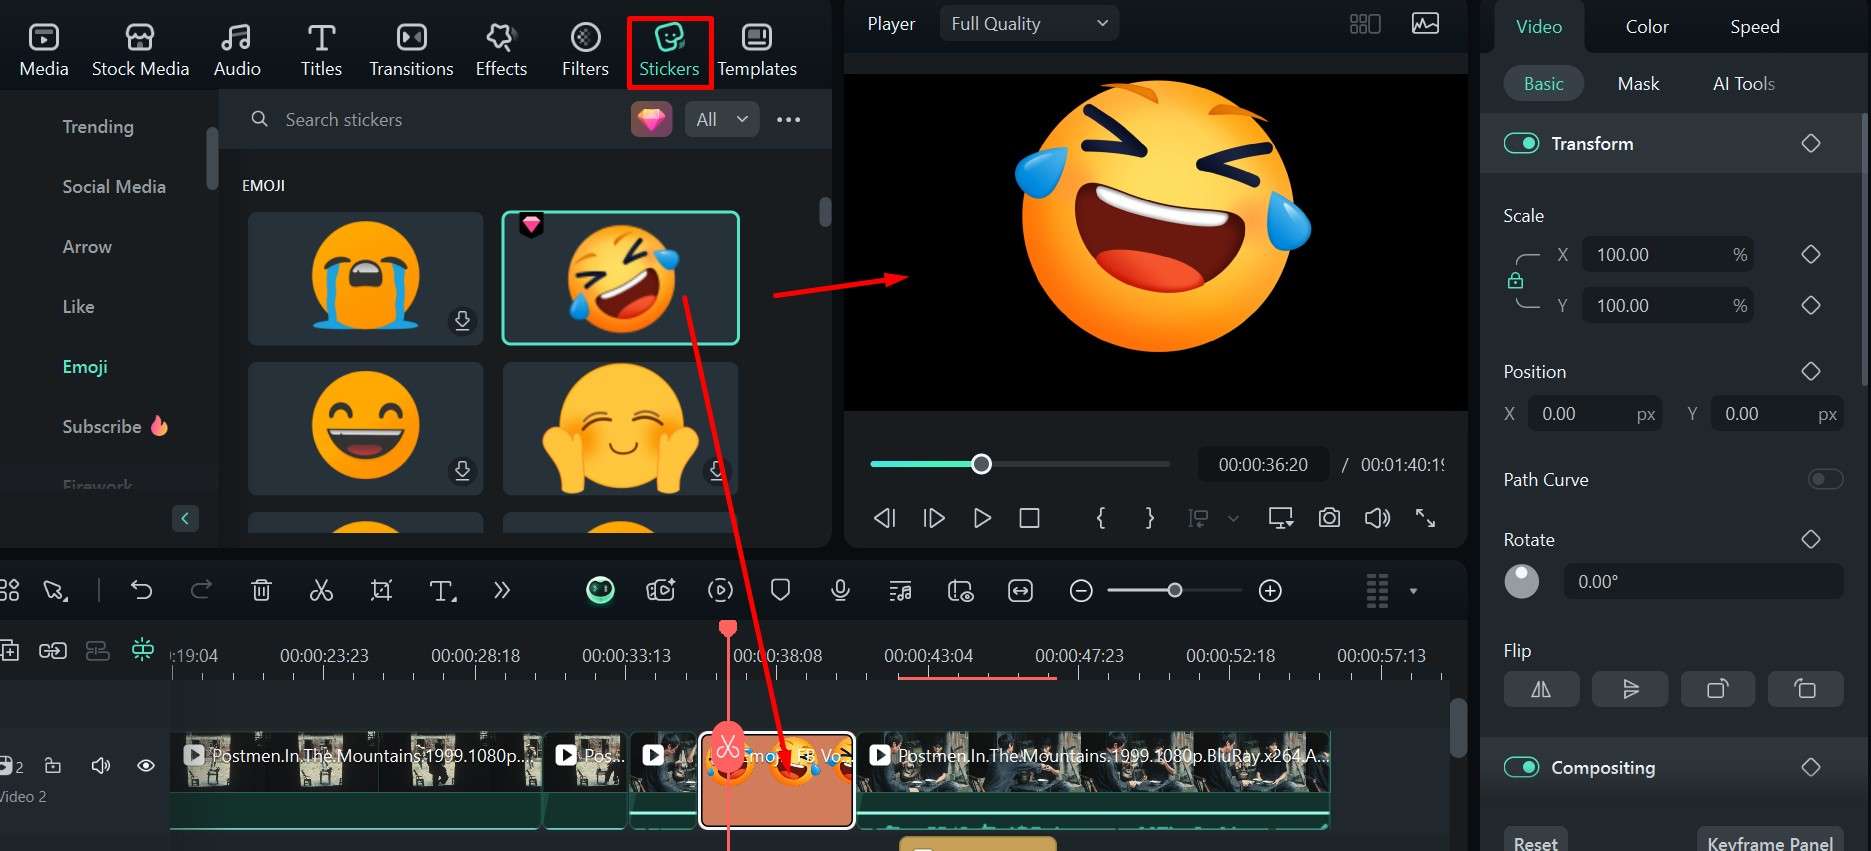
Step 2: Try out different stickers for different moments in the clip, and once you’re done, go to Export to save the video.
Of course, you can combine all of the effects and transitions we’ve mentioned above, or you can use each on their own – it all depends on how much time you have and the style of video you are going for.
Conclusion
Premiere Pro is a capable professional video editing tool, but that comes with added complexity and a hefty price tag. We’ve gone over the basic steps to adding a strobe light effect in Premiere Pro, but you can also do it quickly in Wondershare Filmora and at a much lower price.
Filmora is available on Android and iOS, giving you plenty of other useful features at the tap of a button. You have many great options to explore, from transitions and effects to filters and titles, as well as lots of useful AI tools.
