
With the increased traffic flow to different social media channels, the nature of posted content has become intuitive. In whatever capacity one uses videos, whether as a content creator seeking to grow the number of people you reach or a business trying to portray professionalism, improving the quality of videos is essential.
One of the most uncomplicated yet relatively potent video editing apps is CapCut, which can provide multiple features for enhancing your videos. In this guide, we will discuss in detail how to enhance video quality in CapCut and get the best picture quality for your videos, irrespective of where or how you post them.
In this article

Overview of Enhancing Video Quality in CapCut

To fully comprehend the steps to be taken, it is also pertinent to know what CapCut can do to improve video quality. With CapCut, there is barely any limitation to what a user can do as it offers several include changing resolution, applying filters, and correcting colors.
- Use the video enhancement feature to adjust smoothness, whitening, and other parameters according to your needs.
- Use an online AI video upscaling tool to enhance the resolution of the video quality.
- Manually adjust colors, saturation, hues, and brightness.
Still, it can suffer when it comes to handling videos with low resolution or complex operations on the clip.
How to Enhance Video Quality in CapCut?
Here are two ways you can use to enhance video quality in Capcut, let's dive in.
Method 1: Enhance Video Quality in CapCut with Video Enhancement Feature
- First, click on New Project to start your process.

- Import the video by clicking the import menu, and then dragging it to the timeline.

- Select the video, then go to the right side toolbar, find Video > Enhance, and then you will see the options: face, facial beauty, manual, makeup, and body.

- Check the small box in front of Face, you can customize the smooth and whitening level according to your needs. You can also preview the results at the same time in the preview window.

- You can also beautify the human faces, and bodies, and make manual adjustments.

- Finally, export the video if you are satisfied with the results.

Method 2: Upscale Video Quality With CapCut AI Video Upscaler
To enhance video quality using CapCut's AI video upscaler online, follow these steps:
- Visit the CapCut AI Upscaler Website: Go to the CapCut AI Upscaler online platform.
- Upload Your Video: Click the upload button and select the video you want to enhance from your device.

- Choose the Upscaling Option: The tool may offer different upscaling options or presets. Choose the one that best fits your needs, such as 2x, 4x, or other enhancement levels.

- Start the Upscaling Process: Click the button to start the enhancement process. The tool will process the video and apply the upscaling.
- Download the Enhanced Video: Once complete, download the enhanced video to your device.

Other Tricks to Enhance Video Quality in CapCut
In addition to that, you can use the following tricks to enhance video quality in CapCut, though they may require more manual adjustments.
- Color Correction and Grading
You can increase/decrease the overall brightness, and change the contrast, saturation, and exposure; in case you'd like to, you can select the option "Adjust." These adjustments are helpful when you want to correct, for example, a sample that is over-exposed or a sample that is under-exposed.

- Enhancing Video Sharpness
To brighten the shadows of the videos, a user should use the CapCut sharpness controls. With a mouse, go to the "Adjust" tab and gradually swipe the sharpness bar up. One thing that should not be done is over-sharpening because it will cause the picture to appear noisy.

- Stabilizing Shaky Footage
If your video is shaky, CapCut offers an option for stabilization that you may find useful. Click the "Basic" button and then tap on "Stabilize," and depending on your requirements, choose the level of stabilization. This feature is especially helpful for scenes shot with a steady camera or while on the move.

- Exporting high-quality
Last but not least, make sure to export your final video to the best quality settings possible. Apply the correct export settings by navigating to the "Export" tab and changing the bitrate and the resolution levels. This will aid in maintaining the quality of the enhancements and any other action made to make the video worthwhile on any channel.

Limitations of Enhancing Video Quality in CapCut
- Complex and time-consuming operations on PC software: it requires manual edits on different parameters.
- Inability to remove or repair certain elements: its video enhancement feature mainly works on human faces.
- It cannot fix blurry videos with one click: it doesn't offer the option to remove blurs from videos.
Part 4: Best Alternative for Enhancing Video Quality in CapCut
CapCut's video enhancement feature works great in enhancing faces in the video, although it may need to manually adjust the parameters to obtain a perfect result.
For those who want a more powerful and convenient video editing tool, or who may want to fix blurry videos, Wondershare Filmora could be one of the best options for upscaling and enhancing videos. Its AI video enhancer offers an opportunity to enhance the quality of the video with a simple click. In addition to that, it also has other powerful video editing features that make enhancing video quality easier.


Additional Tools in Filmora for Enhancing Video Quality
- Auto Enhance: Uses AI optimization together with the Topaz Starlight model to automatically refine overall image quality, improving clarity, contrast, and detail with minimal manual adjustment.
- Advanced Color Correction and Grading: This program provides specific features for color correction and grading, which in turn help users obtain high-quality videos.
- Video Noise Reduction: It suppresses noise quite well in low-light situations, thus aiding in the production of brighter and sharper footage.
- AI Stabilization: This ensures that the images captured are more stable by eliminating the shake in the videos, making the general view more enjoyable.
Steps to Enhance Video Quality in Filmora
Step 1: Download and Install Filmora
Get Filmora for your Windows PC or Mac, then run the installer. Follow the on-screen instructions step by step to complete the installation process.
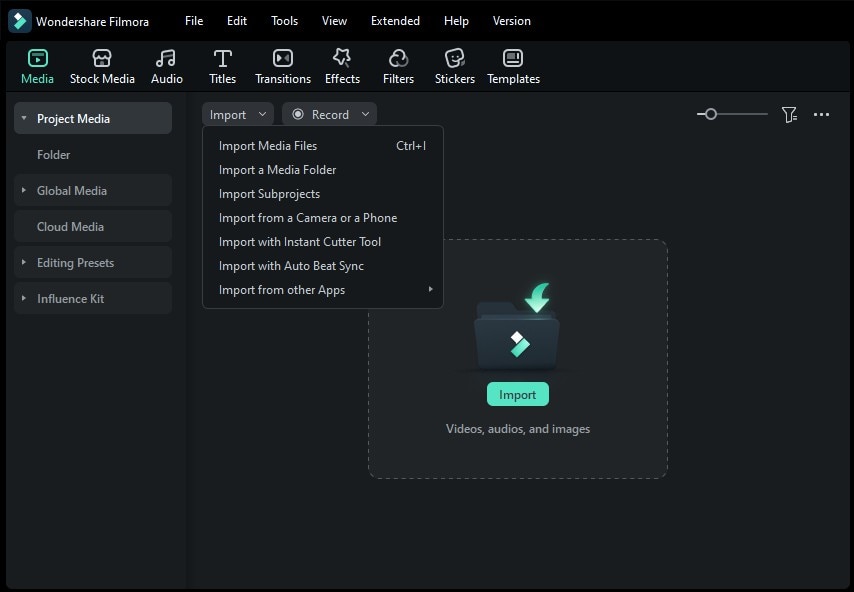
Step 2: Import Your Video into Filmora
Launch Filmora, and you’ll see the main interface. Click on New Project, then hit Import to bring your video file into the media library.
Step 3: Go to the AI Tools Section
Drag your video to the timeline, select it, then go to the right-side panel and open Video > Basic.

Step 4: Select the AI Video Enhancer Model
Locate the AI Video Enhancer feature. For maximum detail recovery, choose Topaz Starlight. This model is designed for high-end, professional-quality enhancement and may take longer to process (for example, 15 minutes or more for a high–frame rate video) to refine the visual details. Then click Generate to begin the enhancement.
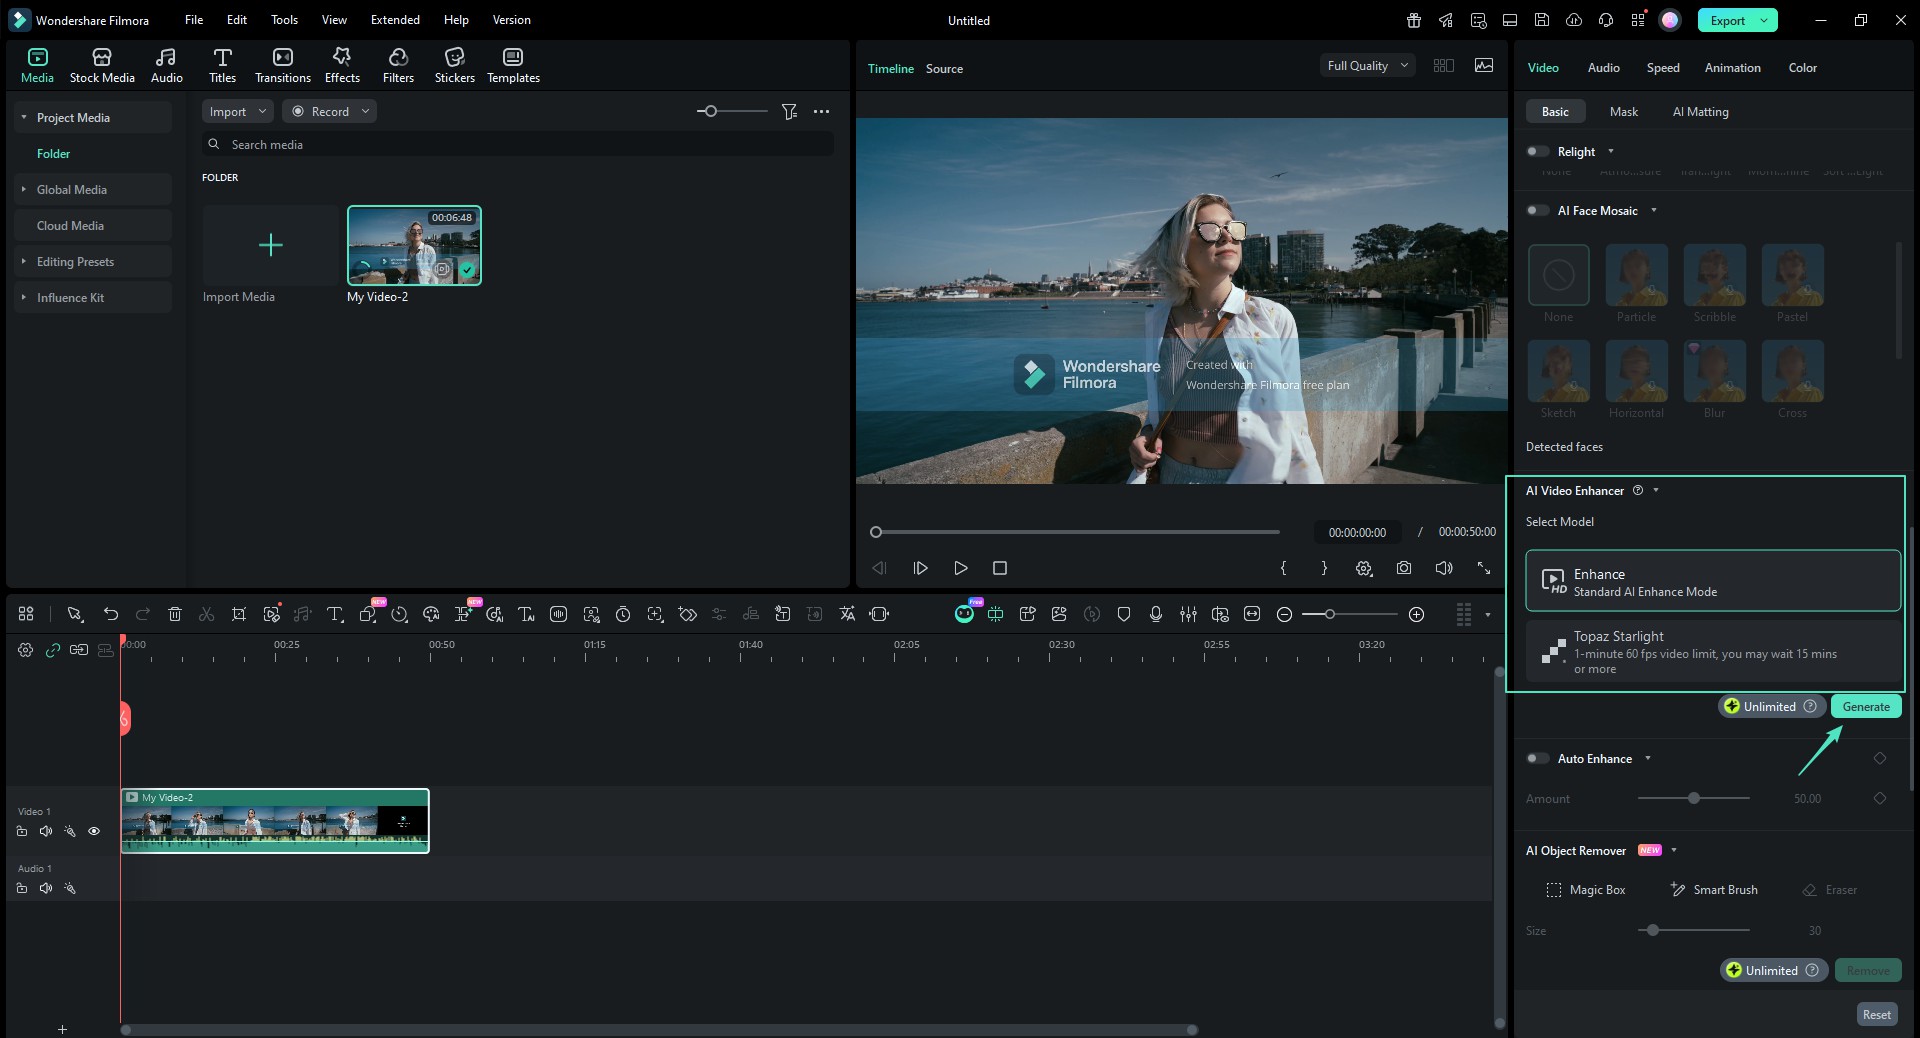
Step 5: Preview the Results and Export the Enhanced Video
After the enhancement is complete, press the play button in the preview window to check the result. When you’re satisfied, click Export to save the improved video. The exported file will keep the original frame rate and duration, ensuring a smooth and consistent playback experience.

Conclusion
We have discussed different ways to enhance video quality in CapCut, whether you choose the software or its online video upscaler, you can follow the guidance we provide to achieve the results you want. However, those people who may want to fix blurry videos in one click may look for an alternative, that is why Wondershare Filmora comes!
With its powerful AI video enhancer feature, enhancing blurry videos is not a difficult task anymore!
