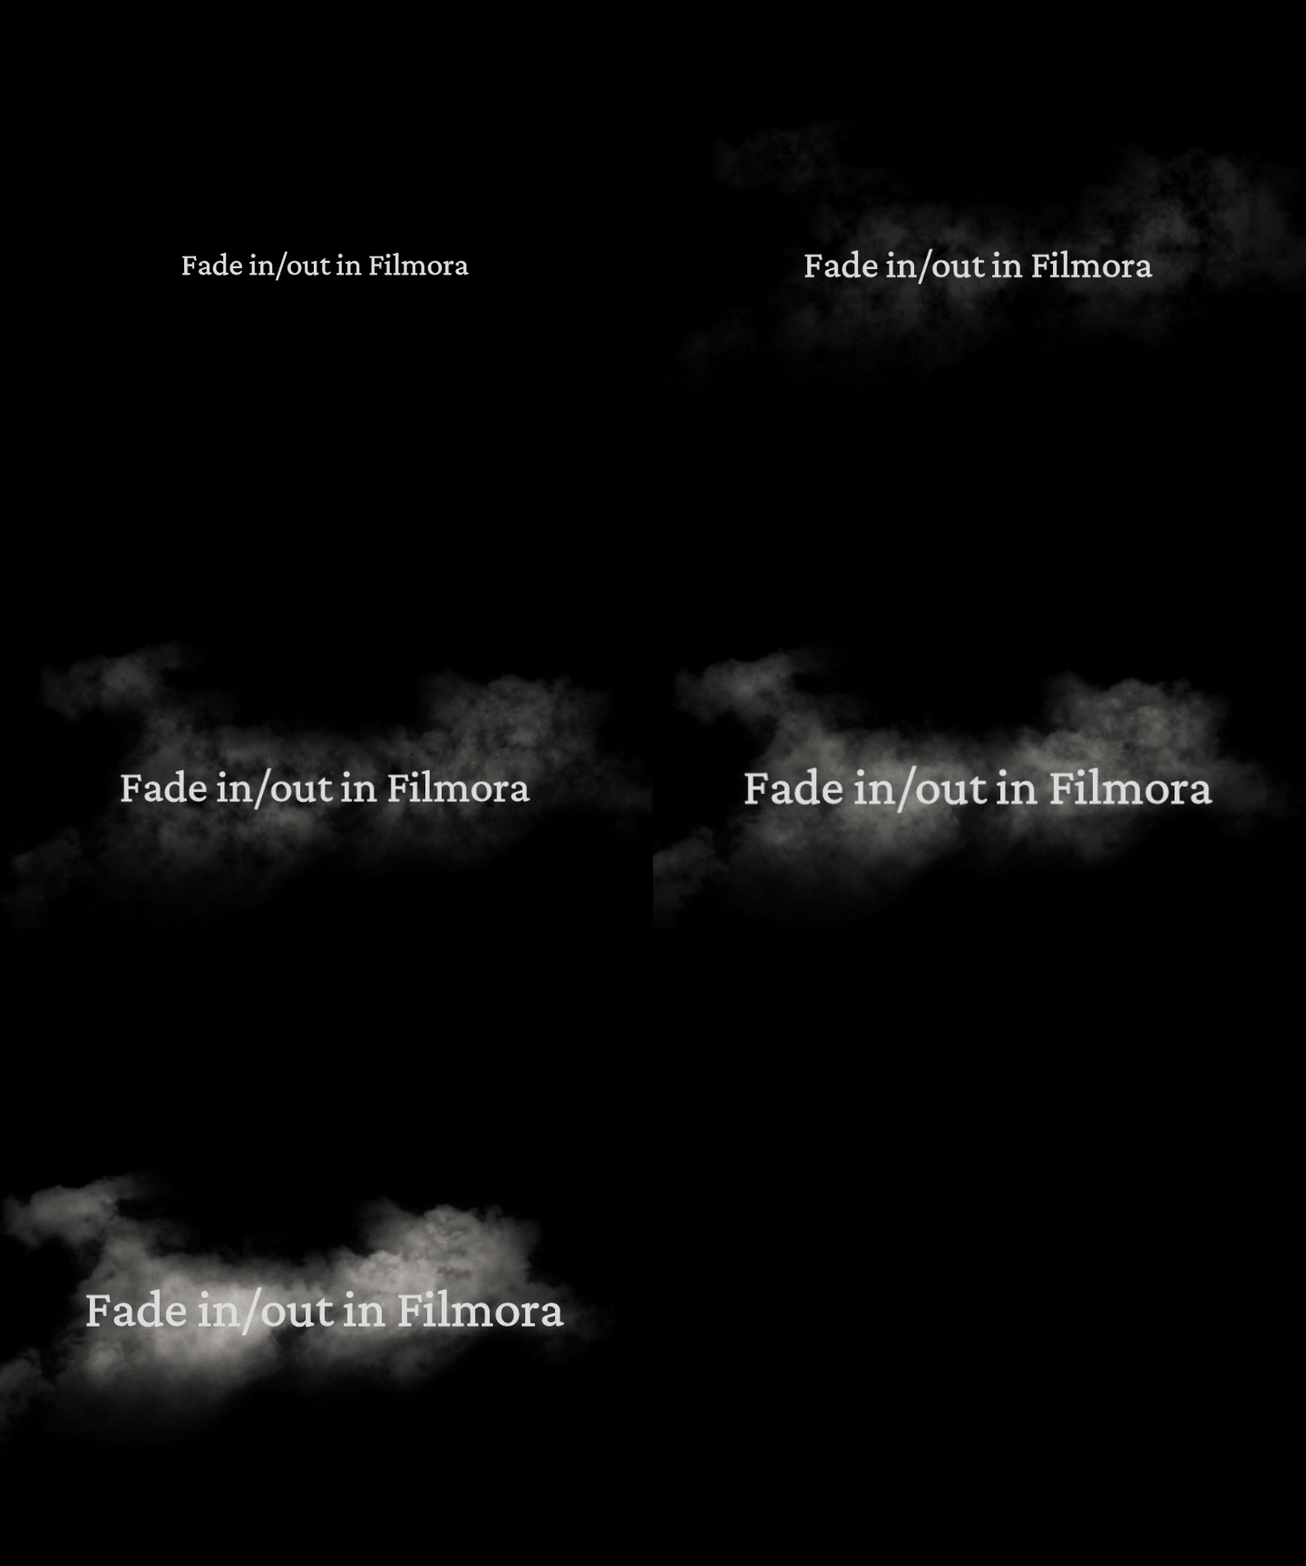
You may have seen a video where text gradually appears or disappear on the screen and wondered how to create it using After Effects. This effect, known as a fade-in or fade-out, is commonly used to create smooth transitions in video content.
For someone who has just begun using After Effects, creating these fade-in or out text effects may seem confusing at first due to the complex interface and extensive range of features available in the software.
However, that won't be the case anymore. Learn how to create professional-looking fade in text effects in Adobe After Effects with our comprehensive guide.
In this article
Part 1: Detailed Guide to Fading Text in After Effects
Adobe After Effects is a leading motion graphics and visual effects software. It's widely used by motion artists and professionals in films, television, and digital media industries to create stunning animations and cinematic visuals. One of its key strengths is the ability to animate text.
Text Animation in After Effects
In After Effects, you can create fade-in and fade-out effects for text by setting keyframes for the opacity value at specific points on the timeline. This allows you to gradually transition the text from fully visible to transparent, or vice versa.
Sometimes some plug-ins can simplify the process of creating fade-in and fade-out effects in After Effects by providing pre-built presets. But even without that, you can achieve smooth fade effects by following our step-by-step guide to After Effects Text Fade In.
How to Fade-in/out Text in After Effects
Step 1: Create a New Project and Composition
Open After Effects and create a new project. Go to File-New-New Composition or click the New Composition button in the Composition panel. Set your desired composition settings (resolution, duration, frame rate, etc.) and click OK.
Step 2. Add Text to Your Composition
Select the Text Tool (shortcut: Ctrl + T or Cmd + T on Mac) from the toolbar. Click anywhere in the composition panel and type your text. You can also adjust the text's font, size, and color as needed using the Character panel.

Step 3. Apply Fade-In Effect
In the Timeline panel, expand the text layer by clicking the triangle next to it. Click the Transform dropdown to reveal the transform properties. To fade in text in After Effects, select Animate and find the Opacity property.

Next, set the opacity value to 0% (invisible) at the beginning of the fade-in period. Then, open the Range Selector 1 and set the Offset value to -100%. Click the stopwatch icon on the Offset setting to create a keyframe.

Move the playhead to where you want the fade-in to end. Change the Offset value to 100%00% and open the Advanced dropdown menu to set up these settings:
- Shape: Ramp up
- Ease High: 50%
- Ease Low: 50%.

Step 4. Apply Fade-Out Effect
For creating fade-out text in After Effects, duplicate the Animate settings, open its settings, and select the keyframes. Then, move the keyframes for a few seconds forward.

Next, open the Advanced settings under the Animate 2. Set the Shape menu to Ramp Down.

Now, you'll have keyframes for the Fade in effect (Animate 1) and keyframes for the Fade out effect (Animate 2). The space between both keyframes determine how long the text remain visible.
Press the spacebar to play the composition and review the result. That's how you create a fade-in effect word by word in After Effects.
You can also check the video tutorial below for a better understanding.
Part 2: User Experience with After Effects
After learning about how to create fading text in After Effects, what do you think about the steps? Does it seem like a straightforward process to you, or do you find it more complex than expected? In case you want to know what others say about their experience with After Effects, let's hear their review from top sites like Capterra and TechRadar.
Users' Review
Generally, many users praised After Effects for its professional-grade effects. However, it falls short in terms of pricing options compared to other programs. It's also often described as tricky to use as it can behave in confusing ways at times. These factors combined can make After Effects challenging for users who need a more straightforward, cost-effective, and accessible solution for their video editing needs.
Pros and Cons
Part 3: Streamlined Text Animation with an Easier Way
Although After Effects delivers high-quality text animations, some of you may still find creating fade-in and fade-out effects in After Effects difficult. You need to know when you want the text to fade in/out. If not done correctly, the transition might appear jerky.
For a simpler approach that still offers excellent results, you can use a more intuitive tool. Wondershare Filmora is highly recommended in this regard as it provides straightforward fade-in/out text effects to create fading text animations.

Making fade-in/out text in Filmora only requires you to apply the fade-in or fade-out effects to the title track. Moreover, there are various text styles available to give your video a more creative look.


For a more detailed instruction on doing it, you can refer to these steps.
How to Fade In/Out Texts with Filmora
Step 1. Start by Creating a Project and Importing Video
After installing Filmora, launch the software on your computer and select Create a New Project.
Step 2. Add Texts to Your Video
Navigate to the Titles tab and select the title style that suits your needs. Sometimes the Title already has a pre-built animation. Then, add it to the timeline.

After adding the Title track on your timeline, select it and go to the Title-Basic panel on the right to edit and customize the text.

Scroll down to change the composition, such as adding background to the text, changing the text shape, or adding outlines.

Step 3. Apply Fade-in Effects to Your Text
To apply the Fade-in effect, select the Animation tab-In and choose “Fade1.” You can then set and adjust the fade-in duration using the slider under the Duration option.

Step 4. Apply Fade-out Effects to Your Text
For the fade-out effect, you can select the Out tab and choose “Fade1” or other Fade out effects. Set the duration again as needed.

To edit your text more easily, you can open the Advanced settings. There, you can have a separate window to edit your text.

Check out and try a more advanced technique to fade in text using Filmora:
After Effects vs. Filmora — Text Fading Animation Comparison
While both Adobe After Effects and Wondershare Filmora can achieve fade-in and fade-out text effects, they cater to different user needs and skill levels. Understanding how they compare can help you choose the right tool for your workflow.
| Feature | After Effects | Filmora |
| User-Friendliness | Steep learning curve; advanced workflow | Beginner-friendly; intuitive interface |
| Creative Control | Extensive control with detailed keyframing | Simpler controls; presets for quick fades |
| Preset Effects | Custom fades; wide range of animation tools | Multiple built-in fade effects; fewer options |
| Integration | Seamless with Adobe Suite | Functions as a standalone editing tool |
| Performance | High system requirements | Runs on average computers |
| Cost | High (subscription required) | More affordable one-time or tiered pricing |
| Best For | Professionals, detailed animation | Beginners&Professionals |
Bonus: Practical Applications of Fade-Out Effects
Now that you know how to create fade-out text effects, it's time to explore how to put them into practice. Fade-out effects are more than just a cool addition. They can significantly impact the flow and professionalism of your content. This effect is mainly used for:
1. Signaling the conclusion of a scene or the entire video
- Narrative Videos: When wrapping up a story or a particular segment, a fade-out provides a smooth transition to the end credits or a new chapter.
- Corporate Videos: To conclude presentations or promotional content, a fade-out can give a professional touch and signal the end of the message.
- Promotional Videos: To gracefully conclude a call-to-action or final message, ensuring the viewer is left with a memorable impression.
2. Creating a smooth transition between scenes
- Documentaries and News Segments: To shift focus from one topic to another without jarring interruptions.
- Montages: To blend together a series of clips or images seamlessly.
- Film Scenes or Trailers: To transition between scenes that are thematically or visually linked. For example, a fade-out can gently move the audience from one location to another or from one period in time to another.
Conclusion
Creating fading text in After Effects can help you make unique transitions like you've seen in many films and videos. By setting up opacity keyframes, you can create smooth fade-ins and fade-outs that enhance the flow of your content.
For a simpler alternative, Wondershare Filmora also provides easy-to-use fade-in and fade-out options that can still deliver high-quality results. What you need is to apply the Fade in or out text effects to the Title track and it's ready to go. Download Filmora and enhance your videos with dynamic captions today.


 100% Security Verified | No Subscription Required | No Malware


