Simple video tutorials to get you started.
Creative techniques for filming and editing.


Tips: Please visit here to get the latest user guide for Filmora 12 >>
Auto Highlight is used to automatically extract the highlights from a clip. This will save your time when trimming your video and get the best parts from it more easily.
To use Auto Highlight just follow these steps:
There are 4 ways to launch the Auto Highlight feature in Filmora:
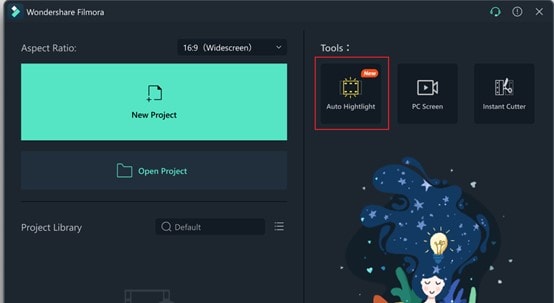
1. Open Filmora, you will see the Auto Highlight option at the startup window.
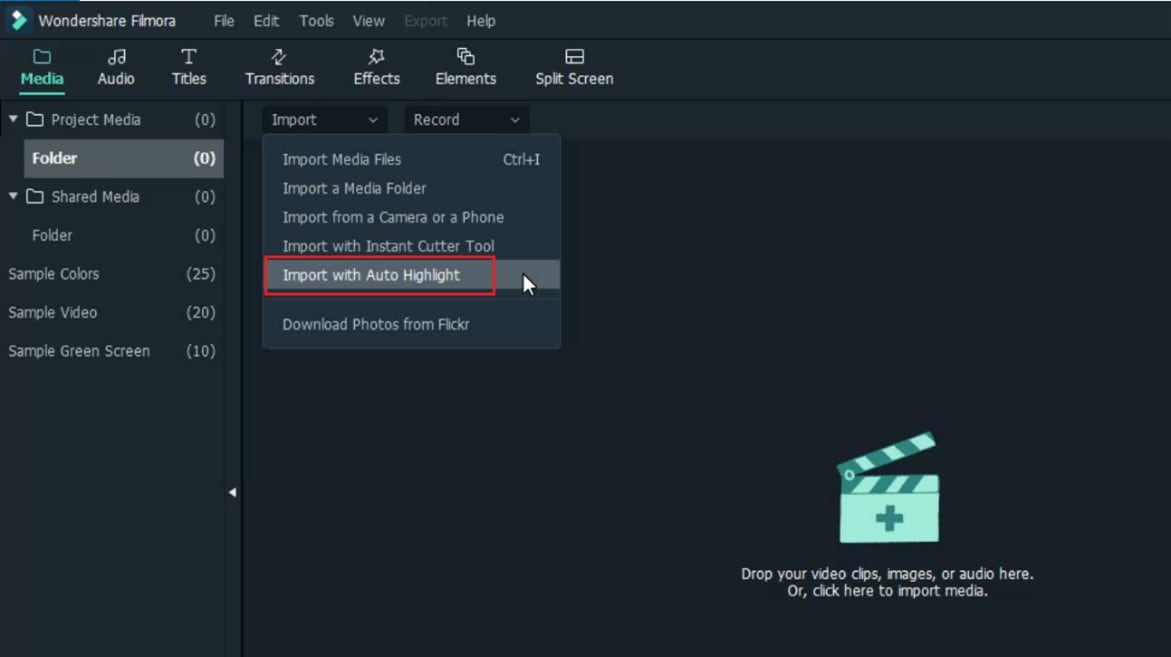
2. Go to the Import tab and select Import with Auto Highlight.
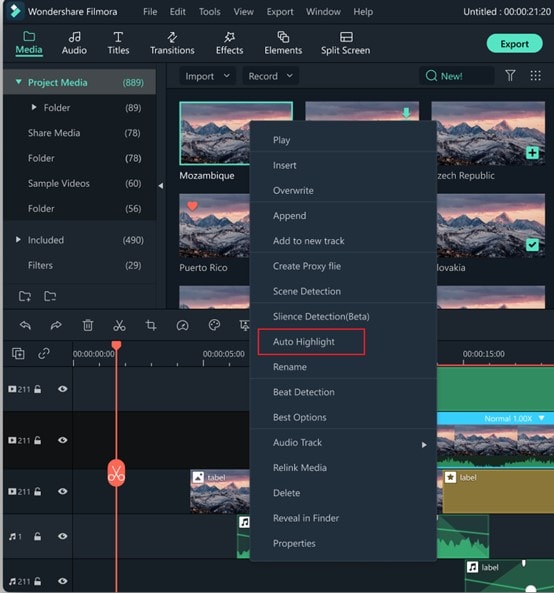
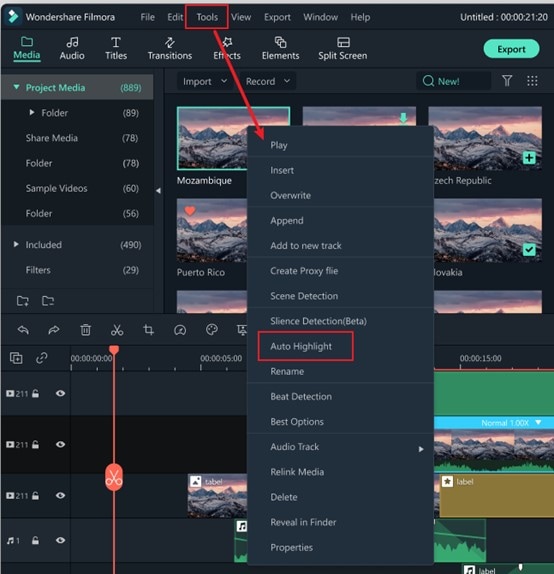
3. Add the clip to the timeline, right click on it and you will see the Auto Highlight.
4. In the Tools menu select Auto Highlight.
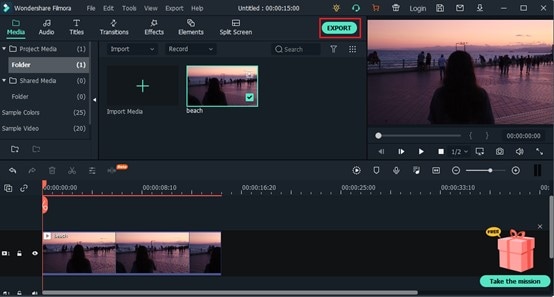
Note: In the latest version of Filmora, when you choose Export to Local and check Auto Highlight, you can export the highlight, not the entire video.
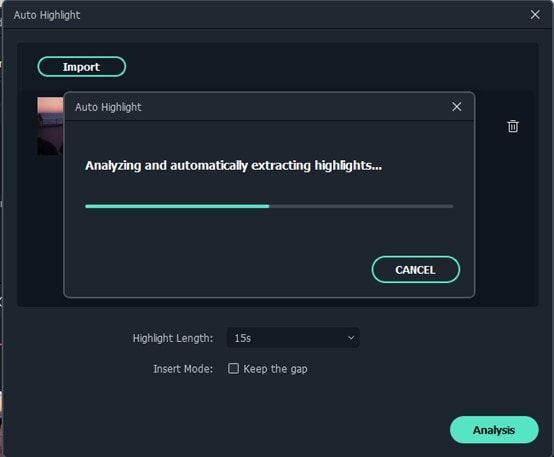
Import your clip with Auto Highlight, select the length you want for your highlights, and then click on Analysis.
Note: The insert mode is disabled by default. If you enable it, there will be gaps between clips.

Fimora will start analyzing the clip and will automatically extract the highlights.
Once the auto analysis is done you will see the highlights on the timeline. Then, you can click the Export button to export the highlights directly or keep on editing your video.