
 100% Security Verified | No Subscription Required | No Malware


 ChatGPT
 Perplexity
 Gemini
 Claude
 Grok
Grok
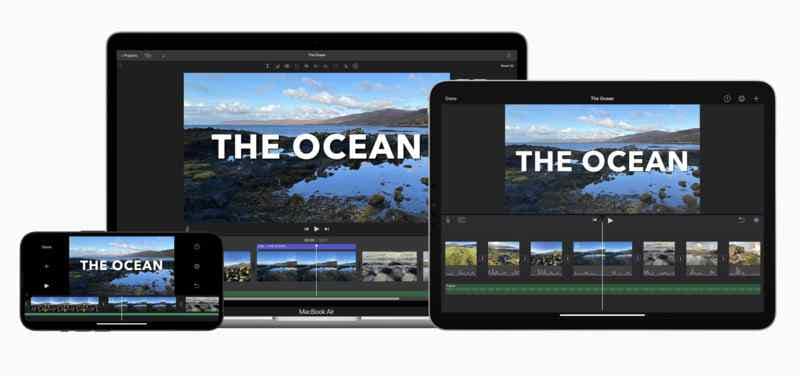
Ever watched a video that felt effortless, where scenes flowed seamlessly? That’s the power of video editing transitions. Whether you’re editing a travel vlog, Instagram reel, or a short film, the right transition can make all the difference. And if you're an Apple user looking to learn, iMovie is the go-to editor that most people recommend.
iMovie transitions help create a natural flow, keeping viewers engaged from start to finish. A fade transition in iMovie can add drama, while a quick wipe can make your edits feel fun and energetic. Each transition sets the tone, enhances storytelling, and gives your video a polished look.
Want to know how to add transitions in iMovie? This guide will walk you through the process, step by step.
In this article
Part 1. How to Add Transitions in iMovie on Mac
iMovie makes video editing simple. It comes with built-in transitions that help your clips blend smoothly. For example, a fade in iMovie transitions adds emotion, while slides and zooms create energy. Each transition helps guide the viewer’s focus and keeps your video flowing naturally. With just a few clicks, you can add iMovie transitions and make your video more engaging.
Available Transitions in iMovie
iMovie offers a variety of transition effects. Here are some of the most popular ones:
- Fade to Black / Fade to White: Great for dramatic scene changes.
- Cross Dissolve: Smoothly blends one clip into the next.
- Slide & Wipe: Works well for fast-paced or fun edits.
- Spin & Zoom: Adds movement and energy to transitions.
- Blur Transitions: Creates a soft and seamless transition between clips.
Now, let’s go through the steps on how to add a transition in iMovie on your Mac.
How to Add Transitions in iMovie on Mac
Step 1. Launch iMovie and open the project where you want to apply transitions.
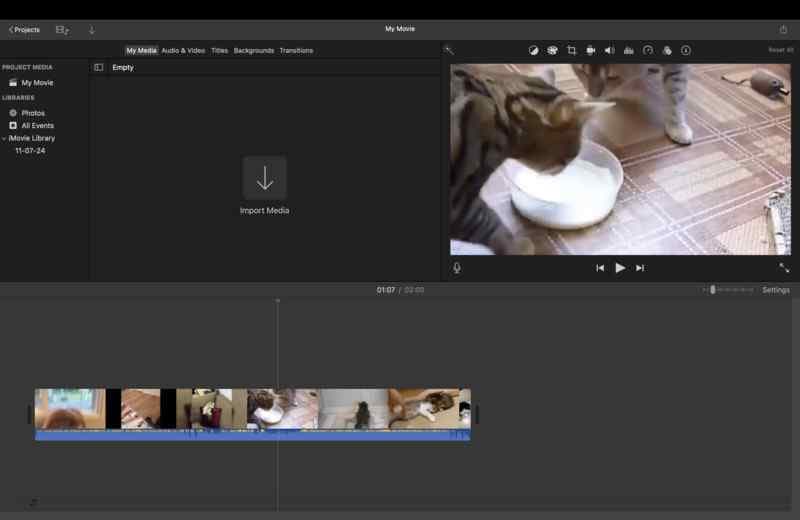
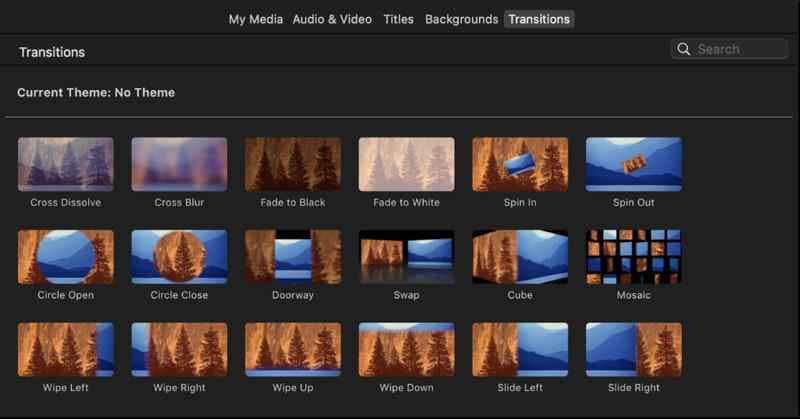
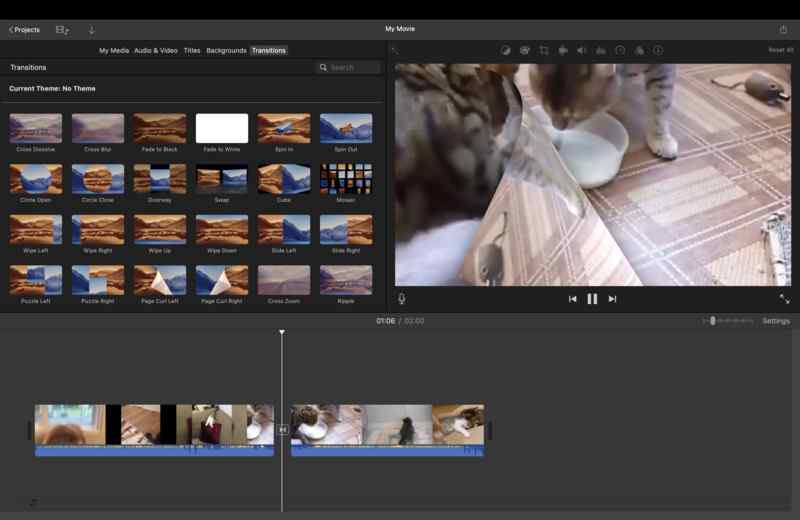
Step 2. Click on the Transitions tab located above the timeline. This will display all available transitions.
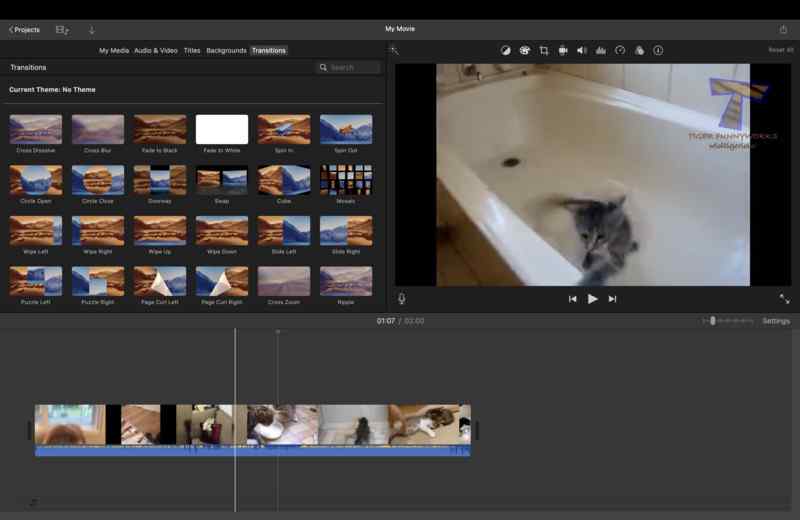
Step 3. Select a transition and drag it between two clips in your timeline. You will see it automatically apply to the clips.
Step 4. Click on the transition in the timeline, then go to the Inspector Panel to adjust its length. A longer transition creates a slower effect, while a shorter one makes the cut snappier.
Step 5. Press the Play button to see how it looks. If needed, experiment with different transitions or adjust the timing for a smoother effect.
Pro Tips for Using iMovie Transitions
Knowing how to add transitions on iMovie is one thing, but using them in a way that elevates your video is a whole different skill. Here are some tips to use them effectively:
- Don’t Overuse Transitions: Too many effects can make your video look messy. Use them only when needed.
- Match the Mood: A fade transition works well for slow and emotional moments, while a quick slide is better for action scenes.
- Experiment with Timing: Short transitions keep the video moving fast, while longer ones feel more cinematic.
Keep these tips in mind to make sure your transitions improve your video instead of making it look unnatural.
How to Delete Transitions in iMovie
If you no longer want a transition, removing it is simple. Follow these steps:
Step 1. Open Your Project in iMovie and go to the timeline.
Step 2. Click on the Transition you want to delete.
Step 3. Press the Delete Key or right-click and select Delete Transition.
Step 4. Adjust Your Clips if needed to maintain a smooth cut.
Part 2. How to Add Transitions in iMovie on iPhone and iPad
Adding iMovie transitions on iPhone and iPad is a bit different from the Mac version. The mobile interface is designed for touch controls, making it simple to use. iMovie for iOS automatically adds transitions between clips, but you can change them to fit your video style.
If you want to know how to add a transition in iMovie on iPhone, follow these easy steps.
How to Edit Transitions in iMovie
Step 1. Open iMovie and create a new project. Launch the app and tap Create Project, then select Movie. Next, import the video clips you want to edit.
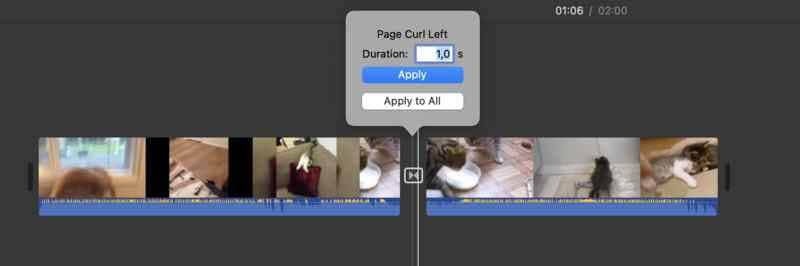
Step 2. To customize the transition, tap on the small bowtie icon located between two clips.
Step 3. Apply transition effects, such as Dissolve, Slide, Wipe, and Fade. If you want to adjust the transition speed, use the duration setting displayed below the transition menu. You can choose from 0.5 seconds, 1.0 seconds, 1.5 seconds, or longer.

Step 4. Once you've added and adjusted the transition, tap the Play button to preview it. If it doesn’t look right, you can go back and select a different transition. You can change the duration as well.
Common Issues with Transitions in iMovie
- Limited Transition Effects: When adding iMovie transitions on iPhones and iPads, many users mentioned that it has fewer transition options compared to the Mac version. This can feel a bit limiting if you're looking for more creative effects. A good workaround is to use other editing apps like Wondershare Filmora, which gives you more transition options and customization.
- Transitions Not Adding Automatically: Sometimes, iMovie won’t automatically add a transition if your clips are overlapping slightly or have different formats. If that happens, just tap the transition icon and manually select the transition you want.
- Transitions Too Fast or Slow: If your transitions feel off pace, you can adjust the speed. Simply tap the transition and change its duration—shorten it for a quick cut or make it longer for a smoother flow.
Part 3. Add More Advanced Transition Effects with Filmora
While iMovie transitions on iPhone and iPad are easy to use, they are quite limited. If you want more variety and customization, Wondershare Filmora is a great alternative. Filmora is a beginner-friendly video editing software, but it offers many advanced transition effects that iMovie does not have.
 secure download

iMovie vs. Filmora: Which One Has Better Transitions?
When it comes to transitions, iMovie and Filmora offer different experiences. Here’s a quick comparison:
- iMovie: Simple and beginner-friendly. It provides only a few basic transitions like Fade, Cross Dissolve, and Wipe. The transition settings are also limited, so you can only adjust the duration.
- Filmora: Offers a vast library of transitions, including glitch, zoom, spin, warp, and cinematic effects. You can customize animations, fine-tune the speed, and even use AI-powered tools to make transitions smoother and more dynamic.
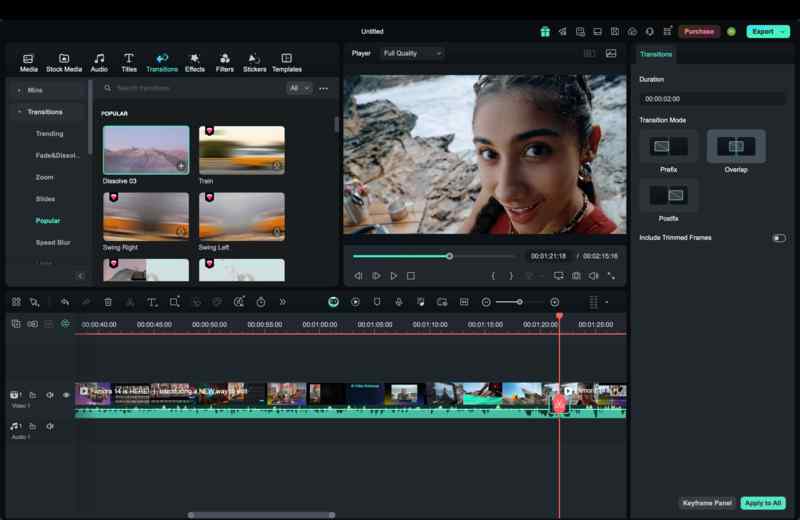
One unique feature in Filmora is the ability to position your transitions in different ways:
- Prefix: The transition starts at the end of the first clip.
- Overlap: The transition is placed between two clips.
- Postfix: The transition begins at the start of the second clip.
This flexibility allows for better transition effects and smoother storytelling, unlike iMovie, where transitions are placed only between clips by default.
How to Add Advanced Transitions in Filmora
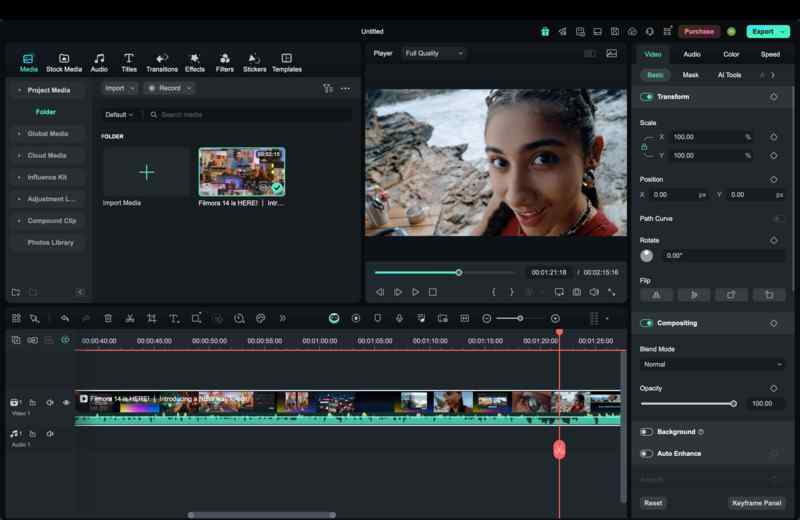
Step 1. Launch Filmora and click New Project to begin. This will open the main editing interface, where you can import and arrange your clips.
secure download 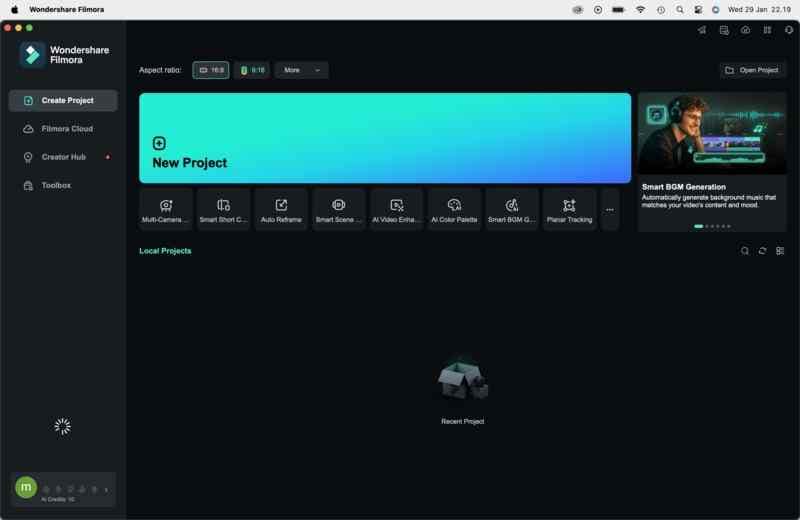
Step 2. To add your clips, click the Import Media button. Then, select the videos you want to edit. Once imported, drag and drop the clips into the timeline.
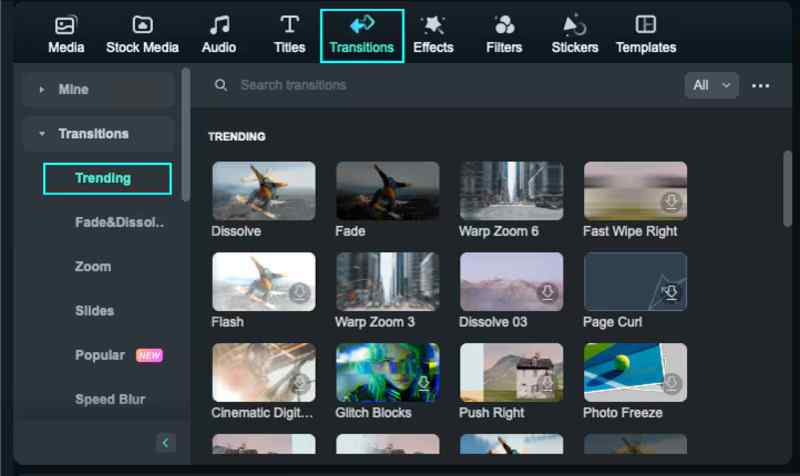
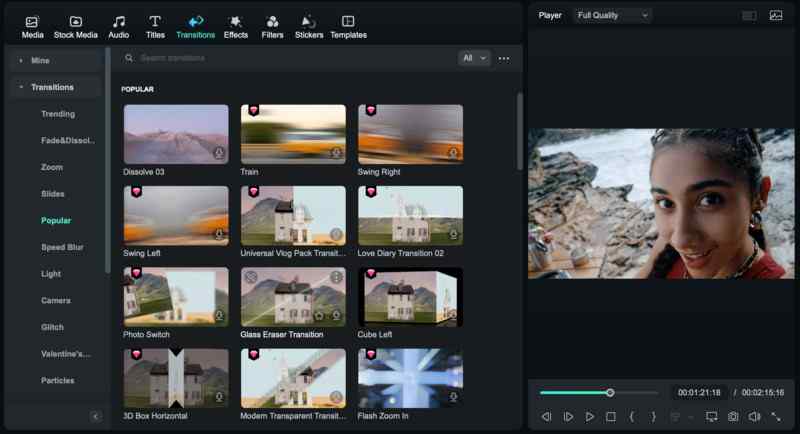
Step 3. Click on the Transitions tab at the top of the screen. Filmora offers a wide variety of transitions. This includes cinematic fades, glitch effects, zooms, and creative animations. Browse through the options and preview each effect before selecting the one that fits your video style.
Step 4. Once you’ve found a transition you like, drag and drop it between two clips in the timeline. Filmora allows you to position the transition in three ways.
Step 5. After adding the transition, click on it in the timeline to open the settings. Here, you can adjust the duration, speed, and animation style. If you want a smoother effect, extend the duration. If you prefer a fast-cut transition, shorten the timing.
Step 6. Click the Play button to preview your video. If needed, make final adjustments to ensure smooth scene changes. When everything looks perfect, click Export to save your video in high quality. You can choose different formats and resolutions depending on where you plan to share your video.
Conclusion
Transitions make videos look smooth and professional. While iMovie transitions on iPhone and iPad are easy to use, they have limited options. If you need more creative effects, Filmora is a better choice. It offers a vast library of transitions, customizable animations, and flexible placement options. With Filmora, you can easily add cinematic effects and adjust transitions to fit your video style.
Now that you know how to add transitions in iMovie and how to use Filmora for advanced transitions, try them out and make your videos more engaging. Download Filmora today and start creating stunning edits!
