100% Security Verified | No Subscription Required | No Malware


 ChatGPT
 Perplexity
 Gemini
 Claude
 Grok
Grok
A filter is one of the most vital parts of a perfect picture. It helps convey the meaning of the picture, express emotions, present a professional look, and more.
If you are curious about the best filters for photos and how to apply them, you've come to the right place.
In this text, we will introduce you to some of the best filters for photos and teach you how to use a straightforward tool to apply them to your photos.
In this article
A Quick Rundown of the Best Filters for Photos

When you start learning about filters for photos, you quickly realize that there is an endless sea of different options. However, all these filters can be grouped into several categories. Some of them are more popular than others, and we have identified the five most popular types of filters. Let's go over each of them quickly.
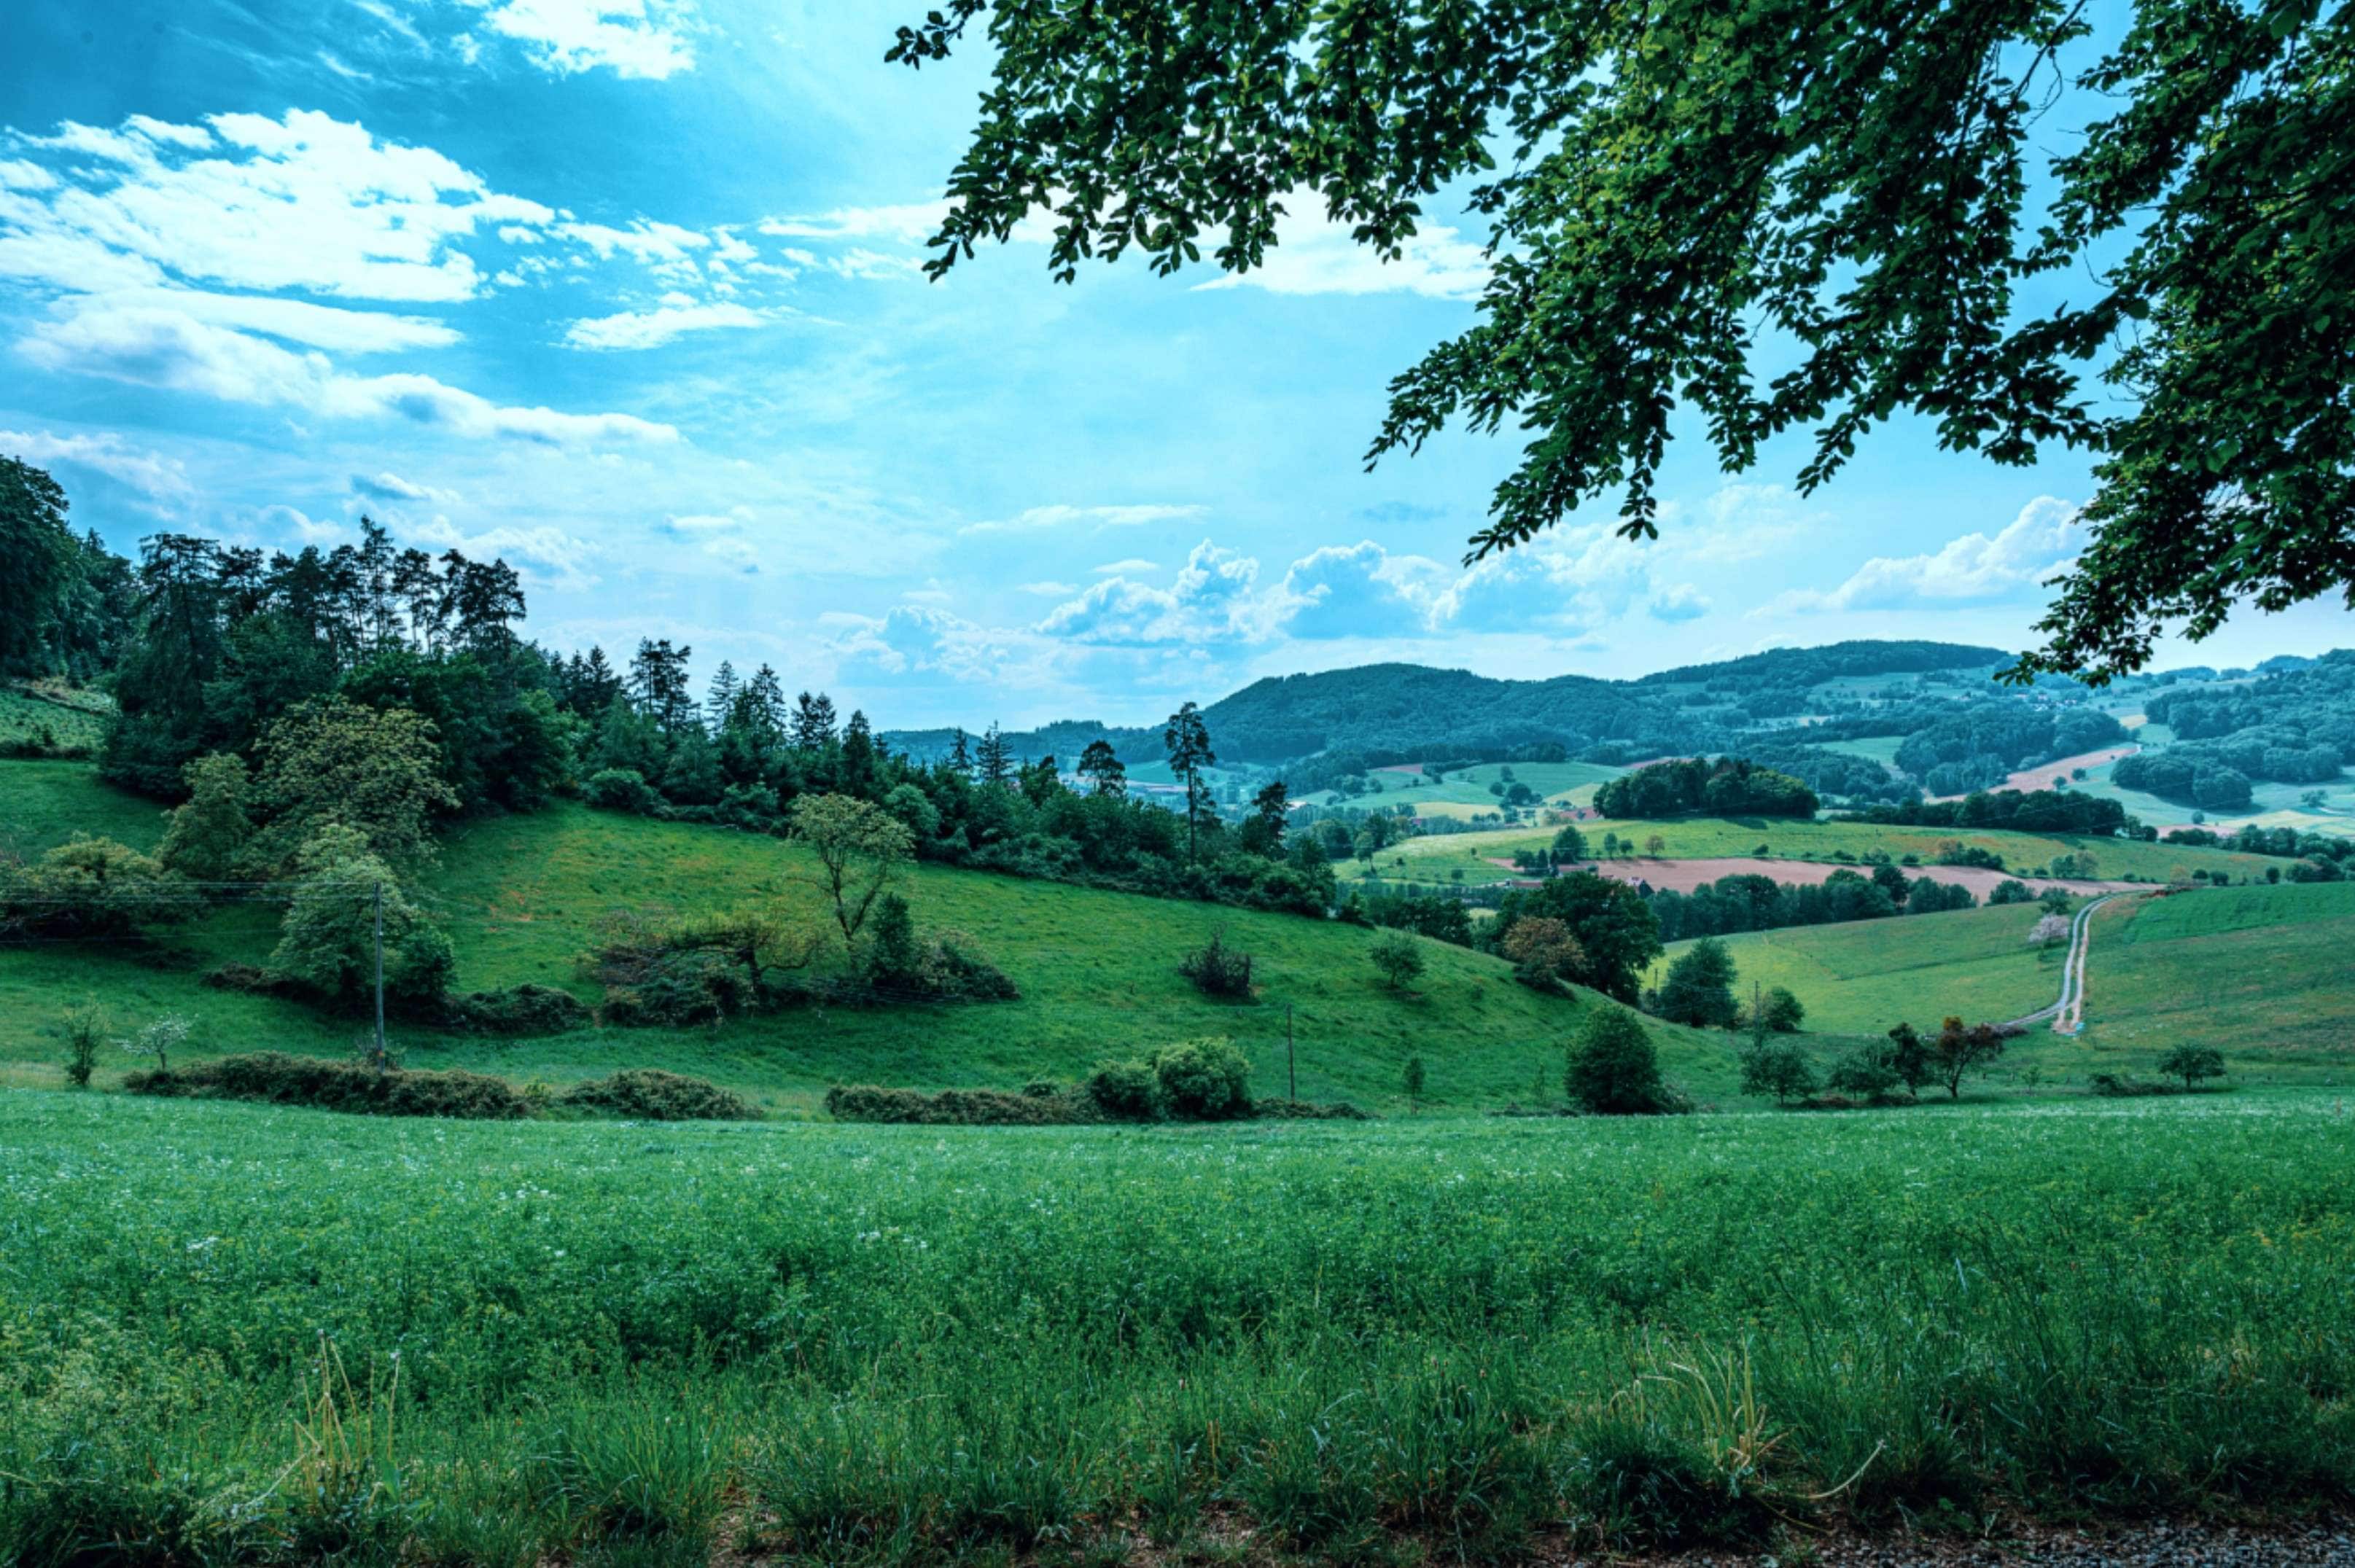
Retro and Vintage Filters
Retro and vintage filters for photos pay homage to a time when technology didn't progress enough to capture everything, like modern digital cameras. In comparison to the raw version, this one features fewer colors and offers a different vibe.
Black and White Filters
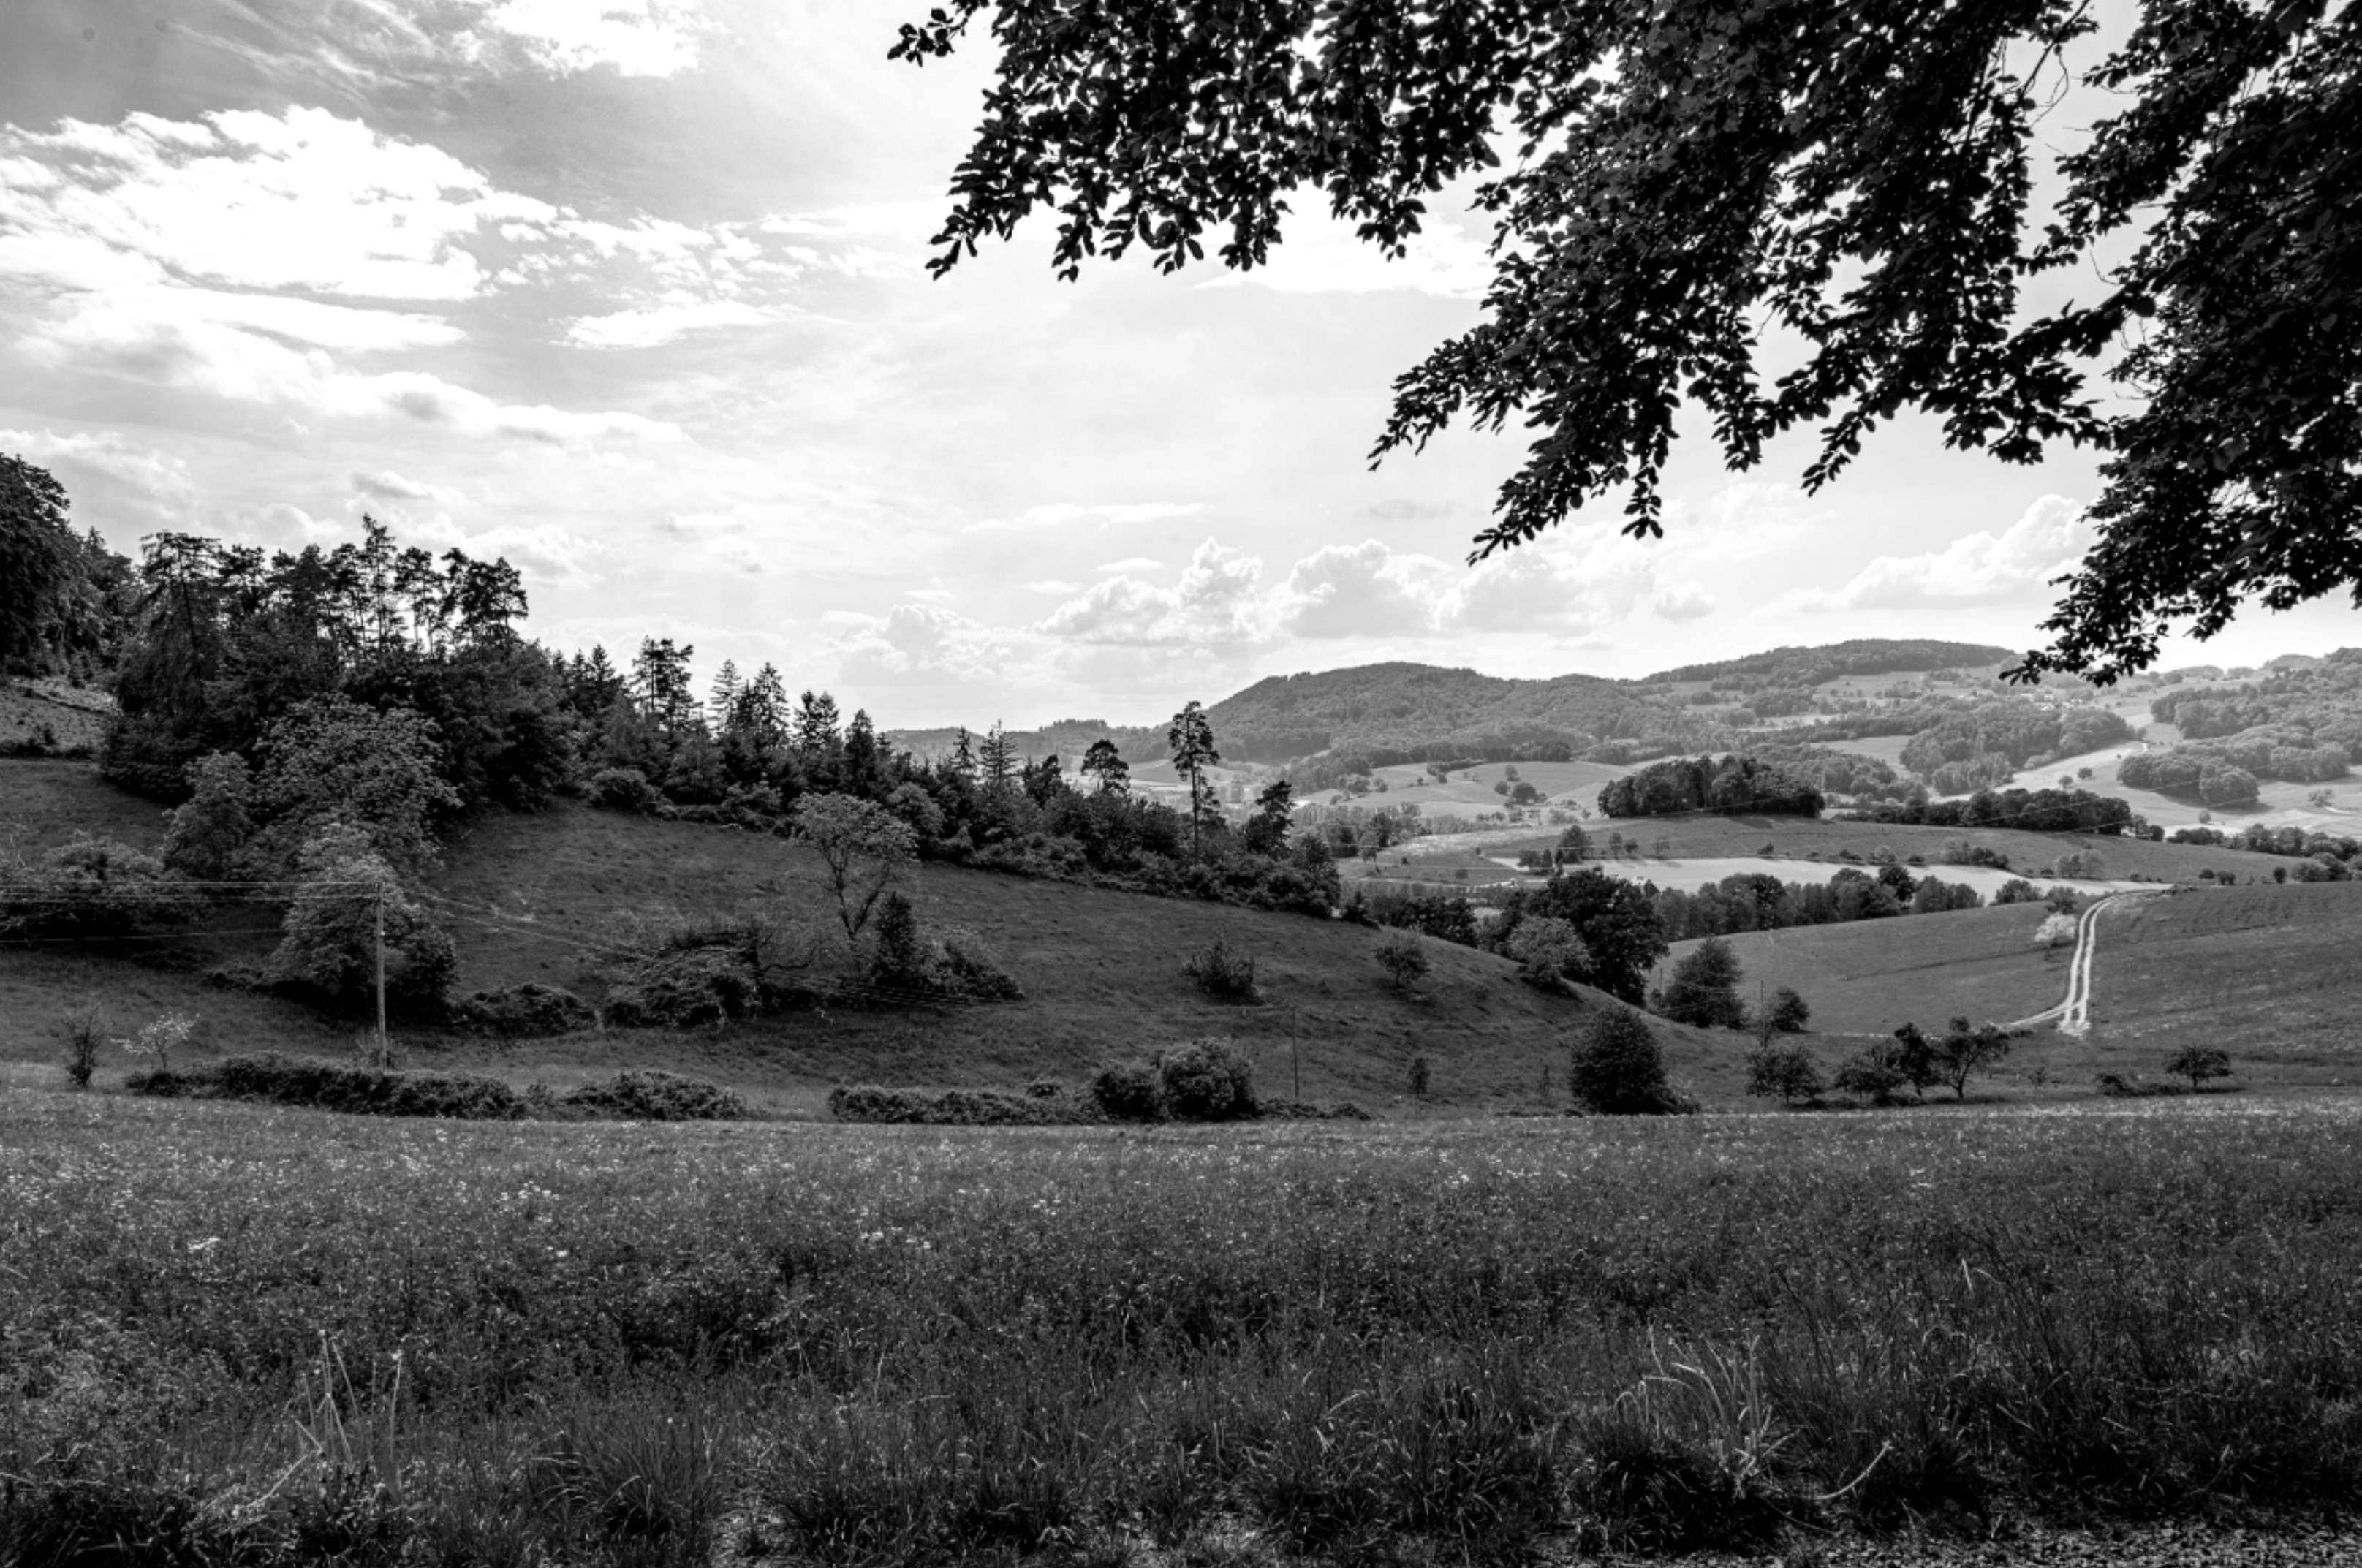
Black-and-white filters pay homage to a time long forgotten when there was no such thing as a colored photo or motion picture. This type of filter is reserved for more serious projects as it instantly adds a dose of seriousness to the scene.
Cinematic Filters
Each color evokes a different emotion, and as a video content creator, you need to know the psychology of colors. Based on the story you want to tell, you can use different types of cinematic filters to emphasize a particular color.
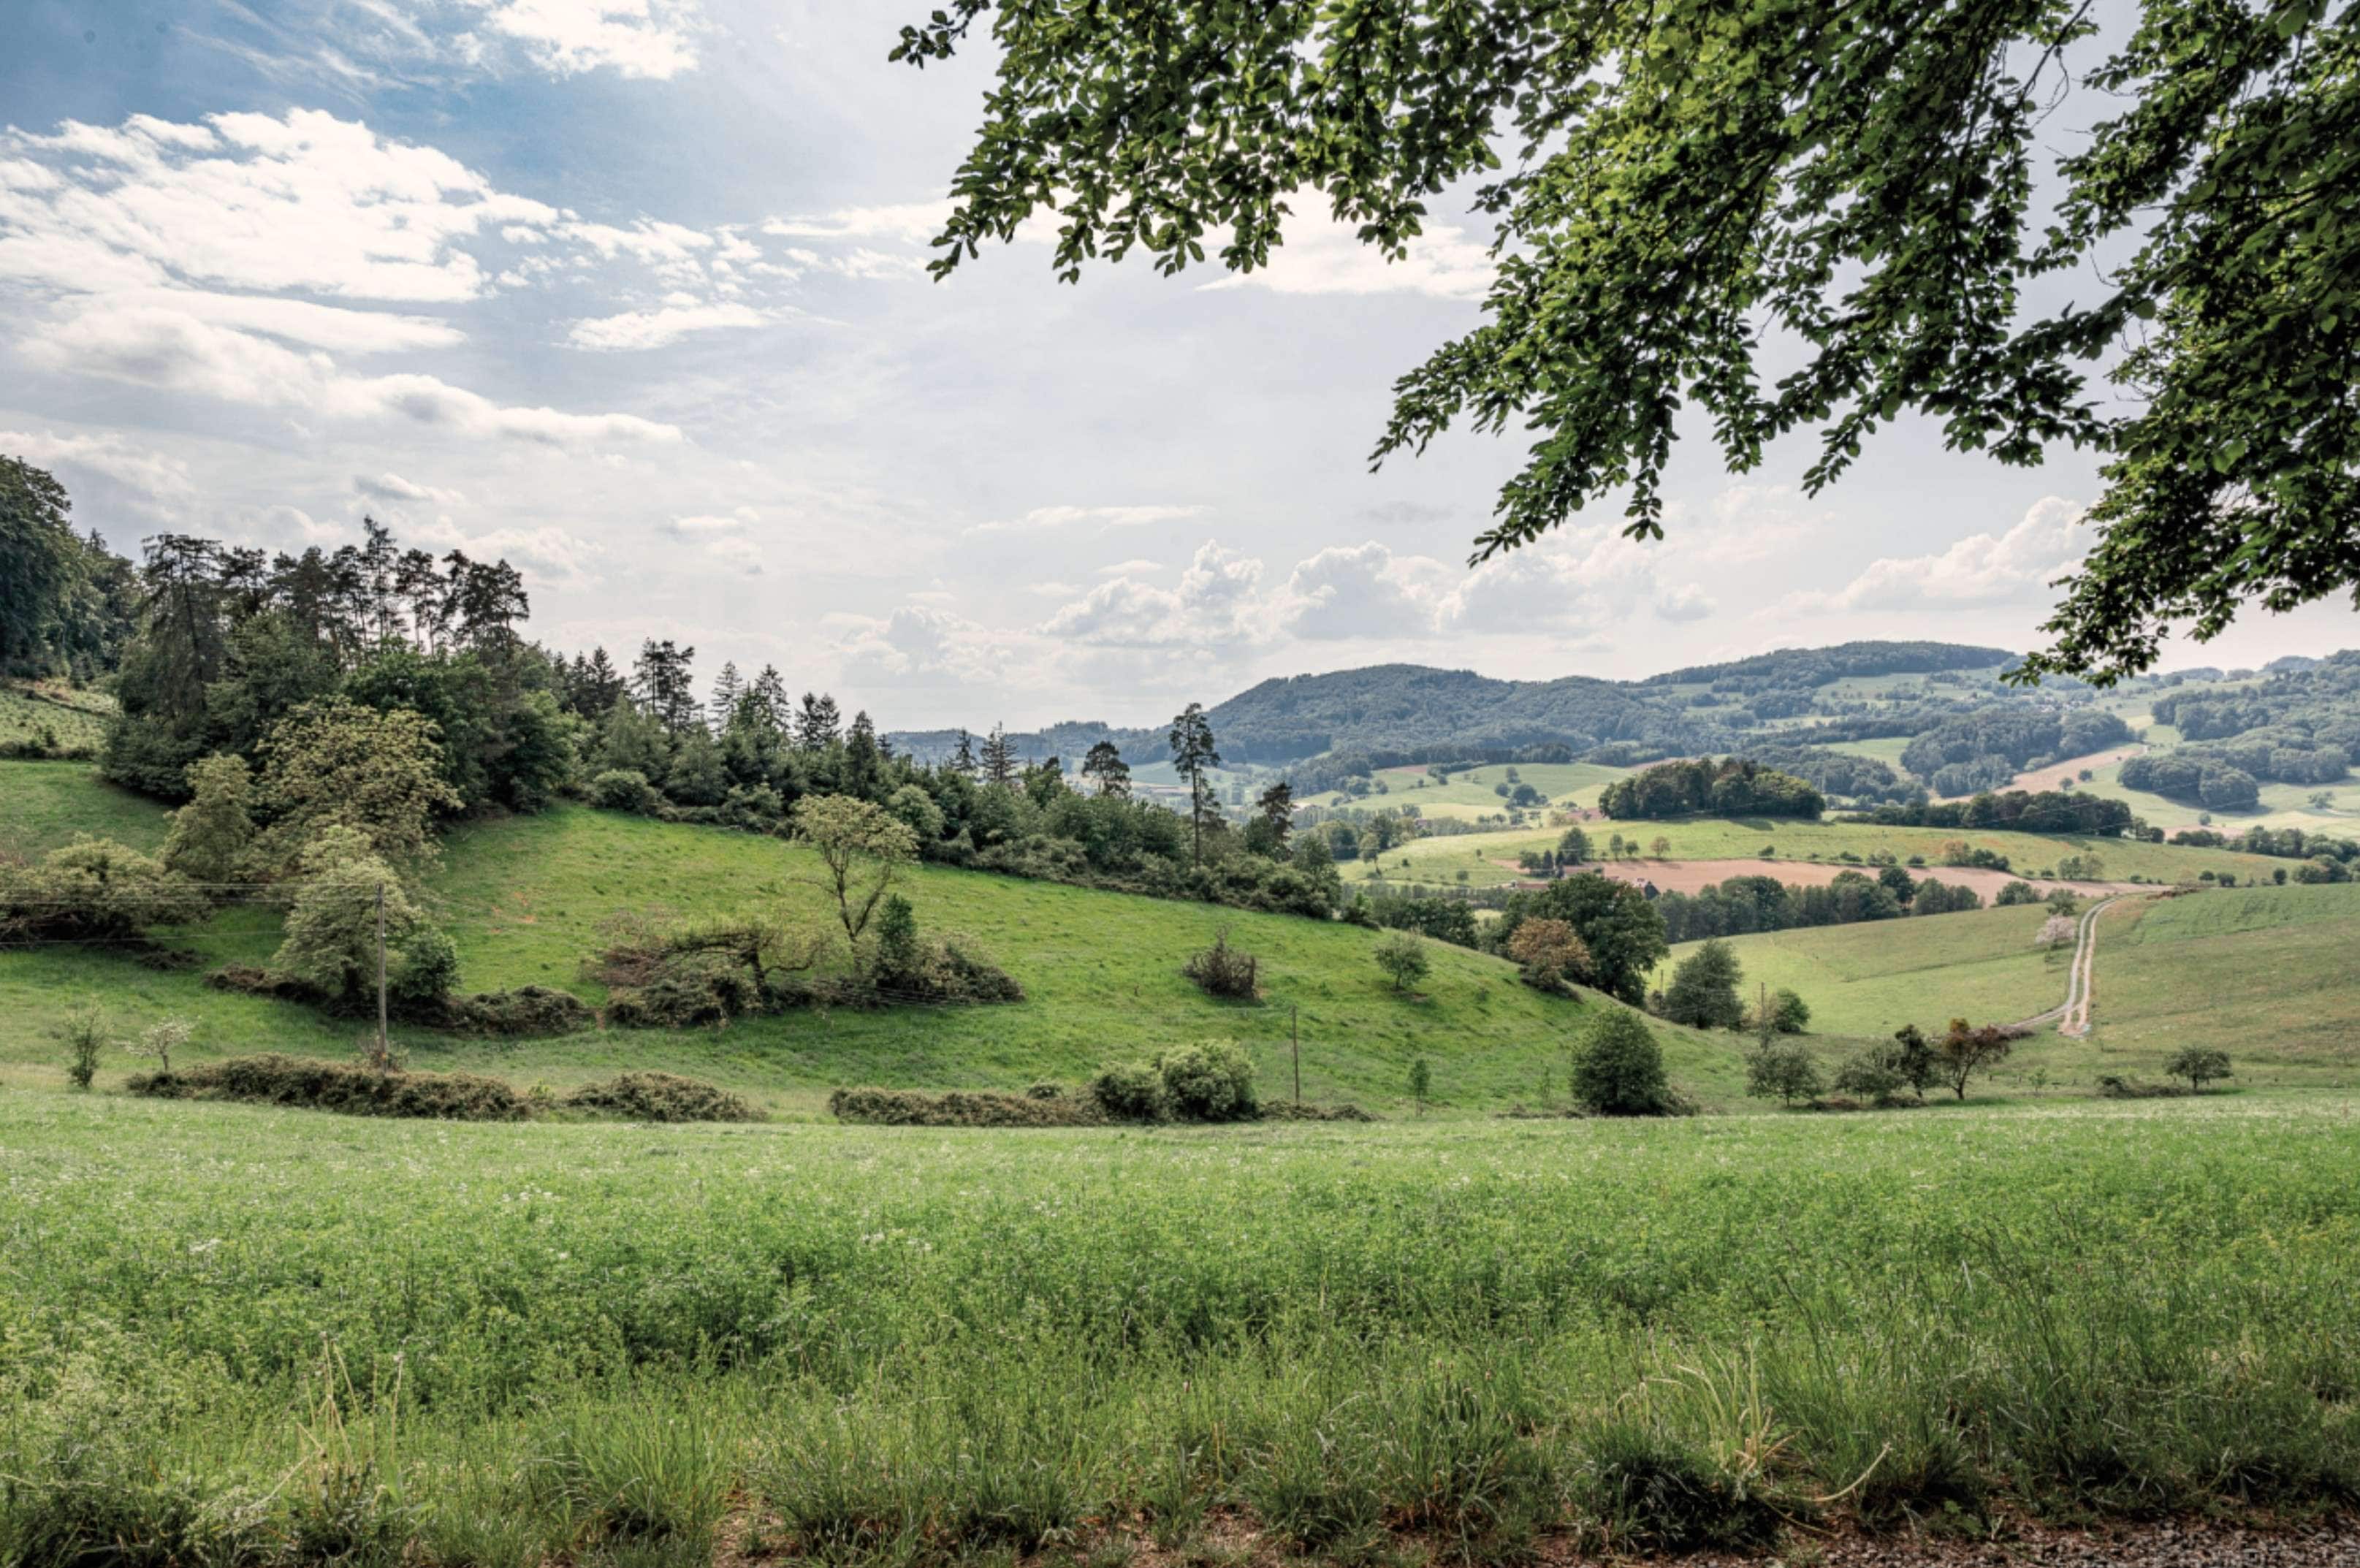
Spring and Summer Filters

If you want your viewers to know that the location where the scene is happening features hot weather, you can use spring and https://filmora.wondershare.com/templates/summer-filters.html. These filters enhance the brightness just enough to let viewers know that the temperature in the scene is high.
Camera Filters
As a fresh photographer or videographer, you might not have access to the absolute best equipment when you start out. A neat trick is to apply specific camera filter to mimic other lenses and get better colors in your shots until you can get better equipment. Now that we have covered the best types of filters, let's see how to use them. We have a great photo filter app to introduce to you that offers all the filters you will ever need. Check it out.
How to Access the Coolest Photo Filters?
Filmora is one of the best video editing apps available. It also offers amazing image-editing features that make it compete with the best AI image-editing apps on the market. With a bunch of video and image filters provided, ranging from basic to pro, food to portrait, and non-AI powered to AI filters, Filmora is a great photo filter app.
Let's go through the steps you need to take to add filters to photos using Filmora Mobile.
- Download the app and install it on your device. It is available for Android and iOS platforms.
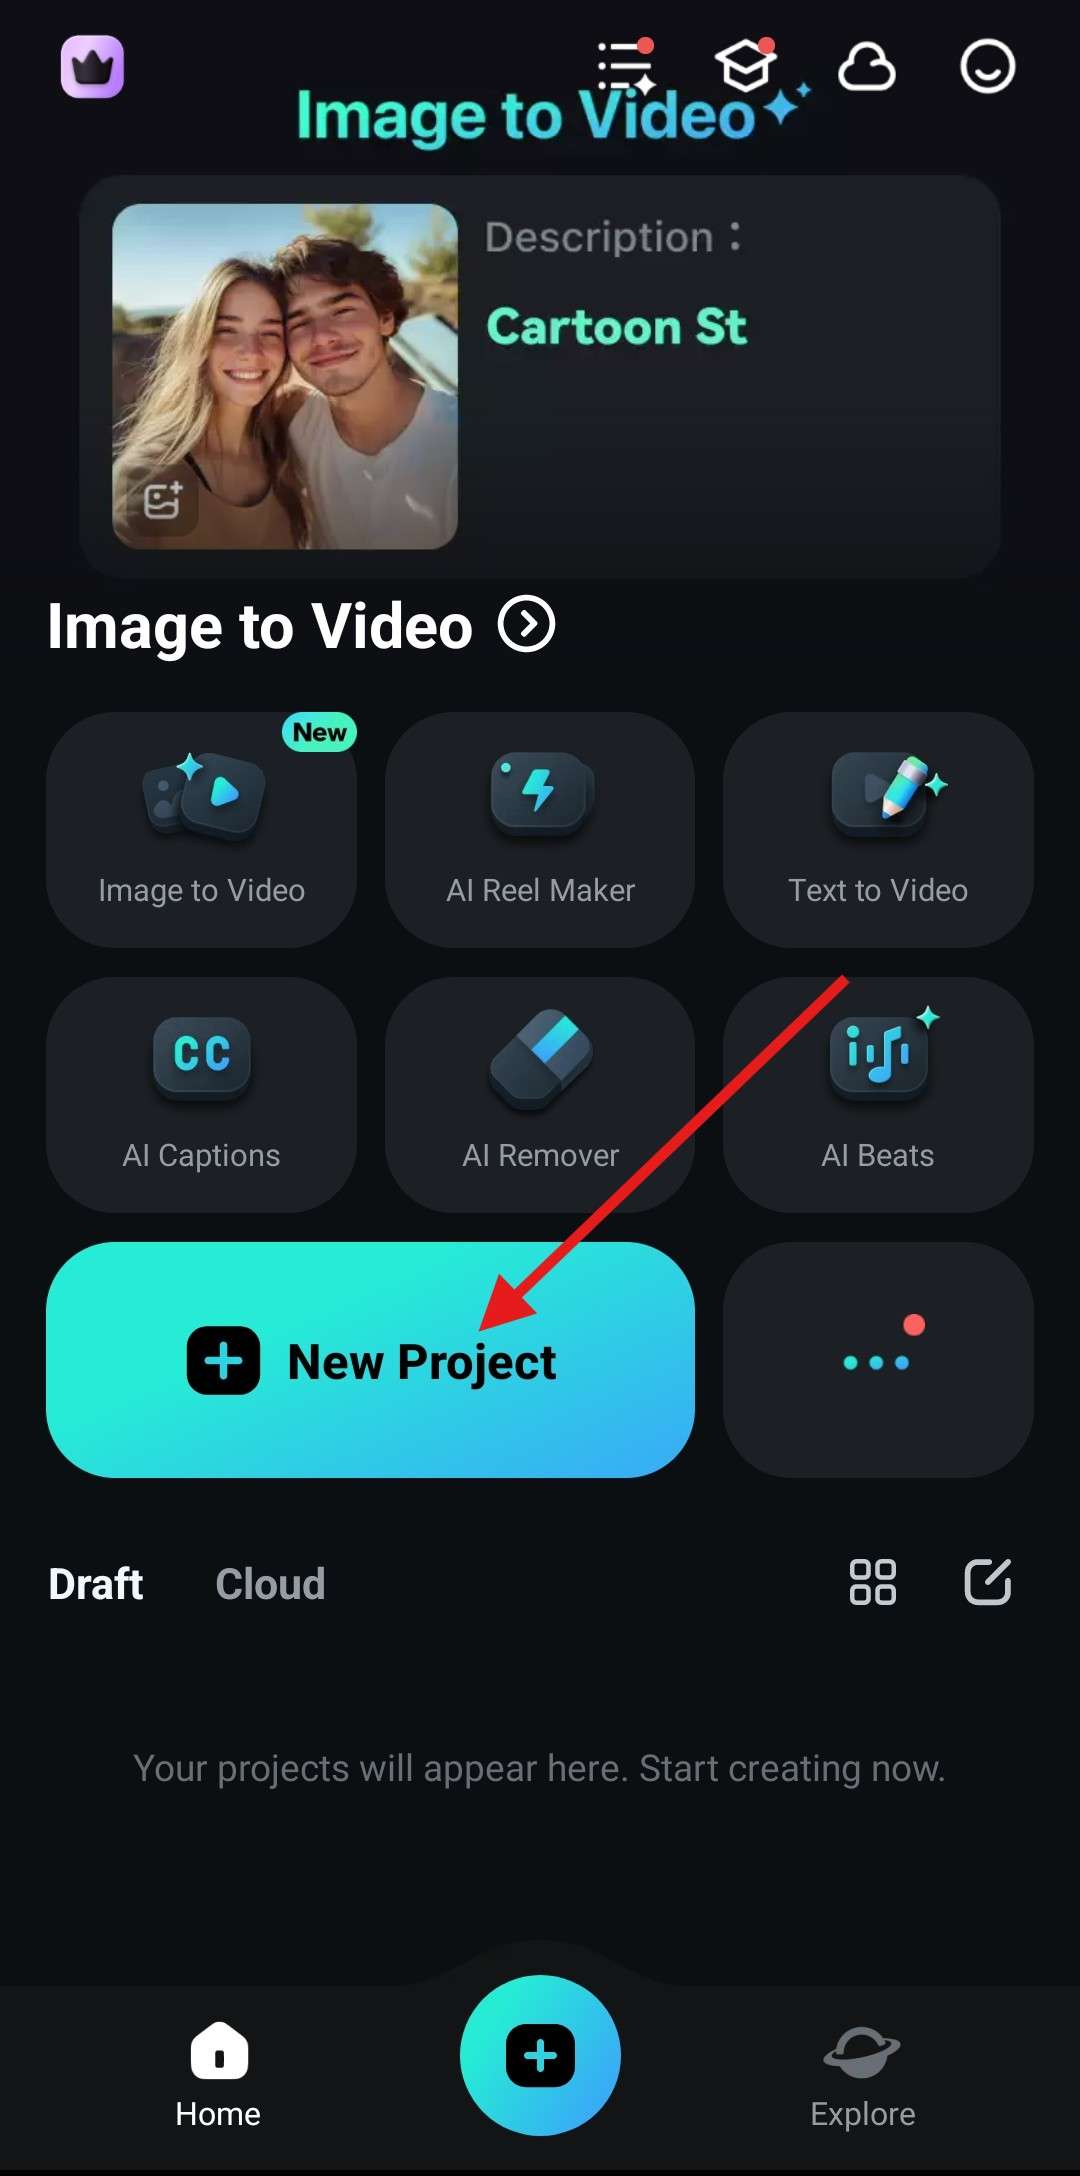
- Open the app and tap New Project.
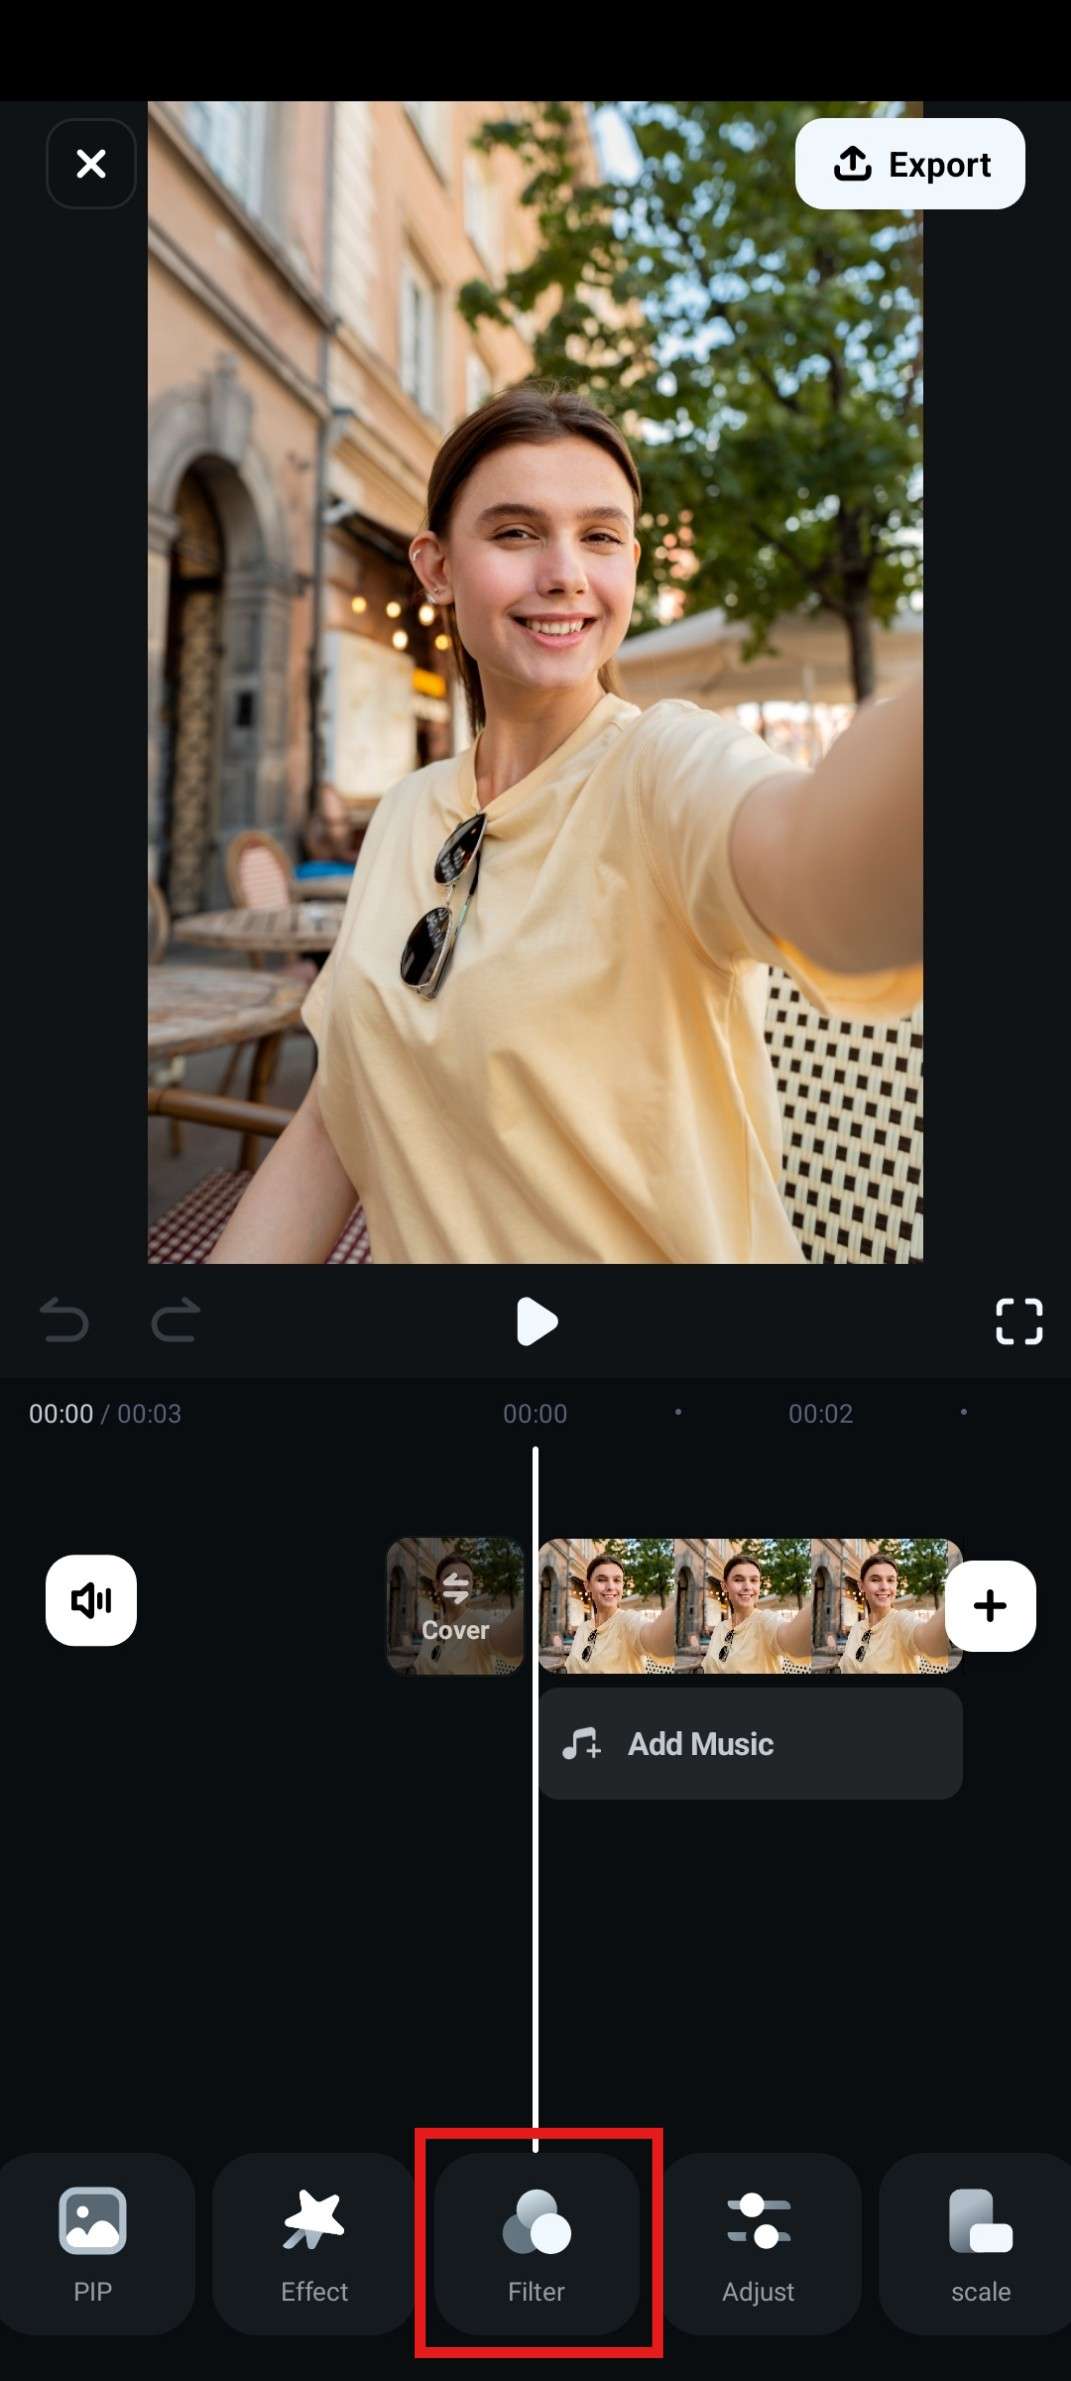
- Select your photo and navigate to the Filter section.
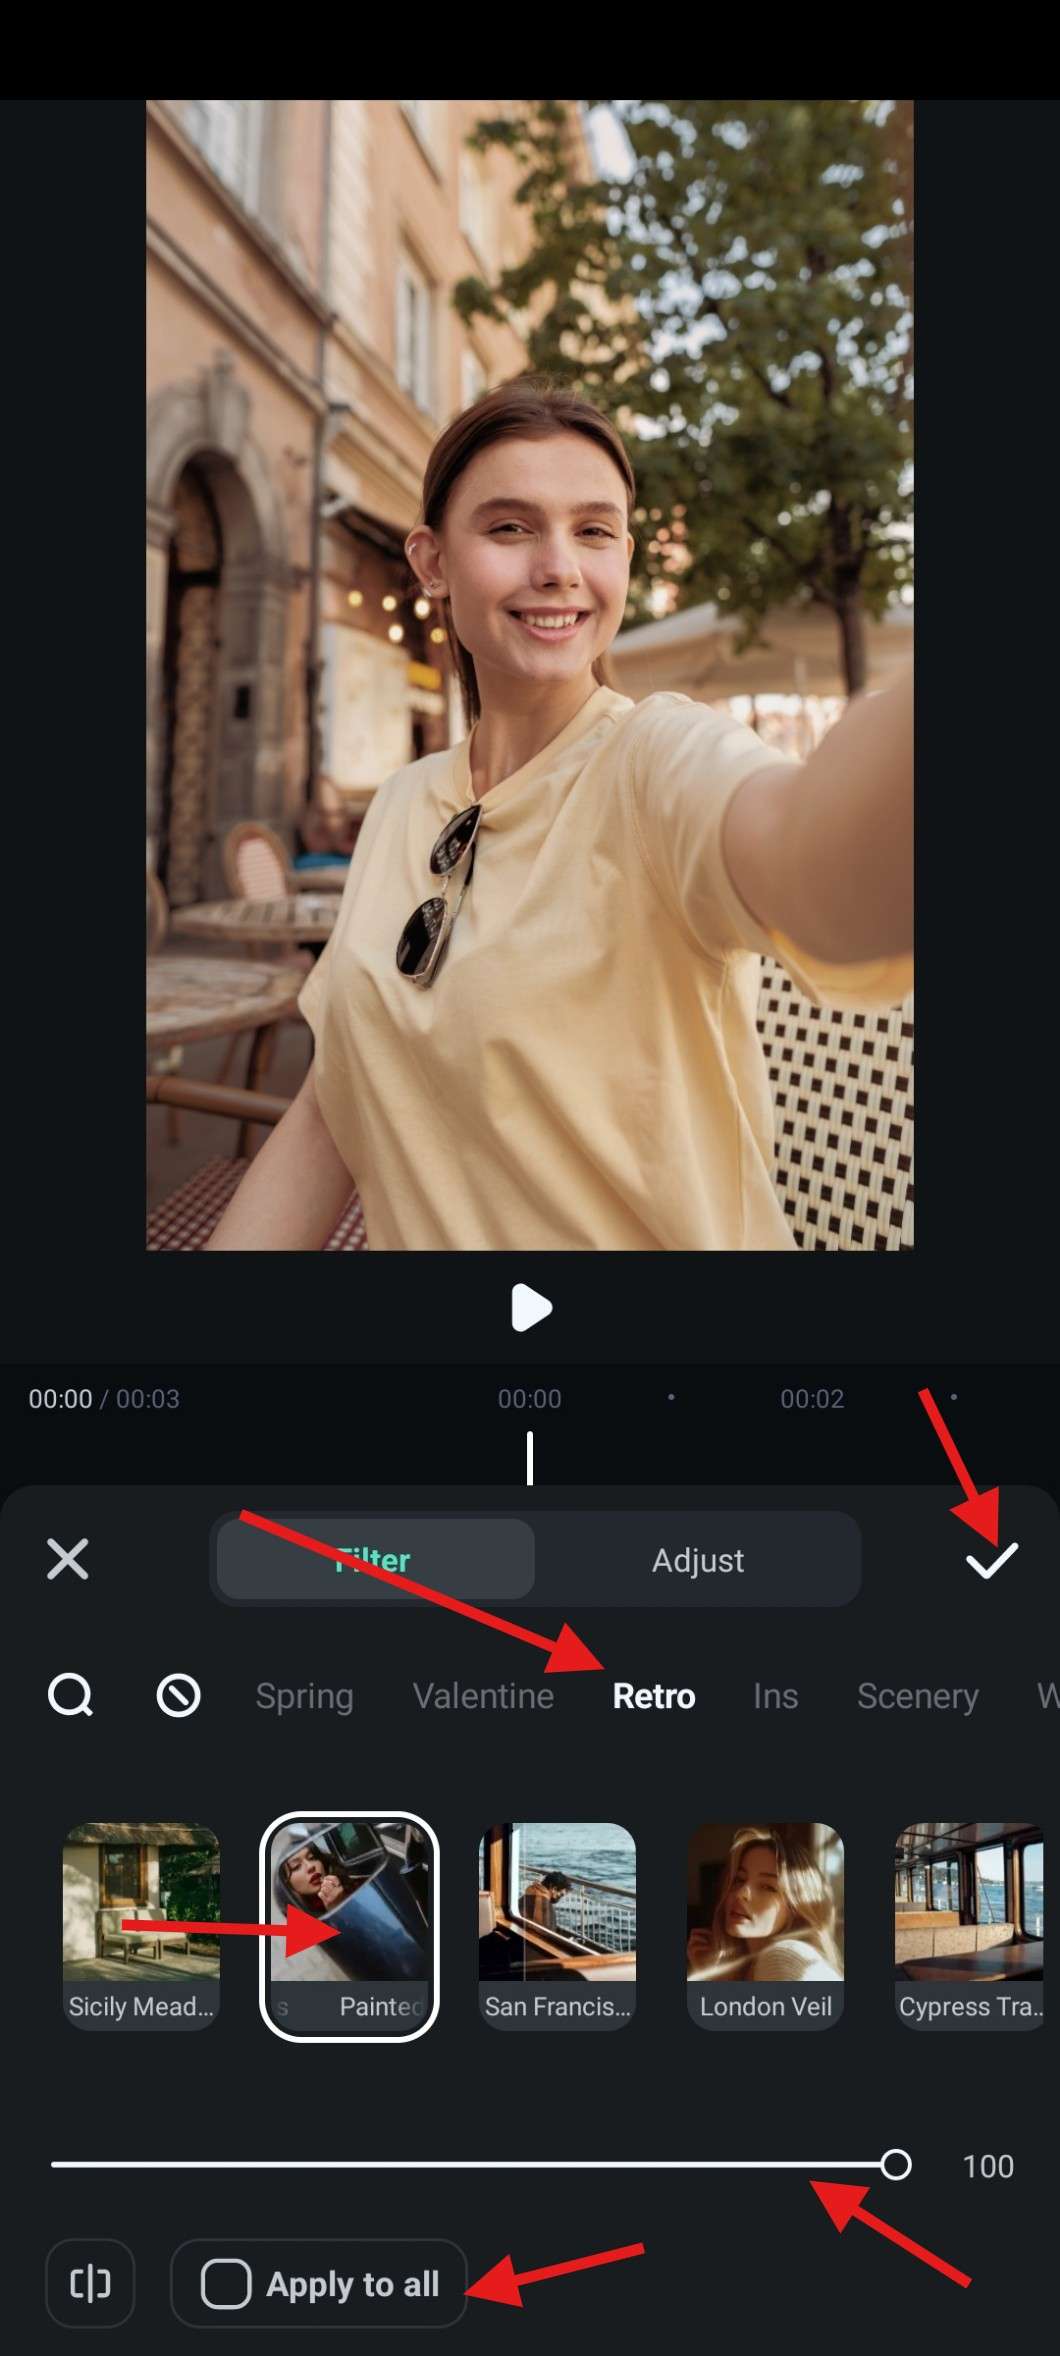
- Explore different Filter Categories. As you can see, we have selected the Retro category, but you will find all the popular ones as well, including Spring, Film, and even some Pro options. Pick a filter, adjust the opacity at the bottom, and accept the changes (checkmark) when you're done. If you have multiple images in the project, you can tap on Apply to All.
- In addition to directly applying the filters to photos, you can also change the option to Adjust > and then customize the HSL, exposure, contrast, saturation, vibrance, temperature, and more.
That's how you do it. It was very easy, and that's how everything is in Filmora. You can also add text, stickers, and more elements to photos with the Filmora app.
But what makes Filmora's mobile app very special is its AI features. Want to know how to apply an AI face filter to photos? Let's dive in!
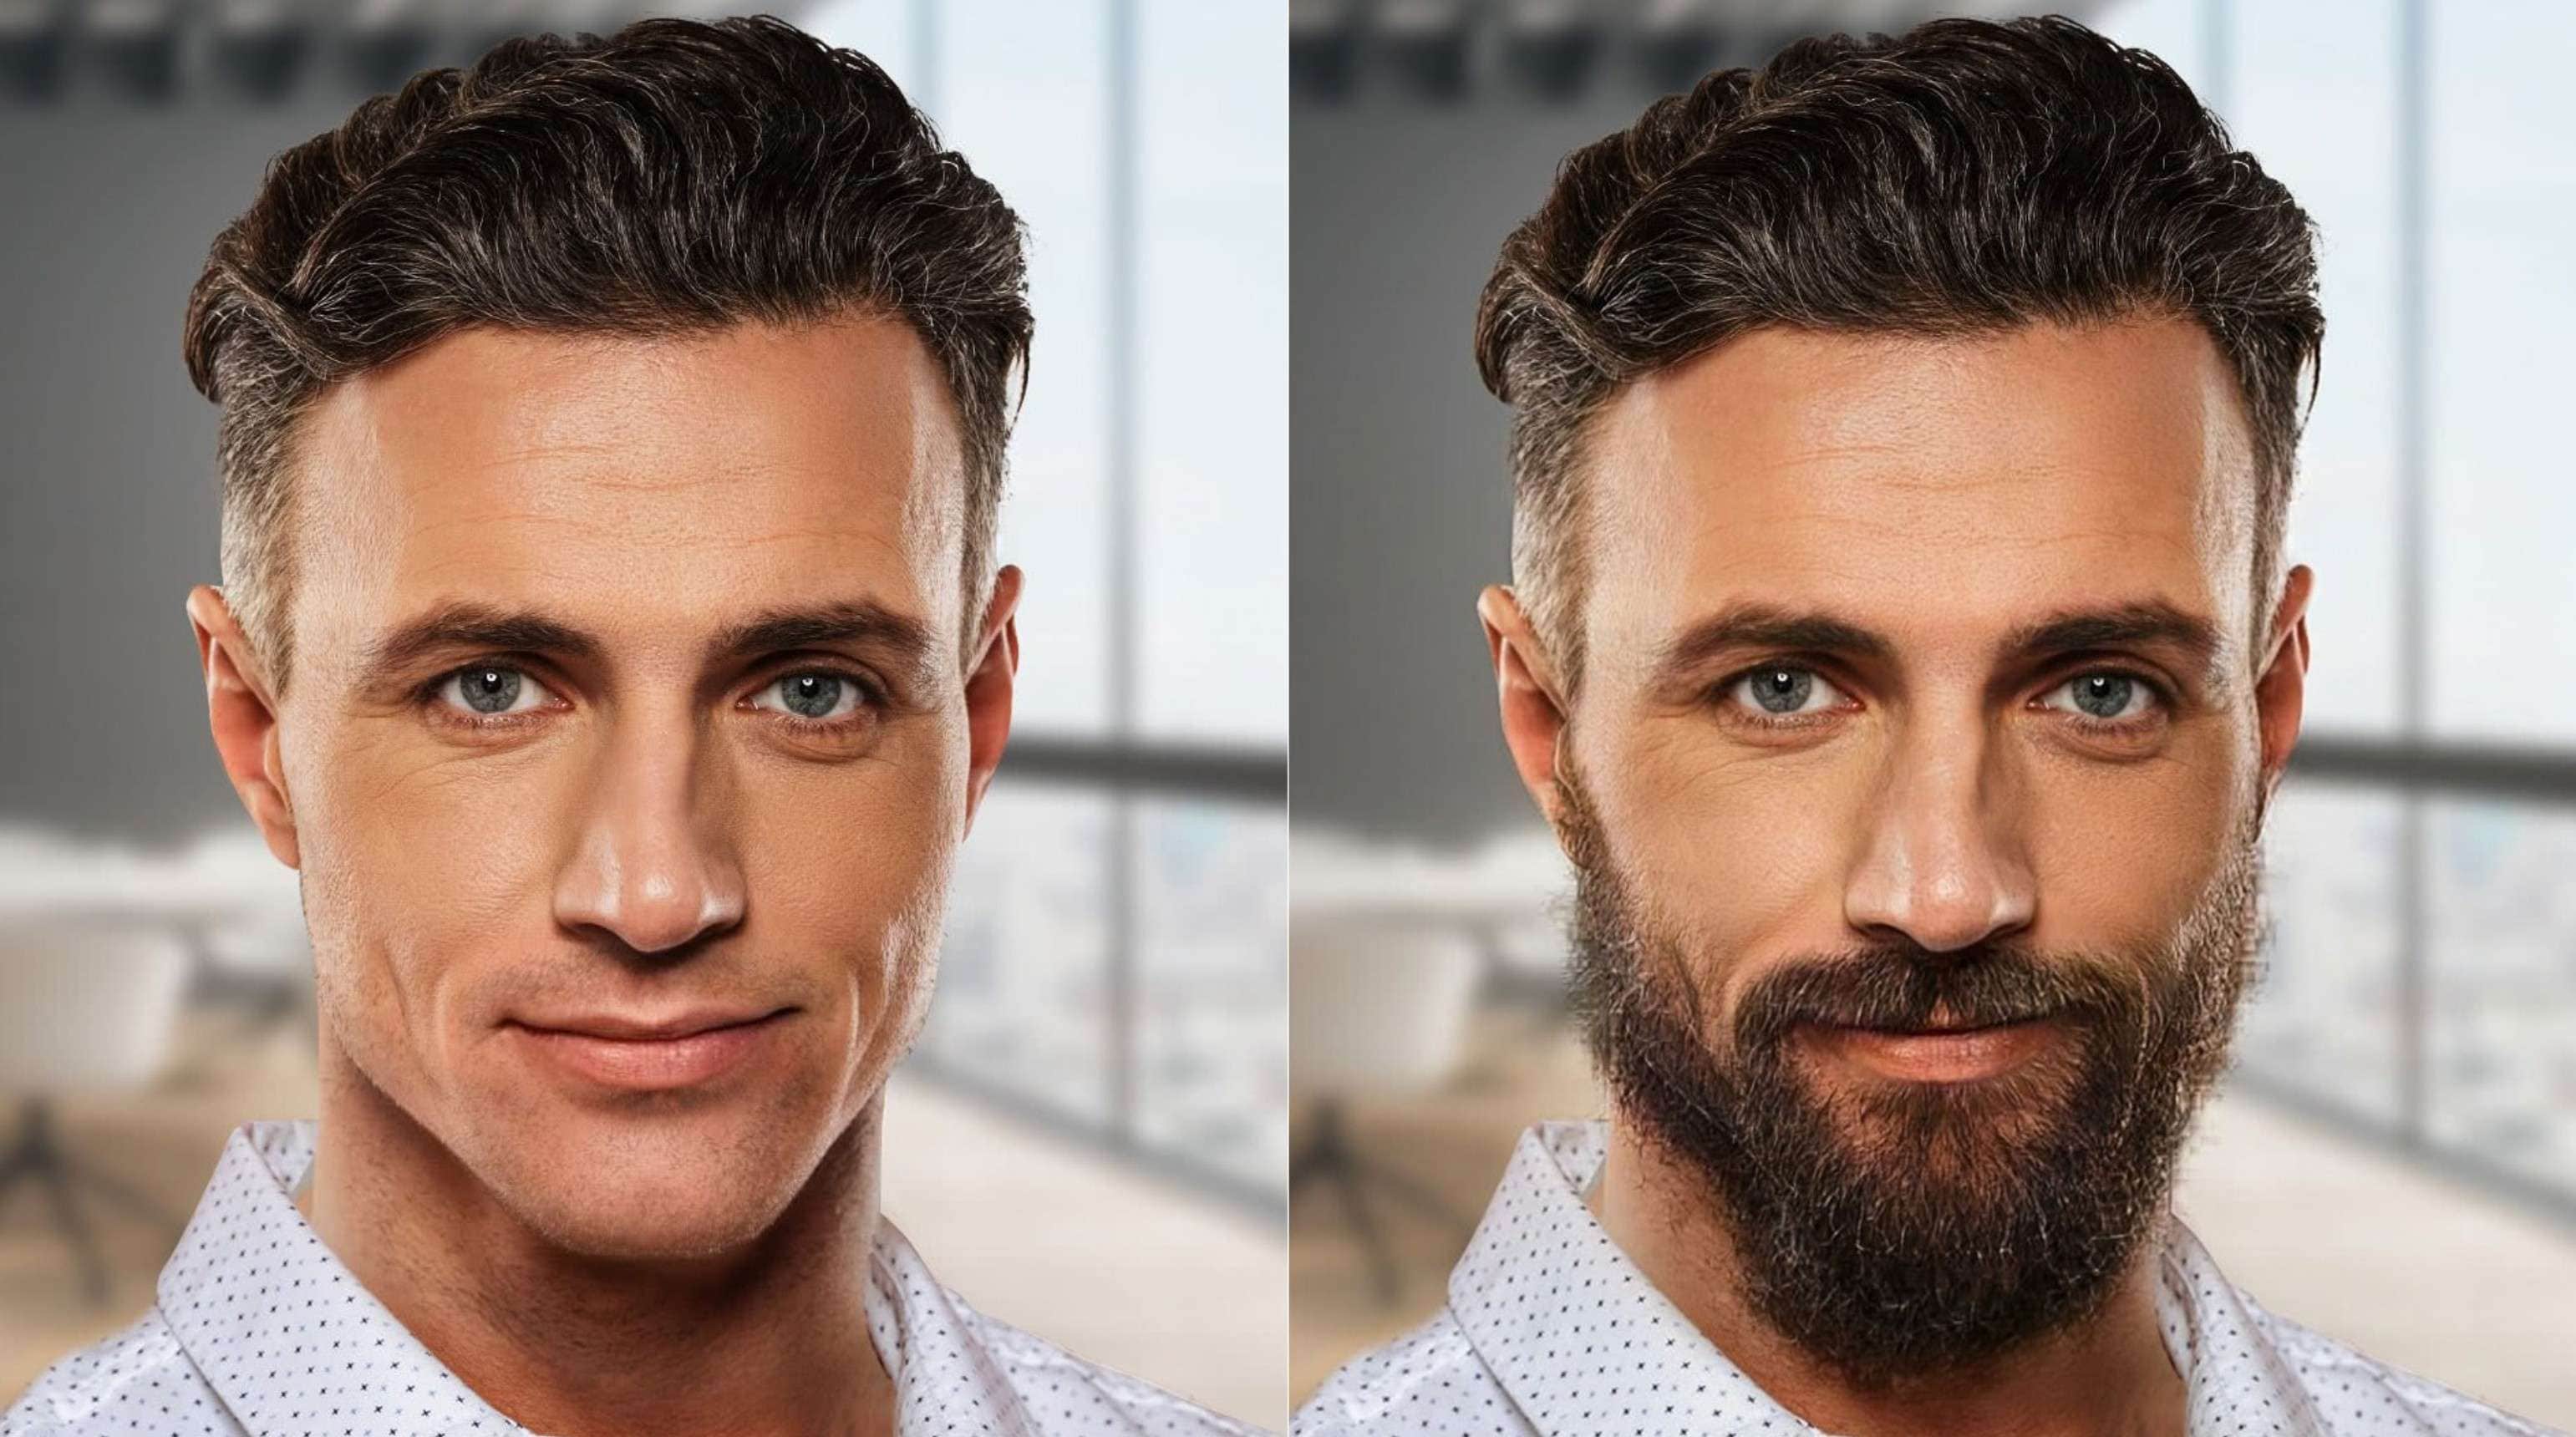
Do Something Unique: Completely Transform Your Photo with AI Photo Filters
With Filmora's AI image stylizer feature, you can completely transform your photo styles with 45+ preset AI filters. With those filters, you can easily cartoon your faces, turn smiles into sadness, transform normal looks into demons or vampires, and more. Let's see how it works!
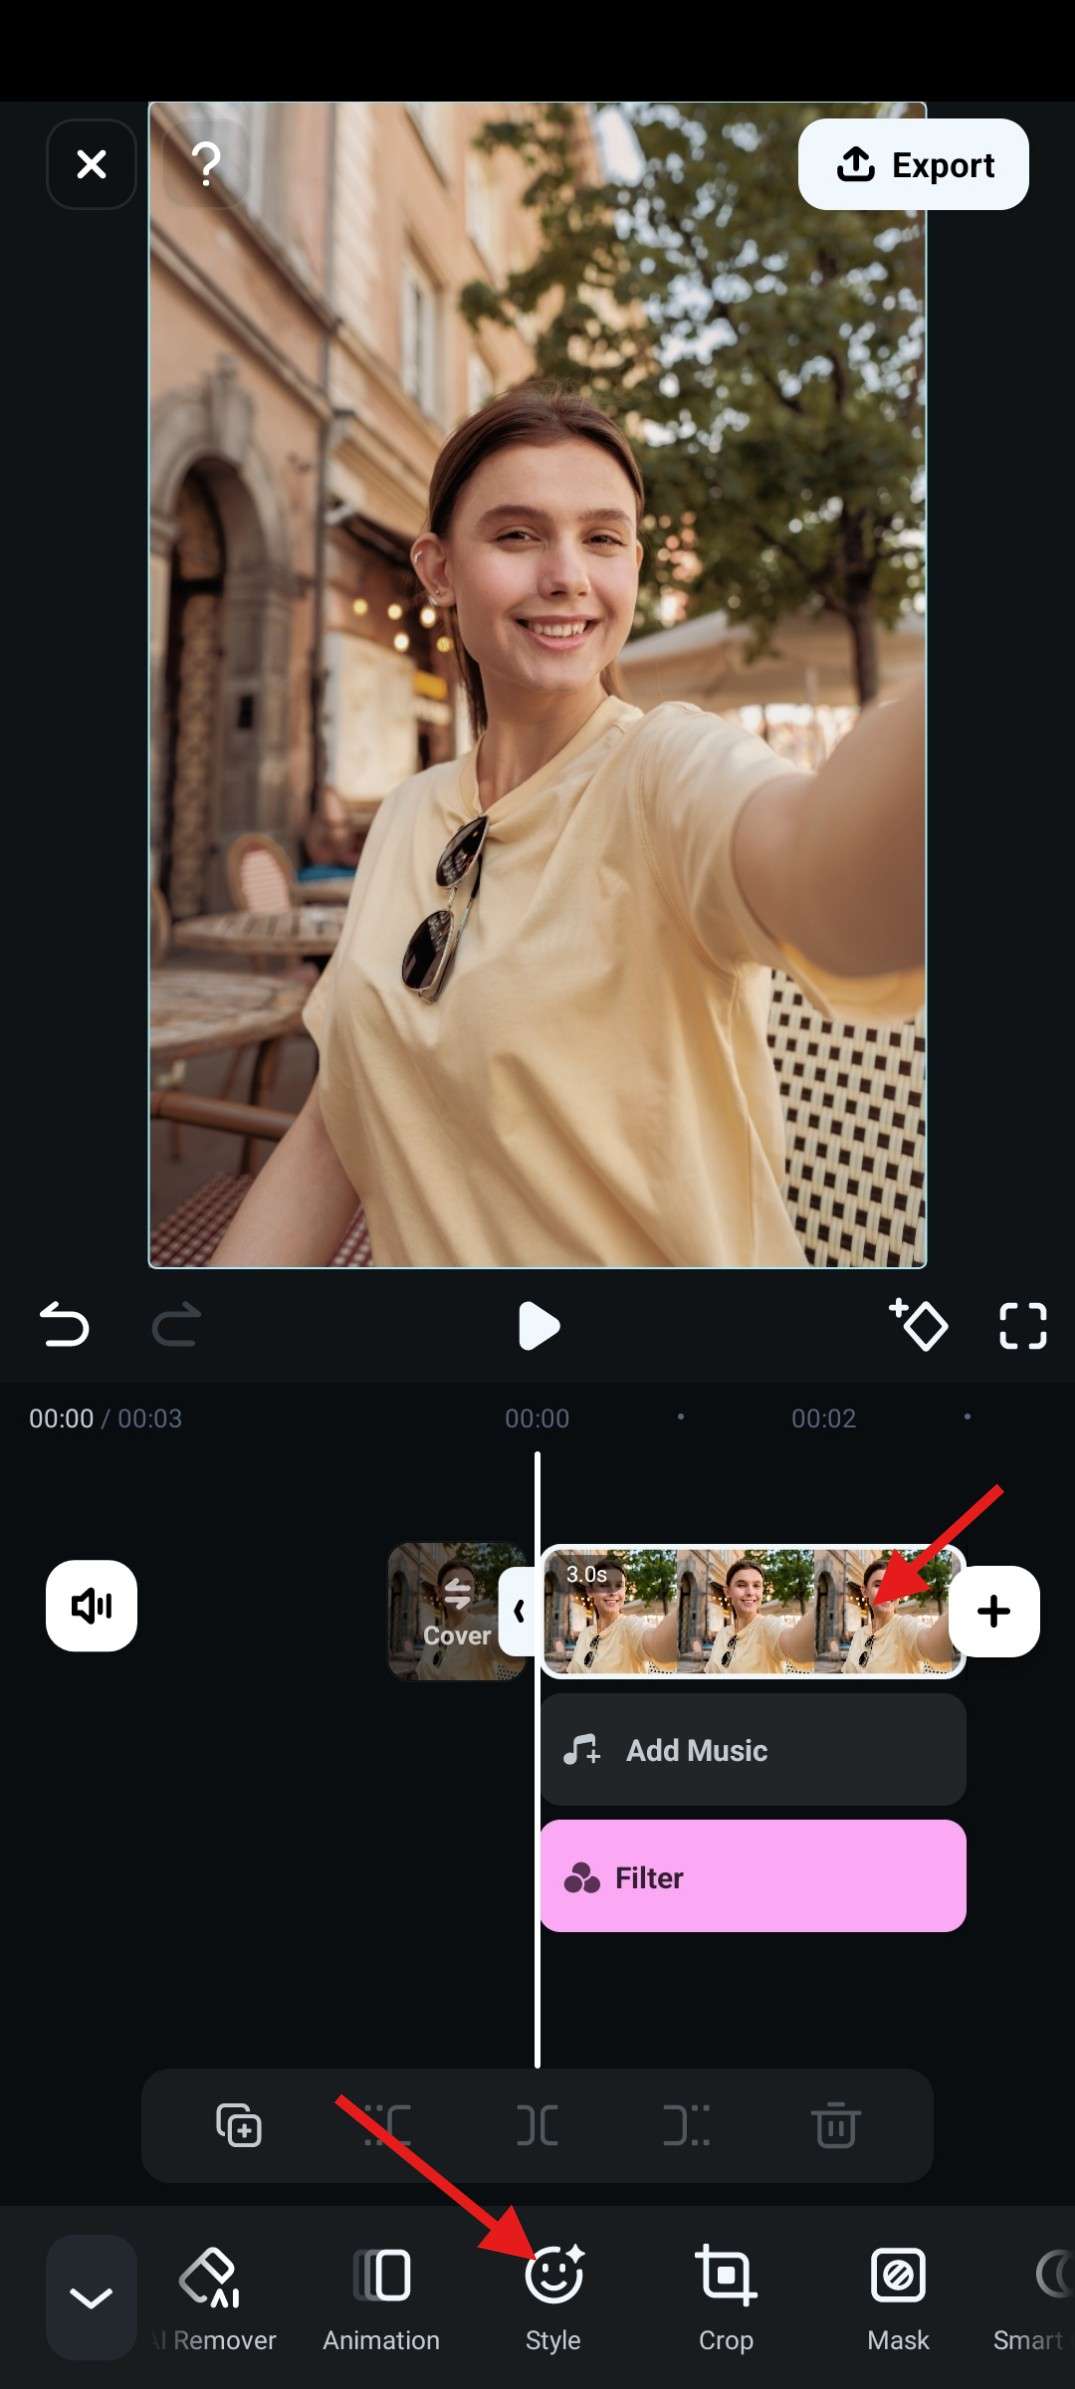
- Tap on the image in the timeline and find the Style section.
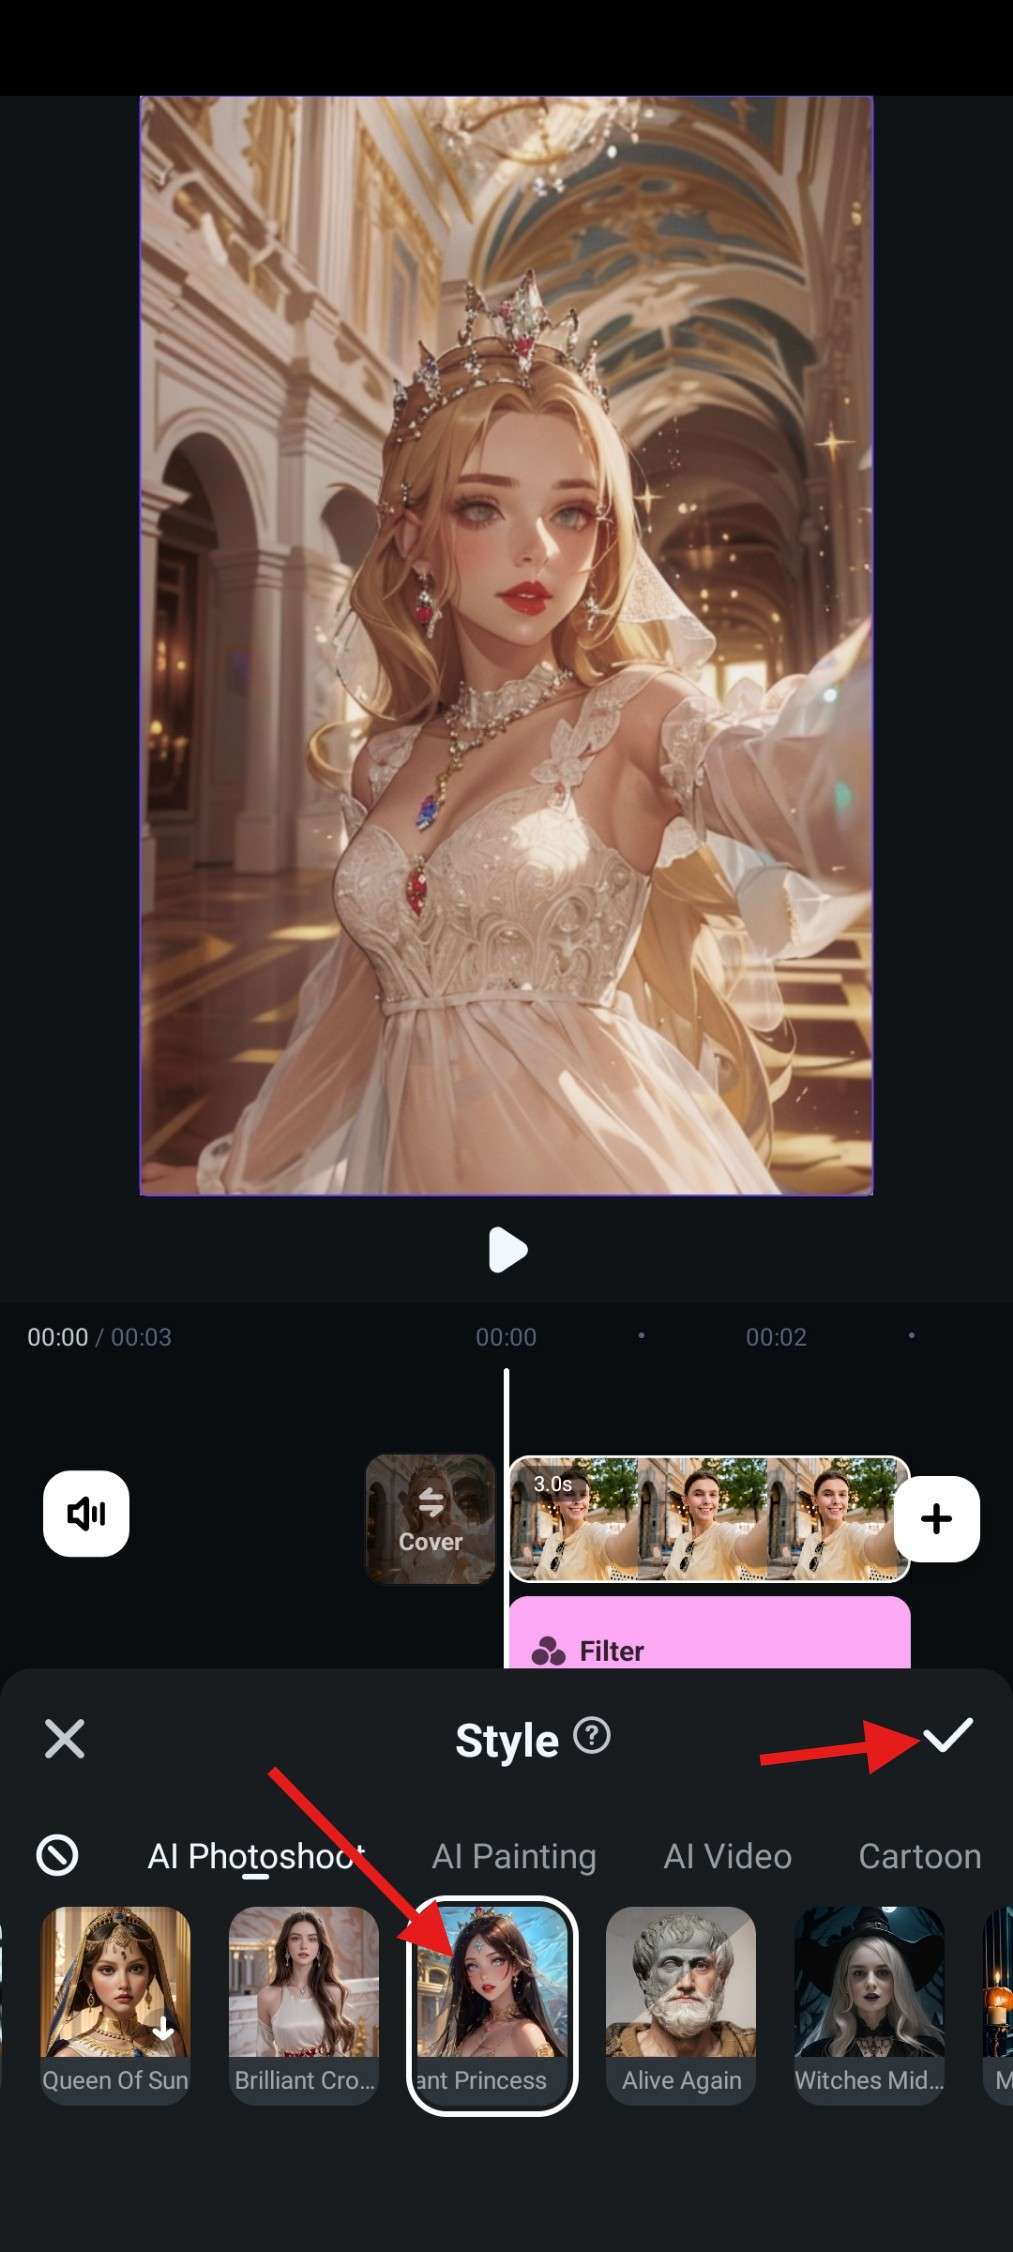
- Pick something from the options provided. Select the one you like and tap on it.
- Wait until the process finishes, and it should look like this when it's done. You can then tap on the Checkmark to accept the changes.
- Finally, snapshot or export to save the results. You can also try other AI image filters.
Conclusion
Learning how to use photo filters is the very first step on a long road where the end goal is to become a professional photographer. You want to be someone who can quickly take the perfect shot, instantly knowing which filters you will need to use and combine to get the desired result. This will save you time in the long run.
Explore the best filters for photos and download Filmora now to apply AI photo filters as well!