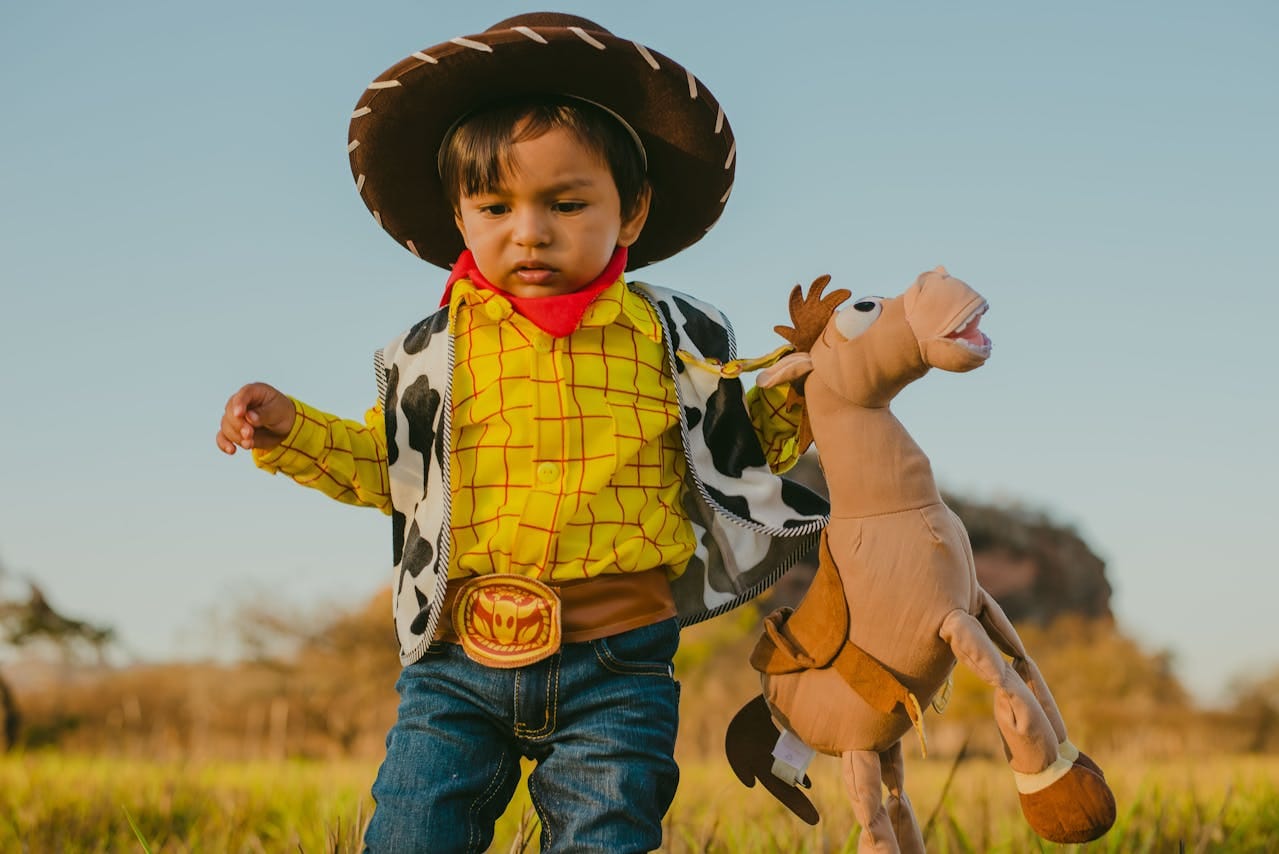
Do you love Western movies? They have a specific aesthetic that has been mimicked in many different genres. There is a specific type of framing technique in Westerns where the camera captures a gunslinger standing, and the shot captures their hand hovering over their holster at the bottom, while we can see their hat at the top of the frame. That iconic type of shot is called the cowboy shot, and it is one of the best ways to make a character look awesome.
Let's learn everything we can about crafting the perfect cowboy shot, and we can start by understanding the definition of this unique framing technique.
Cowboy Shot Definition: The Technical Breakdown
Definition
A Cowboy Shot is a classic type of film shot that frames a character from roughly mid-thigh (or just above the knees) up to the head.
Visual Characteristics of a Cowboy Shot
Framing Range: The character is framed from the mid-thigh to the top of the head with some room on top to showcase the cowboy hat.
Primary Focus: The audience can see the character's facial expression, hand placement, stance, and whether they have a weapon in the holster.
Visual Effect: The point of the shot is to add dramatic tension and suggest a form of confrontation readiness, often before a shootout.
Medium Shot vs. Cowboy Shot
The main difference between the medium shot and the cowboy shot is that the medium shot is more zoomed in, and we can see the character from the waist up, while the cowboy shot frames the character from the thigh up. There are some other differences to consider, so take a look at this comparison chart.
Feature
Medium Shot
Cowboy Shot
Framing Range
Waist up
Mid-thigh up
Focus
Facial expressions and upper body
Facial expressions, stance, weapons
Common Use
Dialogue, casual interaction
Showdowns, tension, drama
Background Visibility
Moderate
Slightly wider frame
Style
Neutral, versatile
Stylized, dramatic
Historical Context
Used in all genres
Originated in Westerns, but now used in other genres
5 Cowboy Shot Examples in Movies
The best way to understand how to use a shot is to see how the professionals do it. That's why we will examine five perfect cowboy shot examples from Hollywood movies.
The Good, the Bad and the Ugly (1966) – Final Standoff
Do you know about that famous Spider-Man meme, where you can see three versions of Spider-Man pointing at each other? Well, that meme originated from this iconic scene from one of the most revered Westerns of all time. It shows three characters getting ready for a three-way duel, with tensions high, and it is the gold standard of cowboy shots.
Django Unchained (2012) – The Final Hero Exit
In this classic Tarantino movie, we can see many different cowboy shots that pay homage to old Westerns, but the most memorable one comes at the very end of the movie. After he defeats all foes in his enemy's house, Django, the hero, comes out, puts on his glasses, and waits for the big explosion. The show shows his new confidence and sense of victory.
No Country for Old Men (2007) – Following the Blood Trail
Even though Django is a modern movie, the first two entries are both Westerns, while this one is not a Western at all, but a very famous and masterfully crafted thriller. Yet, after the final showdown, the main character is unsure whether he has actually beaten his foe. With weapons in hand, the cowboy shot shows himself looking for a blood trail to confirm the kill.
Logan (2017) – Opening Fight Sequence
Here is a prime example of how an old technique can be used in modern superhero movies. This cowboy shot from Logan is also very special because it shows a character who is clearly not ready for a fight. Wolverine is famous for being a fighter, yet here, his posture shows us that he is tired and wants to avoid a confrontation, showing the versatility of this shot.
True Grit (2010) – End of the Shootout
The Coen Brothers made a fully modern Western, paying special attention to the aesthetic of the old movies while using modern equipment. Here, we have a cowboy shot example with the subject sitting on a horse. This was another common type of shot. As you can see, the subject doesn't have to be standing on the ground for a cowboy shot to work.
When and Where to Use Cowboy Shots
We have seen some brilliant examples of cowboy shots in movies, but let's take a deeper dive and consider the genres where they are more common, a few other filmmaking techniques that complement them, and two important pro tips.
Genre-Specific Applications of Cowboy Shots
Westerns
If you are working on a Western, you will use cowboy shots. They are the staple of the industry, and it would be unwise not to use them because they were created exactly for this type of story. You can experiment with different camera angles and character positions in combination with the environment to get the perfect frame.
Action/Adventure
Borrowing from Westerns, modern action movies often use the cowboy shot for the same purpose. When framing a modern police officer, for example, directors go for the cowboy shot to showcase the weapons in their holster. Also, adventure movies like Indiana Jones often borrow from Westerns to build tension and create a sense of urgency.
Thrillers
The cowboy shot can showcase a powerful character, so many directors have considered it for thrillers, especially when introducing a menacing figure who will be the main antagonist. Even though these characters might not be armed, the legacy of the cowboy shot in Westerns transfers to other genres, making the audience feel threatened.
Combine Cowboy Shots with Other Creative Techniques
After you present the character with the cowboy shot, you can consider moving the camera towards the character. If you zoom in slowly, you will get a dramatic effect, but if you enhance the speed, zoom in fast, and pair that with tense music, the audience will know that the next scene will be a shootout.
Enhance Cowboy Shots with Low-Angle Shots
When it comes to angles, you can go in two different directions. You can frame the character from above, making them look tiny, which will not work for a cowboy shot, or you can frame the character from below, making them look giant, powerful, and dominant, and enhance the effect by a significant margin.
If you are working on a standoff scene where you have two characters that are getting ready for a duel, you can transition between cowboy shots of both characters, but make sure to slow down the time. Although the characters are mostly standing still, the background will show off the slow motion.
A Couple of Artistic Considerations for Cowboy Shots
Dramatic Weight vs. Subtle Emotion
Cowboy shots are attractive to video creators because they are very powerful, but they are not suitable for moments when you want to showcase subtle emotions. If it's a high-tension moment, then the cowboy shot will work, but if it's not, and you are showing an intimate conversation, for example, go with a different shot.
This rule is crucial in filmmaking, especially when determining the most important detail in a scene and wanting to divert focus to that specific part of the frame. With cowboy shots, the character's eyes should match the upper-most horizontal line, and you can pick any of the vertical lines for character placement.
How to Create the Perfect Cowboy Shot from a Full-Body Shot
Whenever you are recording a shot, it's a good idea to add a bit more space on all sides of the frame so that you can cut them out later. That's why experienced filmmakers record a full-body shot, and later remove unnecessary parts of the frame to create the cowboy shot. The best tool for this task is Filmora, but this tool can also help you edit and enhance your entire movie. It is very beginner-friendly but also has professional-grade features.
Step-by-Step Guide to Creating the Perfect Cowboy Shot
To convert a full-body shot to a cowboy shot, make sure to download and install Filmora on your Windows or macOS device first. Then, you can open Filmora, create a new project, and import the full-body shot you want to edit. After that, simply follow this three-step guide.
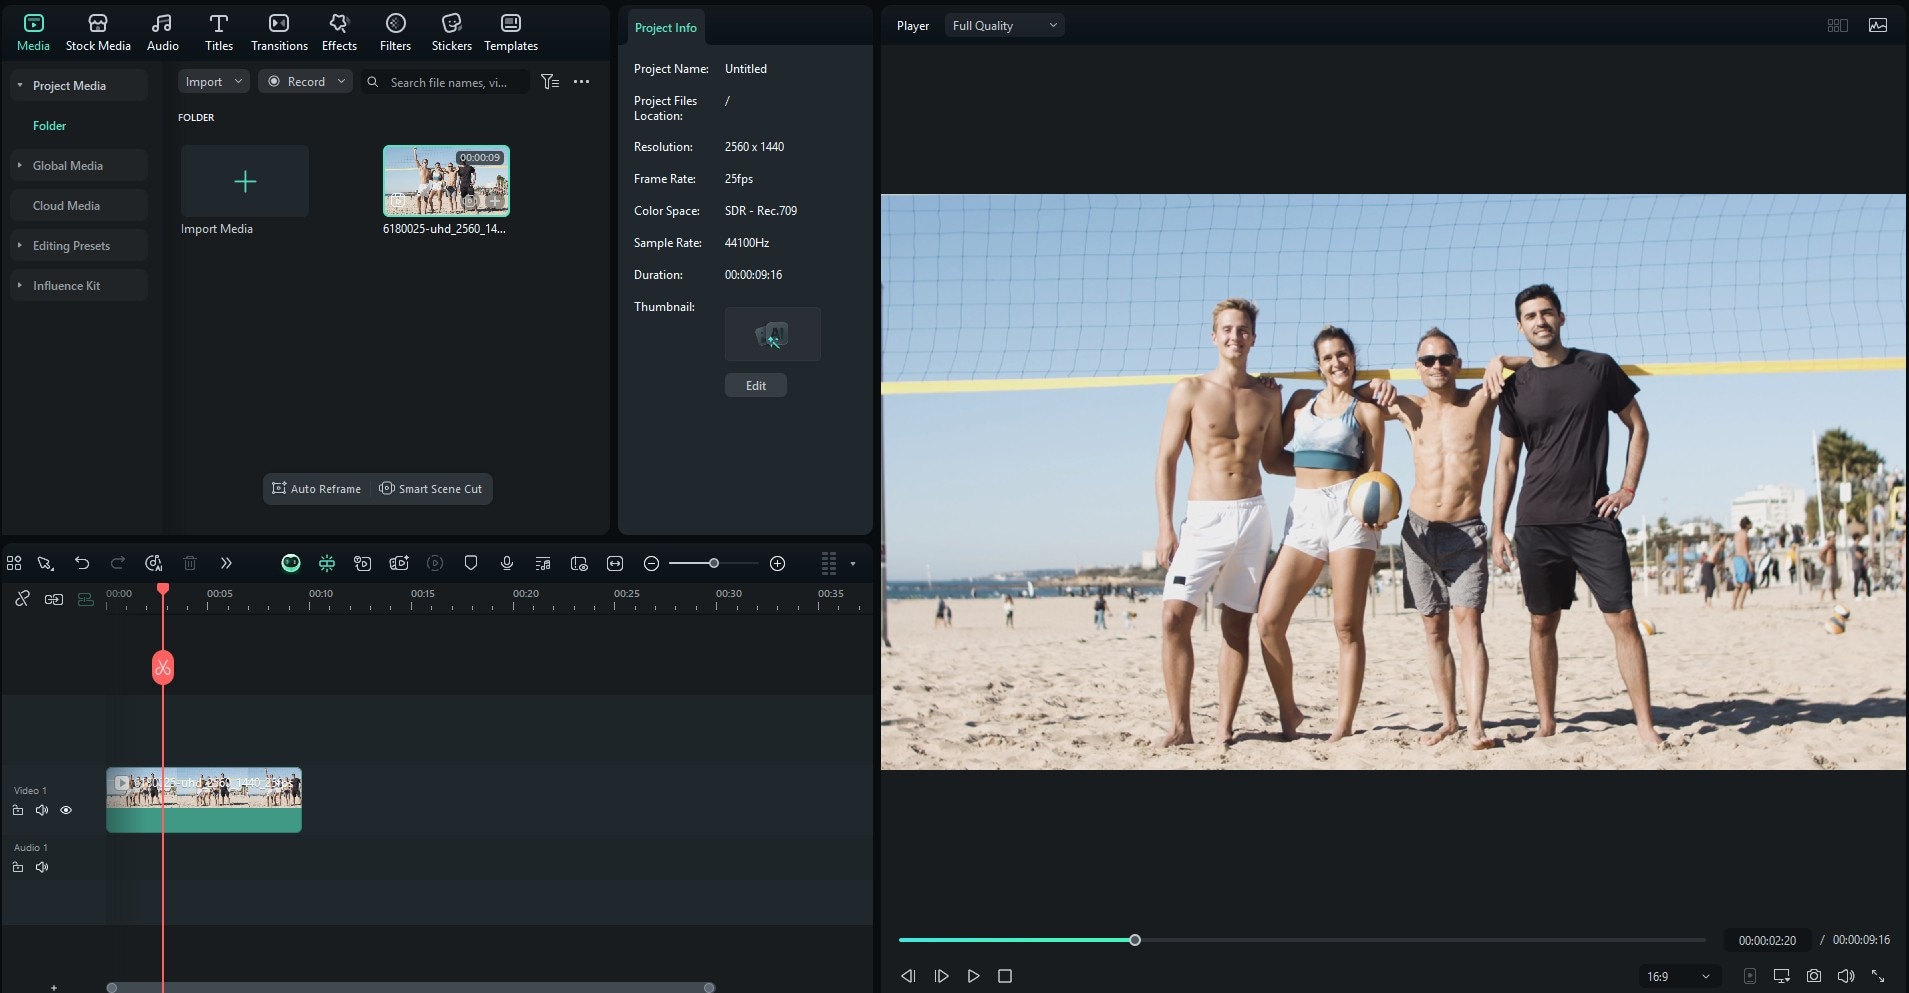
Step 1
Drag the clip to the timeline.
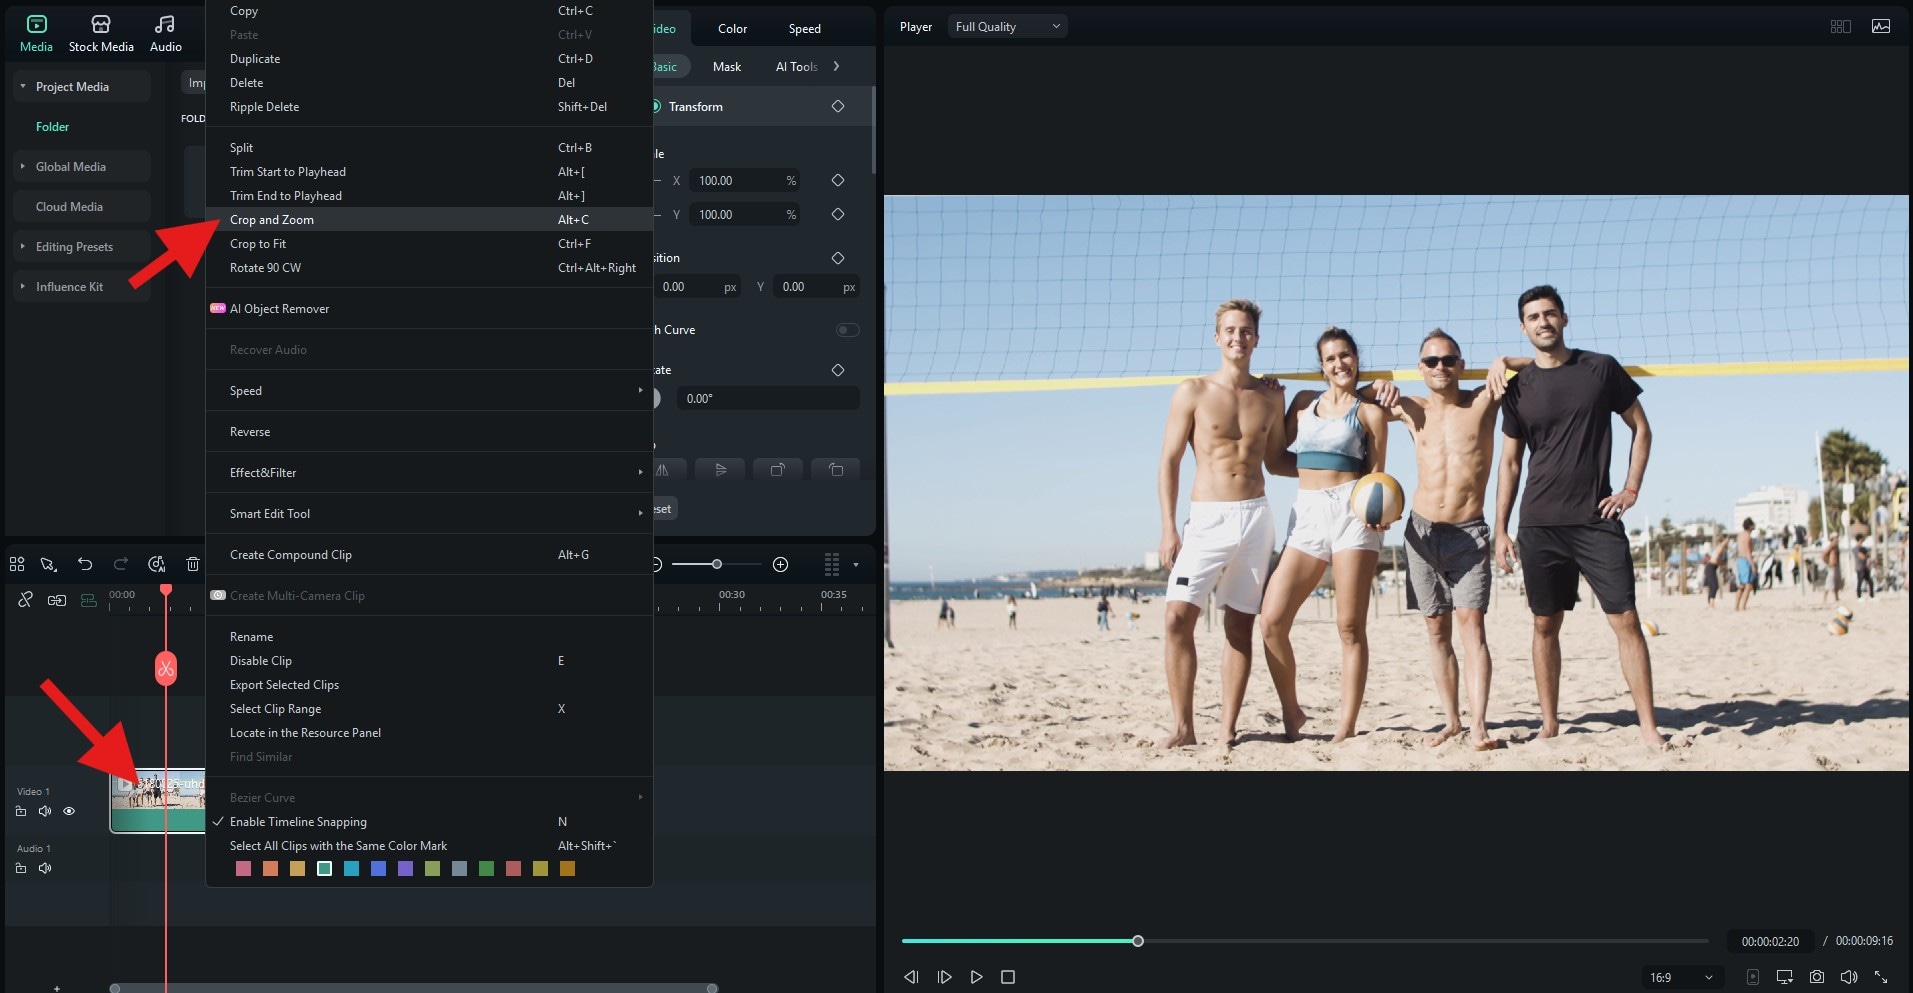
Step 2
Right-click on the clip in the timeline and click on Crop and Zoom.
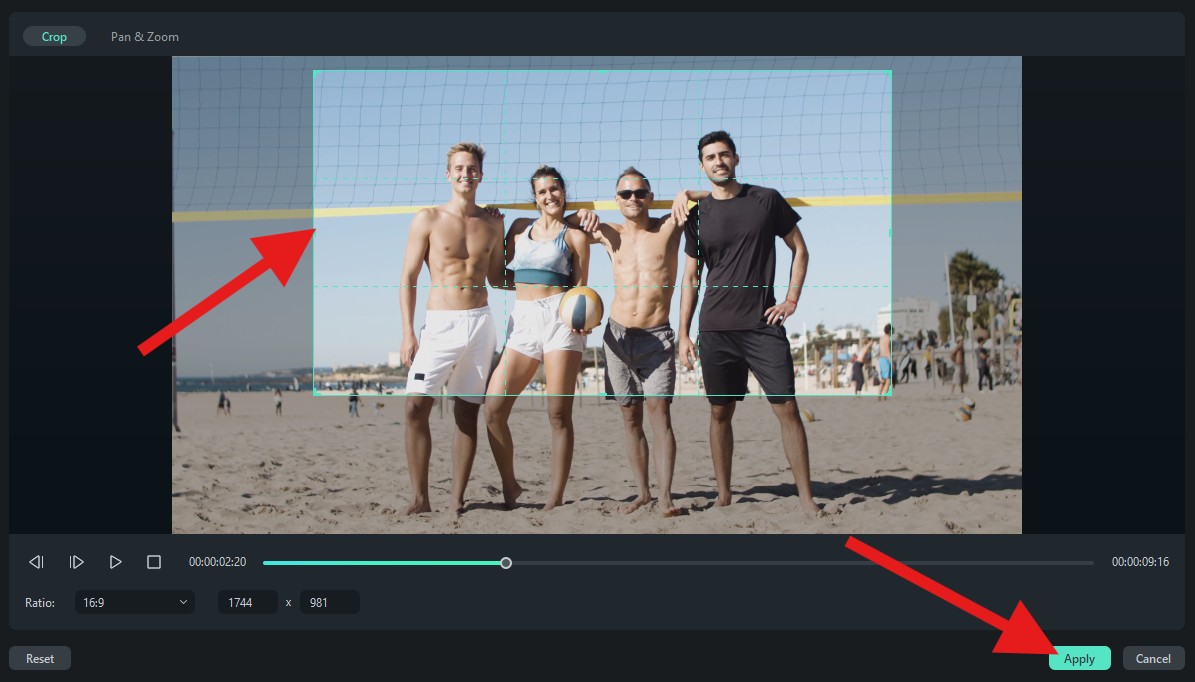
Step 3
Adjust the frame from the mid-thigh to the top of the head and click Apply when you're ready.
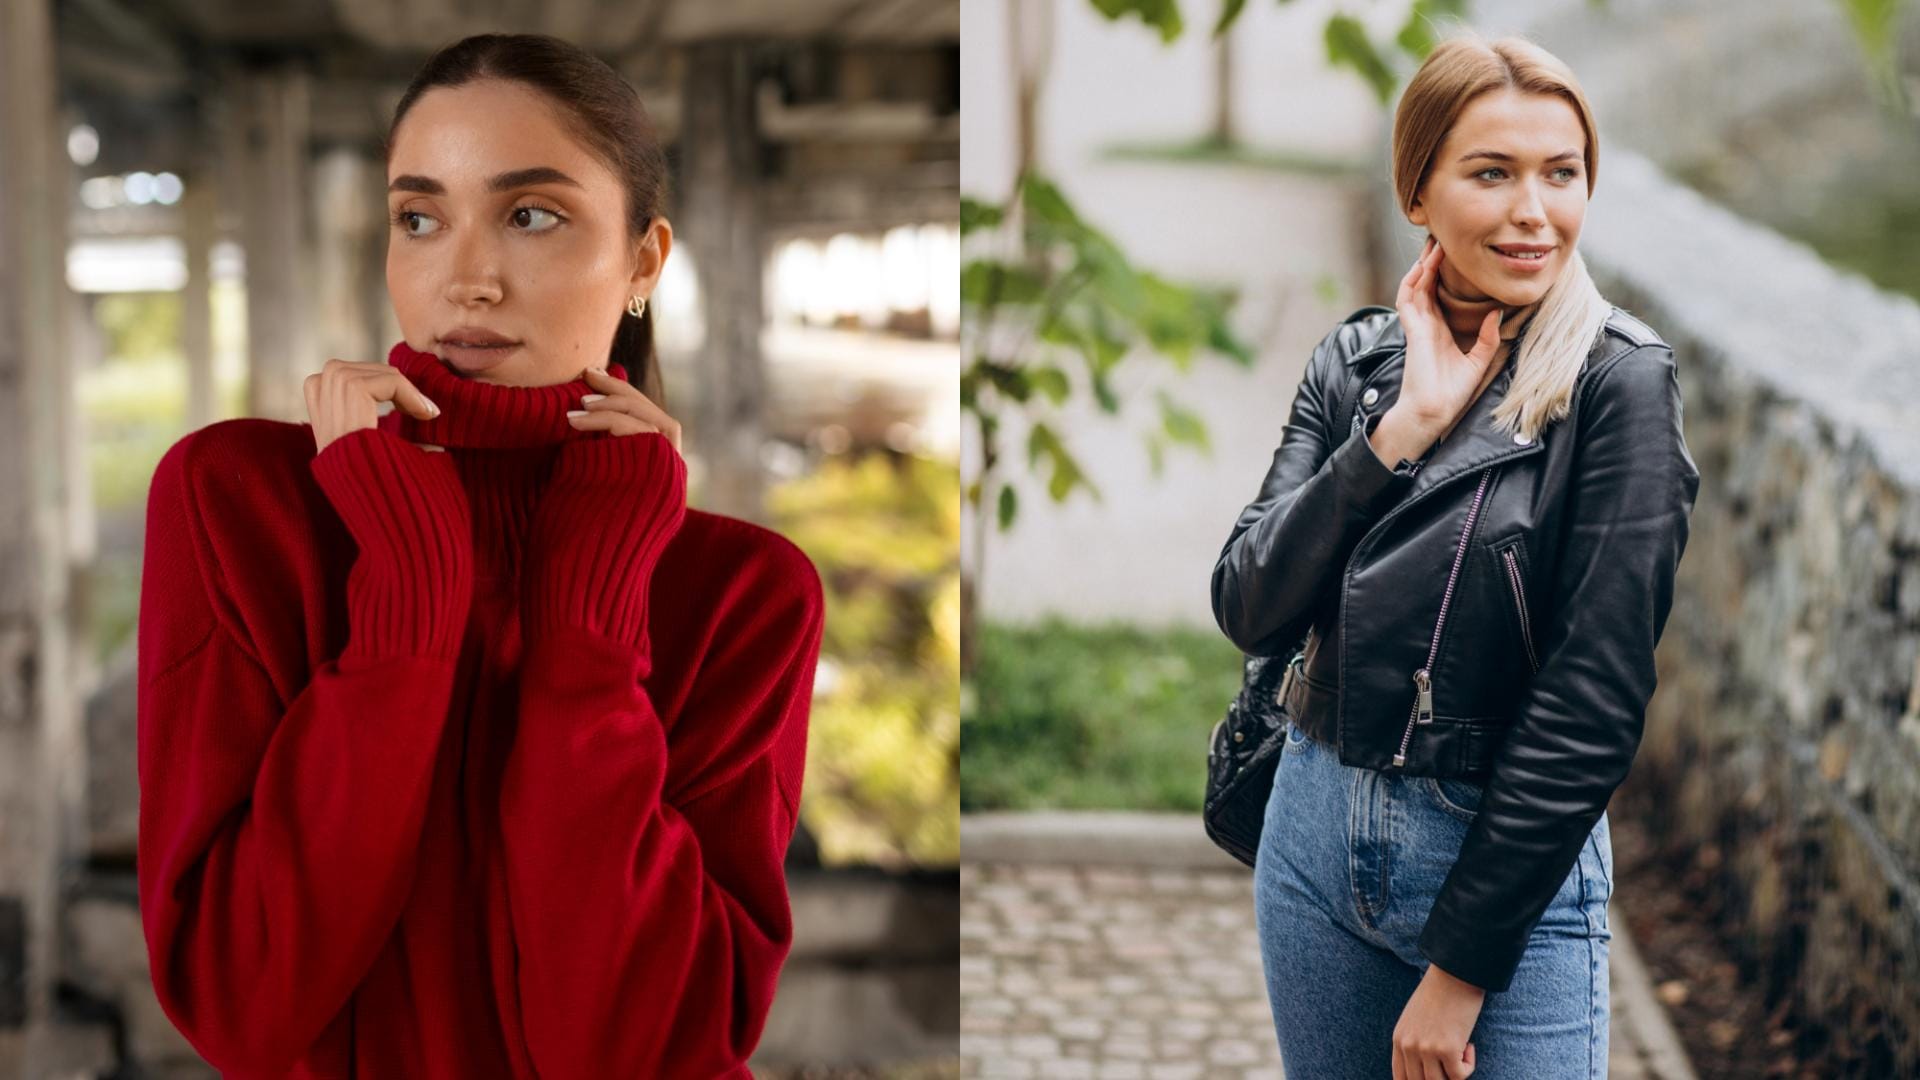
Take a look at this quick comparison video. The original frame is on the left, while the cowboy shot that we created in Filmora in less than a minute is on the right.
Fixing Common Issues in Cowboy Shot Composition
The Frame Cuts Too High
Solution
Although you tried to frame the shot correctly from the thigh up, it appears that you cut it a bit too high and created a medium shot. Always frame the character low enough to capture holsters, legs, or specific action cues. Double-check the frame before you hit the record button. Also, a good idea is to frame the subject lower and higher than needed, and then cut off unnecessary parts in post.
Overcomplicating the Background
Solution
Instead of the character being in focus, the background is too distracting, taking away the focus, leading to an undesirable outcome. Make sure that you keep your recording set clean and purposeful. For a cowboy shot, it's best to record it out in the open, slightly tilted to show the character from below. The background will then consist of the sky and some nature, which is not distracting.