In this article
Understanding Shot/Reverse Shot
Have you ever wondered how dialogue in films works so seamlessly? You see a shot of one person and then another shot of the other person, and it somehow works. You understand the location and position of the characters within that space, and you can effortlessly follow the story. This is not accidental but rather a well-structured and developed filmmaking technique popularly referred to as the shot/reverse shot.
As you can see from the example from the 2002 Spider-Man movie, you can even use this technique when the characters are talking to themselves.
The shot-reverse-shot technique is defined as a filmmaking method that is almost always used in instances where two characters are having a conversation. It's a type of continuity editing that helps maintain the illusion of spatial consistency and emotional connection between characters.
Each shot captures one subject looking towards the other, and the camera is placed between them. Therefore, when alternating between shots, you predominantly see the right side of the face of the character on the right, and the left side of the face of the character on the left side of the screen. Both characters' eyes are usually at the same level in both shots, and the recording needs to follow the 180-degree rule.
What are the Visual Characteristics of Shot/Reverse Shot Editing?
Shot/Reverse Shot vs. Other Filmmaking Techniques
If you are new to the world of filmmaking, you might be confused by some terms. Here is the table that clearly distinguishes the shot/reverse shot technique from similar techniques like cross-cutting and the point-of-view shot.
| Technique | Simple Definition | Primary Use | Effect on the Audience |
| Shot/Reverse Shot | Use alternating shots of two characters, usually in dialogue, facing each other. | Dialogue scenes, emotional exchanges, etc. | It creates spatial clarity and increases emotional engagement in conversations |
| Cross-Cutting | Cut between two or more scenes happening simultaneously. | Build suspense, show parallel actions, etc. | It generates tension and shows interconnected storylines. |
| Point-of-View Shot | The camera shows what the character sees from their perspective. | Put the audience in the character's shoes, enhance immersion, etc. | It enhances empathy and creates a sense of intimacy or disorientation. |
Famous Examples of Shot/Reverse Shot in Films
Here are some of the movie examples that used Shot/Reverse shot perfectly. We will use different genres to present the versatility of this editing and recording technique.
La La Land (2016)
Director: Damien Chazelle
Genre: Drama/Musical
In this award-winning masterpiece, there is a long, very dramatic scene where two characters, played by Ryan Gosling and Emma Stone, are having a heated discussion about their future. Both actors gave stellar performances, and the conversation features several emotional shifts. The shot/reverse shot technique is used to keep us right in the middle of it.
The Hunger Games (2012)
Director: Gary Ross
Genre: Action/Adventure
Action and adventure movies are very thrilling, but even if they are packed to the brim with action, they need a moment to cool down, let the characters rest, and let the audience take a breath. An excellent example is this scene from the first Hunger Games movie, where two young characters reach a profound realization. Jennifer Lawrence is excellent here.
The Wolf of Wall Street (2013)
Director: Martin Scorsese
Genre: Comedy/Drama
This technique is excellent even in comedic conversations. Comedy is all about timing, and showing the right frame and the right reaction at the right time. This scene from the award-winning blockbuster The Wolf of Wall Street features a very funny conversation between two brilliant actors, Leonardo DiCaprio and Mathew McConnahey.
When and Where to Use the Shot Reverse Shot Technique
This technique is applicable in any visual storytelling genre whenever you have an exchange between two parties. However, there are some genres where this technique is simply used more. Let's check them out.
Genre-Specific Applications for the Shot Reverse Shot Technique
Combine Shot Reverse Shots with These Creative Techniques
The Two Most Important Artistic Considerations about the Shot Reverse Shot Technique
How to Arrange Your Shot-Reverse-Shot Recordings
If you want to use the perfect tool to arrange shots in the video editing timeline, cut and trim videos to perfection, and use a bunch of helpful tools to aid your creative video editing process, then the best tool for you would be Filmora. Let's see how it works.
Easy Steps to Create a Shot /Reverse Shot Sequence in Filmora
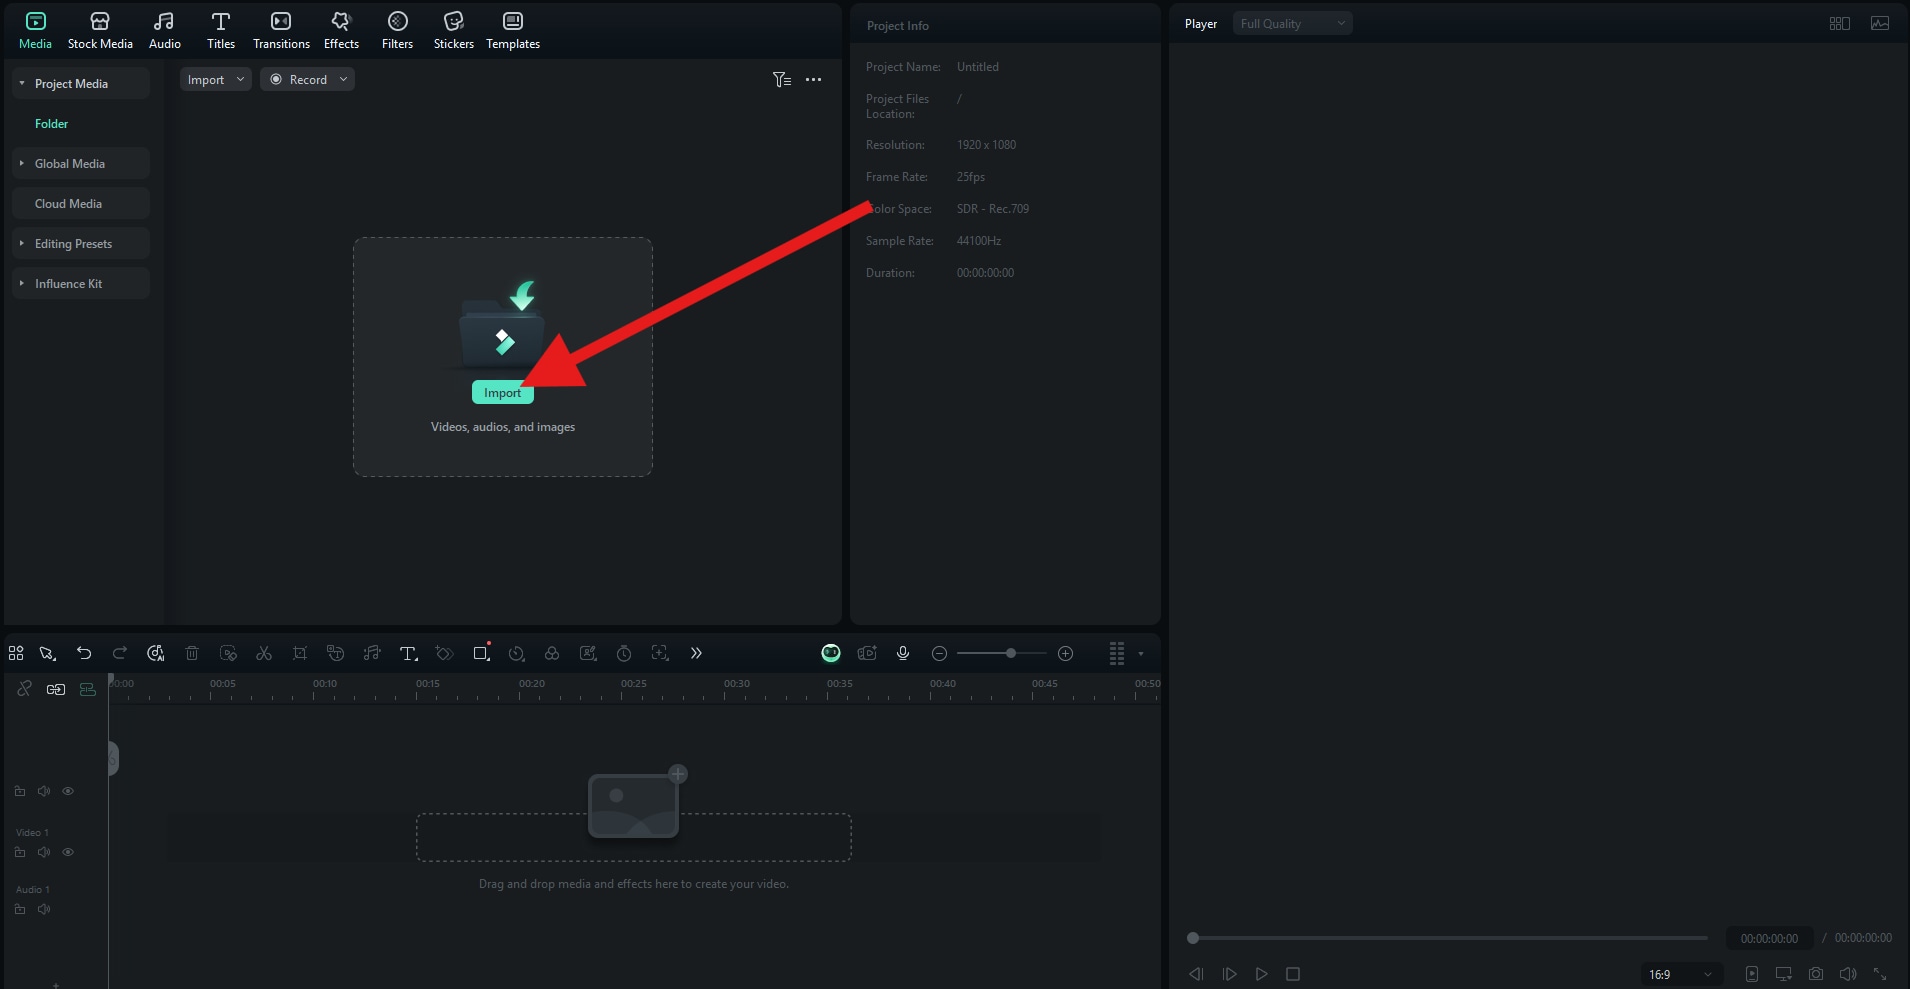
Before you begin following our tutorial, make sure that you download and install Filmora on your Windows or Mac device. Then, open Filmora and create a new project. After that, follow the steps below to learn how to add and combine a shot and a reverse shot video.

Click on Import and proceed to add two (or more) clips to the project.
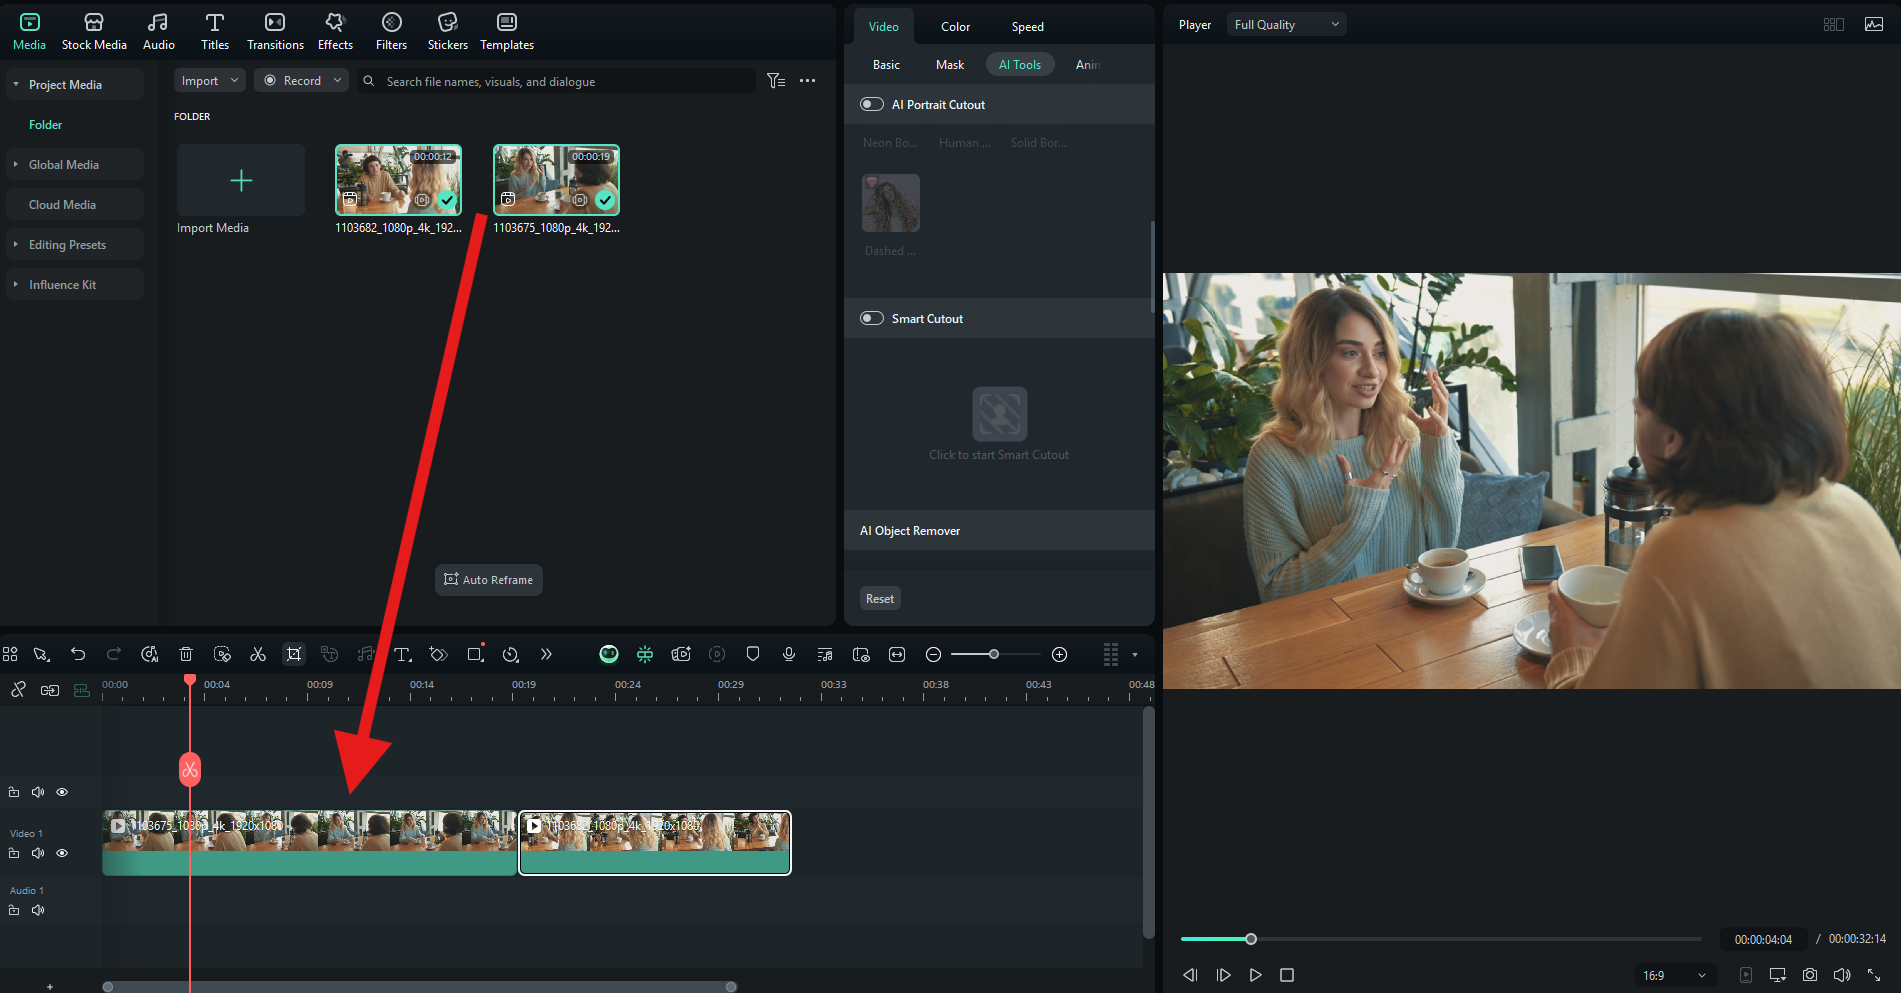
When the videos are uploaded, select them both and drag them to the video editing timeline.
Hover over the beginning and end of the clip until the trimming tool (<-]) appears, and then move the cursor left or right to trim the video. When the video is trimmed, click and drag the middle part of the clip to move it where you want.
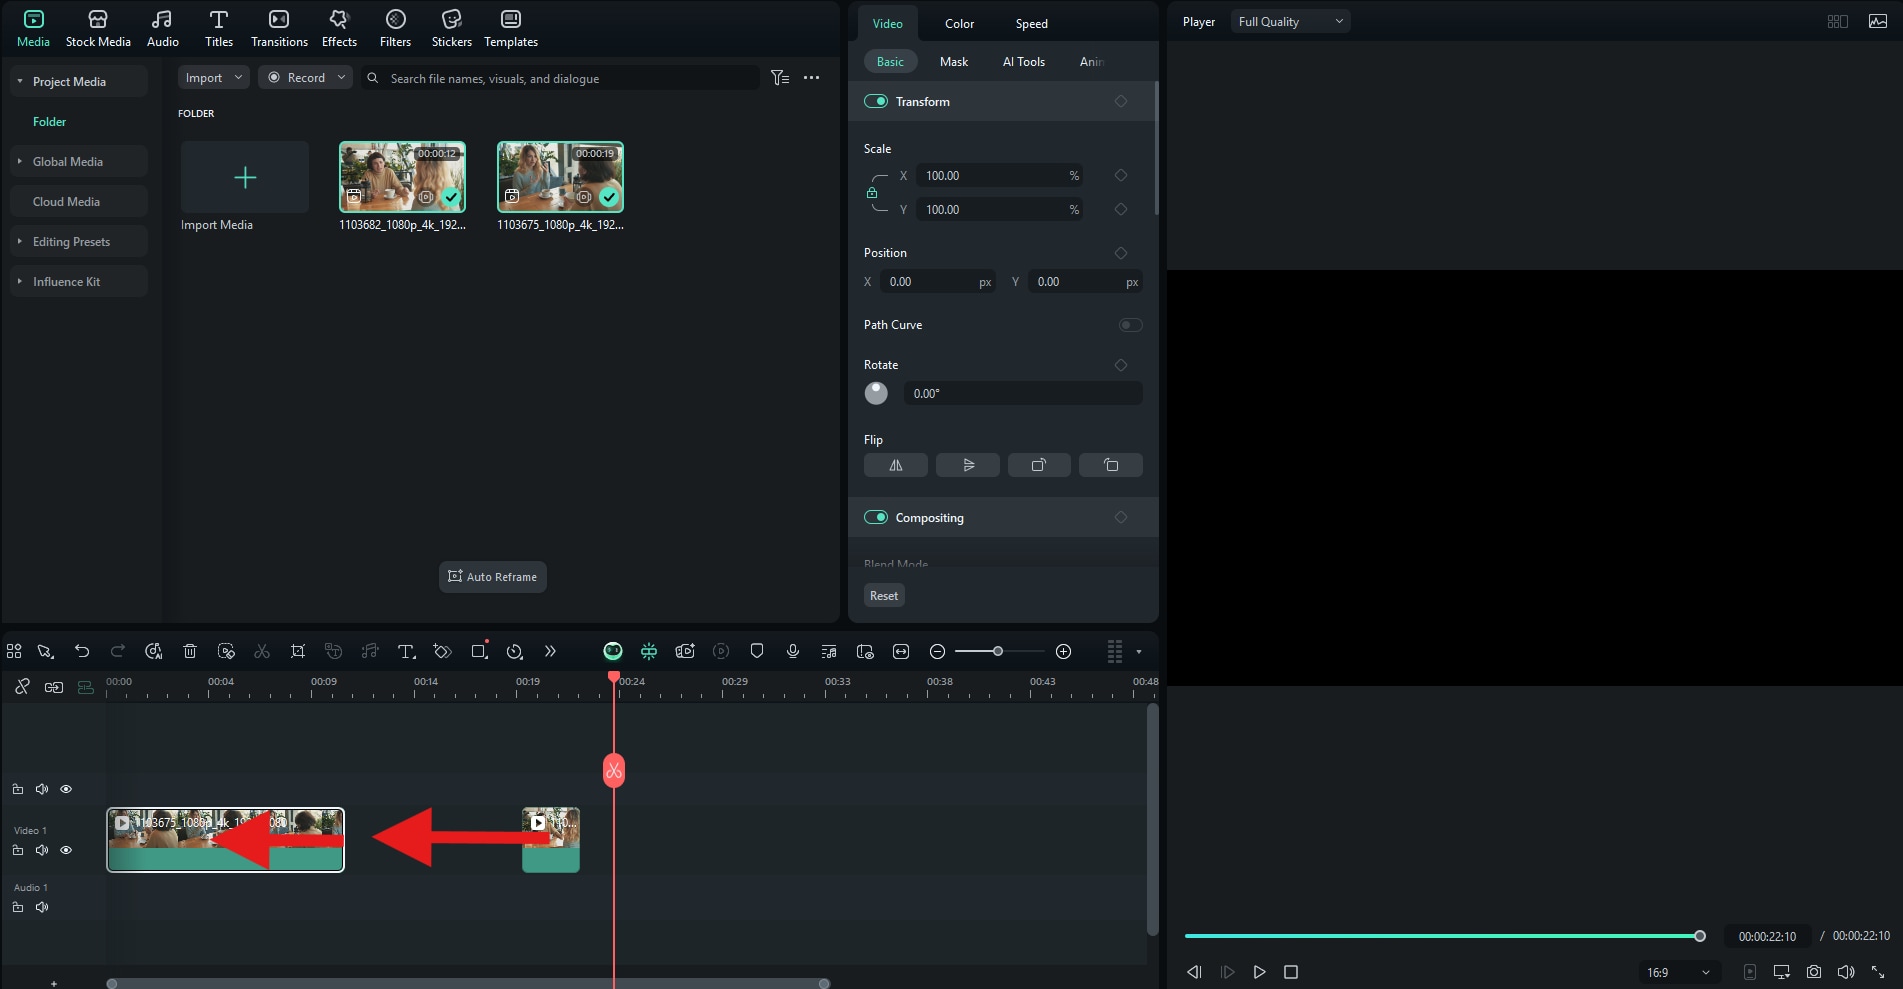
Take a look at the shot/reverse shot scene we were able to create.
Fixing The 2 Most Common Issues of the Shot Reverse Shot Technique
The shot and reverse shot have been recorded at different times of the day, and the scene looks unnatural and out of place.
Record the shot and reverse-shot simultaneously at the same time at the same location. This is the best way to go about it. If the actors have complicated schedules and cannot meet to record together, try to work around that and find some middle ground.
At some points during the shot/reverse shot sequence, the camera is moved, and the location seems illogical to the viewer.
The 180-degree rule states that once you establish the scene and start recording, the camera should always record the space right in front of it. Use tape or other markers to mark the edges of the scene at the location, and don't let the camera see them.