In today's fast-paced world, small business owners and designers often need to create unique logos quickly without sacrificing quality. This rising demand has made AI-powered design tools an essential resource for modern branding. Among them, Stable Diffusion stands out as a powerful solution, enabling users to generate professional-grade logos with just a few clicks.
Yet, many people are still unsure how to make the most of this technology. In this guide, we'll walk you through everything you need to know about Stable Diffusion logo generation—so you can craft eye-catching designs effortlessly from a single text prompt.
In this article
Part 1. What is Stable Diffusion Logo Generation?
Stable Diffusion is an AI-powered image generation model that transforms simple text descriptions—known as prompts—into unique visuals. Unlike tools that merely remix or stitch existing graphics, Stable Diffusion interprets the meaning of your text and creates entirely new images that match your instructions.
This makes it particularly effective for logo design, especially when you want minimalist or vector-inspired styles with clean lines, flat colors, and sharp edges.
When compared to other AI tools:
- DALL·E often leans toward illustrative or photo-realistic outputs, which may look beautiful but aren't always scalable for branding.
- MidJourney is known for its artistic and complex aesthetics, making it great for creative visuals but less suited for simple, functional logos.
Stable Diffusion, however, shines in producing modern, retro, or simplistic logos that balance creativity with precision—qualities that brands need for professional, versatile identity design.
Part 2. How to Create Logos with Stable Diffusion
Having learned about what Logo Stable Diffusion is, let us learn how to create these images using the tool. Provided below is the step-by-step guide on how to craft a minimalist logo using a Stable Diffusion-active tool:
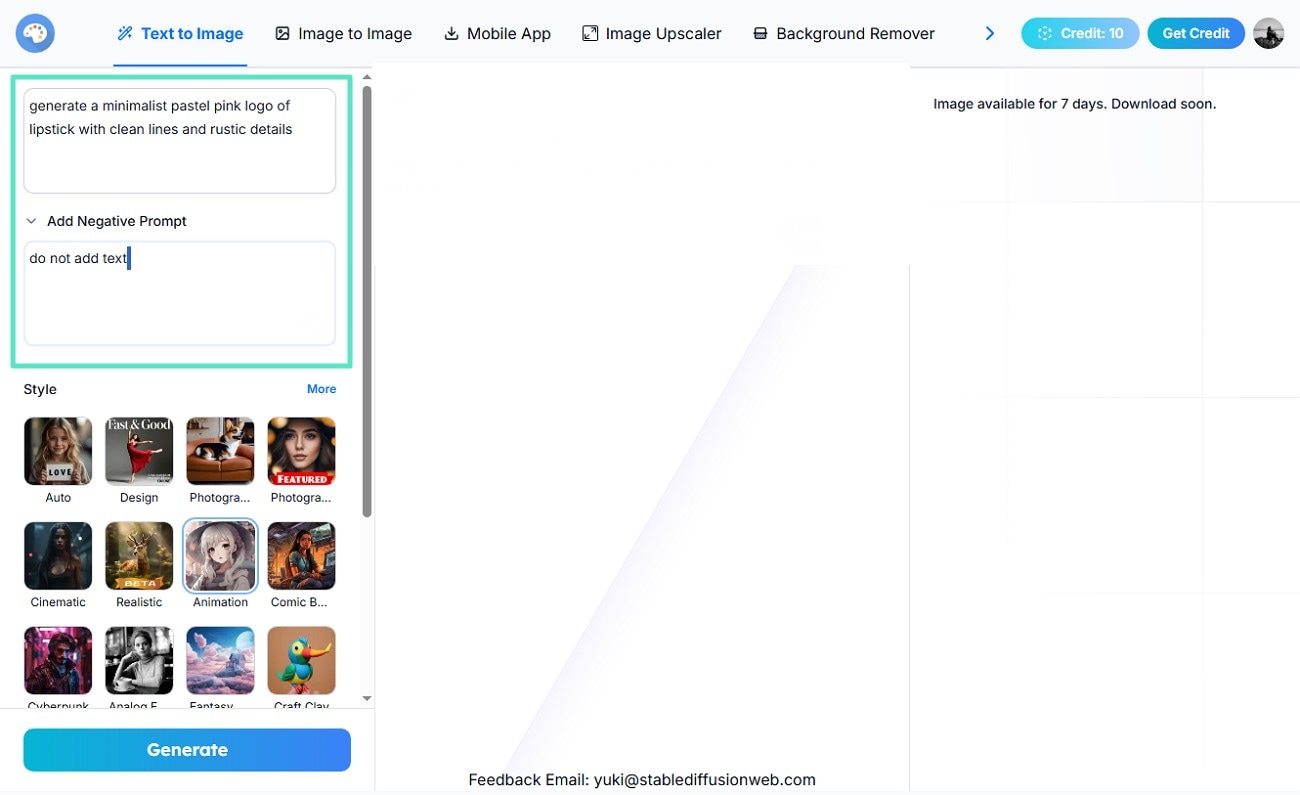
Step 1. Start By Accessing the Tool and Giving Prompts
- Log in to the tool and type in the text prompt across the text field located on the left.
- Next, enter the negative prompt, stating things you do not want in your creation.
- Select the style and scroll down through the panel.
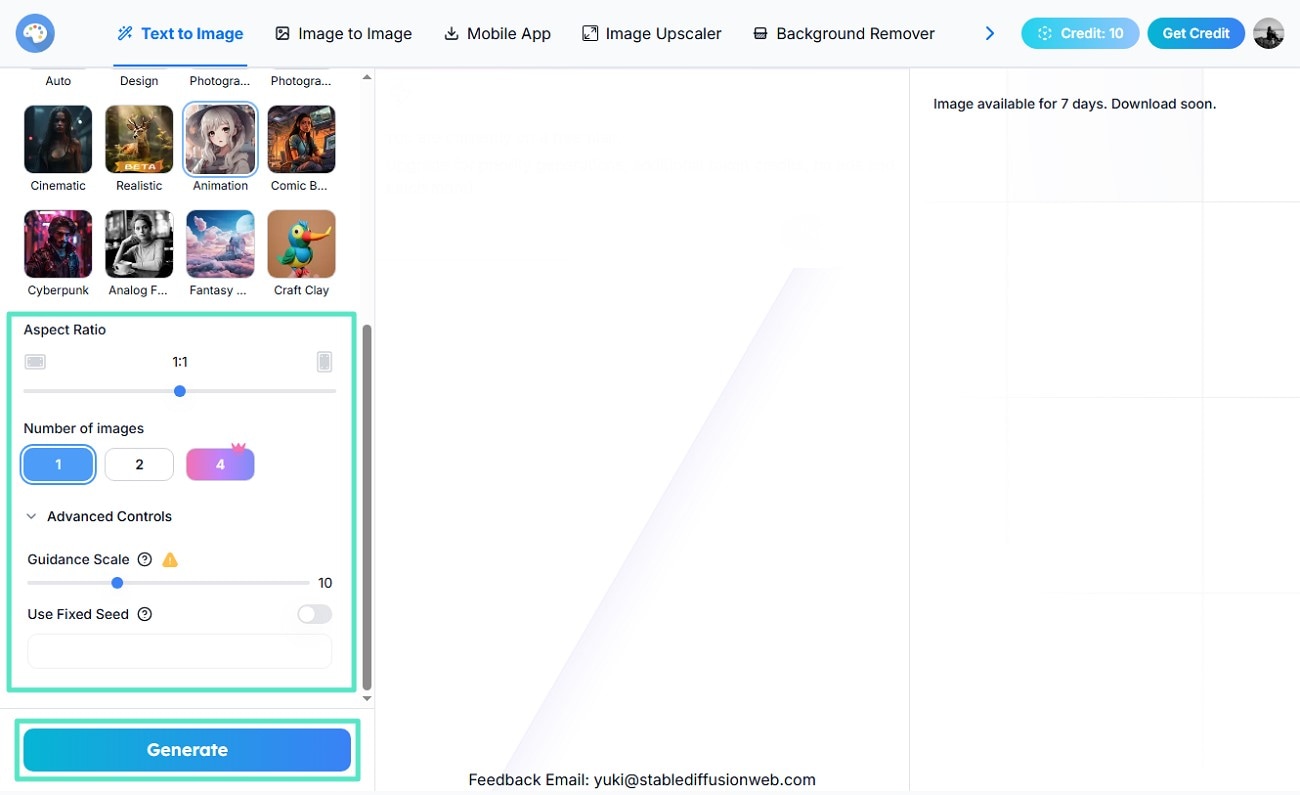
Step 2. Choose Aspect Ratio and Other Settings
- Moving forward, select the "Aspect Ratio" for your logo by dragging its slider.
- Select the number of outputs you want across your prompt from the options provided.
- Choose "Advanced Controls" like "Guidance Scale" before hitting the "Generate" button.
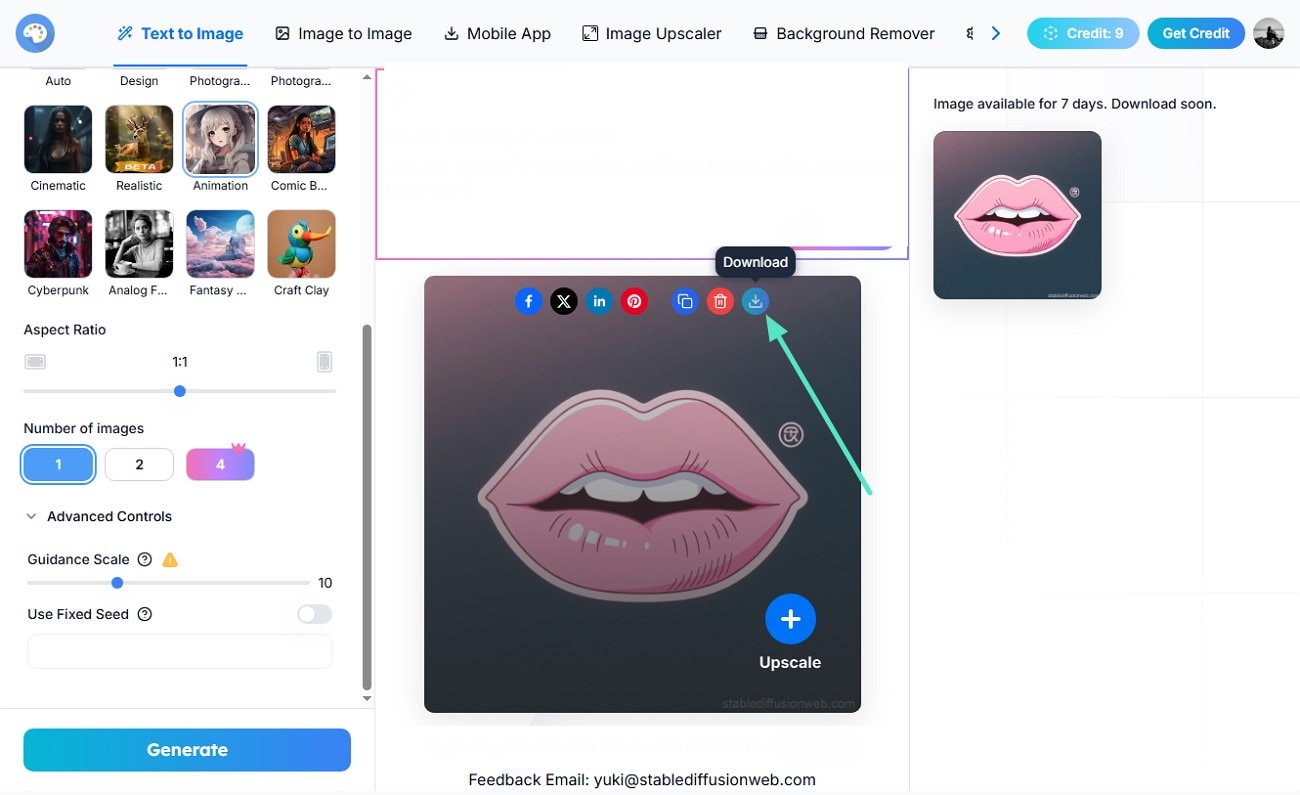
Step 3. Review the Generated Logo and Download
- Once the logo is generated in the preview window within the interface, review it thoroughly.
- Press the "Upscale" option if you want to enhance the visual quality of it.
- Use the "Download" icon to successfully save your generated logo.
Part 3. The 15 Best Stable Diffusion Logo Prompts
Now that you have learned how to craft logos with Stable Diffusion logo prompts, let us explore some of the best prompt examples that will help you generate striking logos:
1. Generate a minimalist green leaf logo with clean lines and flat design.

2. Create a compelling retro-style tech company logo in monochrome black and white.
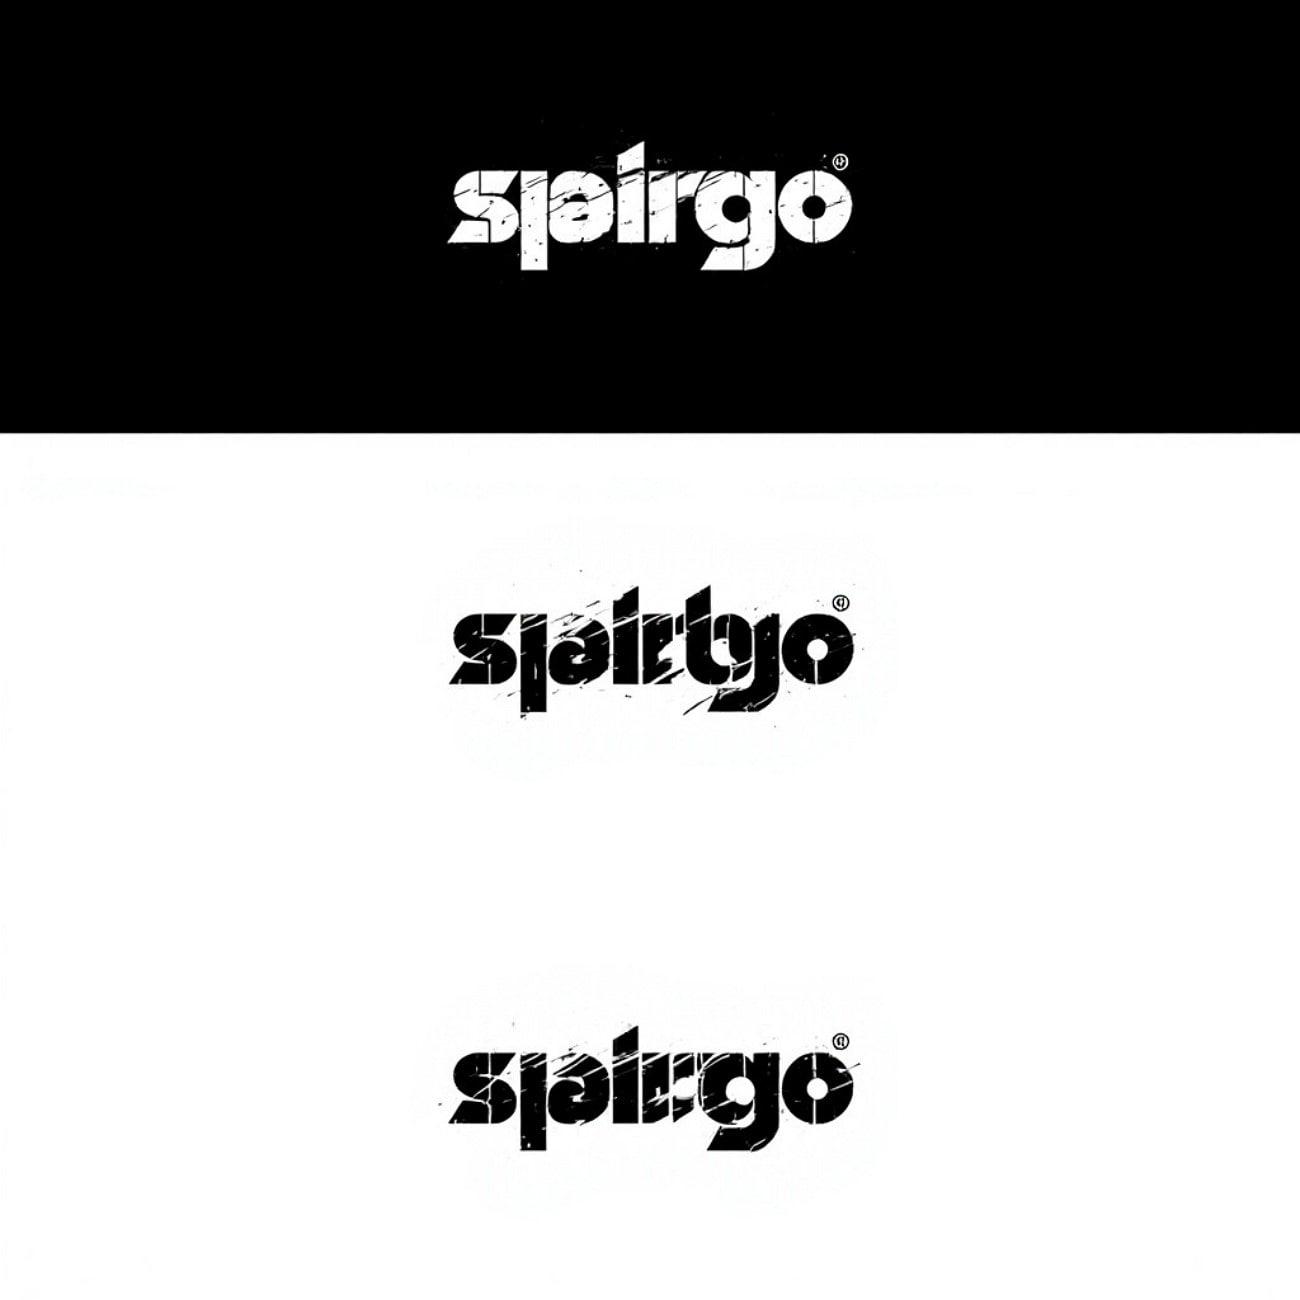
3. Design an abstract geometric mountain icon with sharp edges and gradients.

4. Produce an elegant gold monogram logo with cursive fonts on a dark background.
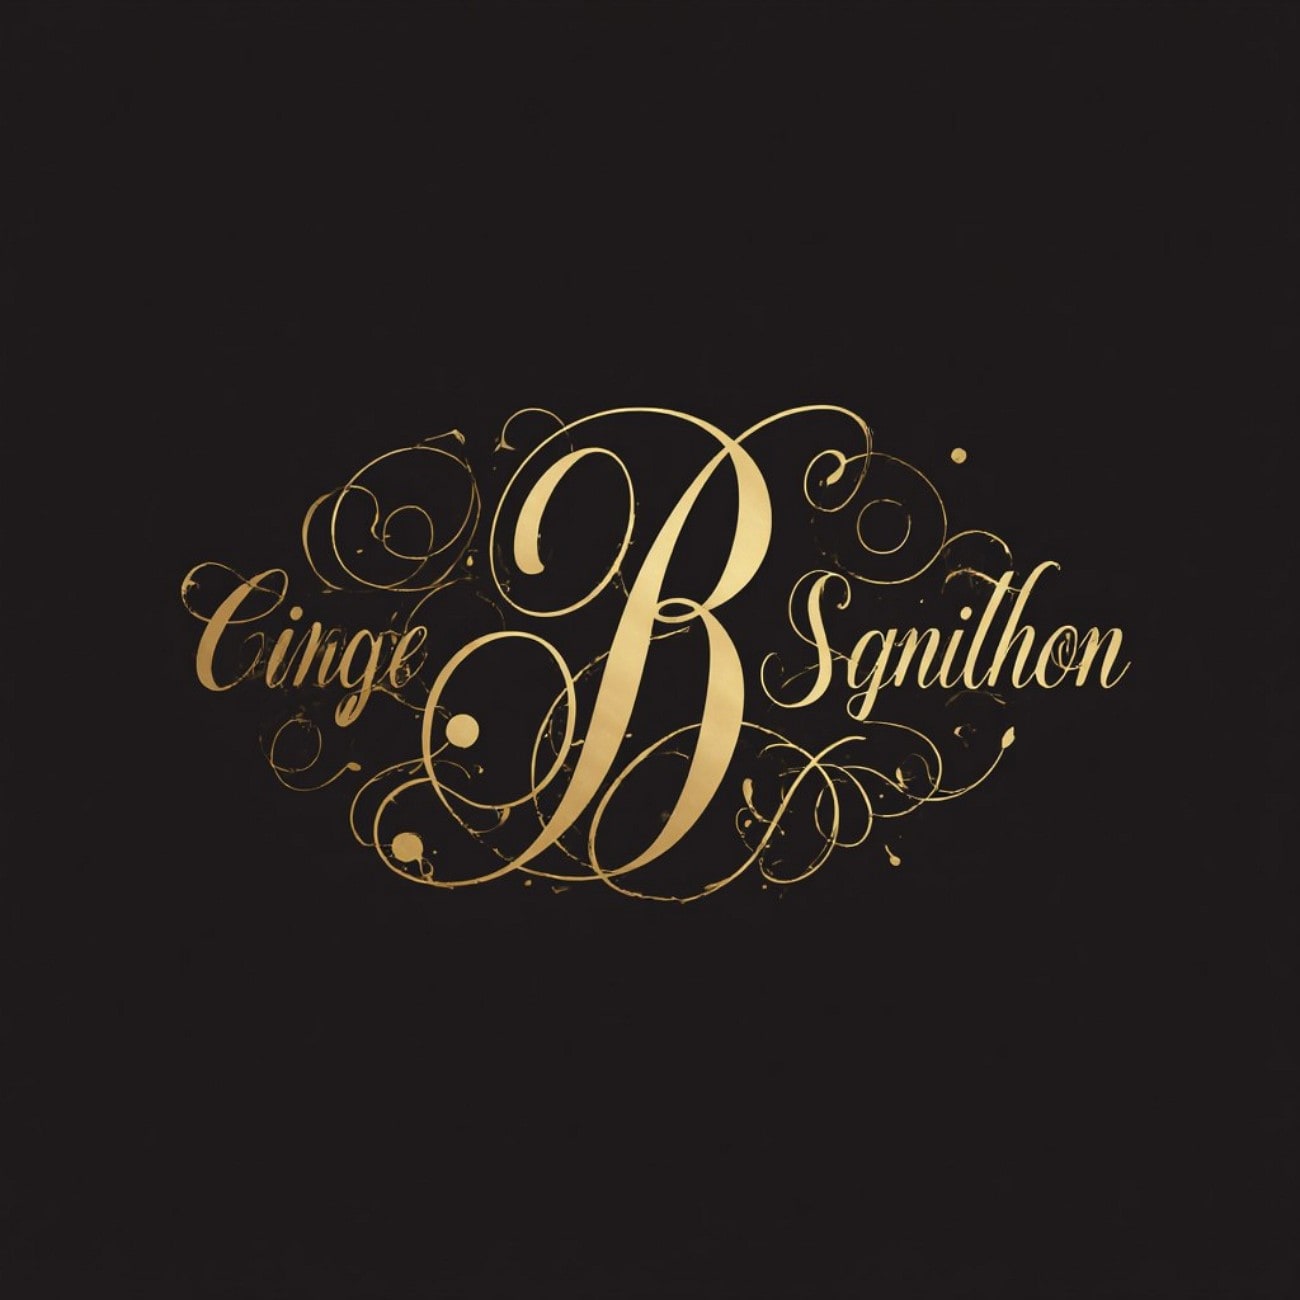
5. Craft a vibrant, modern fitness app logo with dynamic motion lines.
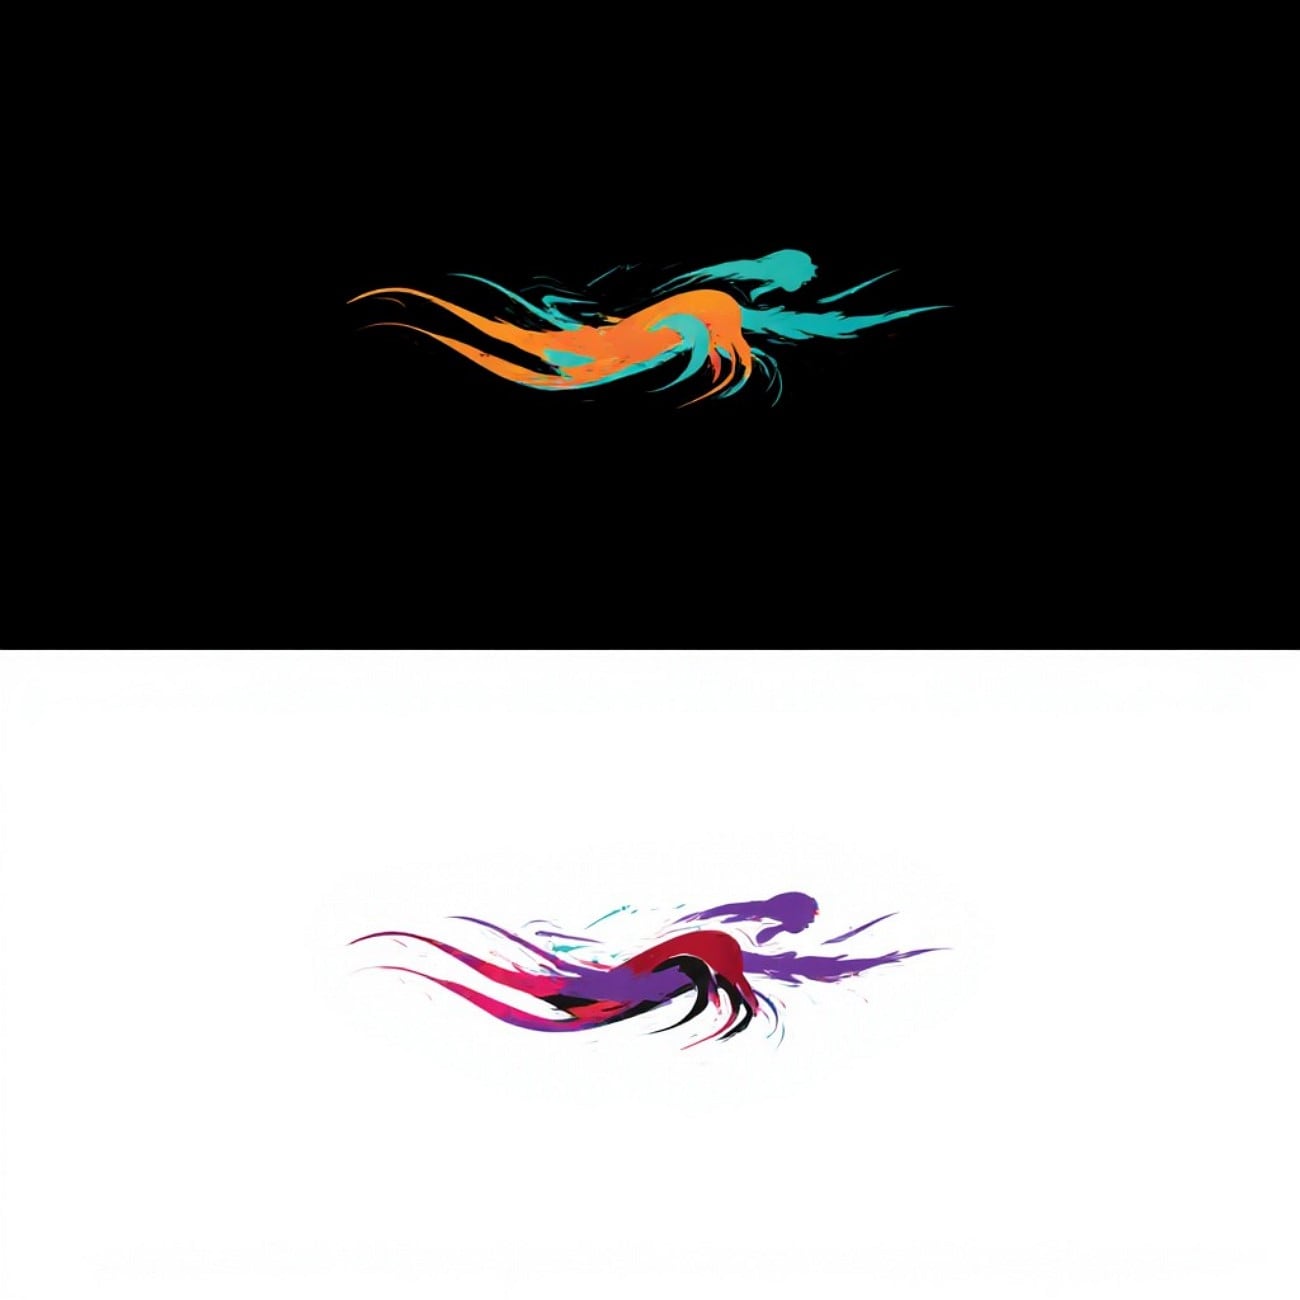
6. Develop a simple vintage camera icon logo with sepia tones and distressed textures.

7. Generate a blue wave and water droplet nature conservation logo in watercolor style.
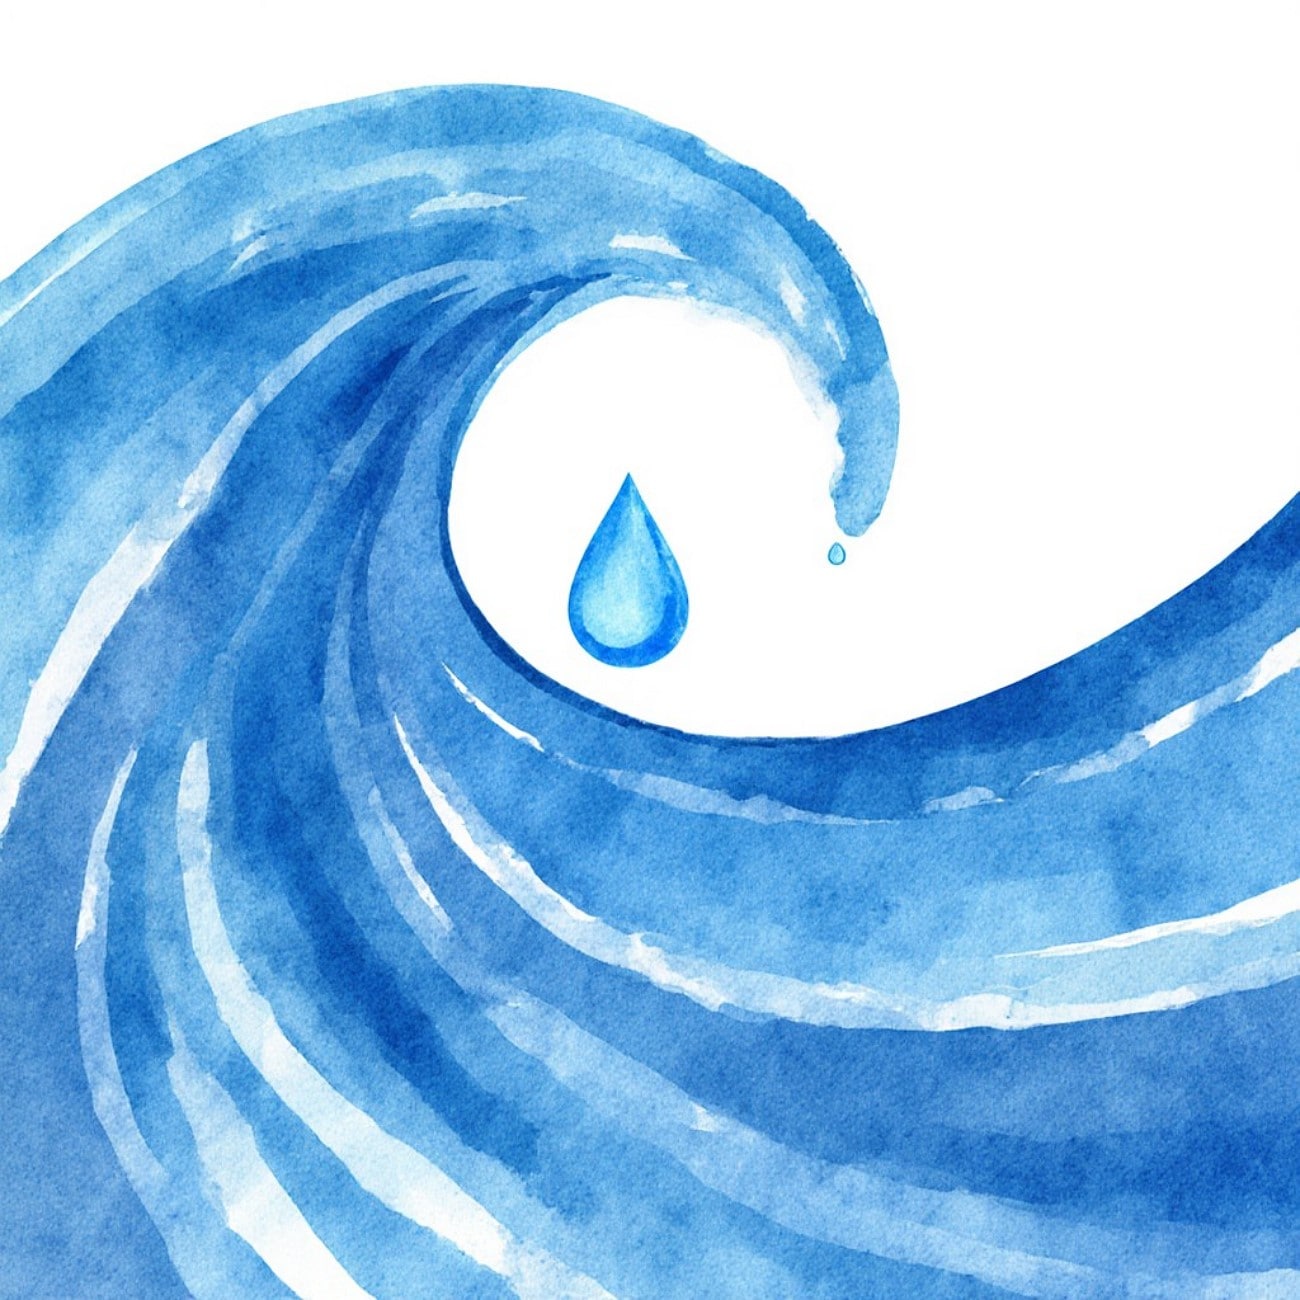
8. Create a futuristic space exploration startup logo with neon colors and bold shapes.
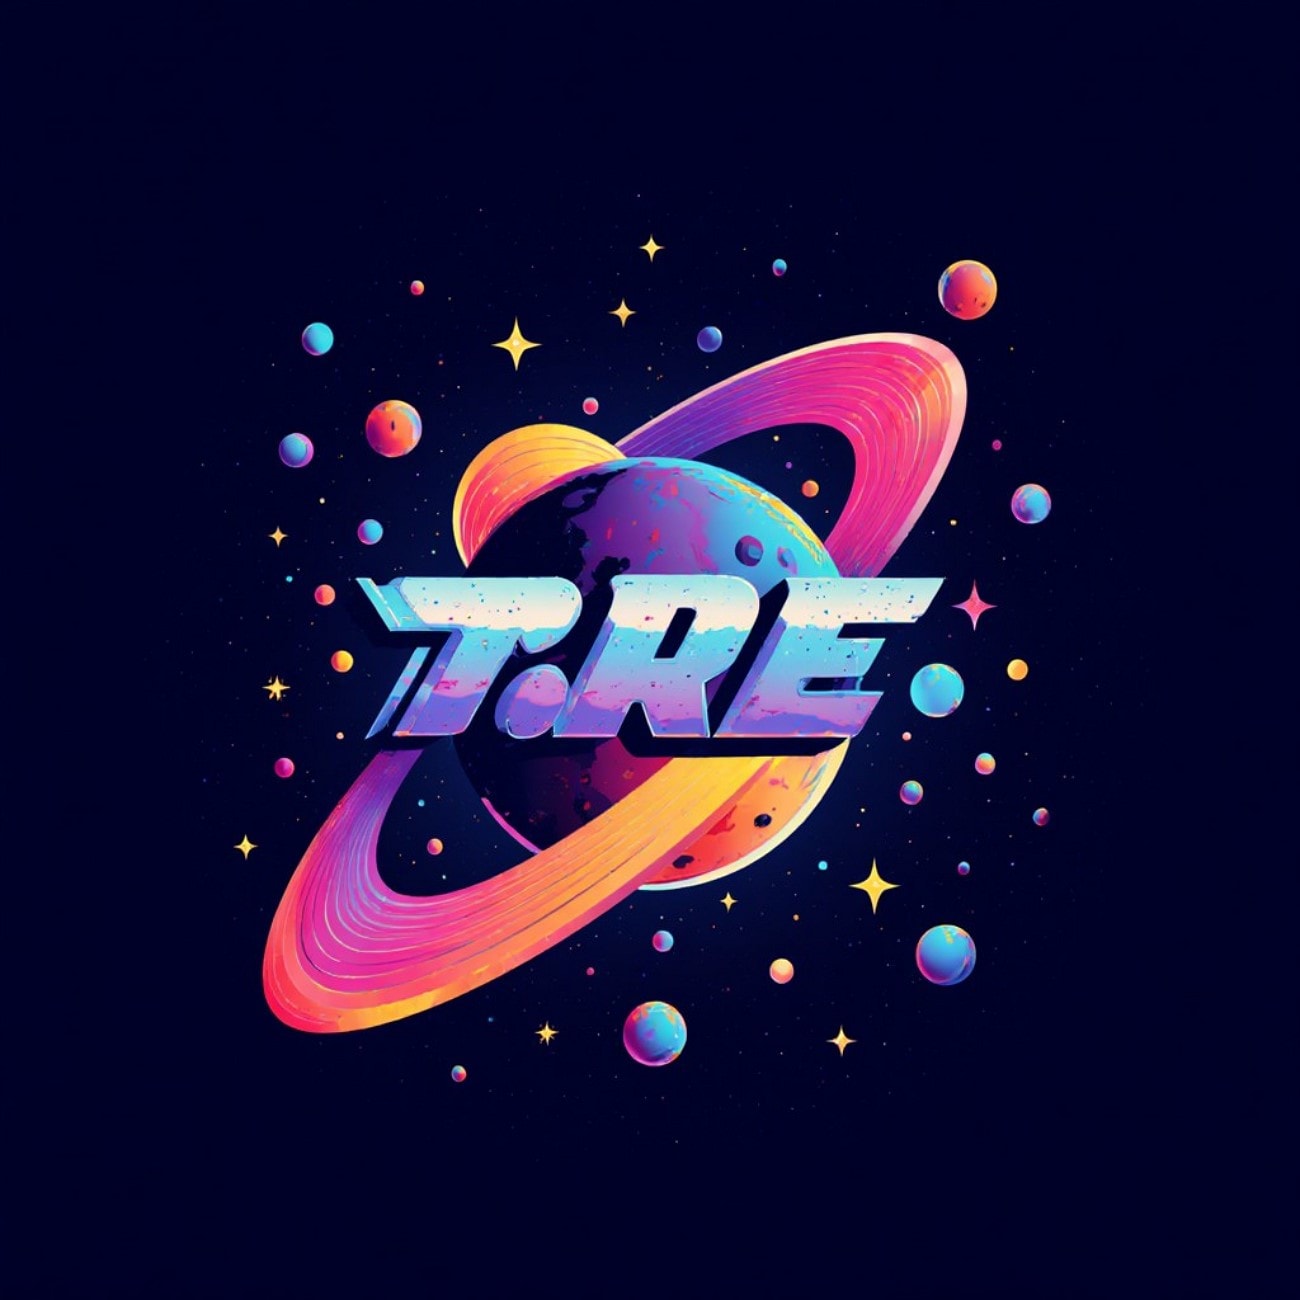
9. Design a hand-drawn style bakery logo with soft pastel colors and rustic details.

10. Produce a tech minimalist circuit board icon with neon green on a black background.
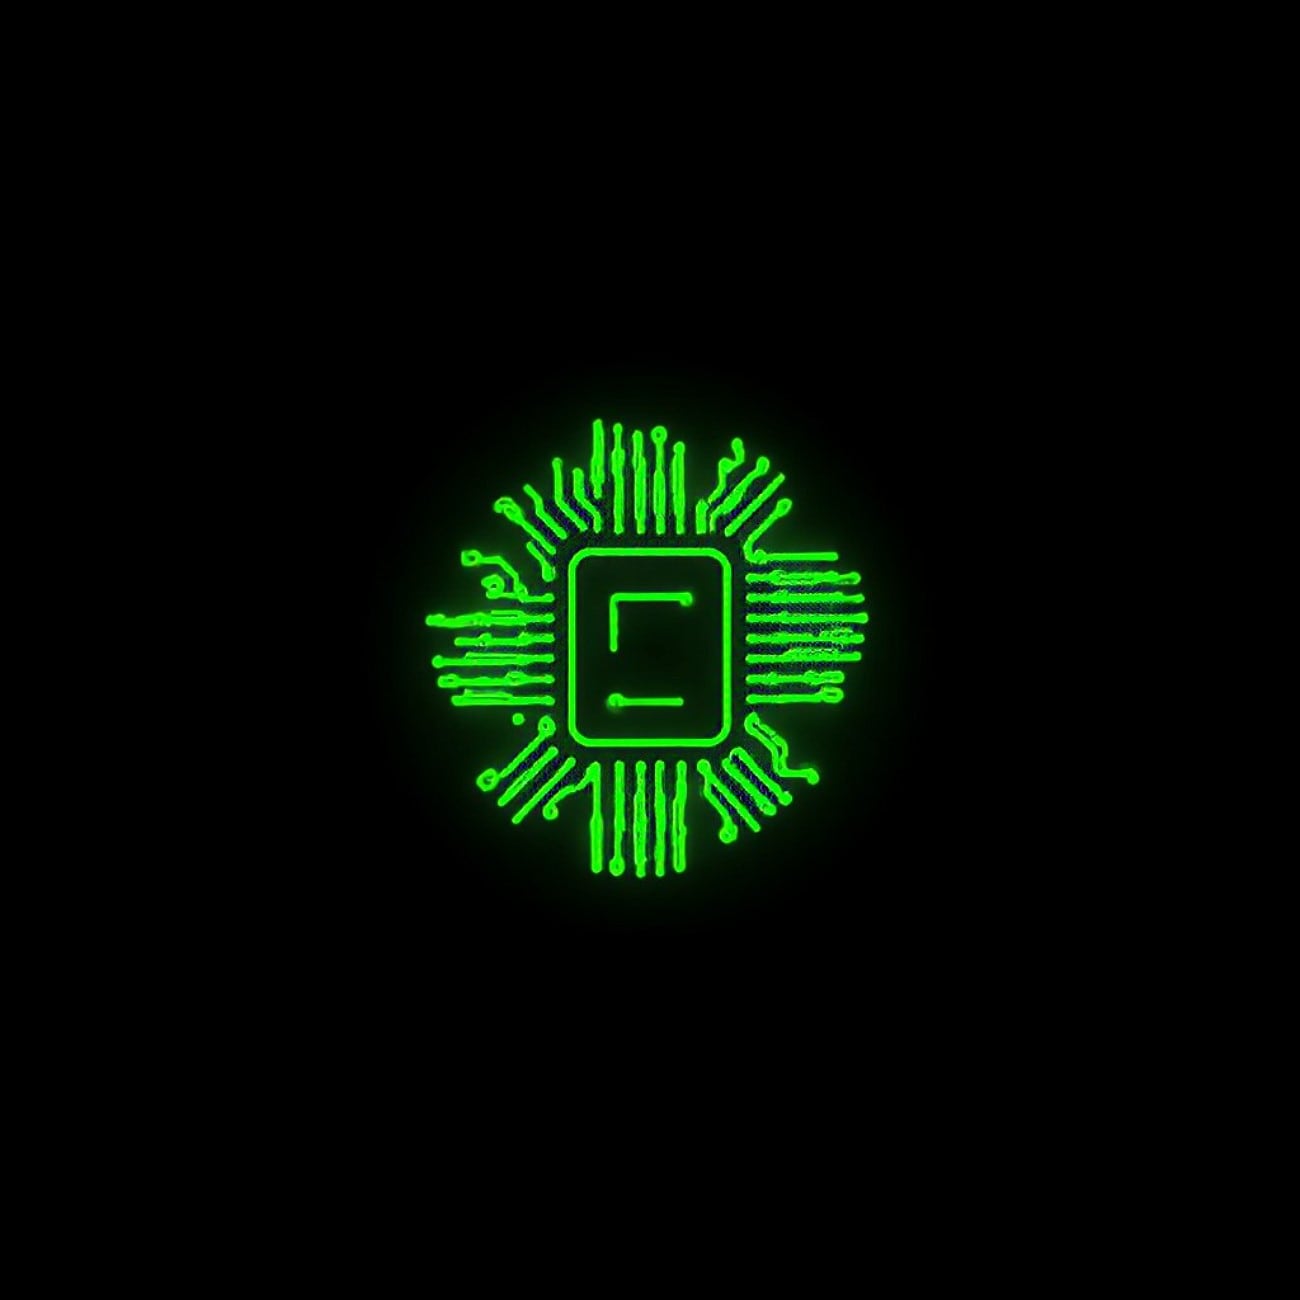
11. Craft a clean and bold automotive emblem logo in metallic silver.
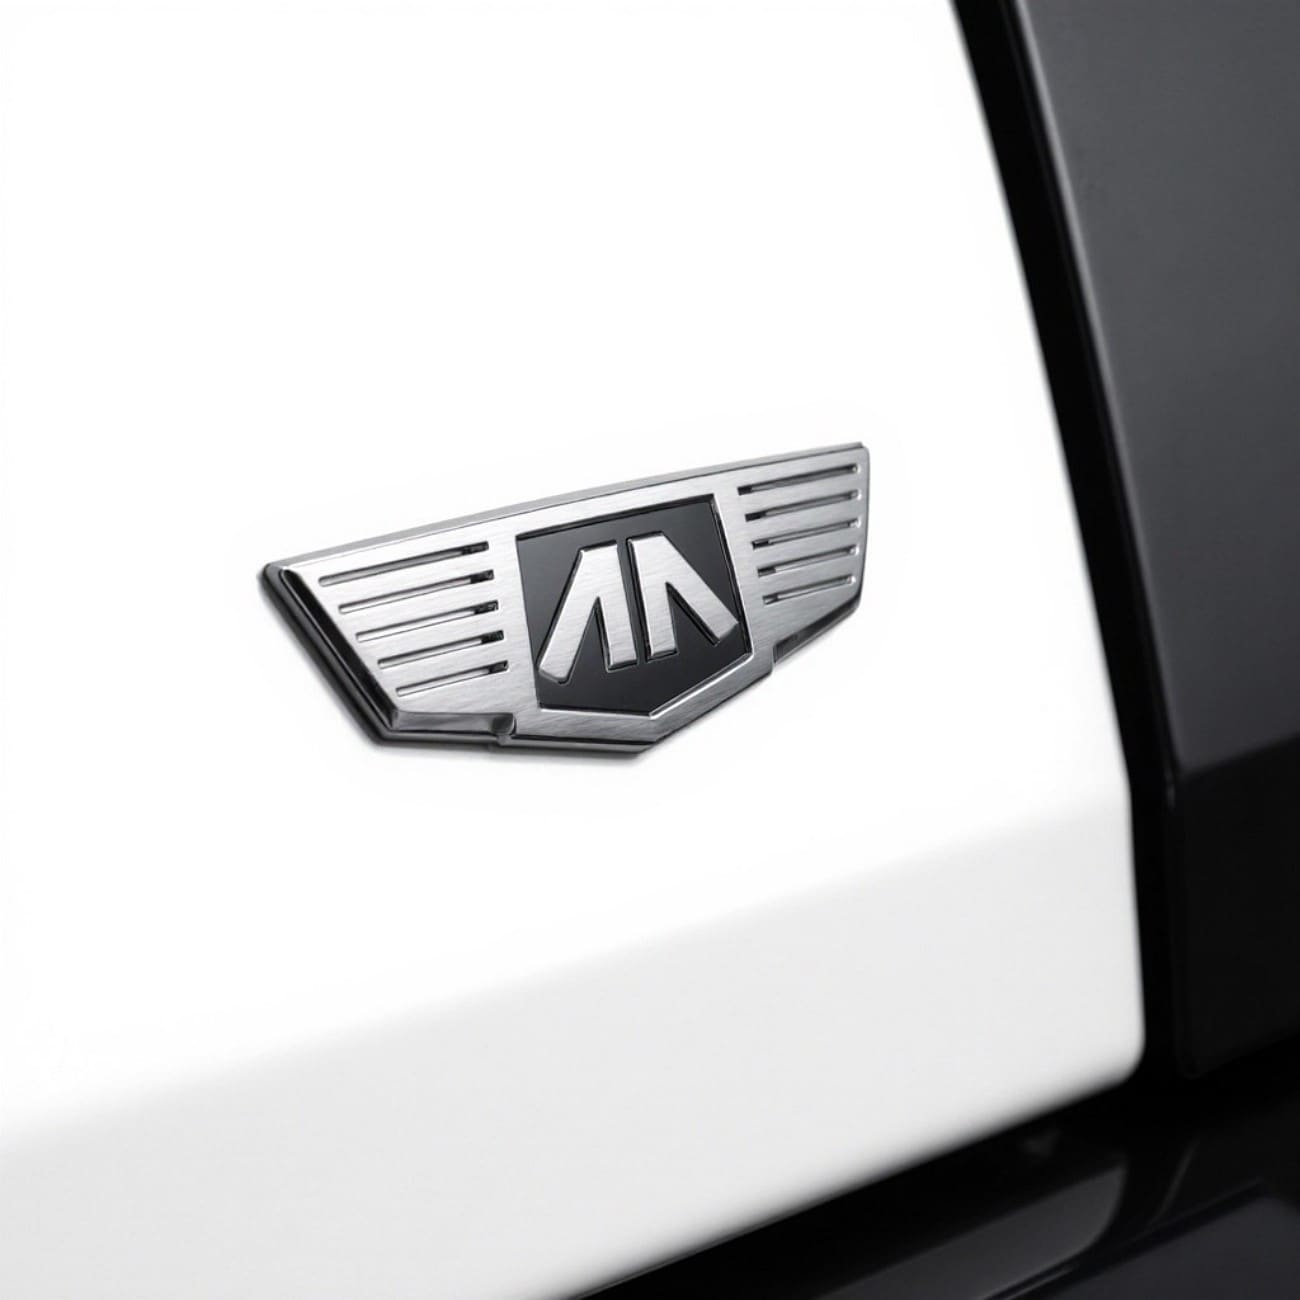
12. Develop a playful children's education app logo with rounded fonts and bright hues.
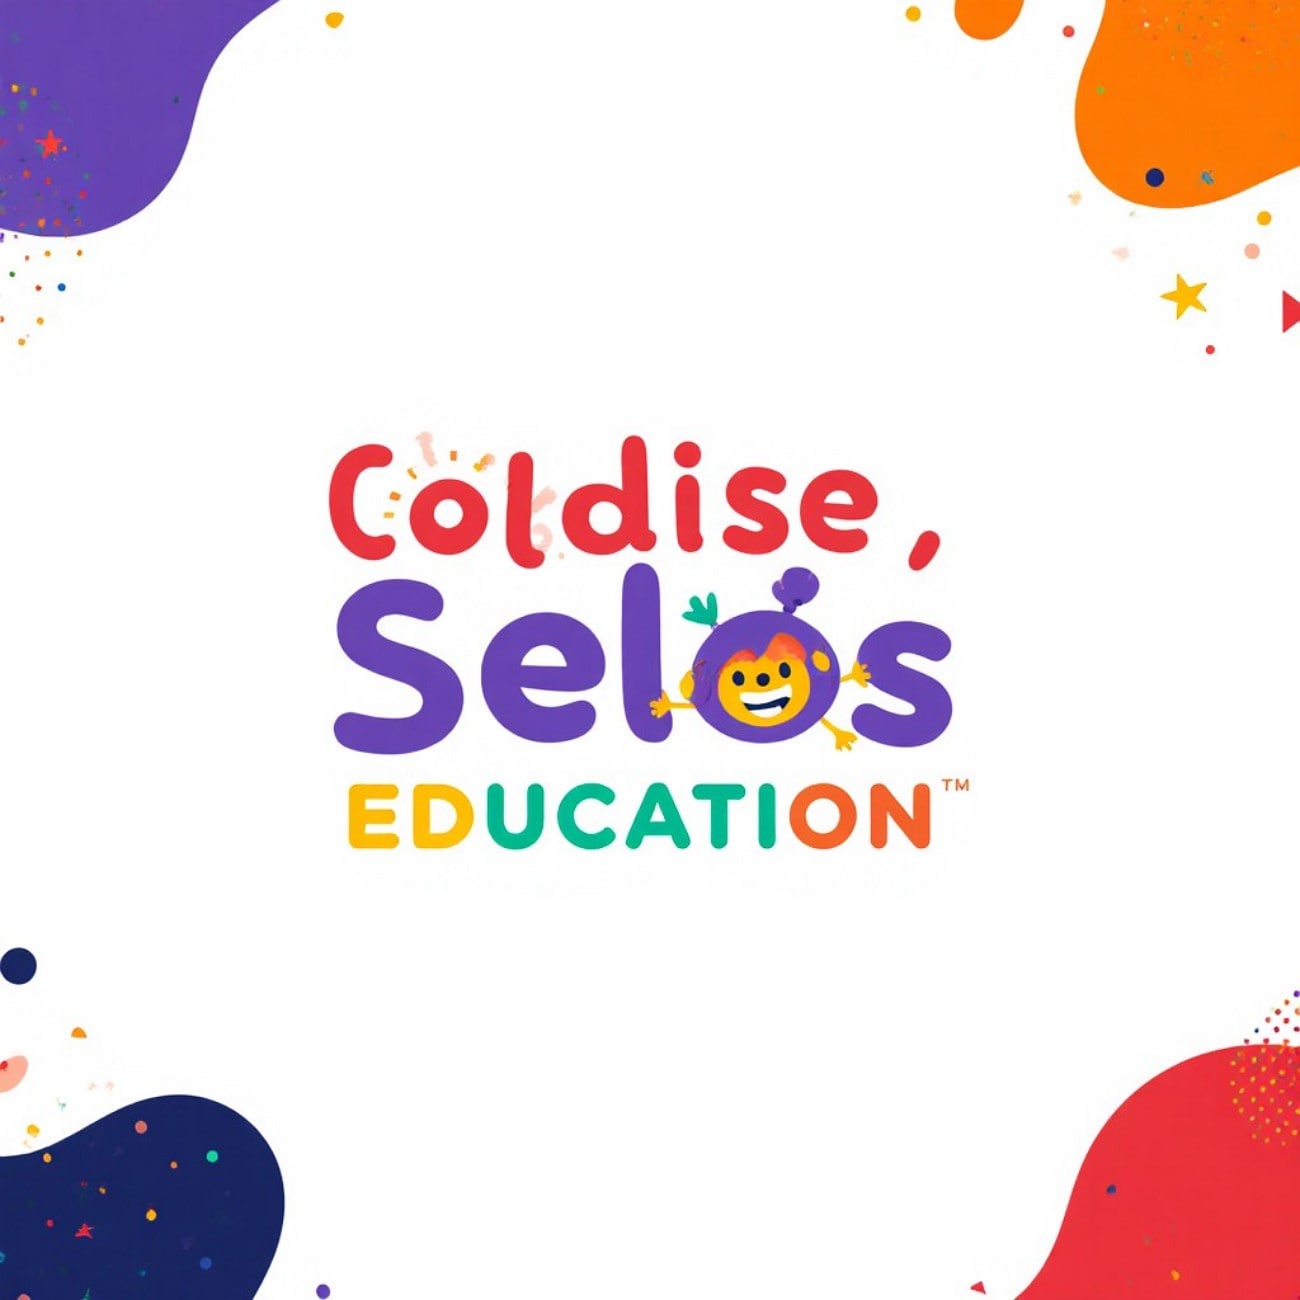
13. Generate an abstract digital media logo with overlapping transparent layers and purple hues.

14. Create an elegant real estate company logo with a minimalist house outline and gold accent.

15. Design a dark fantasy eSports team logo with sharp edges and a red-black color palette.

Part 4. Enhance Your Logo: Refinement and Motion Effects
Imagine you've generated a unique logo using Stable Diffusion, but now you want to make it more engaging for brand videos. Wondershare Filmora bridges this gap, turning static AI-generated logos into dynamic visual assets effortlessly.
With its template library and editing tools, you can refine colors, apply filters, animate logos, and export them in multiple resolutions—all while keeping sharpness and scalability intact.
Beyond animation, Filmora offers:
- Versatile Editing Tools: Includes color correction, filters, and customizable transitions to fine-tune your logo's appearance.
- Transparent PNG Support: Preserves sharpness and allows smooth integration over video backgrounds.
- Multiple Methods for Dynamism: Offers various ways to add motion or animation effects to your static logo.
Method 1. Animate Logos Using "Image to Video"
Filmora uses advanced AI to generate videos from your images conveniently to bring them to life. The Veo-3 integration automatically adds background music to your logo animation. It seamlessly integrates its functionality with the logo generated with Stable Diffusion and further modifies it.
You can also specify your requirements in terms of text to enhance the creation. The generated logo video can be saved in multiple resolutions and formats, expanding its usability.
Ready to bring your logo to life? Here's how to do it step by step.

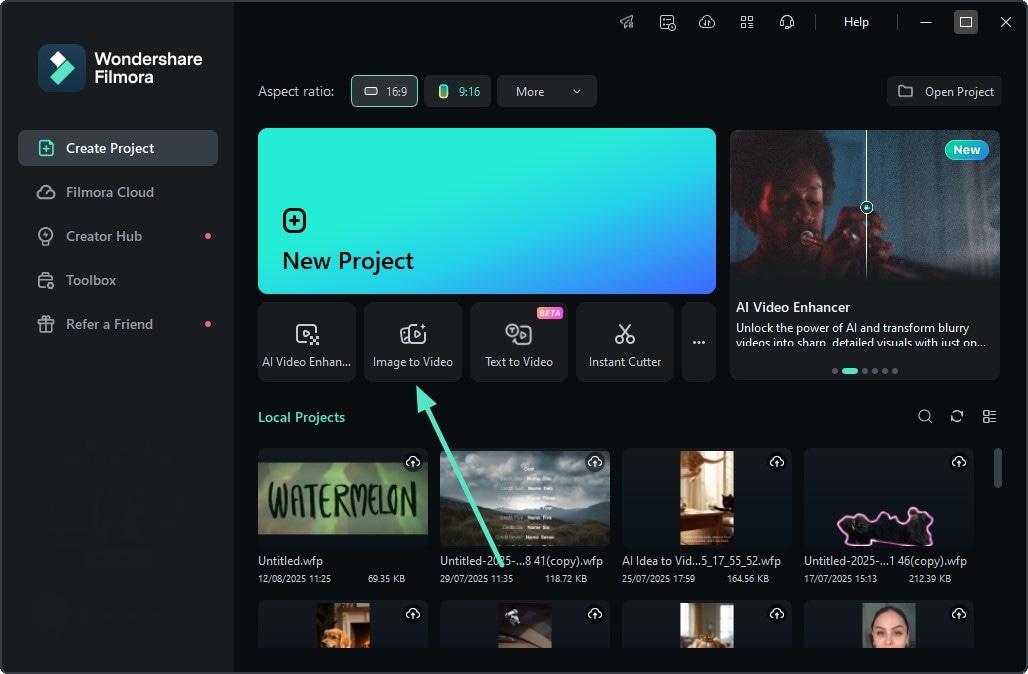
Step 1Start by Accessing the Image To Video
- To begin, launch Filmora and click on the "Image to Video" tab located on the homepage.
Step 2Input Logo and Give Prompt
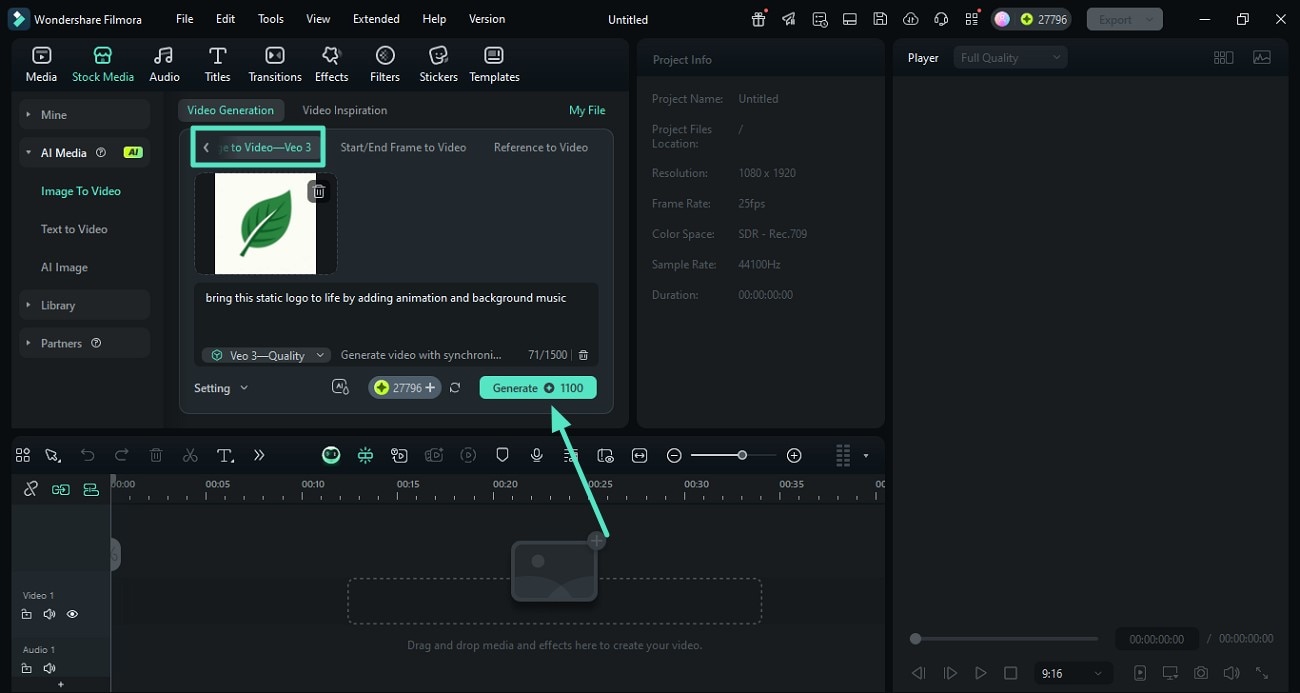
- Add the logo image in the designated field under the "Image to Video - Veo 3" section.
- Next, add your requirement in the text form and configure other settings.
- Finally, hit the "Generate" button to execute the process.
Step 3Review the Results and Export
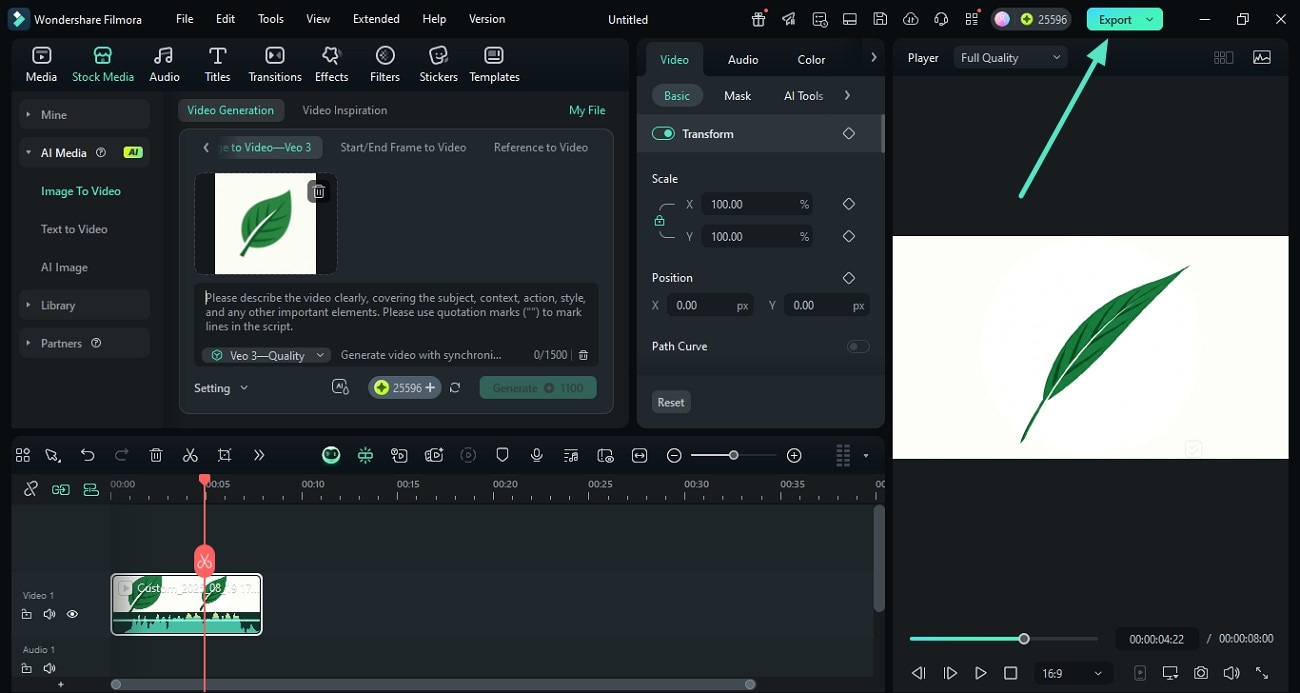
- Once the logo is converted into an animated video, review and further edit it using Filmora's features.
- Press the "Export" button located at the top-right corner to save the results once you are satisfied.
Method 2. Refine and Enhance Your Logo
Besides AI-powered animation, Filmora also provides support for adding animation to your logos manually. The tool offers an extensive set of features to enhance the visuals of your logo through color adjustment. You can also add animated effects to give life to your static Stable Diffusion logo design.
You can make your generated logo stand out by using the functionalities of Filmora, To learn how to , read the steps mentioned next:
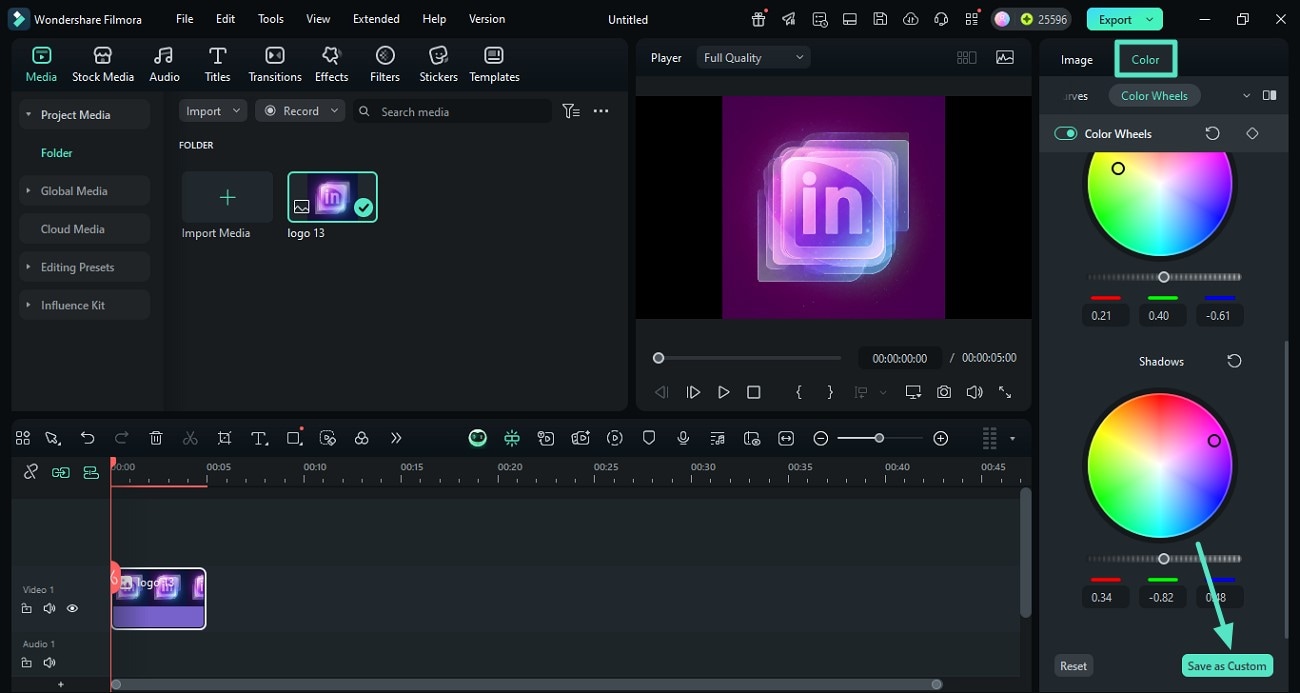
Step 1Enhance Colors of Logo
- In the editing interface of the tool, head to the right side to access the "Color" panel.
- Adjust the color wheels according to your preferences and press the "Save as Custom" button.
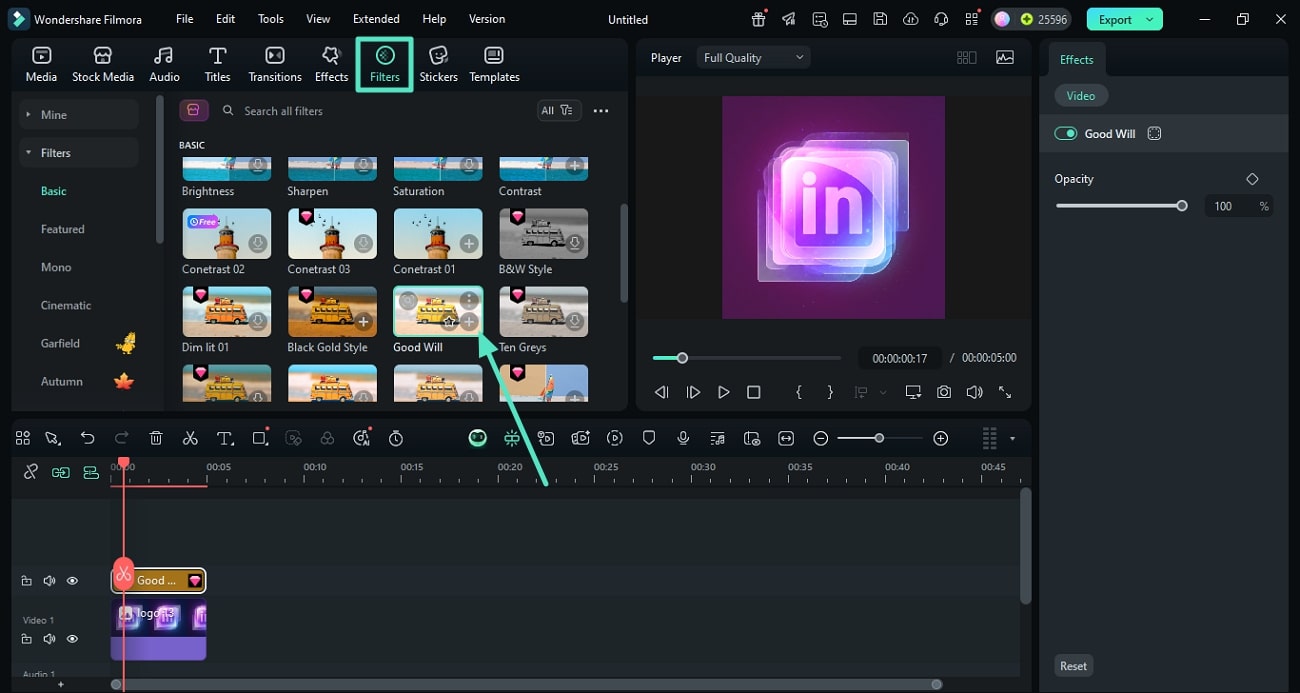
Step 2Insert Compelling Filters To Change Logo Outlook
- Moving forward, head to the toolbar at the top and access the "Filters" options.
- Next, choose the desired filter and apply it to the logo using the "+" icon.
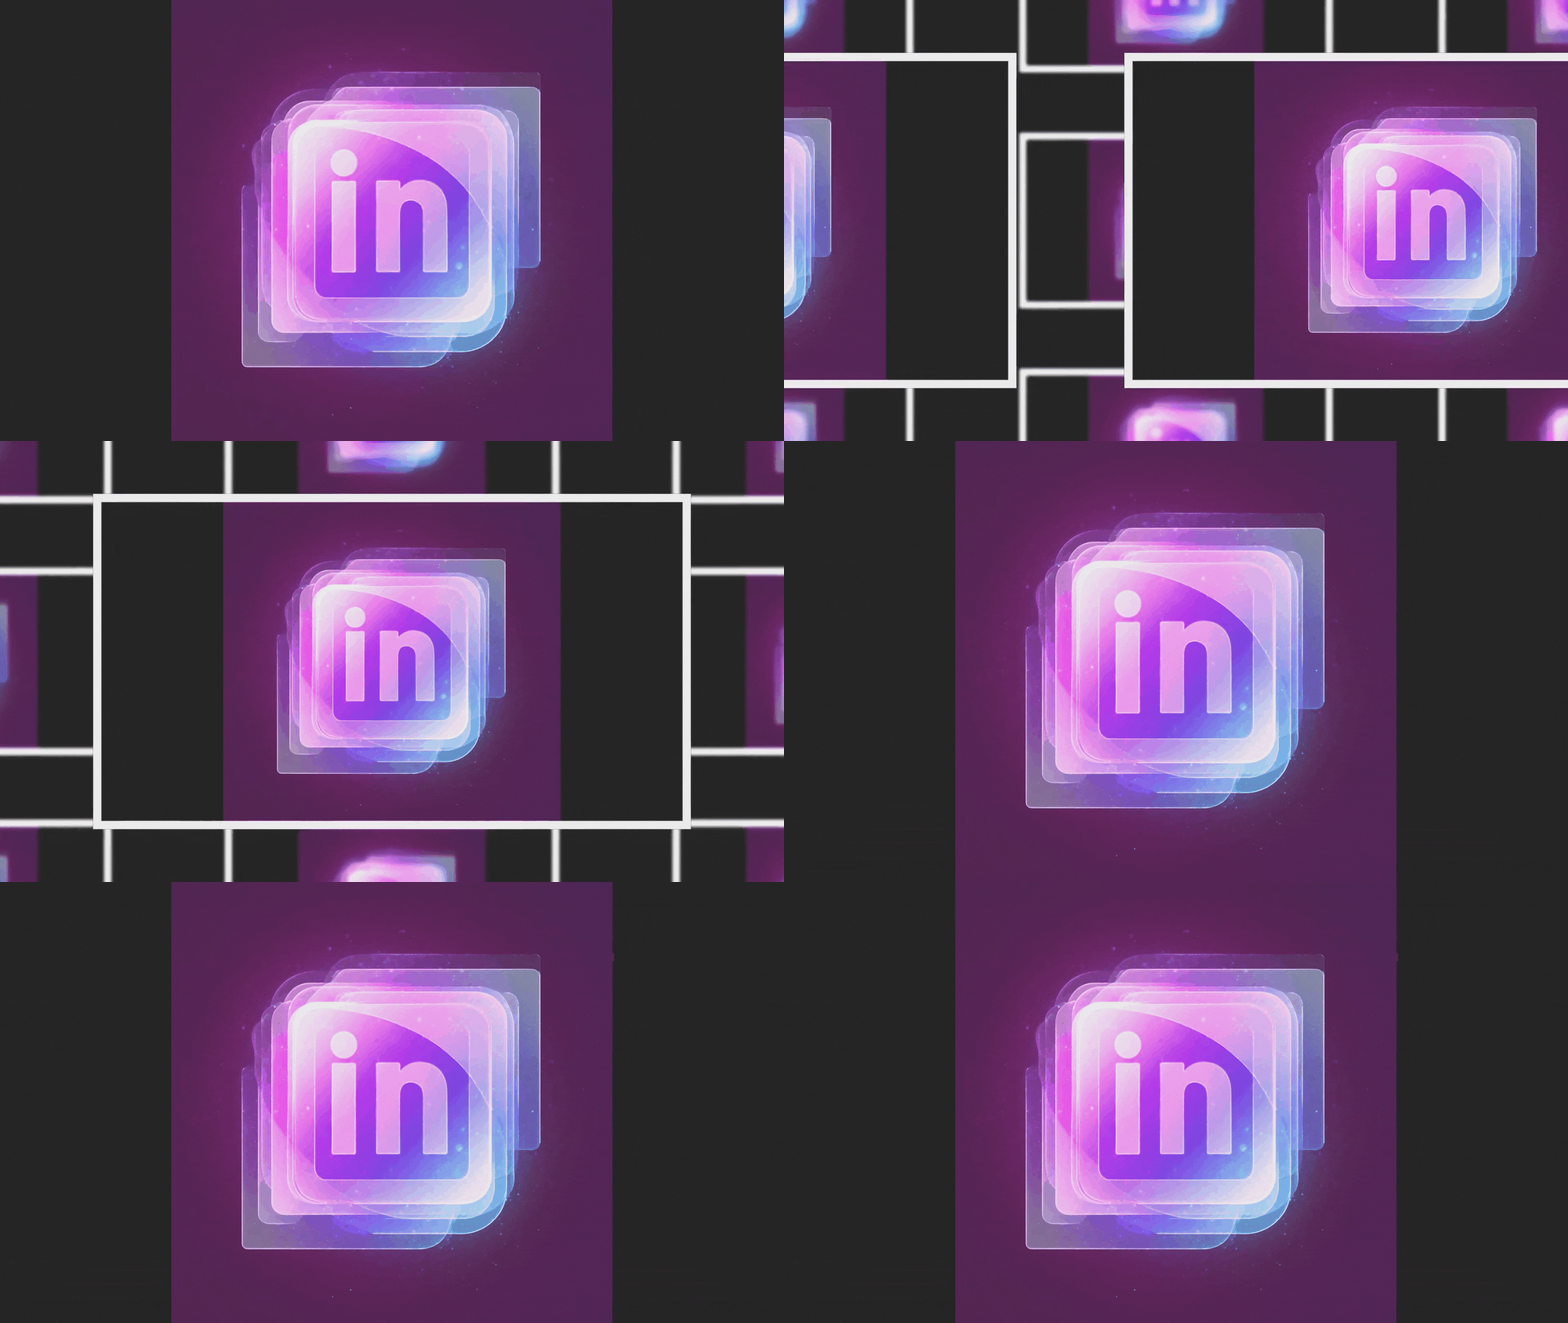
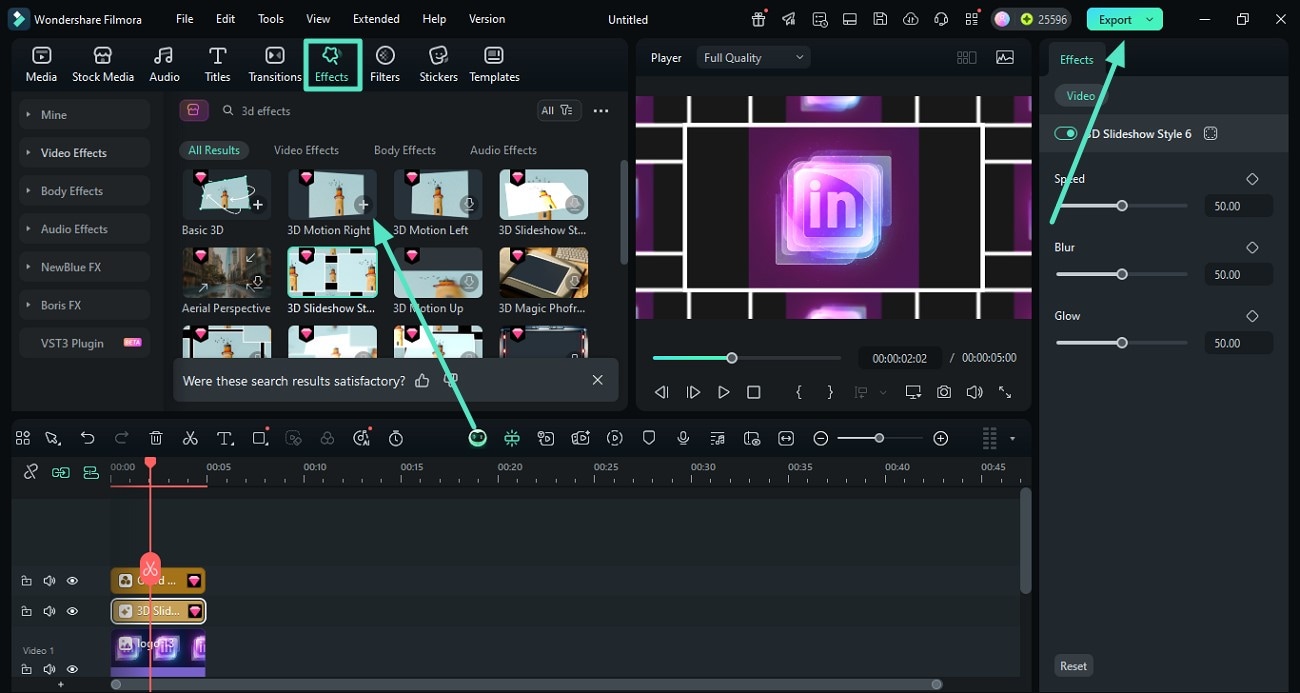
Step 3Animate Logo With Effect
- Animate your logo by heading to the "Effects" section from the toolbar.
- Select the animated 3D effects of your choice and apply them to the video using the "+" icon.
- When you are satisfied with the results, head to the "Export" button to save the logo enhanced video.
Method 3. Use Logo Reveal Templates
Filmora offers an extensive library of templates that contains visuals and resources that you can embed in your content. The tool allows you to add your video or image to the predesigned template and customize it according to your preferences.
The template has elements like effects, music, and filters already added to make the logo animation process effortless for you. To learn how to use the Filmora logo template for animating the logo Stable Diffusion creation, read the steps mentioned below:
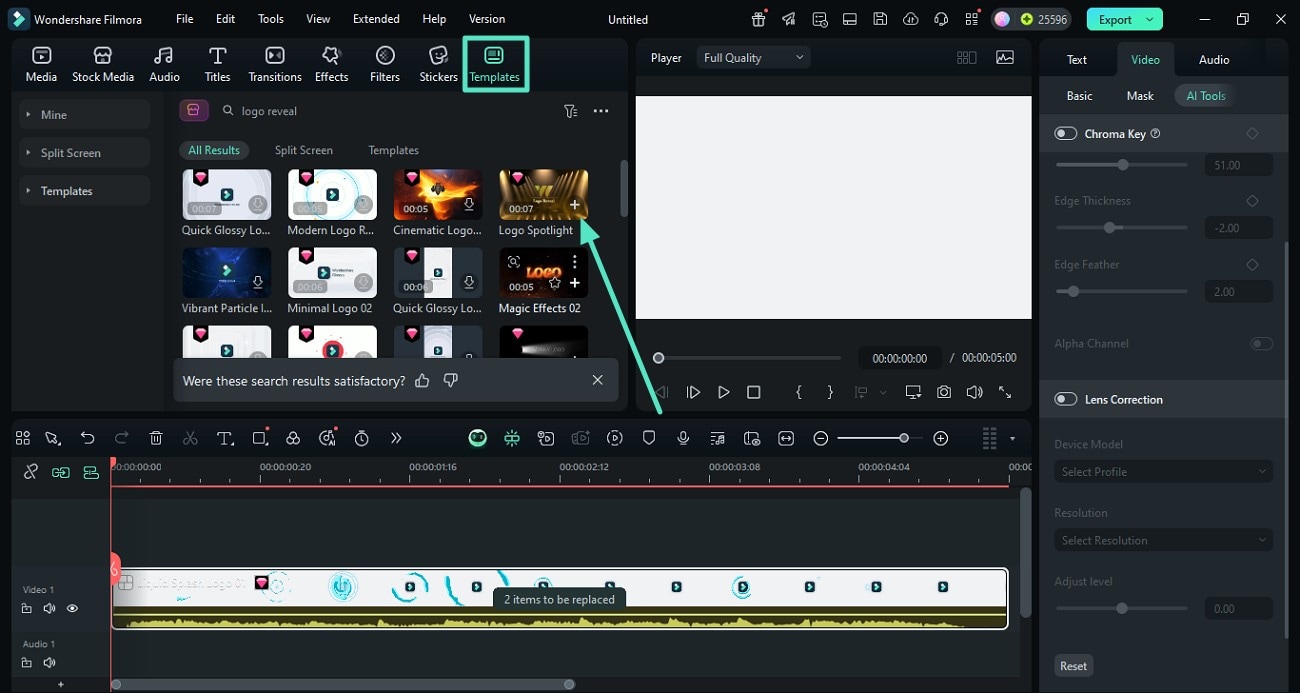
Step 1Access the Templates Library
- After creating a new project, head to the "Templates" section in the editing interface.
- Scroll through the library to locate the logo reveal template or use the search bar.
- Click the "+" icon on the template to add it to the editing timeline.
Step 2Add Logo and Customize Template
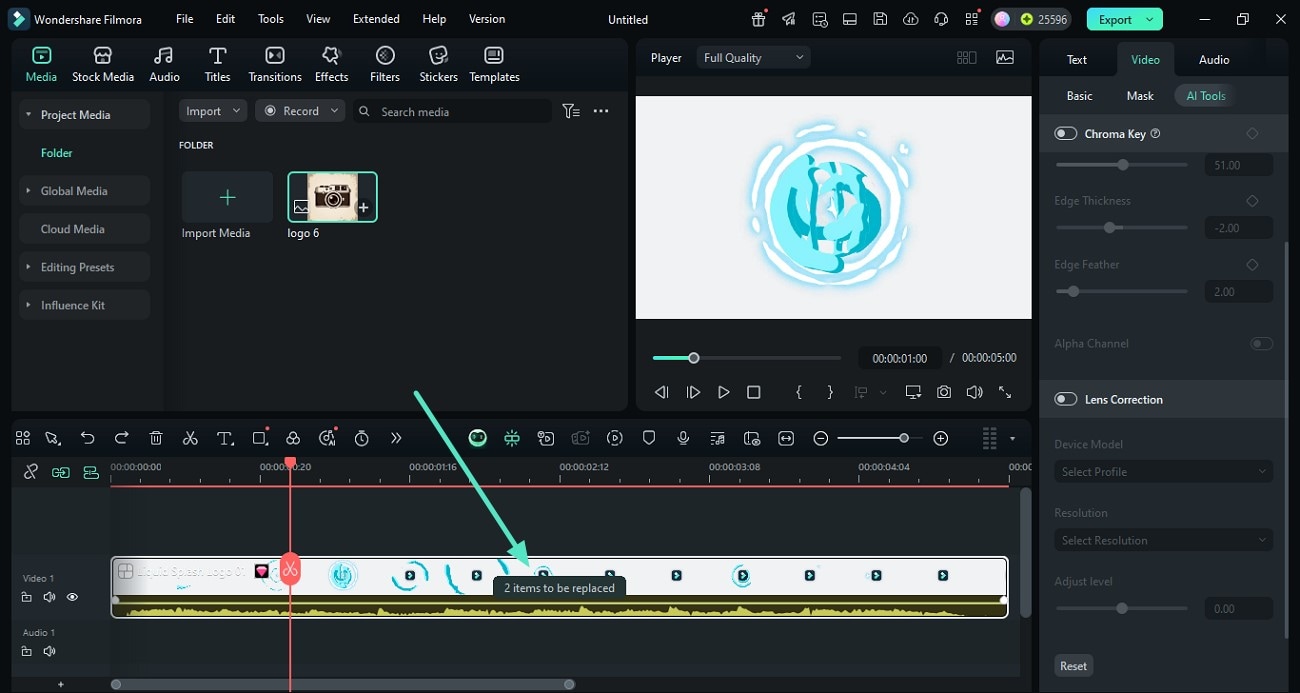
- Once the template is added, click on the "2 Items to Be Replaced" option on the template.
- Add your logo image from your device's storage to the template.
Step 3Edit the Added Logo
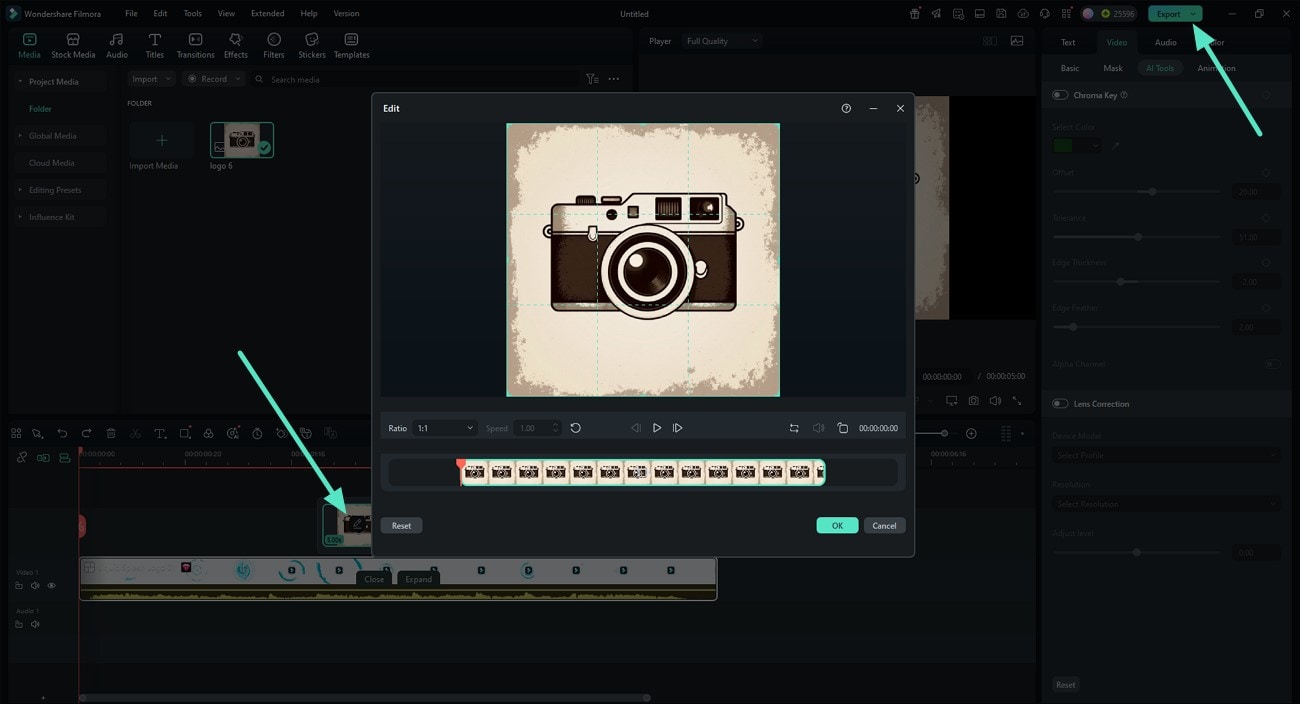
- Click on the "Edit" icon located on the logo within the timeline to enter the next window.
- Here, adjust the aspect ratio and speed of the logo's appearance within the video.
- Once satisfied, hit the "Export" button to save the generated results to your device.
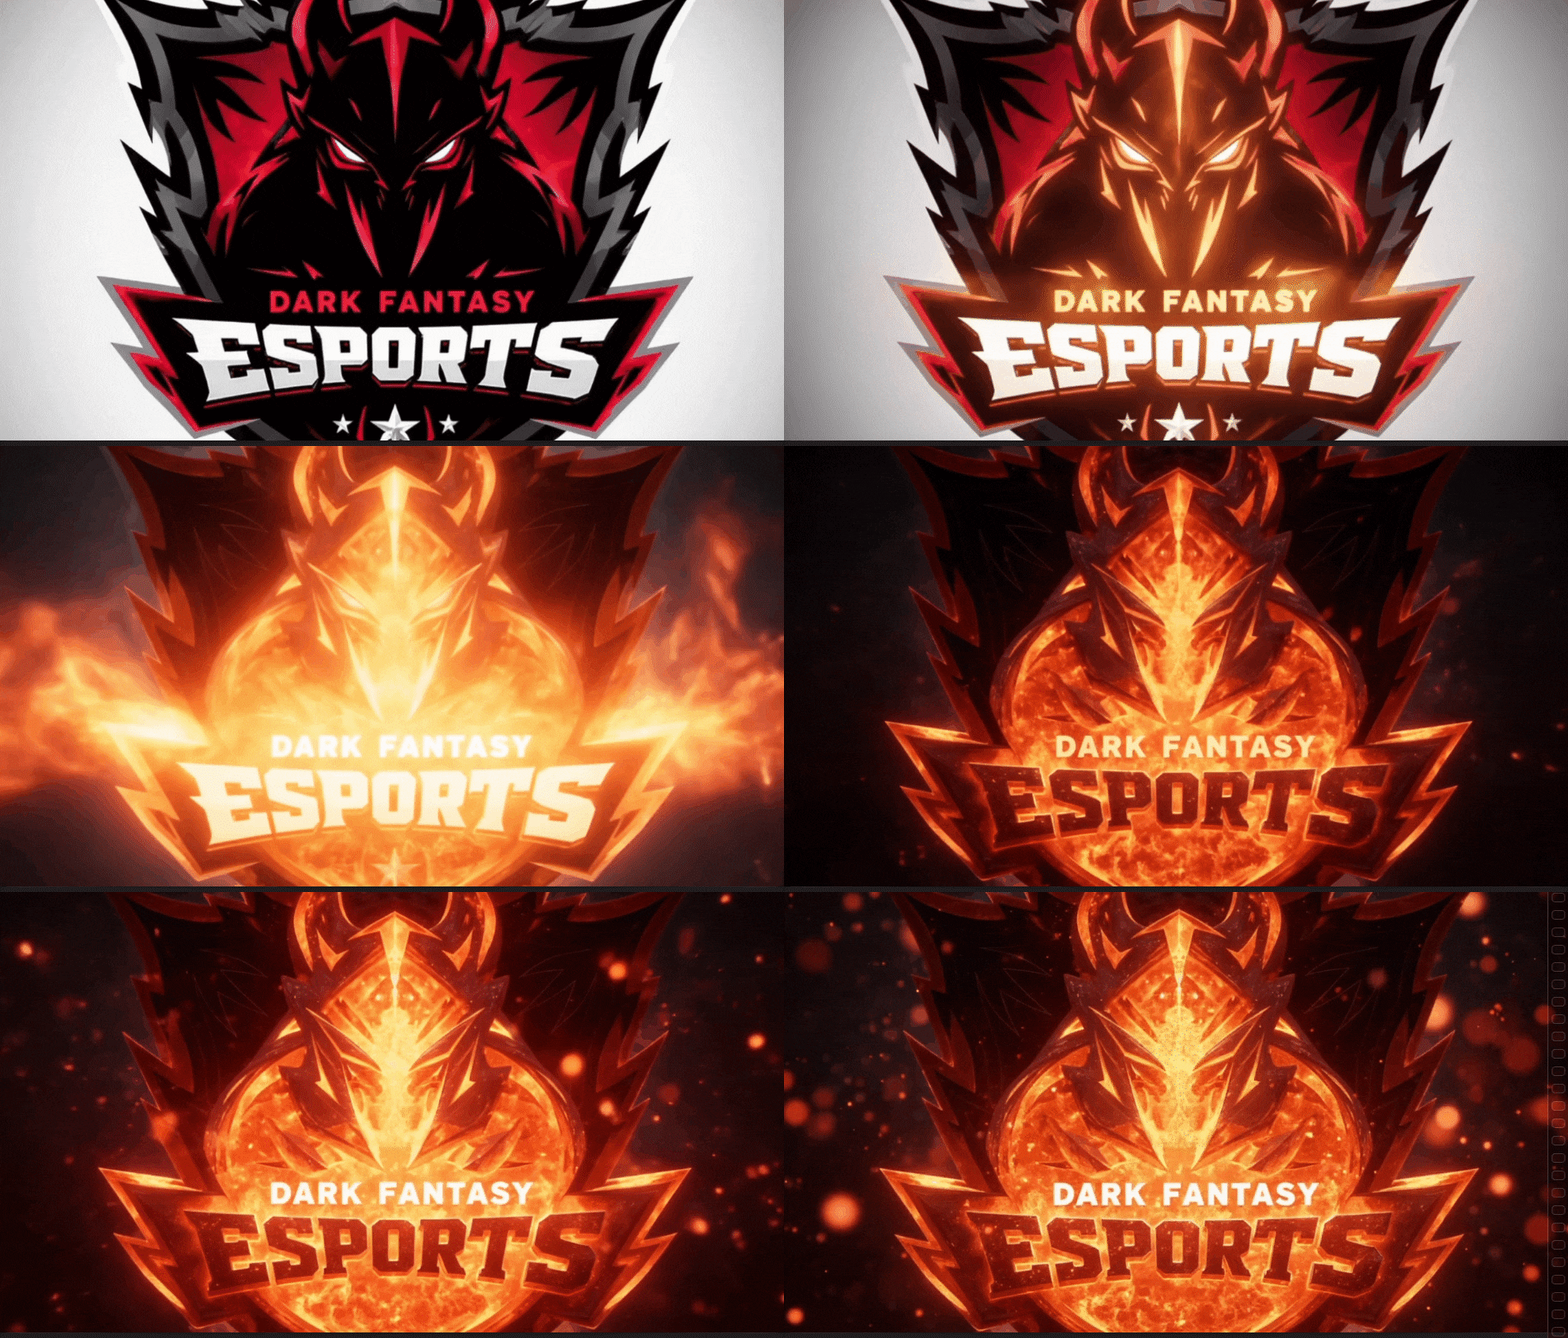
💡 Tip: The "Image to Video" feature also includes a variety of logo reveal templates , allowing you to quickly turn your static Stable Diffusion logo into an animated video. You can preview the generated results before exporting to see how your logo comes to life.
Conclusion
To wrap it up, this article discussed the incredible functionalities of Stable Diffusion logo generation. The article discussed a complete guide on how to generate a compelling logo using this AI model. However, one such tool that provides the ability to animate these logos is Wondershare Filmora. This incredible tool offers extensive functionalities to add a creative flair to your creations.


 100% Security Verified | No Subscription Required | No Malware


