Guide to Personalized Branding Elements Using Filmora

The two basic elements that help with branding are creating a unique logo and staying consistent in brand style. Keep reading the below tips to know how you can edit plain videos to perfection for personal branding using logo animations and lower thirds.
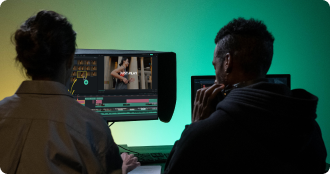
Key Steps of This Video Tutorial To Follow
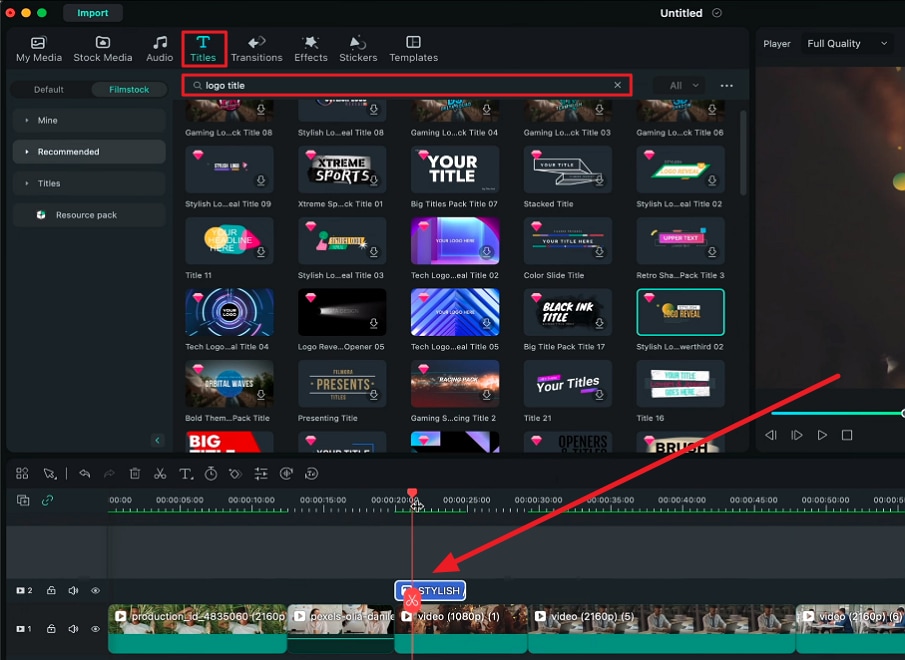
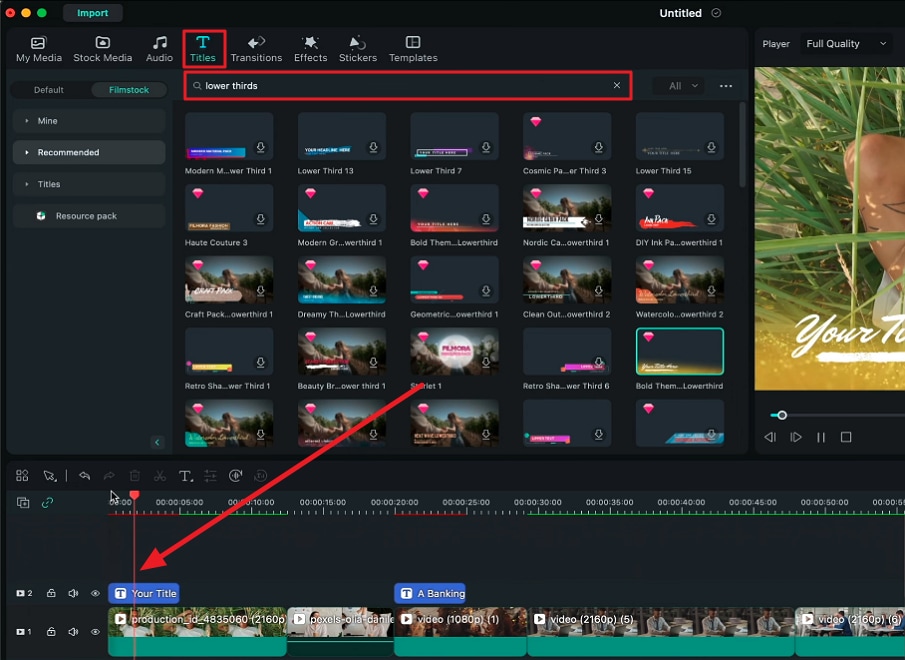
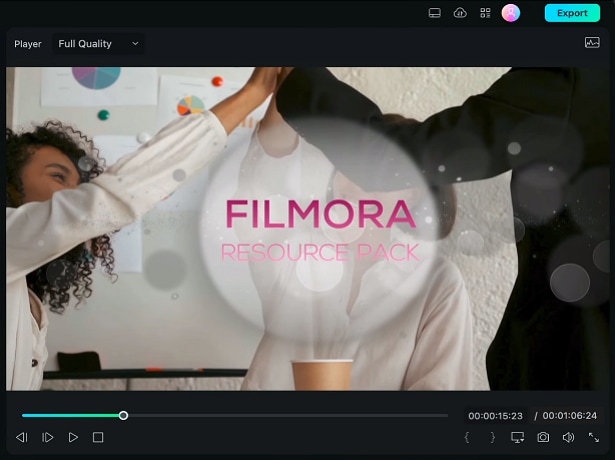
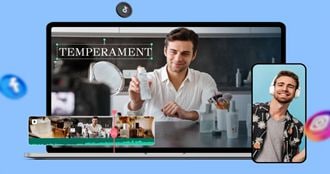
After bringing your media to Filmora's timeline, go to the custom toolbar at the top and access the "Titles" tab. Look for "Logo Titles" in the search bar, choose a logo that aligns with your video and brand colors, and see its preview. If you are satisfied with the preview, bring the title to the timeline above the clip you want to add it to.
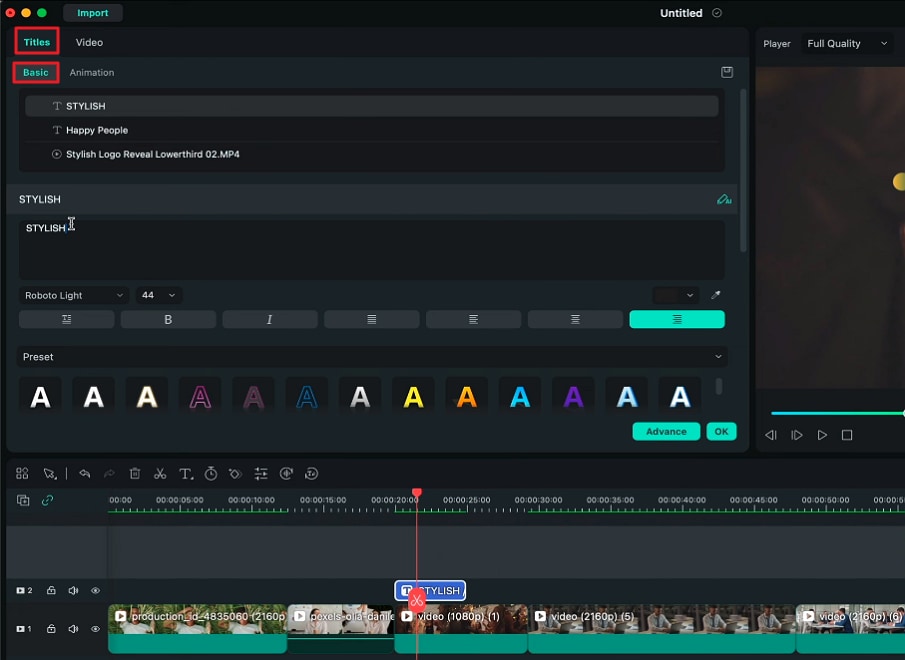
Once you have brought a suitable title to the timeline, select it and navigate toward the "Title" tab on the top-left side. From there, you can customize the size, font color, font style, and other elements of this logo title. You can even use the keyboard arrow keys to move the title on the preview panel and fit it perfectly in the required area.
Along with customizing the logo, you can also customize the logo reveal animation. For this, go to the "Video" settings at the left panel, and under "Animation," select and apply any animation you like.
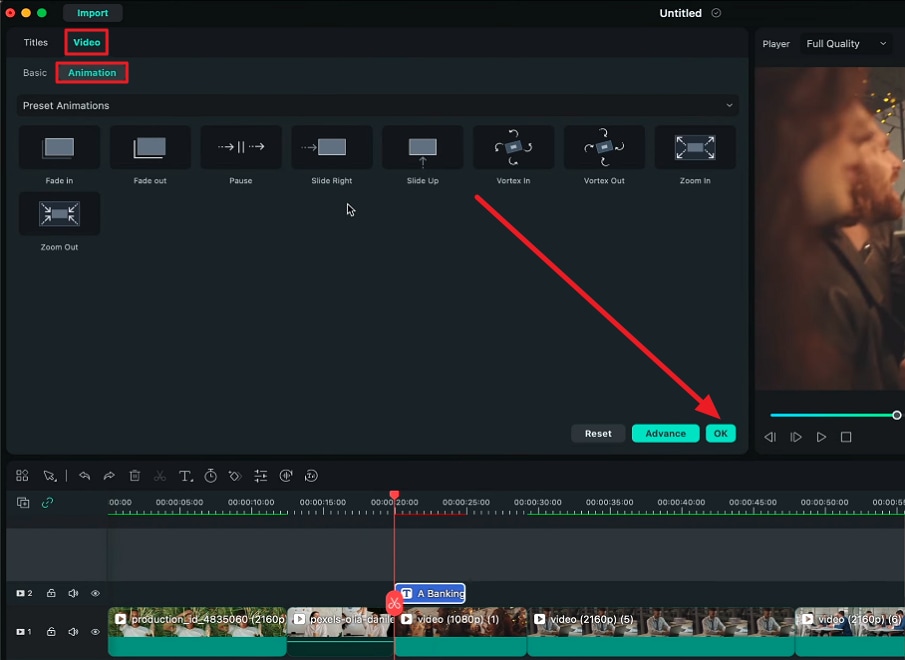
This is not it, as you can not only change an animation style but can also customize it using the "Advance" button at the bottom of animation settings.
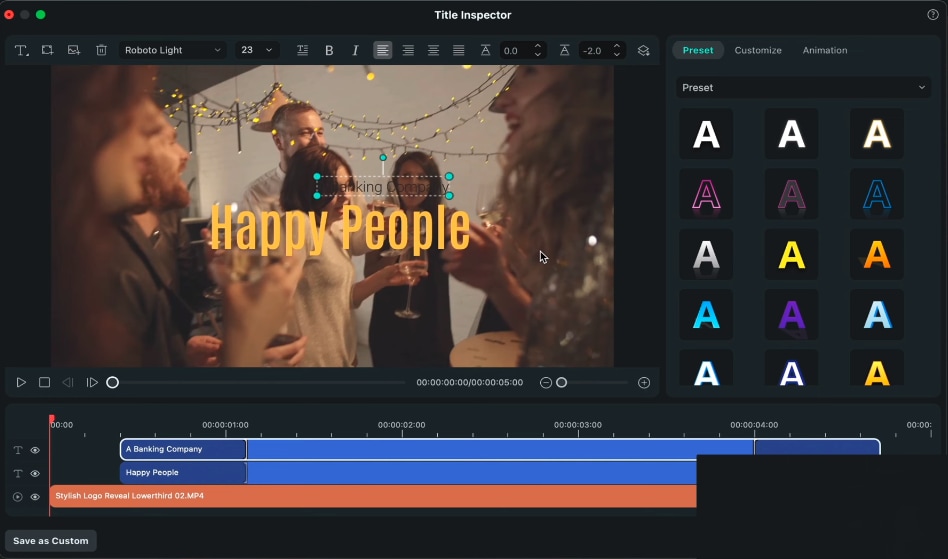
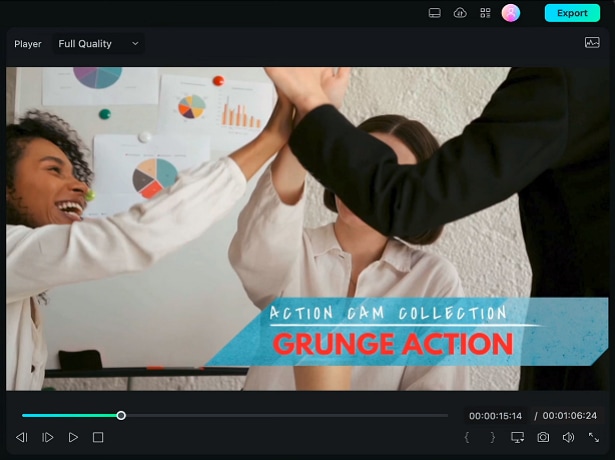
In a similar way, you can add a lower-third animation to your video. For this, search for "lower thirds" in the titles search bar and drag and drop a lower third on the track above your clip. Using a similar process, edit this title.
For establishing a brand's identity, it is important that you add a subtle animation that matches the theme and colors of the video. For instance, if you choose and apply a random animation, it will require some work to align with the video.
However, if you carefully observe and preview an animation, you can find a perfect one from Filmora’s filmstock to align with your video.
This guide focuses viewers’ attention on how personalized branding can establish your reputation and make the videos look attractive. Some brands and organizations even customize the color of their logo according to the video theme for a blended look. With Wondershare Filmora, you can create these amazing logo reveal animations and titles with a customization option.
Josh's Other Filmora Master Lessons


- 01. Understanding Your Audience’s Needs and Tailoring Content >>04:40
- 02. Showcasing Products Creatively with Filmora’s Effects >>04:05
- 03. Editing Techniques for Persuasive Calls-to-Action and Urgency >>04:20
- 04. Seamlessly Incorporating Customer Testimonials and Reviews >>03:21
- 05. Social Media-Ready Edits with Filmora >>04:23
