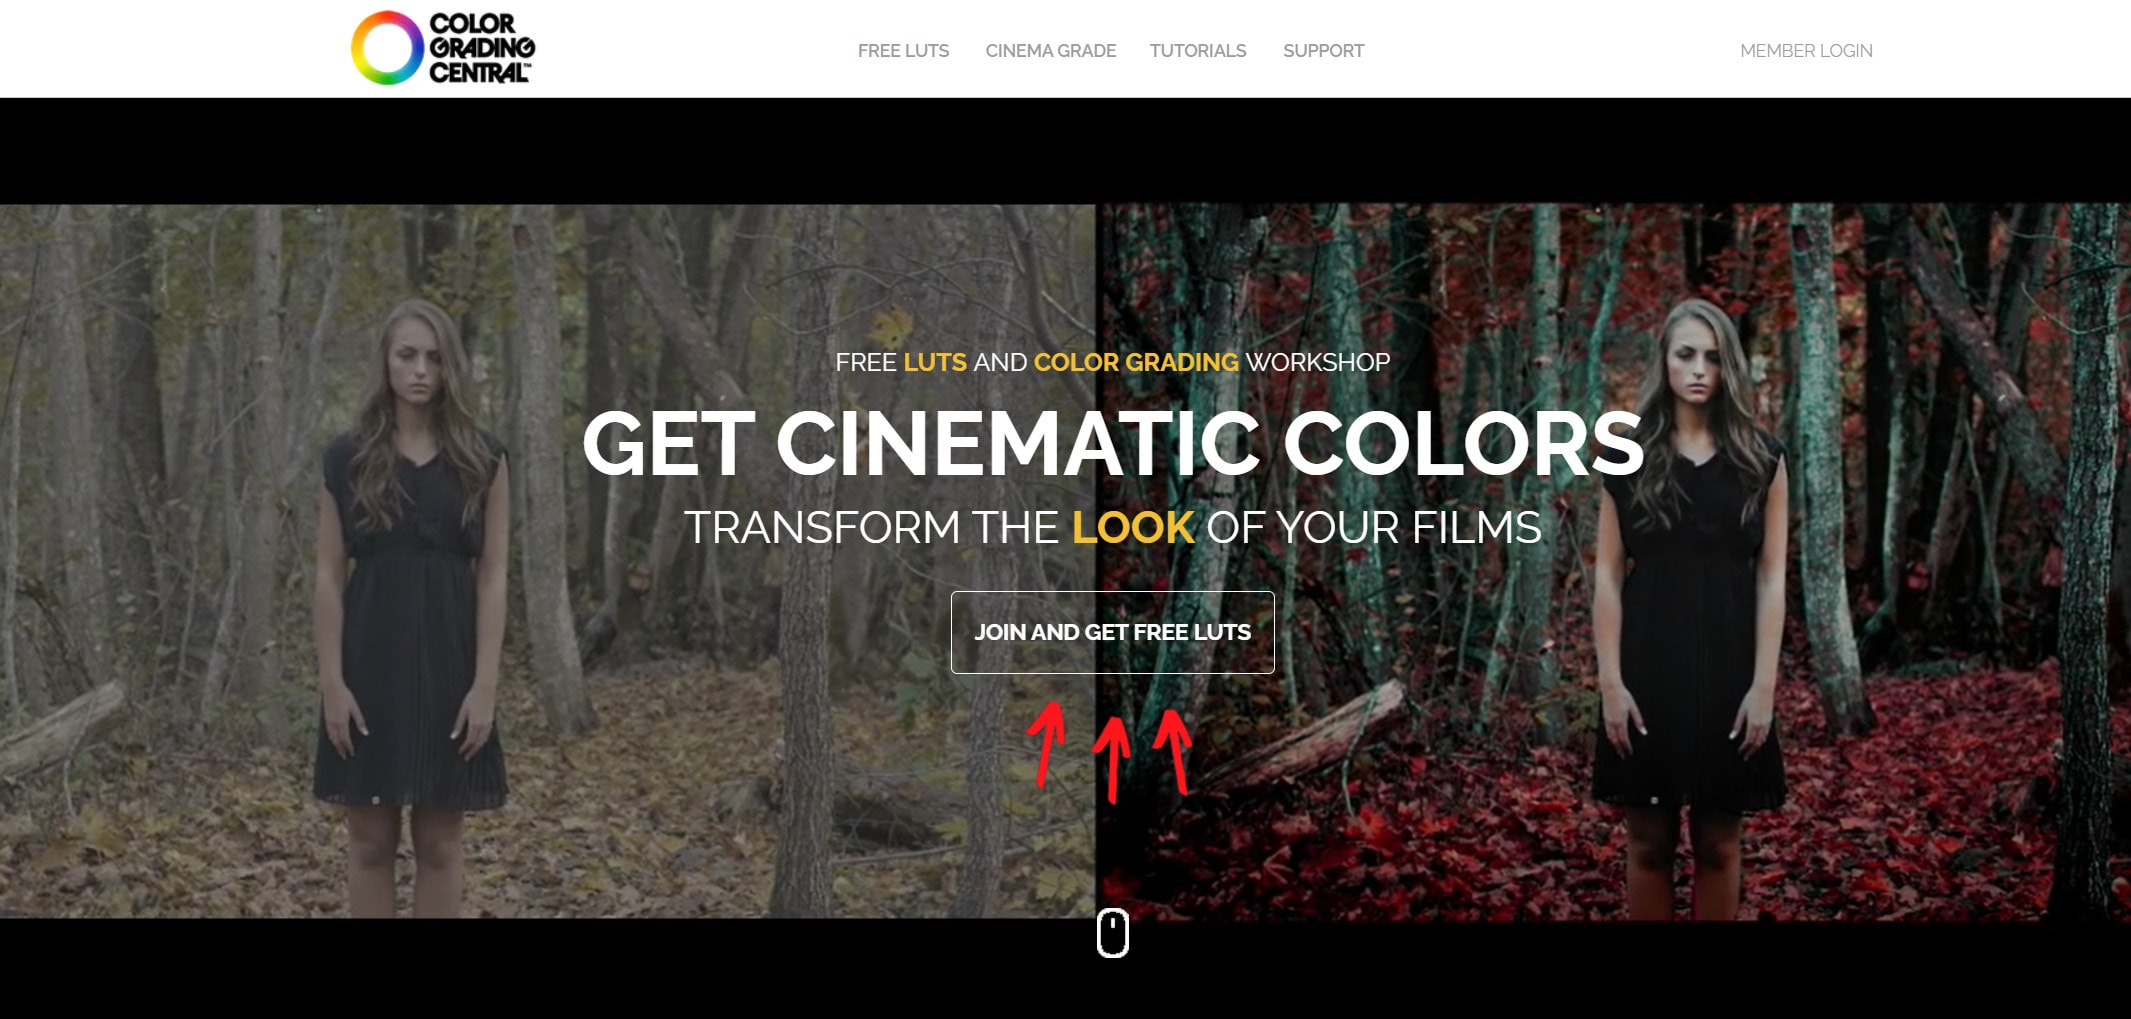
Color Grading Central is a company created by Denver Riddle, who is currently involved in the production of films. LUTs and other video color grading plugins of this company are inspired by some of the best Hollywood movies.
In this article
Part 1. What is color grading central and LUTs (Lookup table)?
Color Grading Central is an online resource that develops color grading video information products and tools. Color Grading Central is an online resource that develops color grading video information products and tools.
LUTs or Look Up Tables are nothing more than a table of numbers that apply a color transformation to an image. However, what makes color gradation LUTs unique is their ability to apply predetermined sets of mathematical formulas to the existing colors of your video to change those colors to achieve the desired result. Now it's possible to accurately imitate all the subtle nuances and color shifts of your favorite movie!
The Color Grading Central LUTs effect is stylish and cinematic.
Part 2. How to use Luts from color grading central to color grading for movies?
Color grading is one way to enhance the look of your shots and serve your narrative vision. That's why many filmmakers, editors, and colorists working on film use Look Up Tables, or LUTs, to store color grades as templates to help speed up the process.
We're letting you know that you don't have to work on the film to use LUTs to help personalize and mark your videos. If you're wondering how you can get started with color grading to speed up your workflow and create better-looking shots for your business, we've got you covered.
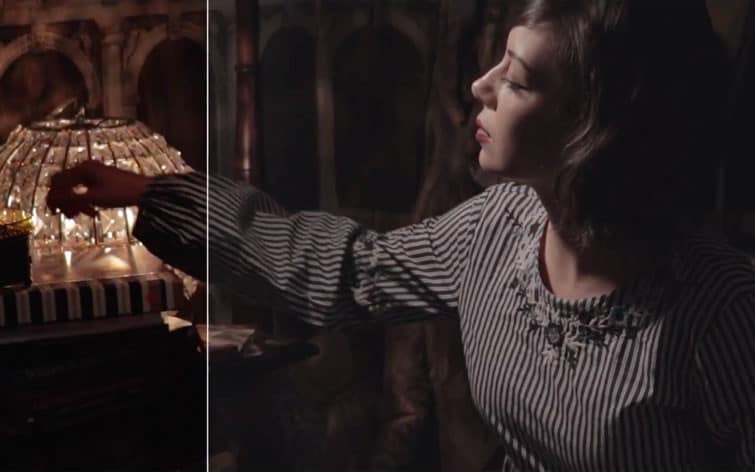
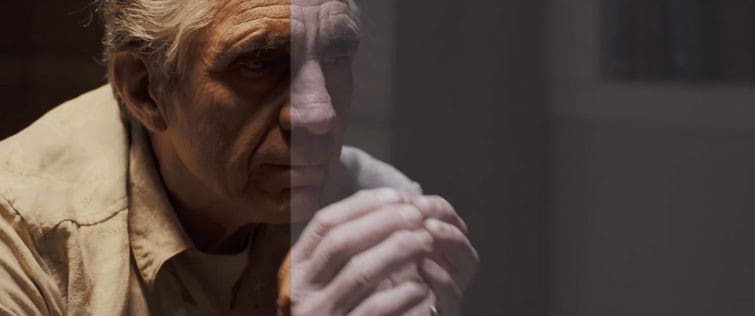
LUTs in Movies
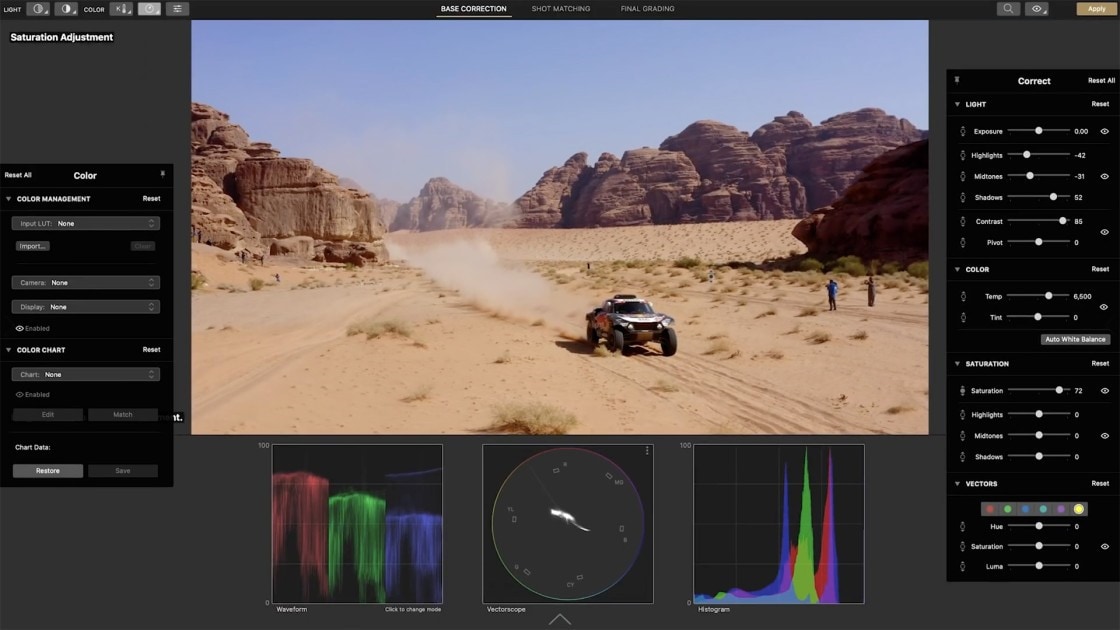
Various LUT types are employed during post-production for color grading and color correction.
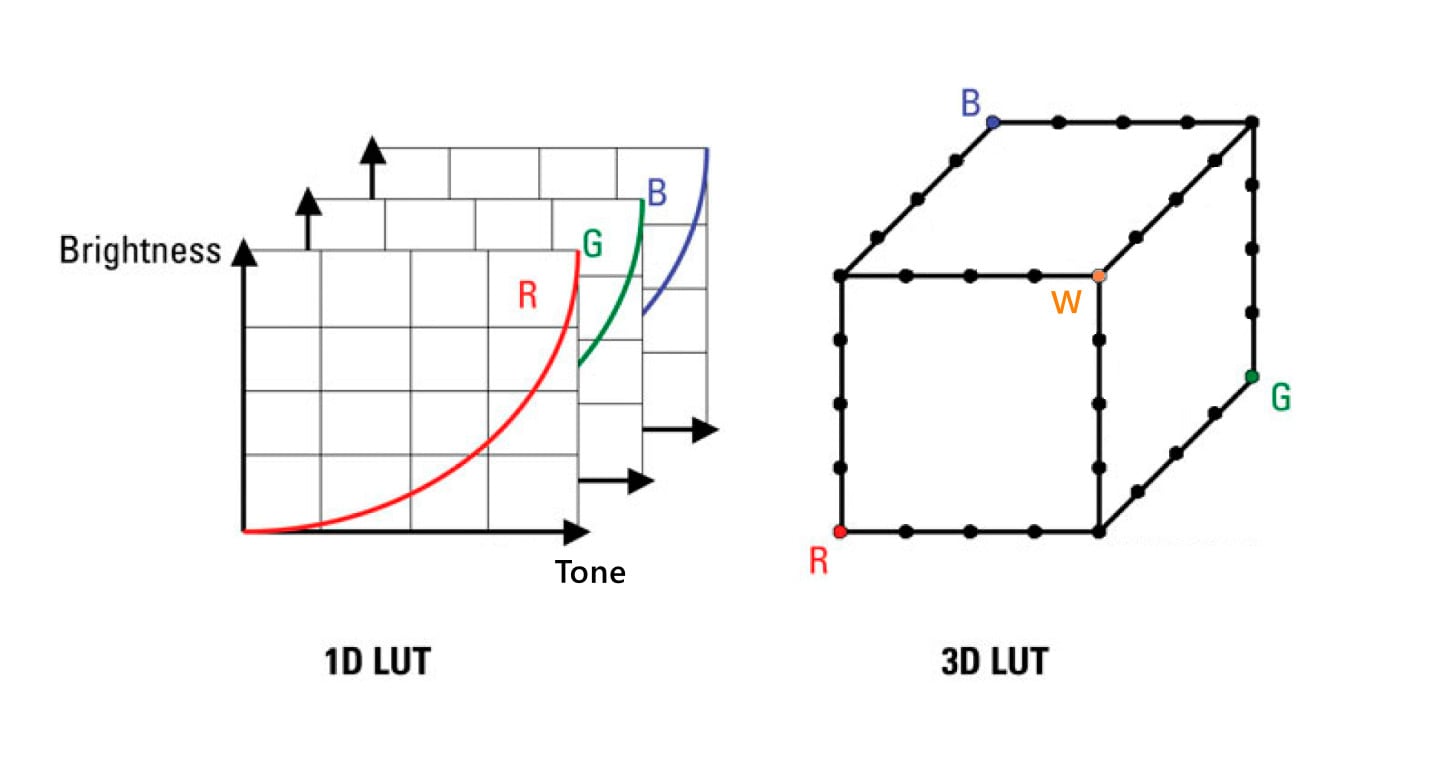
First, the two LUT formats work differently. A 1D LUT (usually. lut format) controls a single parameter, generally gamma. A 1D LUT takes a sort of blanket approach; the adjustment applies to everything in the image without much flexibility. One parameter affects all colors, saturations, and contrast. A 3D LUT (usually a. cube format) has three axes that independently adjust Hue, Saturation, Luminance, Gamma, and Contrast and can change as conditions in the image change. As such, a 3D LUT is much more flexible and powerful and is the only way to achieve a truly cinematic color grade with LUT.
The other two types of LUTs can be either 1D or 3D LUTs, but these days they are most often 3D LUTs. The difference between them is when in the process you use them and for what purpose.
An input or camera LUT used at the beginning of the color correction process adjusts the footage so that the color correction tools work correctly. Color corrected recordings that require an input or camera LUT without one can lead to unexpected and unsatisfactory results.
Conversely, you typically apply a LUT look after you've done color correction and moved on to the color grading phase. Use it to dial in the exact artistic look you want. The Look LUT contains instructions to create a predetermined desired look for your shots, which can be an incredible time saver in the color grading process.
Always colorize an appearance LUT correctly before applying it, as appearance LUTs assume an underlying natural color. If you don't, you may not see the results that the LUT is supposed to give you.
LUTs are specially designed for different recording types – LOG, RAW, Rec.709, Rec.2020, HDR, and more. You can apply any LUT to any footage, but if you apply a LUT designed for a specific type of footage to another type, you can end up with a very different look than what you expected. But then it can also give you a result you like, so you are free to experiment as you wish. LUTs are non-destructive, so you can load and delete them at will.
Many camera manufacturers, software companies, and independent producers offer downloadable LUTs or LUT packs. They often design these skins for specific purposes, such as color correcting footage captured by their cameras or to mimic signature skins seen in movies and TV shows. These skins can give you exactly the color class you want, or you can use them and keep tweaking and tweaking to get the perfect look.
Part 3. Free LUTs sources
Cinematic LUTs are pre-saved settings that make color grading easy and efficient, allowing you to enhance your videos with just a few clicks. By using a color tinting effect, changing the brightness of the video, or richer colors, you will achieve professional results in no time, regardless of the software product you are using.
LUTs are shared in the .cube file format, which is supported by the most popular video editors, such as DaVinci Resolve, Premiere Pro CC, After Effects CC, and Sony Vegas.
1. Ground Control Color: 13 Free LUTs
Ground Control Color specializes in creating color LUTs for different cameras and recording formats. In addition to having an impressive line of products, they also give away a great selection of thirteen free LUTs for video editors.
From the "Free LUTs" page, users can download ten free conversion LUTs and three stylistic color LUTs.
2. Color Grading Central: 7 Free LUTs, Color Presets, and Grains
If you're a budding colorist or video editor who takes color seriously, you should know about Color Grading Central. CGC specializes in all things color grading.
From grain to LUTs, their website is a good place to find lots of excellent color-related products. They also happen to be giving away tons of free color sorting resources to their email subscribers. Some LUTs also have free samples available so you can try them before you buy.
In addition to giving away seven free color LUTs, they're also giving away an assortment of color presets, grains, and proposals just for their email list.
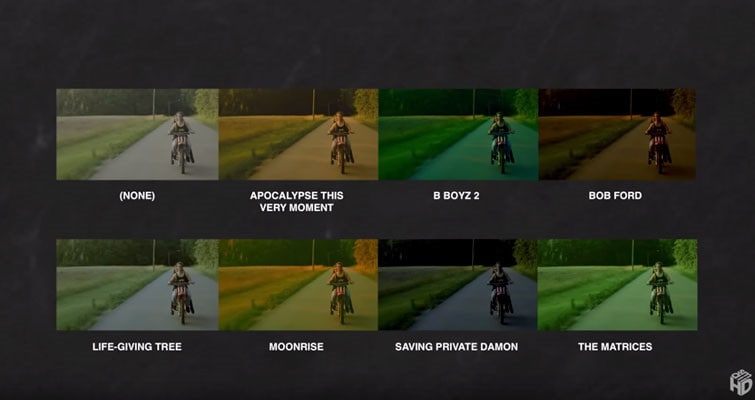
3. SmallHD: 7 Free LUTs
If you're not already familiar with SmallHD, the company is primarily focused on creating some of the best portable monitors in the world. They also provide free LUTs for real-time on-site monitoring.
This free pack of Movie Look LUTs draws inspiration from seven modern movies, including the warmth of Apocalypse Now and the green undertones of The Matrix.
If you want to add a dramatic and cinematic feel to your footage, use this free LUT pack from SmallHD.
4. Frank Glencairn: Free Vintage LUT
Despite having the latest filmmaking technology at our fingertips, there is something about the old film look that looks amazing.
Frank Glencairn created a great K-Tone LUT designed to mimic the style of vintage Kodachrome film. Once widely used by photographers and filmmakers, this film grade has fallen out of favor with the rise of digital cameras.
Now you can replicate the look with retro-looking reds, blues, and yellows with this free LUT.
5. Lutify.me: 7 Free Luts
Ok, so the LUTs included in this pack require a few extra steps to download. Lutify requires you to sign up for a 14-day trial of LUTs Previewer.
The good news is that you can register, download the LUT, and then cancel. Or hey, who knows, you might even like their software offering and stick with the program.

Part 4. How to do color grading in Filmora?
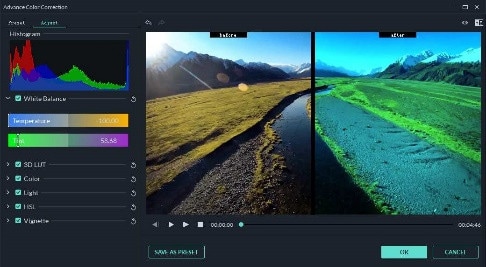
With the most recent technology, Filmora is unquestionably an indispensable tool and can do more than just edit. Users may easily put audio and video over the clip while merging various clips, setting range markers, and more with this editor.Here is a step-by-step guide to using the various effects used in Filmora's color grading panel.
By clicking "Effect" and choosing "LUT", where you can examine a range of preset LUT packages, it is simple to apply some fixed LUTs directly in order to create the appearance of fantastic effects. Drag and drop the objects straight onto the timeline video clip to finish modifying the color of your entire film.

Of course, if you're still dissatisfied with the result you may select "Advanced" for a more subtle color correction. White Balance, Vignette, and Enhancement are some of Adjust features. You can also choose a more precise pre-made configuration from the Preset option.
Conclusion
In summary, we've seen some different color grading LUTs that simplify the color grading process. However, Filmora Pro remains the best because no converter can beat its excellent color correction tool and convincing features of vignette, light, and flare, etc.