

 ChatGPT
 Perplexity
 Gemini
 Claude
 Grok
Grok
Are you eager to make unique masterpieces out of the recorded videos? Here is the best video editor you should try, the Wondershare Filmora. Whether you are a social media marketer or a content creator, Filmora helps you trim any video with easy tools and marvelous effects. It enables you to express your ideas while designing each frame properly and emotionally.
So, without further ado, let's take your edits to the next level and showcase your unique style to trim video.
In this article
Part 1: Explore the Fundamental Concept of Filmora as a Video Trimmer
Getting a software program to trim videos can be a hassle if you search for a tool that can do an effortless job. What if we tell you that you can do it with Wondershare Filmora? Because on this platform, you can't make trimming your videos a simple task, but with its advanced features, you can mesmerize the audience. Now, you must be wondering what this tool actually has. To provide you with your answers, we are sharing its fundamental concept. So, simply have a look!
Key features:
Video Trimming Functionality: Its video trimming functionality allows you to trim your video by picking the desired starting and ending positions. Moreover, the Split/Trim/Cut tool helps you accurately cut clips into segments, smooth the removal of unwanted sections, and create seamless transitions between scenes.
Transitions: Transitions are important to maintain viewer engagement. And, with its diverse selection of transitions, fades, and zooms, and its customization with duration and style, you can enhance the overall professional quality of the video.
Performance and Export Options: Wondershare Filmora is optimized for performance and supports high-resolution video editing without any slowdown. Its wide range of video formats and resolutions makes it versatile for various devices and platforms. In addition, it has customized export settings such as resolution, bitrate, and file format to ensure optimal playback quality on different viewing platforms.
Community and Support: Filmora promotes a supportive community for users through online forums, tutorials, and customer support. So as a beginner, you can easily go through guides and video tutorials to learn the basics of video editing. On the other hand, professionals can take advantage of updates and technical assistance from Filmora's support team.
Well, we can consider Wondershare Filmora to be the best program to cut MOV, MKV, and other video formats without losing quality.
Learn how to split YouTube videos as well.
Filmora for Mobile Filmora for Mobile Filmora for Mobile Filmora for Mobile Filmora for Mobile
Edit Videos on Your Mobile Phone with 1-Click!
- • Powerful Brand New AI Features.
- • User-friendly video editing for beginners.
- • Full-featured video editing for professional.


Part 2: Step-by-Step Guide to Trimming Video Without Losing Quality Using Filmora
Now that you are aware of the concept of Wondershare Filmora, let's move forward to get a step-by-step guide to show you how to trim videos like MOV files without losing quality. This instruction will help you trim video length with ease. So, let us get started on it without any delay.
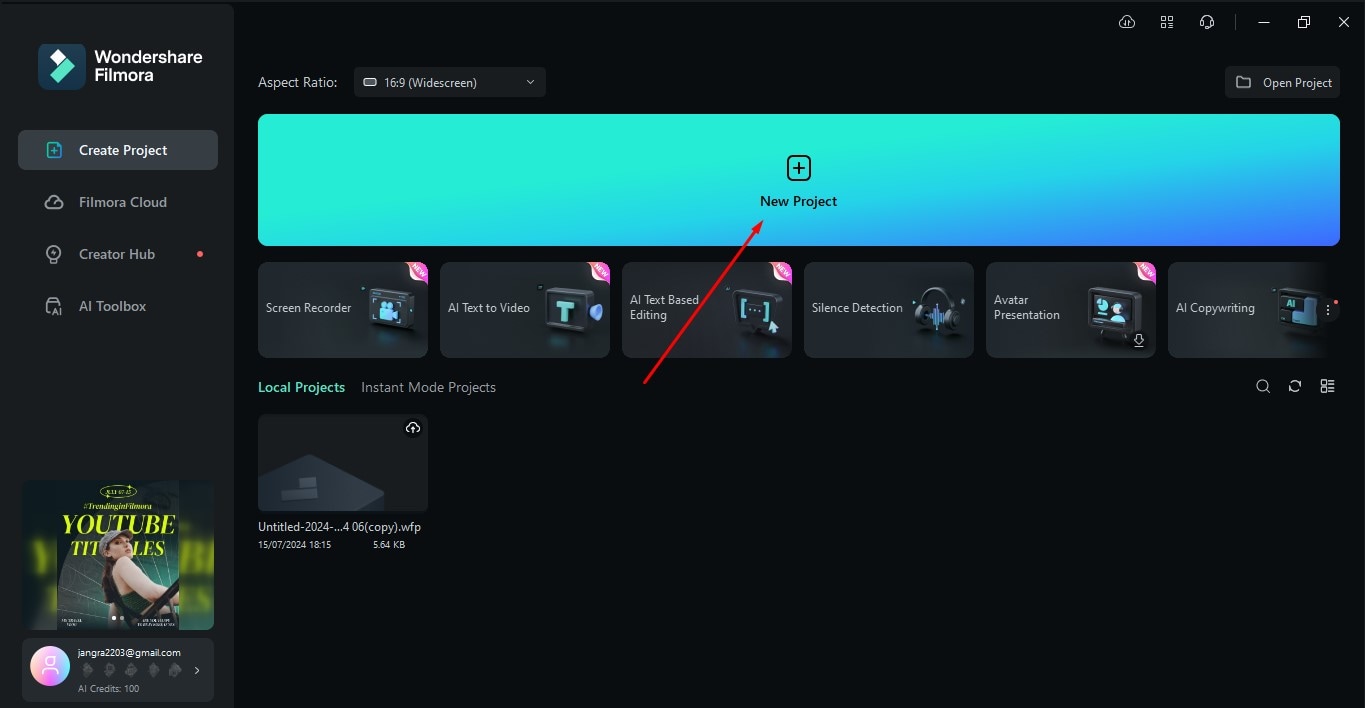
Step1Download and Install Filmora
Open Wondershare on your device and select New Project to trim the video.

 secure download

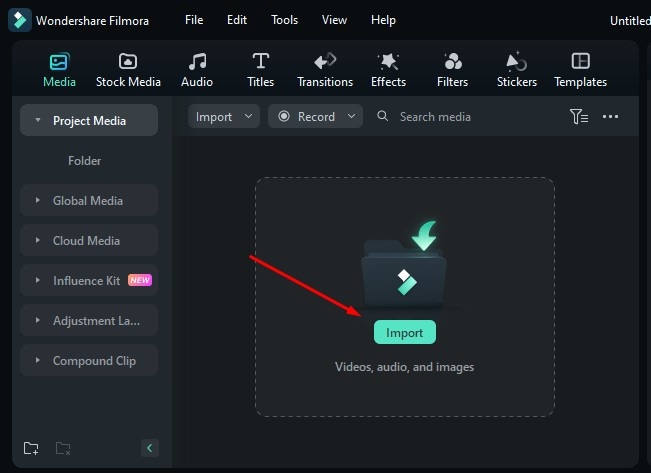
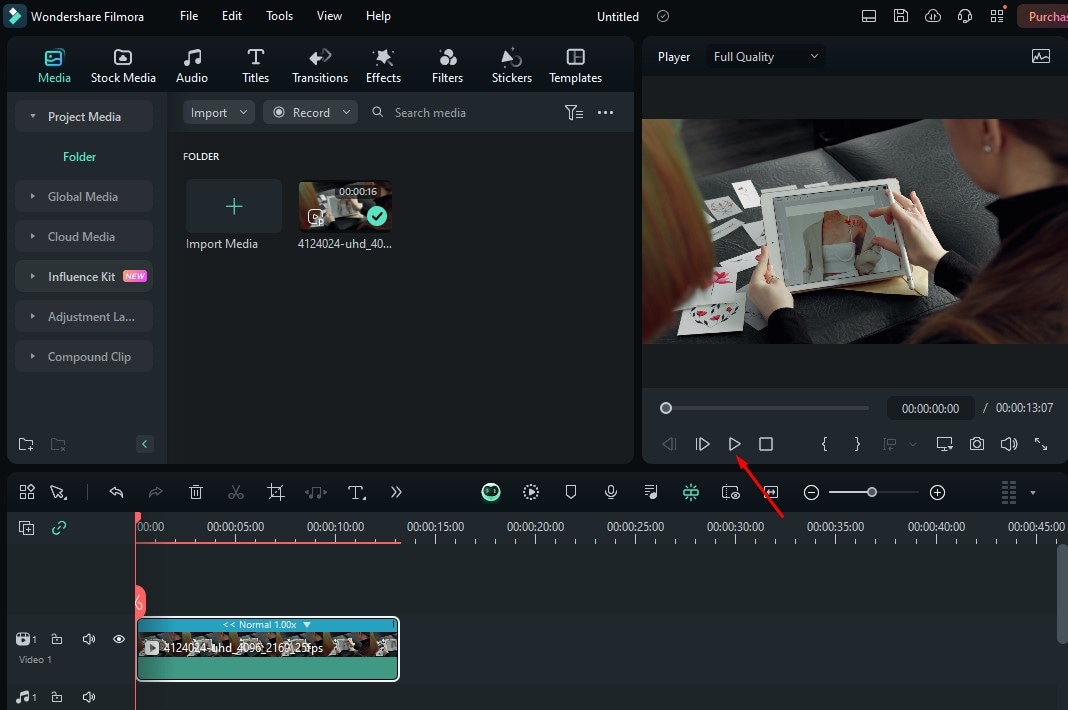
Step2Import your video clips
You will be directed to a page where you will get the option to Import. Click Import, and select the video you want to trim.
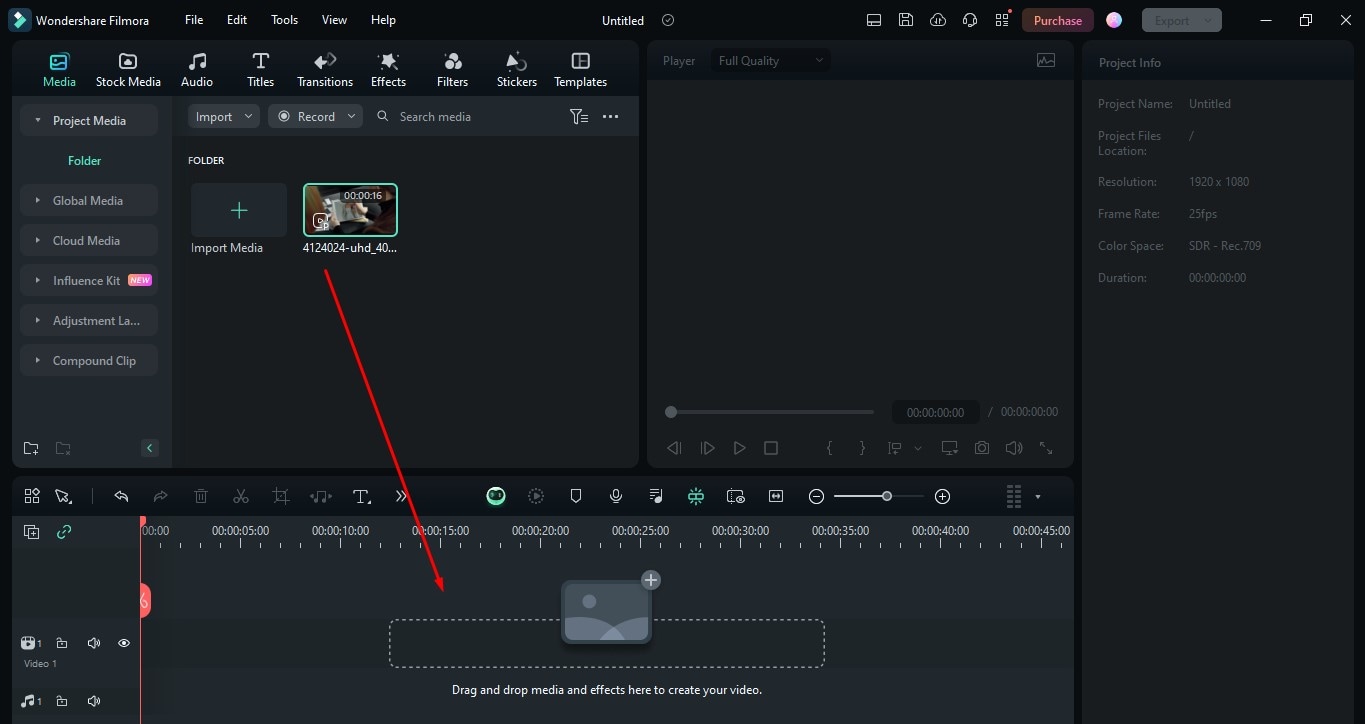
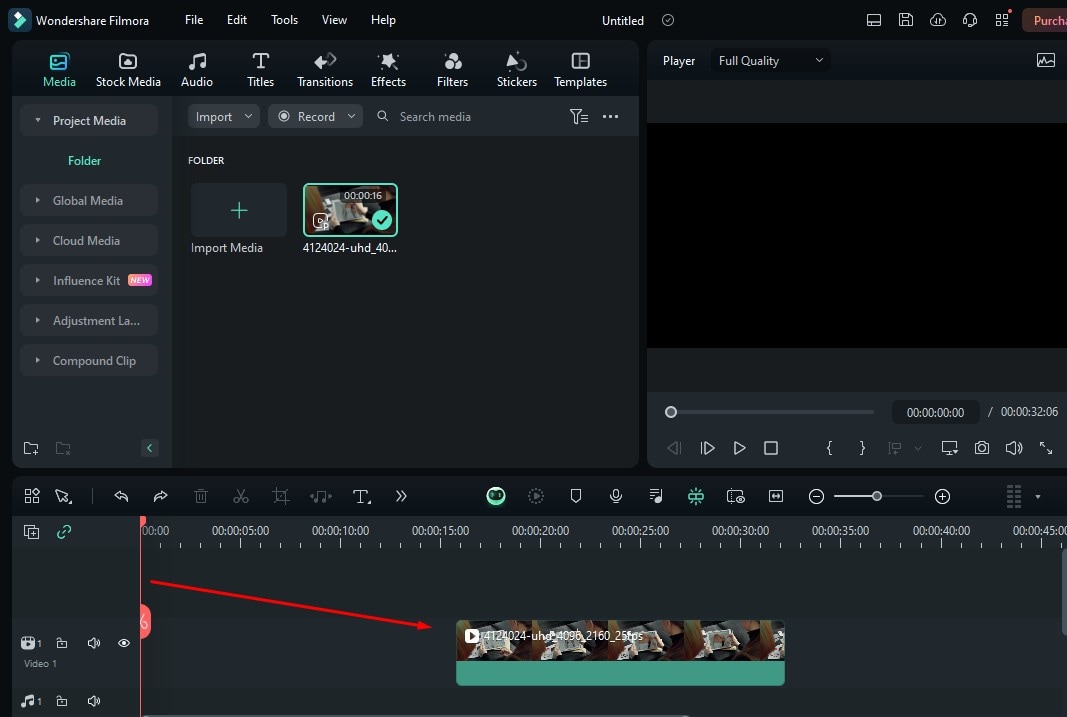
Step3Simply drag and drop the video to do edits
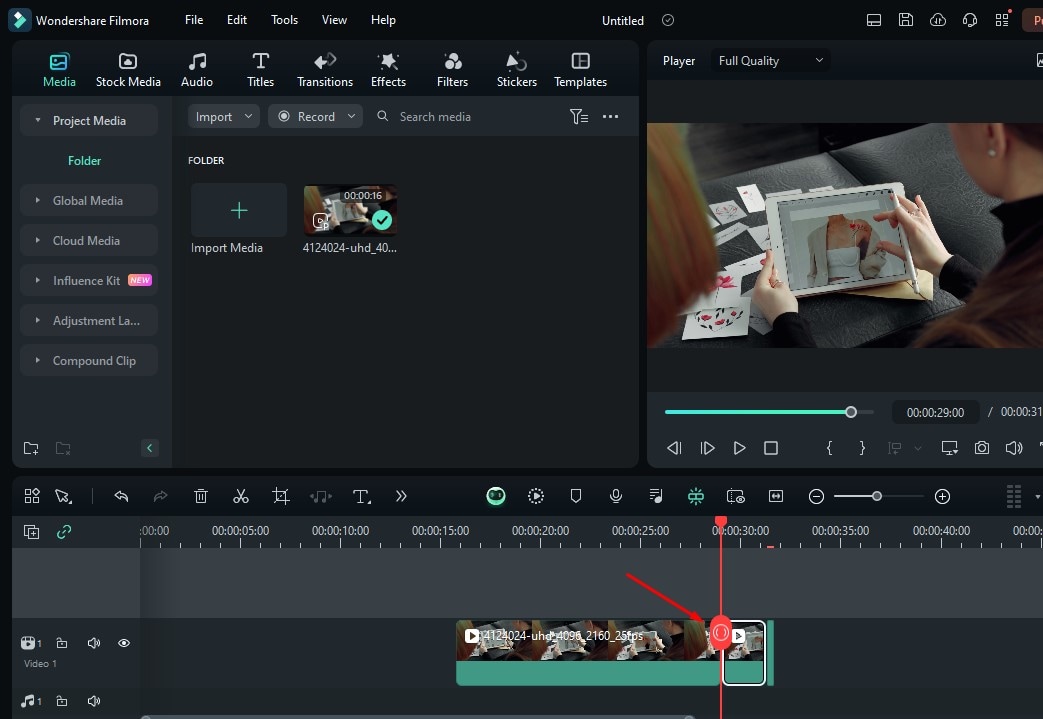
Step4Place a red vertical cursor on the part of the video to trim
Step5Trim the video
Once you place the red cursor, just right-click. Then select Trim Start to Playhead or Trim End to Playhead, as you need.

Step6Split your video with the cursor as well
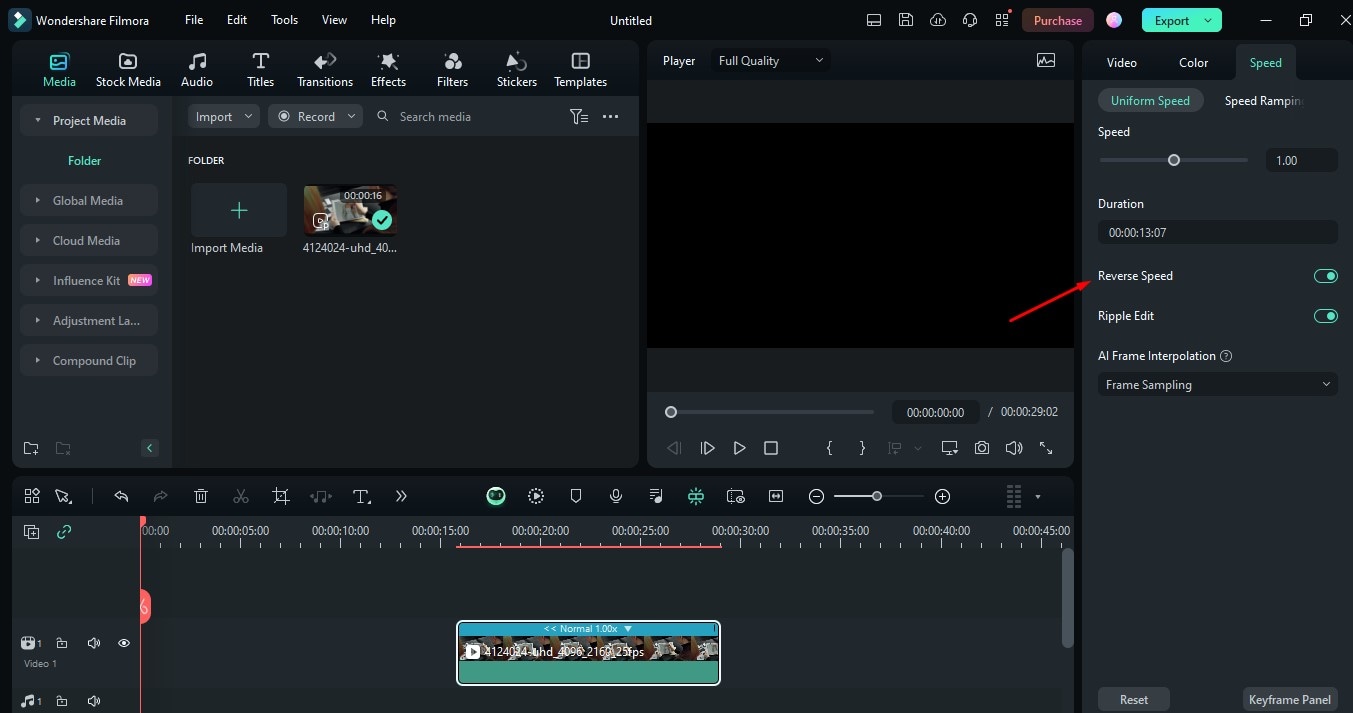
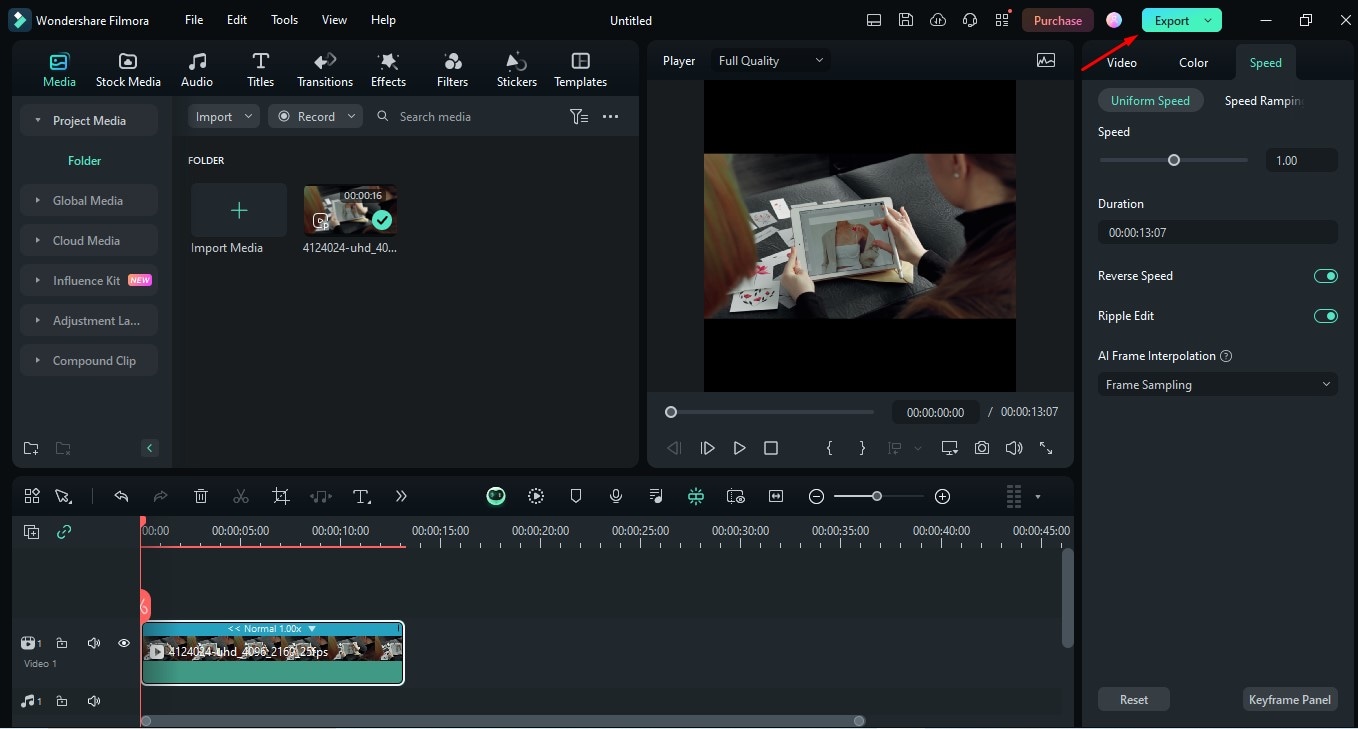
Step7Reverse the speed
Click on the Reverse Speed button that appears on the right side of the page.
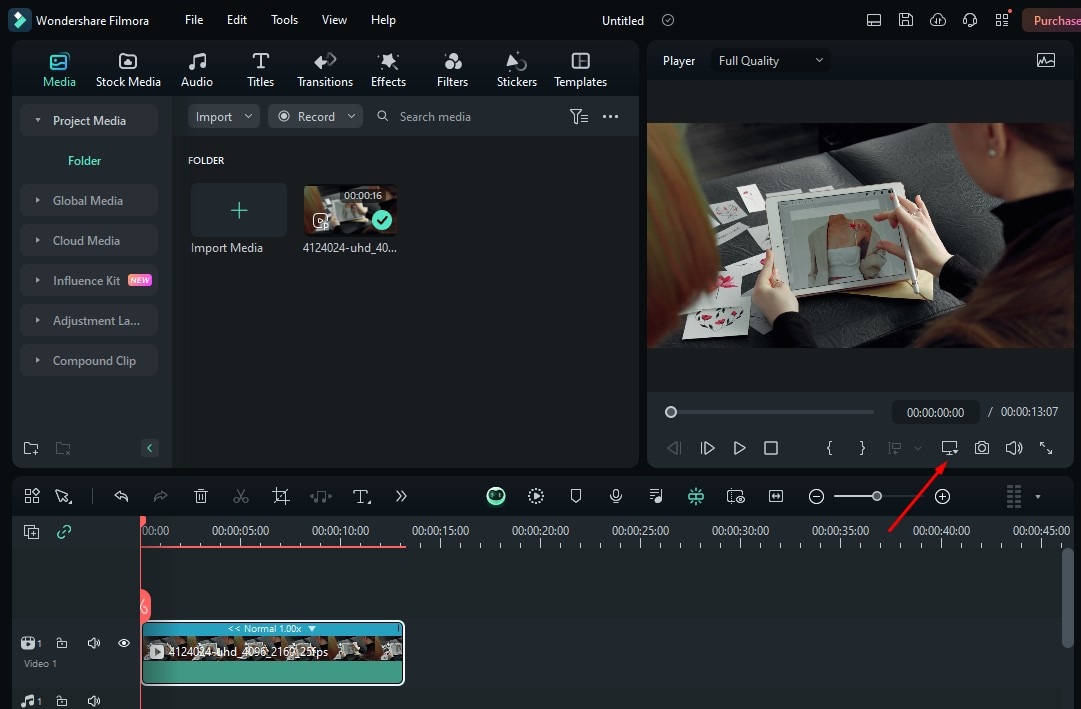
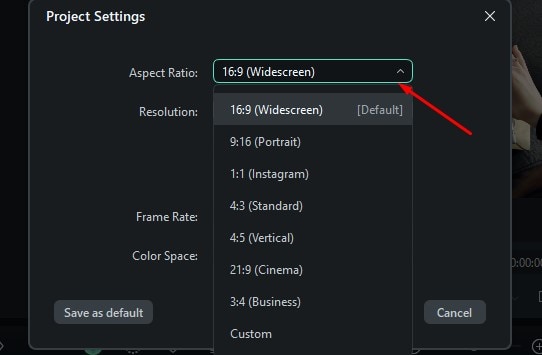
Step8Change the aspect ratio
If you want to change the aspect ratio and resolution, click on the Settings button shown in the image. Select the option Change Project Aspect Ratio.
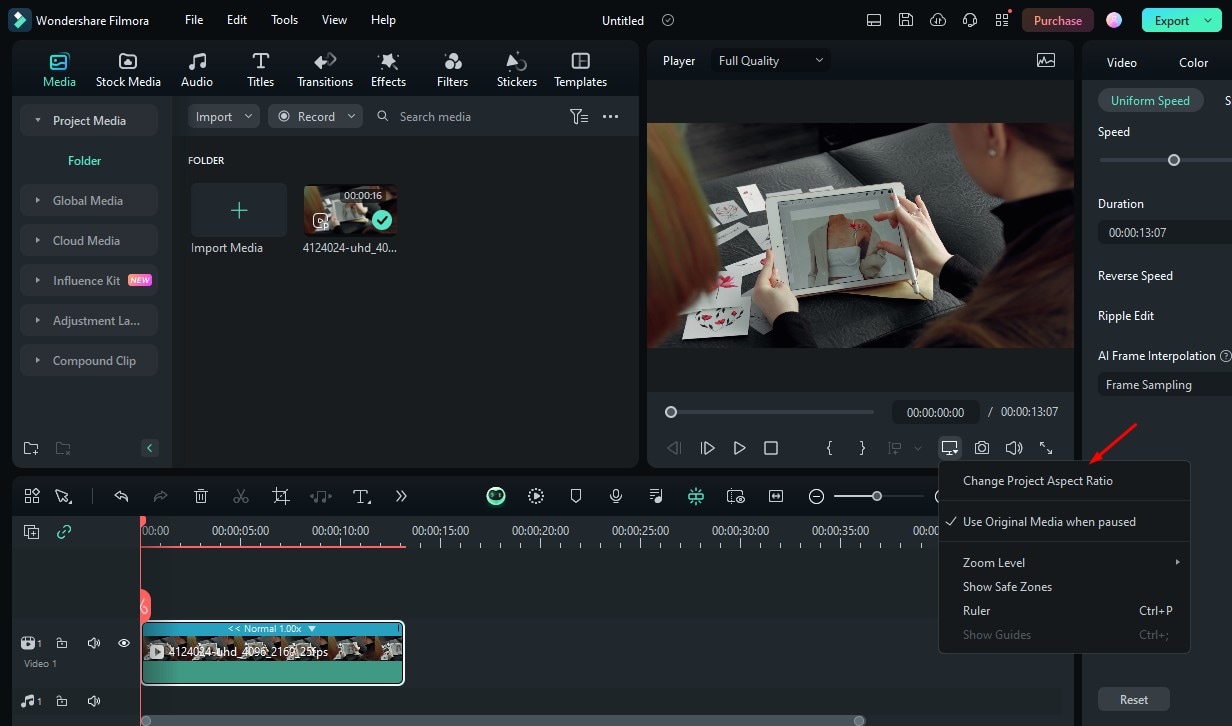
Here, you get many options to change the Aspect Ratio. If you want to post the video on Instagram, select the Instagram option.
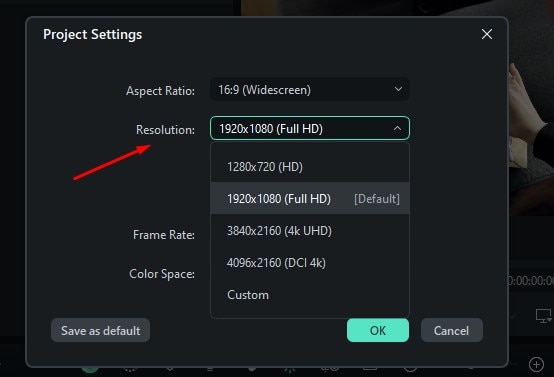
Step9Change the Resolution
As you have several optionsto change the Resolution, click on the option you require.
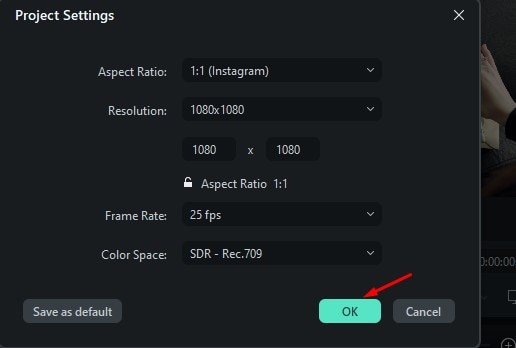
Step10Save the change
Once you have selected the desired Aspect Ratio and Resolution, click OK to save the changes.
Step11Preview the video
Click on the Play button to view the changes you made in the video.
Step12Export the clips
After the completion of the editing task, Click on Export to save your video.
Part 3: How to Use Advanced Editing Features after Trimming Your Video
If you want to make your video more mesmerizing, then you don't have to use another tool. Wondershare Filmora provides many advanced features so that all your worries fade out. Want to learn about these, then go through the information mentioned below:
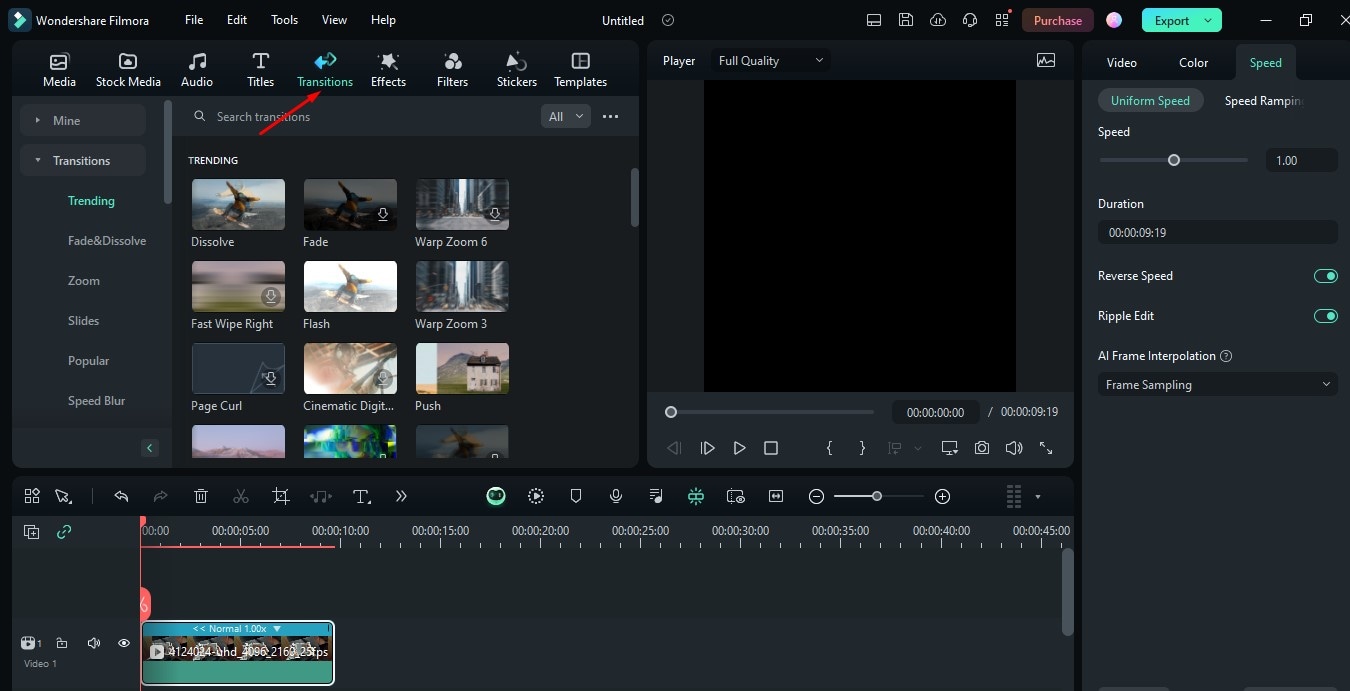
Transitions/Effects/Filters/Stickers
Wondershare Filmora offers you a wide range of transitions, effects, filters, and stickers to spice up your video. So, you can choose, as per your taste, to give your video a unique touch after trimming.
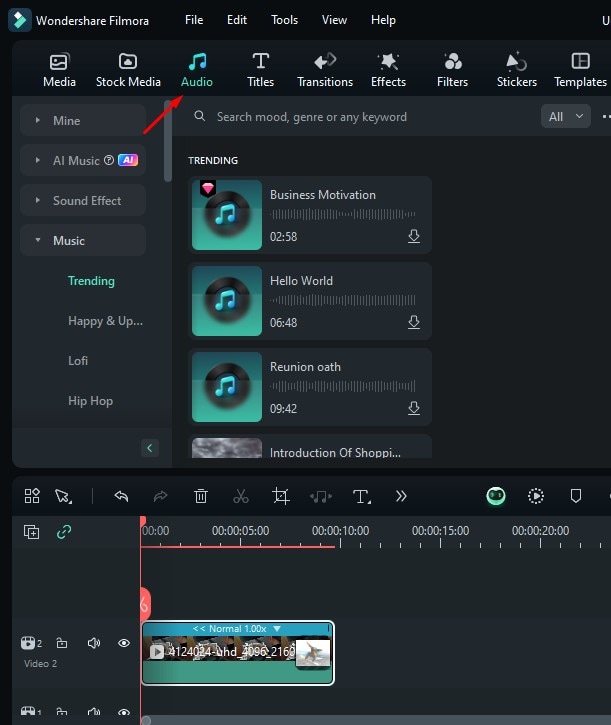
Audio
If you are looking for a movie maker after knowing how to trim video to edit audio, then Wondershare Filmora helps to create magic by providing clarity in sound. It also offers a wide range of sound effects and music when you click on theAudio option. Here we have shown it by providing an image. Simply apply it according to your needs.
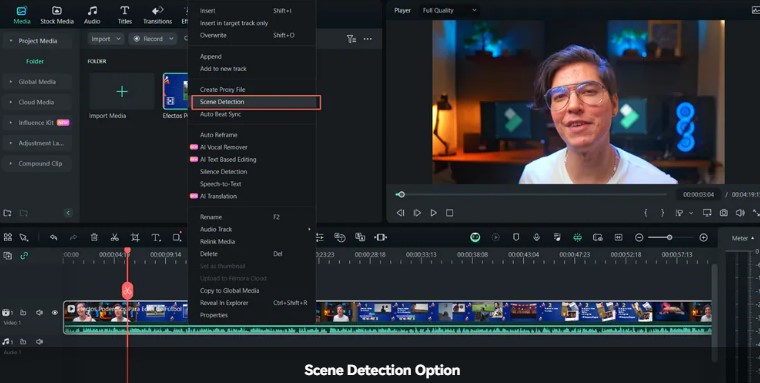
Scene Detection
One of the advanced features that Wondershare Filmora offers is Silence Detection. With this feature, you can automatically split a video into parts by identifying the transitions between shots in the video. It saves you time and effort and provides short clips in large videos with ease.
🤩 Post You Might Be Interested In:
- Kapwing Video Trimmer Review: Is It Worth the Hype?
- Steps to Trim, Cut, Crop, or Split Video on iPhone
Conclusion
Hope, with the help of this article, you have gained insights into the fundamental concept of using Wondrshare Filmora to trim video. To make it convenient for you, we have also explained a step-by-step guide to using it correctly to help you save time and effort. However, if you want to make magic with the visualization of your videos, you can use its advanced features. Though numerous video trimmers are available in the digital world, Filmora has its own uniqueness. So, simply try it on your own to create magic in your videos.
secure download
