

 100% Security Verified | No Subscription Required | No Malware

 TL;DR:
Beginners can effectively start cartoon sketch drawing by constructing characters with basic geometric foundations—specifically a circle for the head and an overlapping pear shape for the body—before adding expressive details.
● Outline the initial character structure and facial guidelines lightly, then trace the final contours using a softer B4, B6, or HB pencil before erasing the preliminary lines and applying graphite shading.
● Source free practice printables from Freepik or premium high-resolution vectors from Shutterstock, and study specific techniques via YouTube channels like Draw So Cute for beginner shapes or Mark Crilley for advanced anatomy.
● Animate static pencil sketches using Wondershare Filmora (compatible with Windows 7+ and macOS 10.14+) by leveraging its built-in Sketch Effect, Chroma key background replacement, and Color Match tools.
Ask AI for a summary
 ChatGPT
 Perplexity
 Gemini
 Claude
 Grok
Grok
Cartoon sketch drawing is a learnable skill, not a talent you either have or don't. Almost every cartoon character you can name is built from the same two shapes—a circle for the head and a pear for the body—and the rest is placement, line quality, and repetition.
By the end of this guide you will have drawn a complete cartoon rabbit in eight pencil steps, and you will know the underlying shape system well enough to build a character of your own. No prior drawing experience is needed.
What you will learn:
- The two base shapes behind most cartoon characters.
- How guidelines stop eyes, noses, and mouths from drifting out of place.
- A full eight-step rabbit drawing, from the first circle to final shading.
- Which pencils and erasers actually matter for a beginner.
- How to turn a finished pencil sketch into a moving video.

Basics Start With Two Shapes
Before you copy a single step, understand the structure underneath it. Cartoon drawing simplifies anatomy into a small set of readable forms, and for a beginner character sketch two of them carry most of the weight:
- A circle for the head. Keep it clean and light—it is a construction mark, not a final line.
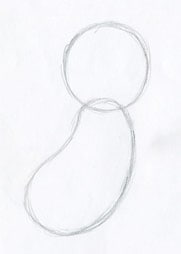
- A pear for the body. The lower half of the pear is wider than the top, and the upper half overlaps the head circle slightly. That overlap is what makes the head and body read as one connected figure instead of two stacked shapes.
Once those two forms are on the page, you place a face on it. That is the whole method—every step below is detail work layered on top of it.
Supplies Tools and Supplies for Your First Sketch
You do not need a full studio kit. Four things will take you through this entire tutorial:
- Hard pencil (HB or 2H). For light construction lines you can erase without smudging the paper.
- Soft pencil (2B, 4B, or 6B). For the final outline and shading—softer grades lay down darker graphite with less pressure.
- Eraser (kneaded and pencil-type). Kneaded erasers lift graphite without tearing paper; pencil erasers reach small areas.
- Smooth sketch paper. Textured paper eats fine lines, which makes learning harder than it needs to be.
Why pencil grades matter. Pencil grades run from H (hard, light) through HB (middle) to B (soft, dark). Beginners usually press too hard with a hard pencil and dent the page. Use a light hand with the HB for construction, and let a soft grade like 4B or 6B produce the dark outline for you.
Tutorial How to Draw a Cartoon Rabbit, Step by Step
Work through the eight steps in order. Keep your pencil pressure light until step 7—you will be erasing most of what you draw in the first six steps.
● Step 1: Draw the head circle and the pear-shaped body
Draw a circle for the head, then a pear shape beneath it for the body. The lower half of the pear is fatter than the upper half, and the top of the pear should overlap the bottom of the head circle slightly. That overlap is what connects head to body.
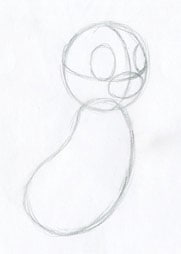
● Step 2: Add guidelines, then place the eyes and nose
Draw one vertical and one horizontal guideline across the head—a simple cross. These lines are how you keep the face symmetrical.
Place the eyes just above the horizontal guideline, one on each side of the vertical line. The nose sits where the two guidelines cross. Because you are working from a guideline rather than guessing, the features land in the same place on both sides of the face.
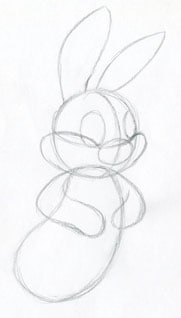
● Step 3: Shape the cheeks, ears, and arms
Softly define the cheekbones, then add the ears and the arms. Your ear shapes do not have to match the illustration exactly—slightly different ears will still read correctly as long as they sit in roughly the same position on the head.
When you sketch the arms, notice how the contour curve emerges from behind the shoulder rather than sitting on top of the body. Draw the line so it starts behind the shoulder, then curves outward. It is a small detail that makes the arm look attached rather than pasted on.
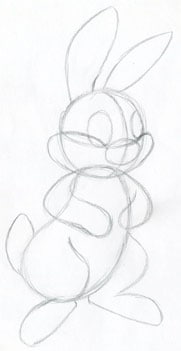
● Step 4: Draw the legs and tail
Add the legs and the tail. The arm and leg curves are the hardest lines in this drawing, so slow down here. Keep your pencil gentle—press lightly and adjust rather than committing to a heavy line you will have to fix later.
At this point the rabbit's silhouette should be clearly readable.
● Step 5: Build the face
Return to the head. Inside each eye, add an iris ellipse and a short inner line, then draw the nose. Finish with the mouth and teeth—the teeth are what give a cartoon rabbit its expression, so keep them even and centered under the nose.
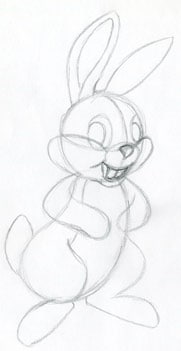
● Step 6: Add the finishing details
Add the carrot the rabbit is holding, then the brows and the fingers on the legs. Draw the carrot's outline lightly at first; it is easier to darken a line you got right than to erase one you committed to.
If a construction line is sitting where it should not be—for example, heavy graphite around the teeth from step 5—erase it now rather than waiting until the end.
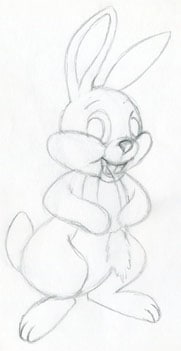
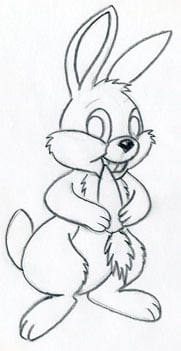
● Step 7: Go over the whole outline with a softer pencil
Now commit to the drawing. Go over the final contours with a softer pencil—4B or 6B if you have one, or HB if you don't. Darken the nose, but leave a small bright dot on it so it reads as a shiny surface rather than a flat shape.
Because these are your decision lines, take them in one confident pass instead of short strokes.
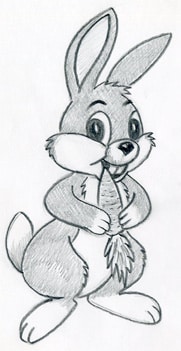
● Step 8: Erase the construction lines and shade
Erase everything left over from the construction phase—the head circle, guidelines, and any overlapping marks. What remains should be the rabbit alone.
Then shade. If you are working with graphite, shade the body and keep the inside of the ear, the belly, the paws, and the tail lighter or white. That contrast is what separates a sketch that looks flat from one that looks three-dimensional.
For the erasing, a kneaded eraser handles the large areas and a pencil-type eraser gets into the tight ones. Having both makes this step much faster.
Examples 8 Cartoon Sketch Examples to Study
The examples below are not just inspiration—each one demonstrates a specific technique you can apply to your own cartoon sketch drawing. Look at how few shapes each figure is built from.
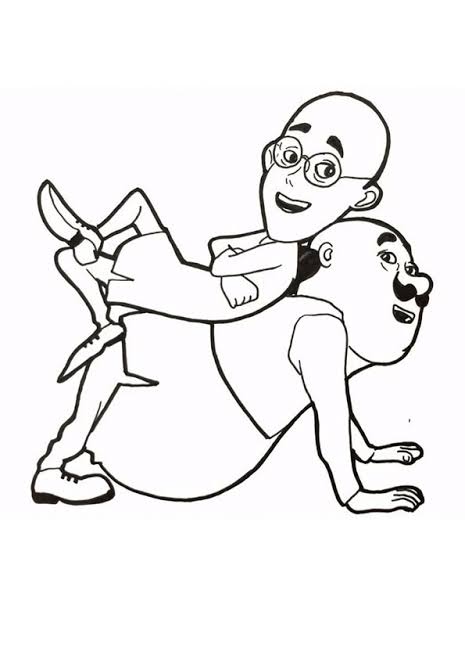
01Character head on a pear-shaped body
This sketch of a cartoon character shows the base method applied at an angle. Notice how simple forms, like the pear used for the body, do most of the work before any detail is added.
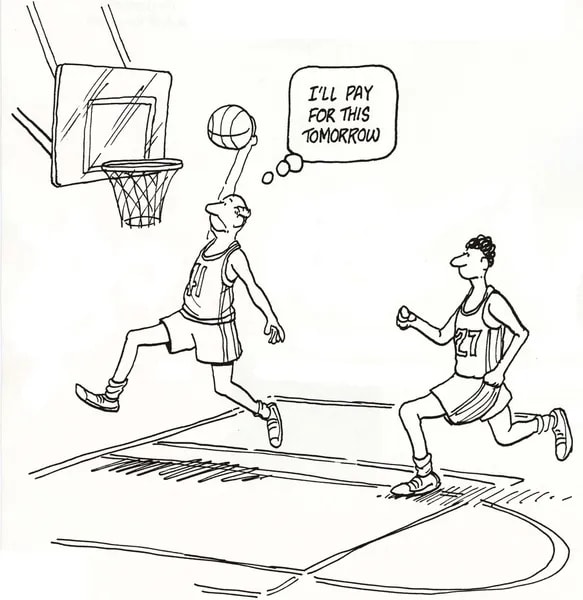
02Basketball scene
A study in how far detail can be pushed on top of a simple base. Compare the level of detail in the figure against the detail in the background—the artist concentrates the work where the eye lands first.
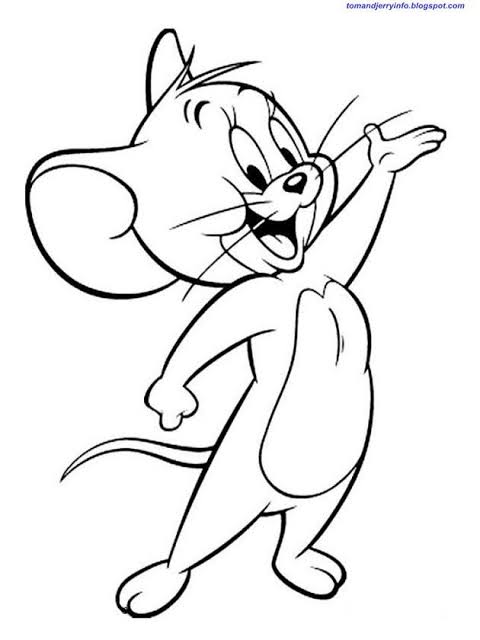
03Dynamic duo study
Copying two characters in one frame forces you to solve scale. Look at how the taller figure's head is only slightly larger than the shorter one's—cartoon proportions stay consistent across a cast.
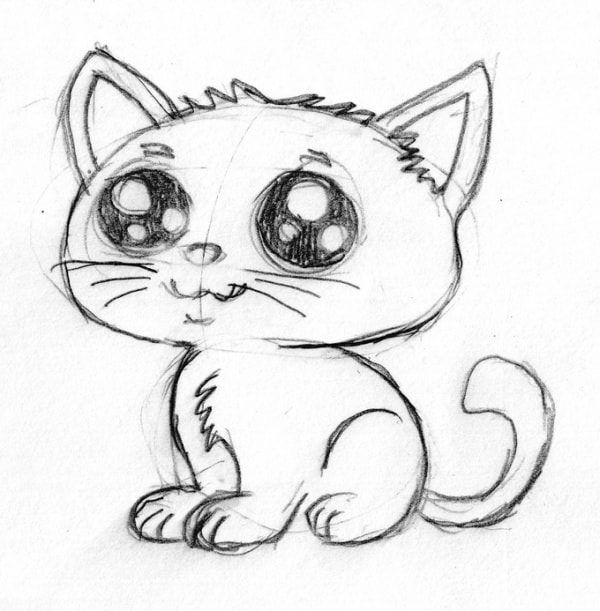
04Cat portrait
A good example of feature placement: the eyes sit on a single horizontal line, and the ears attach where the top of the head curve breaks.
05Expressive cartoon sketch
Expression comes from eyebrows and mouth angle, not from the eyes. The eyes here are simple shapes; the emotion is carried by the brows.
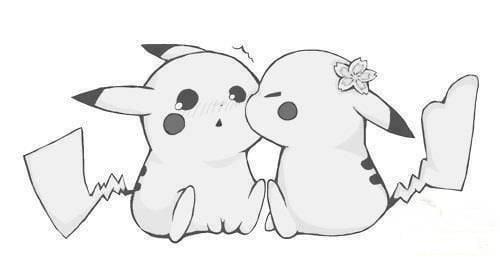
06Classic animated character
The clean outline of this one is the result of a soft pencil used in a single confident pass—the same technique as step 7 above. The body build follows the pear form.
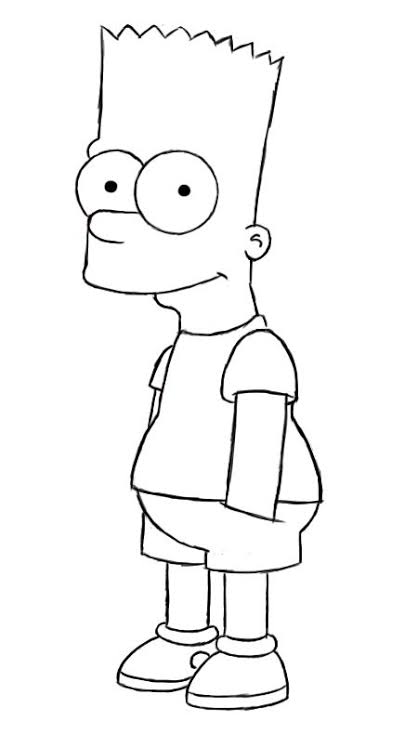
07Round head, round belly
This is the base method in its simplest form. If you can draw the two shapes in step 1, you can draw this character.
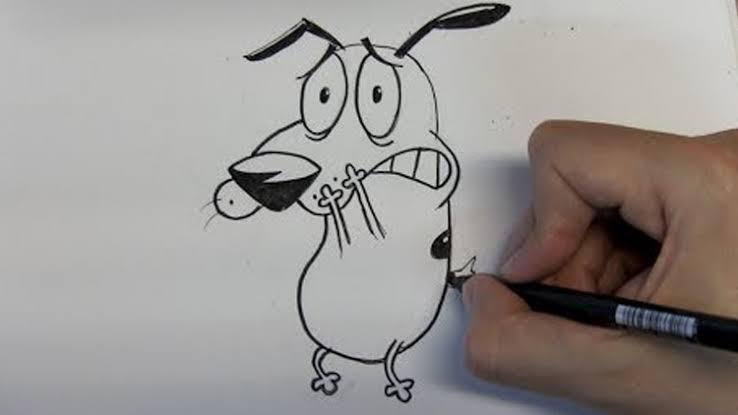
08Two-character composition
A sketch of two figures showing how facial expression carries a scene. Both faces use the same eye-and-guideline placement from step 2—only the mouths and brows change.
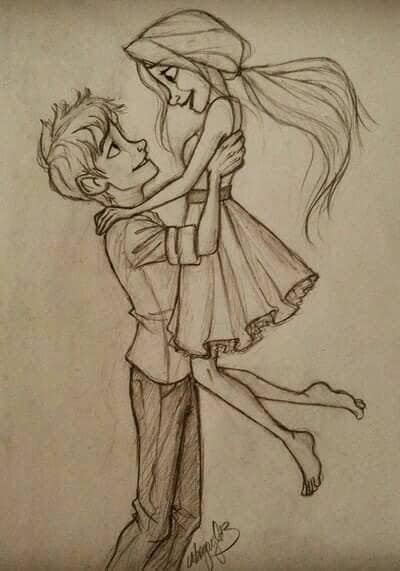
Mistakes Common Beginner Mistakes
- Making the head circle too small. In cartoon proportions the head is large relative to the body. If your figure looks off and you cannot say why, try enlarging the head circle before changing anything else.
- Pressing too hard in the construction phase. Heavy lines become grooves in the paper that no eraser removes fully. Keep the first six steps light.
- Skipping the guidelines. Drawing eyes by eye, without the cross lines, is the single most common reason beginner faces come out asymmetrical.
- Erasing too early. Construction lines are useful until step 7. Erasing them before the outline is decided just means redrawing them.
- Starting with detail instead of structure. Detail drawn on a wrong structure has to be thrown away. Structure drawn first makes detail easy.
FAQ Frequently Asked Questions
01What is cartoon sketch drawing?
It is the process of building a stylized character from simple geometric forms—typically a circle for the head and a pear shape for the body—drawing it in graphite, and then layering the face, limbs, and details on top. The sketch is the structural stage; coloring or cleaning up comes later.
02Do I need expensive art supplies to start?
No. One HB pencil, one soft pencil such as 4B or 6B, an eraser, and smooth paper are enough for everything in this guide. Upgrade your tools once you can reliably draw a character you are happy with, not before.
03How long does it take to learn to draw cartoons?
It depends on how regularly you practice, but the first results come quickly because the shape system is simple. Most beginners who practice for 20 to 30 minutes a day can draw a recognizable character within a few weeks. The bigger gains after that come from drawing the same character repeatedly rather than starting something new each session.
04Should I learn realistic drawing first?
Not necessarily. Cartoon drawing is a legitimate starting point because it teaches proportion, shape language, and line confidence without requiring advanced anatomy. Many artists add realistic fundamentals later, once they have the habit of drawing daily.
05My drawing looks off but I can't tell why. Where should I look first?
Check proportions before details. Compare your head circle against your body pear, then check that the eyes sit on one horizontal line. Most beginner drawings that look wrong have a structural problem in the first two steps, not a detail problem at the end.
06Can I turn a pencil cartoon sketch into a video?
Yes. Once your sketch is drawn and scanned or photographed, you can animate it in a video editor. Filmora's sketch effect, for example, applies a hand-drawn look to footage, and its drawing tools let you annotate on top of the frame.
Bonus Tool From Pencil Sketch to Moving Video with Filmora
Wondershare Filmora Video Editor runs on Windows, macOS, iOS, and Android, and three of its tools map directly onto pencil work. Once your cartoon sketch is finished, it is the fastest way to give it motion—for a short animation, a social clip, or a lesson for other beginners.
 secure download

- Sketch Effect: Transform your static cartoon sketches into animated visuals using Filmora's sketch effect, adding a hand-drawn aesthetic to your videos.
For Desktop Version
 secure download
For Mobile Version
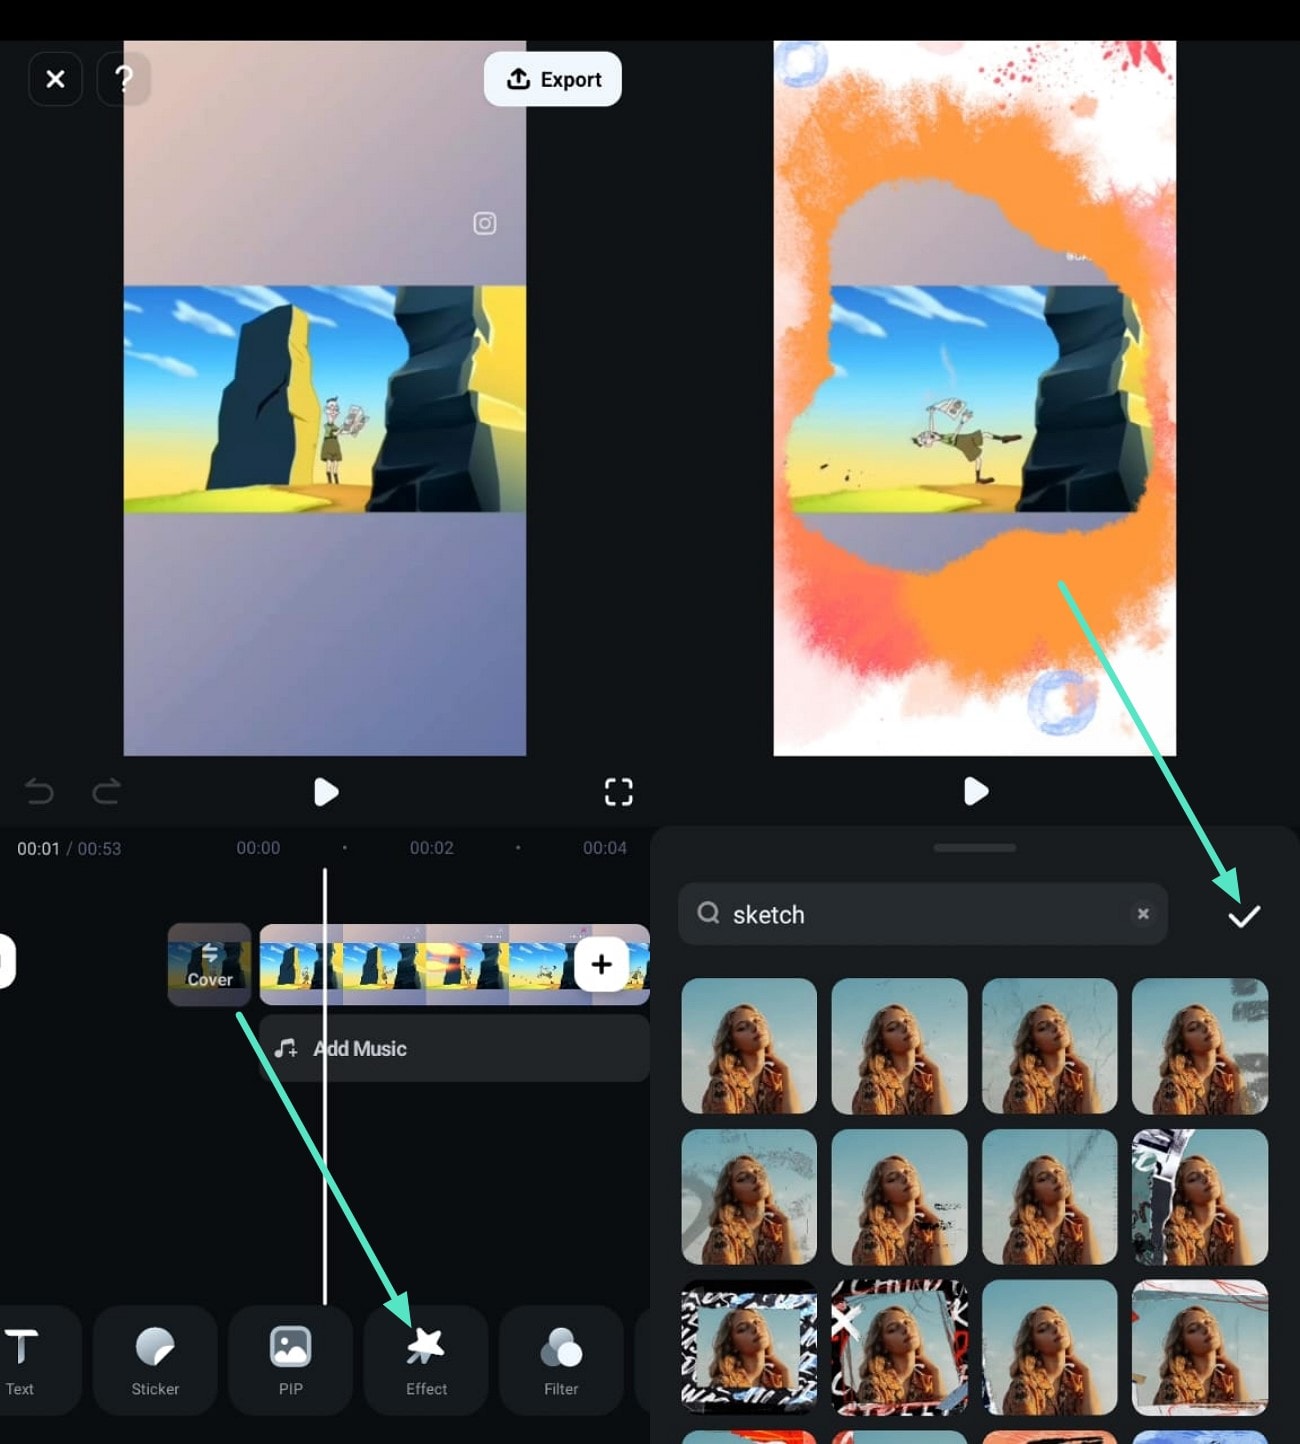
- Drawing Tools: Utilize Filmora's built-in drawing tools to annotate, highlight, or add custom graphics directly onto your videos, useful when you are showing a drawing process step by step.
- Chroma key and color match: Replace the background behind your sketched artwork, then balance the color so scans and photographs of your drawings look consistent with each other.
Whether you're aiming to create animated shorts, enhance your sketches with motion, or produce engaging content for social media, Filmora provides the tools to make your cartoon sketch drawings more dynamic and captivating.
 secure download
Resources Keep Learning
Three channels worth following once you have finished the eight steps above:
1Draw So Cute
Calm, clearly narrated tutorials built from basic shapes. The best starting point of the three if you want more beginner-level characters to practice with.

2Cartooning Club How to Draw
Step-by-step tutorials on recognizable characters from film, TV, and games. Good practice for copying a subject accurately instead of drawing from imagination.

3Mark Crilley
Deeper lessons on shading, perspective, and anatomy. Move here when you want to improve the technical quality of your line work rather than learn another character.

More on the same topic:
- 15 cartoon drawing styles explained—find the style that fits your drawing.
- How to draw animated characters—character design for film and TV.
● Ending Thoughts →
Cartoon sketch drawing is not complicated—it is repetitive. Draw a circle, draw a pear, place the face on guidelines, then layer the details. Do that ten times and you will see the improvement in your own sketchbook.
Start with the rabbit above. When you can draw it from memory, change one thing—the ears, the expression, the pose—and you have designed your first character.
