In this article
Understanding Dissolve in Film
The dissolve transition effect is famous for being used in one of the most important movies of all time, Citizen Kane, which was released in the early 1940s. In it, the director, Orson Welles, used this soft transition effect in the famous breakfast montage scene, compressing years of a deteriorating relationship in a short and comprehensive sequence. It was as impactful then as it is now.
Ever since then, it has been one of the most famous and widely used transitions in film, TV, and artistic videos in general. By gradually fading the first scene into the next one, you can create a poetic bridge between scenes or tell a story about a time shift, a dream sequence, or something else.

The dissolve transition is a specific type of effect that creators use to calmly transition from one scene to the next. The first scene fades out while the second scene simultaneously fades in, creating a smooth connection and giving artists a lot of room to experiment. It is most commonly used to show the passage of time, but you can also use it to indicate a location shift or simply to make people feel calm when watching the video.
Top 3 Most Notable Visual Characteristics of the Dissolve Transition
If we break the dissolve transition effect down to its key components, we can identify the top 3 visual characteristics. Let's elaborate on each.
Of course, the dissolve transition effect has evolved over almost a century of development, and there are now several different types.
Types of Dissolves and Best Uses
If we consider every dissolving transition in film and TV, we would have thousands of different types, all slightly different from one another. However, as with everything in life, certain types are more common than the rest. We have identified the three most common types of dissolves. Let's discuss them and explore what makes them unique.


There are many more types, such as the film dissolve effect, which mimics old techniques where editors physically overlapped film strips to create the effect, and the wipe dissolve, which adds screen movement. Discover them as you improve as a video editor.
When and Where to Use the Dissolve Transition?
We use the dissolve transition in video editing to create a smooth, gradual change between two shots. Let's see the application of the dissolve transition effect in film and video editing.
Genre-Specific Applications of the Dissolve Transition Effect
Use the Dissolve Transition in Unison with Other Creative Techniques
Given its sheer versatility, the dissolve transition is also excellent when combined with other creative video editing techniques. Let's check out the top three options.
-
Pair the Dissolve Transition with the Slow Motion Effect: Dissolving into the next scene is all about creating something calm and smooth. Combining it with slow motion will exponentially increase that smoothness and make the transition all the more seamless. You can use this combination to create wonderful art.
Example: In a music video featuring a rock ballad, you can use the slow-motion effect with all the band members playing their instruments. After that, you can combine these clips and use the cross-dissolve transition to create a collage video of them playing the song.
-
Enhance the Dissolve Transition with Ambient Sound: Videos and music go hand in hand. Silent clips can be interesting, but they become way more interesting when you add sound, whether it is a full song or a small sound effect. Enrich your dissolve transition with soothing ambient sound and enhance the visual flow of the video.
Example: In a war documentary, transitioning between A-roll and B-roll footage uses the dissolve transition. The moment the speakers start talking about a significant event, introduce some emotional ambient sound, giving the audience an emotional cue.
-
Use the Dissolve Transition after a Hard Cut: If you're creating a dynamic video and frequently use hard cuts, it's wise to break the tension and occasionally introduce the dissolve transition. Pick a moment when the action dies down and use it to let the audience know that they can take a breather and prepare to continue.
Example: In an action movie, after a big shootout and a series of hard cuts, use the dissolve transition to show scenes of the fight's aftermath. This way, you show the contrast between actions and consequences and give the audience a peek at a different perspective.
The 3 Most Common Dissolve Transition Tips from Artists
That pretty much covers all the theory relevant to this creative technique. The only thing left is to give you a short tutorial on how to achieve this effect.
A Step-by-Step Guide to Creating the Dissolve Transition Effect
One of the best tools for adding transitions between clips is Filmora. When it comes to transitions, Filmora comes with hundreds of templates and creative assets that you can use out of the box. Additionally, it features the same number of useful effects, animated text, and filters, all arranged in an intuitive interface that will make you feel right at home.

Add the Dissolve Transition Between Clips in Filmora
If you want to use Filmora to create a dissolve transition between two clips, download and install Filmora on your PC or laptop and follow the steps below to create a cool dissolve transition.
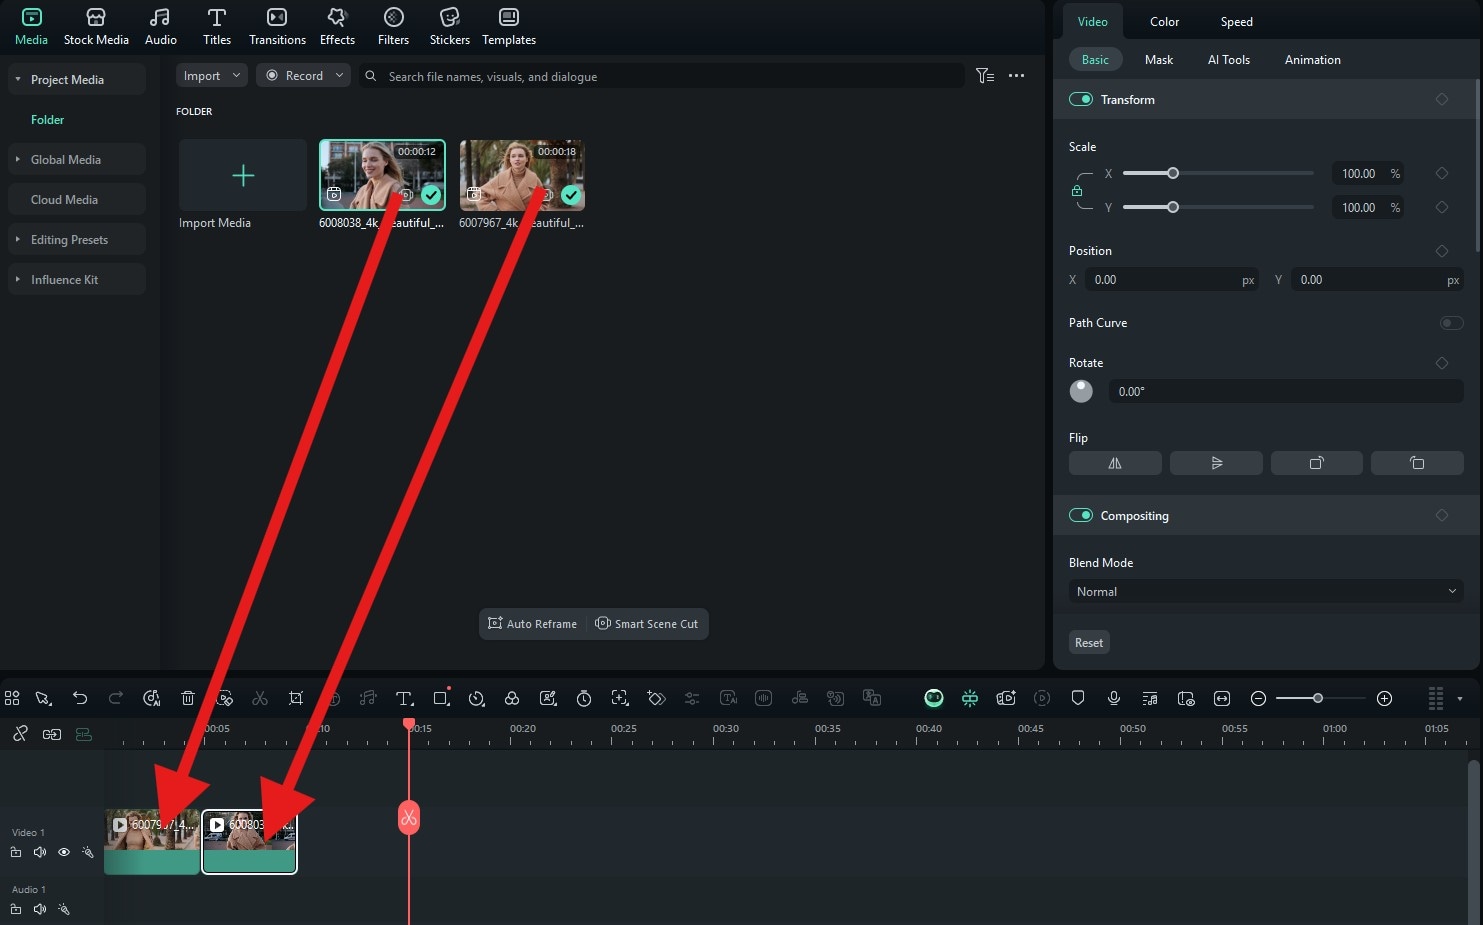
Click on the Import button and add two clips to the Filmora project.
Drag the videos to the timeline and arrange them one after the other.
Go to the Transitions tab and search for the Dissolve transition. Then, simply drag it to the timeline.

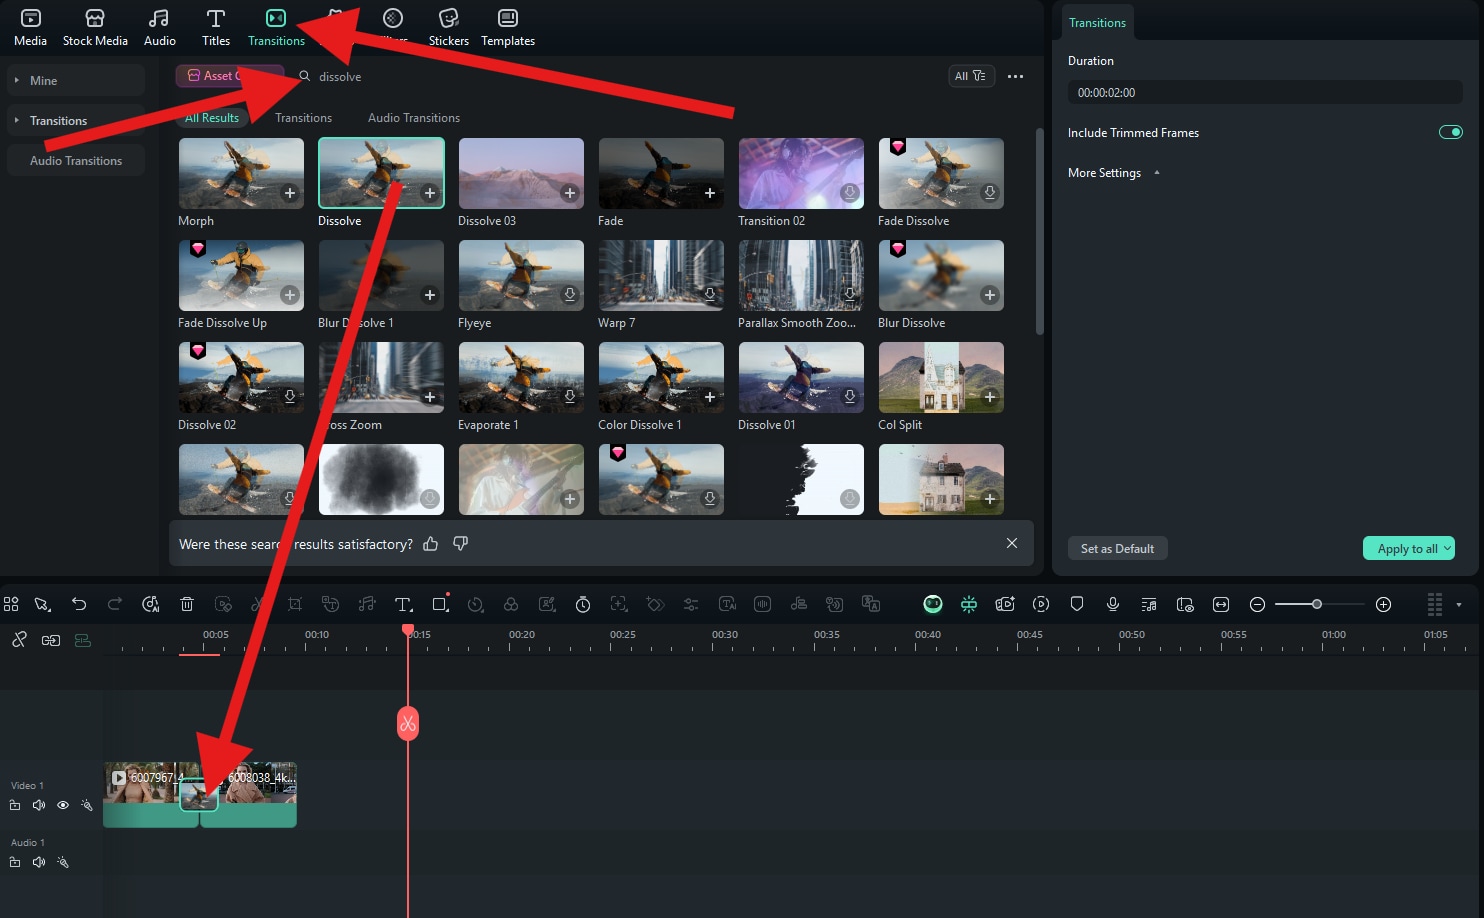
In just three steps, we managed to create a soft and smooth transition between two clips.

The Top 2 Most Common Issues with the Dissolve Transition
Before you start working on your first project where you want to apply the dissolve transition technique, please be sure to check out the two most common issues to avoid if you want to get a stellar video.
Don't use the dissolve transition too much. It's not perfect for every scene transition, and if you use it all the time, it will look dull and uninteresting.
Picking the right scenes to apply the dissolve transition to is not easy. These scenes should be contextually connected, and the dissolve transition should fit the narrative perfectly.