A guide to using Filmora Video Editor for Mac.
Simple video tutorials to get you started.
Creative techniques for filming and editing.
A keyframe is a frame used to indicate the beginning or end of a change.

For example, if you have two keyframes specifying different positions, the keyframed image, clip, text, or title will move between those positions between the timestamps of the keyframes.
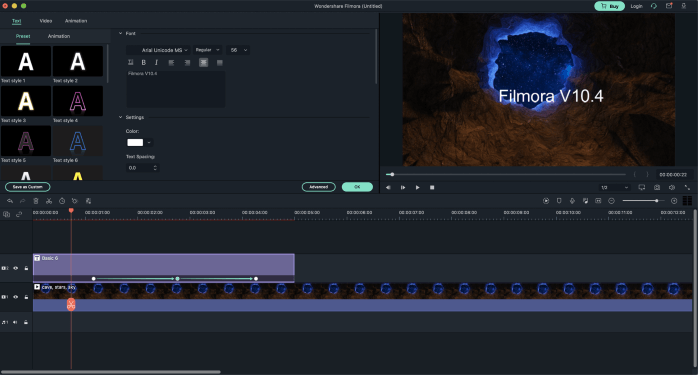
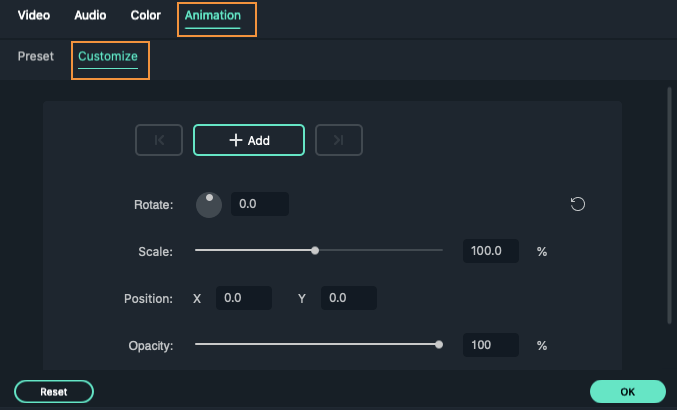
Double-click on a clip, image, text, or title in the timeline and click into the Animation tab. You'll see options for Preset animations and Custom animations.
Preset animations: choose an animation you like and drag & drop it into the timeline.
You can animate the following parameters with keyframing: Rotation, Scale (size), Position, Opacity.
Or animate the following media types with keyframing: videos, photos, texts, titles, and elements.
Here's how it works:
Step 1: In the Animation tab, choose Customize.

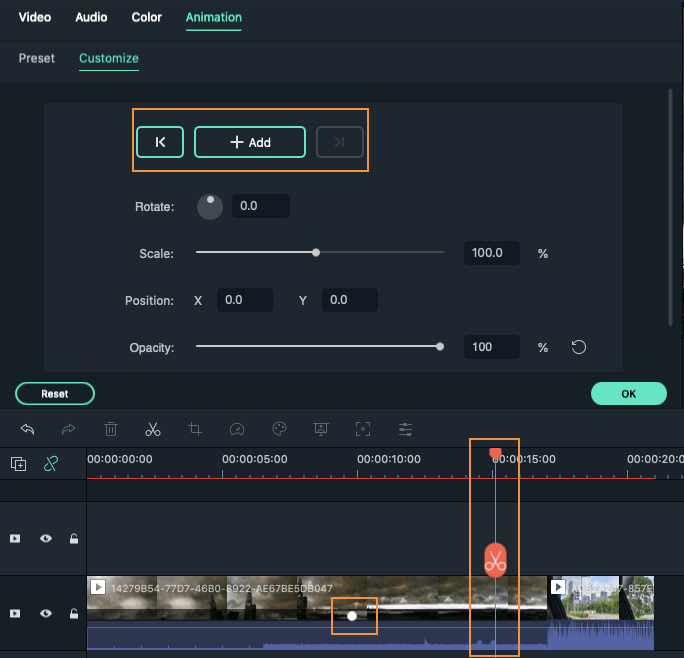
Step 2: Move the playhead to where you want to add a keyframe and click 'Add'. All animations will require at least two keyframes since the change will occur between them. The first keyframe marks the beginning of the change.

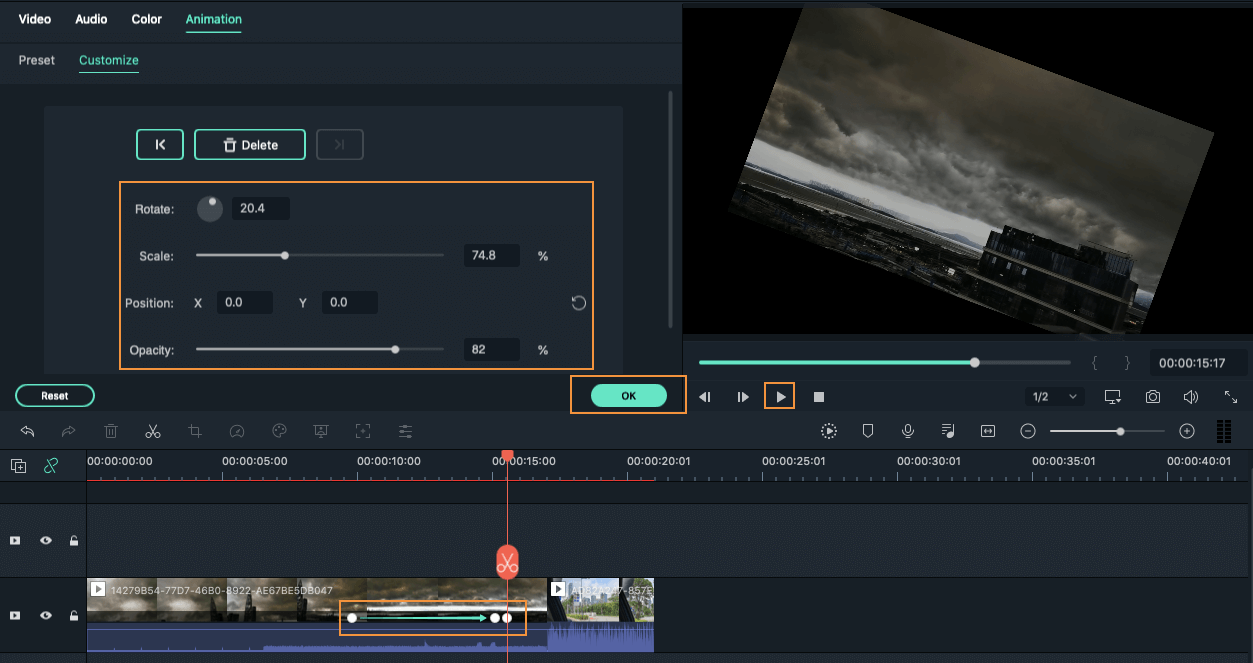
Step 3: Move the playhead and add your second keyframe. Change at least one of the values (position, scale, rotation, or opacity) in this keyframe either in the keyframe menu or by dragging and resizing the media in the video preview.
