A guide to using Filmora Video Editor.
Simple video tutorials to get you started.
Creative techniques for filming and editing.
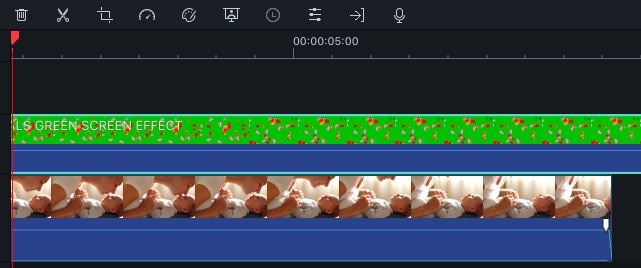
You can use the Green Screen (Chroma Key) tool to make a color range in a video clip or image in a higher track on your timeline transparent, so the video clip or image underneath it can be seen in place of that color range. You can use this feature to change the background of a clip and make it look like you’re a superhero flying through the sky, or an explorer on top of a mountain.
Green Screen works best if you have a solid colored background to make transparent, preferably a color the subjects in the video are not also wearing. The most popular choice is bright green. Here’s how to use the Chroma Key/Green Screen tool in Filmora for Mac.

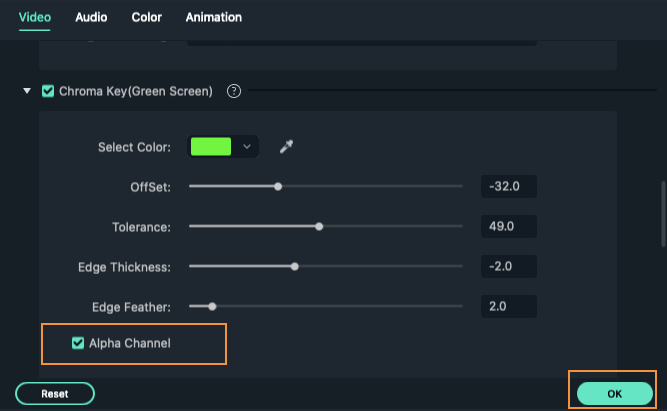
Turning on Alpha Channel will cause your image to become black and white – everything that is black will be transparent in your final video, and everything that is white will remain solid. If there are little spots of white or grey where there should only be black, you can continue making adjustments with the sliders until the spots are gone. The same goes for spots of black or grey where there should be white. Turn Alpha Channel off when you’re done and click OK if you’re happy with how your video looks.

