
 100% Security Verified | No Subscription Required | No Malware

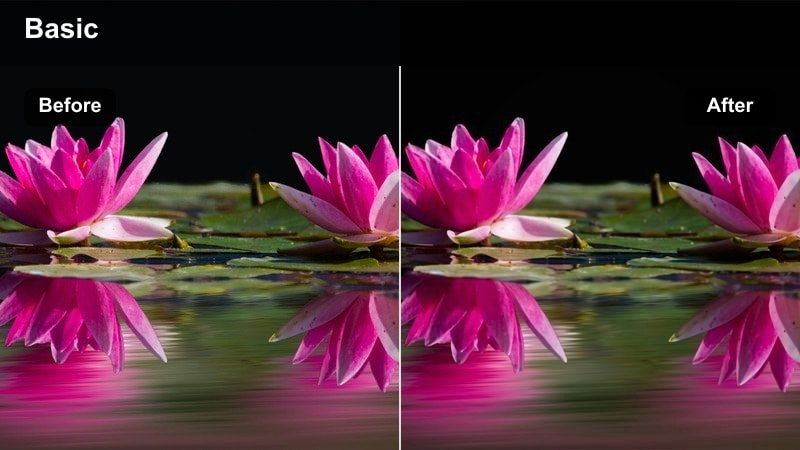
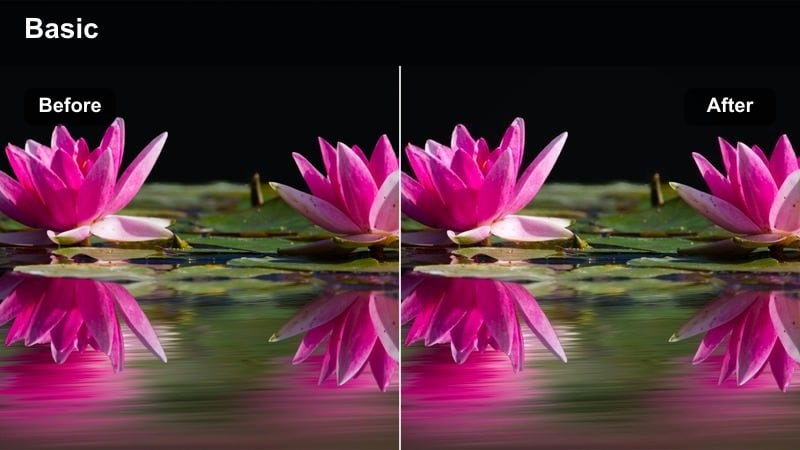
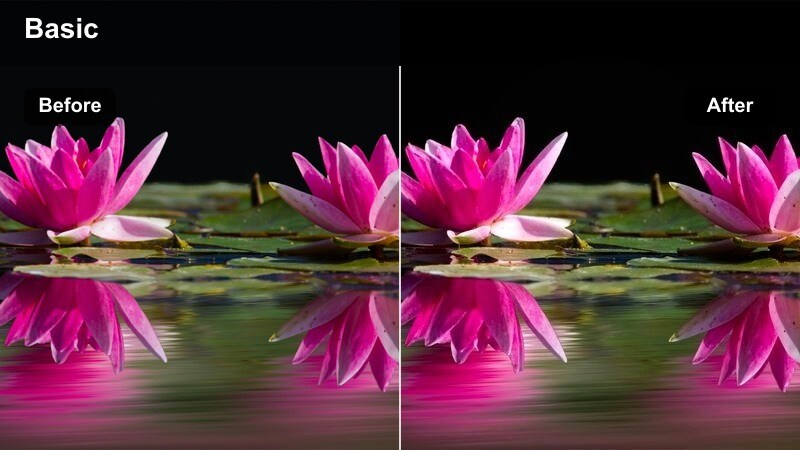
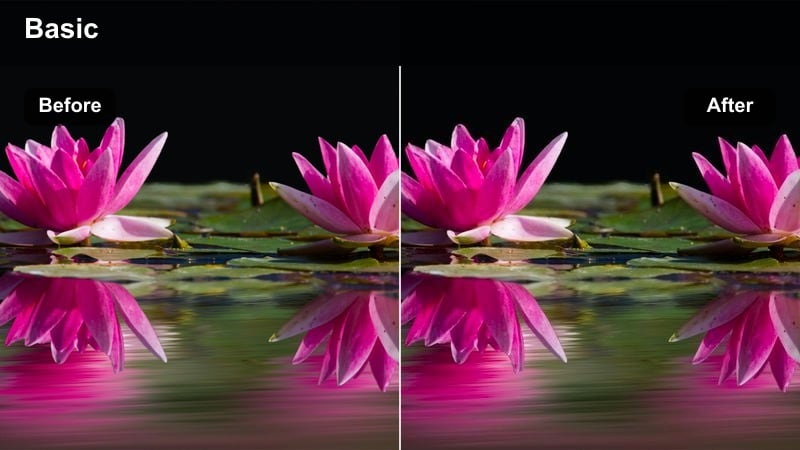
Use the Cinematic Depth Lighting Filter collection in Filmora to carve out your subject, add separation from the background, and create layered scenes that feel truly three-dimensional.
These presets help content creators control highlights, midtones, and shadows so each frame guides the viewer's eye and delivers an intentional cinematic mood in any lighting condition.
In this article
Intimate Interior Drama and Portraits
Soft Window Glow

- Effect look: Gentle side light that mimics late-afternoon window glow with softened shadows and warm midtones.
- Best for: Talking-head videos, lifestyle vlogs, and emotional indoor dialogue scenes.
- Editing tip: Lower the filter intensity if your original footage is already warm to avoid oversaturating skin tones.
Soft Window Glow in Filmora recreates that flattering late-afternoon light by adding a warm, directional push to one side of the frame and gently softening shadows. It increases midtone richness around faces and upper bodies so your subject feels naturally lit, even if you shot with basic room lighting or a single softbox.
Use this preset on portrait-style content, sit-down storytelling, or cozy home vlogs where you want a gentle, cinematic mood without heavy contrast. Start with basic exposure and white balance correction, apply Soft Window Glow, then adjust intensity until skin tones look dimensional but still true to life, especially if your original footage already leans warm.
AI-Guided Cinematic Depth and Color Balance
Filmora's AI tools can automatically balance exposure and color before you apply a Cinematic Depth Lighting Filter preset, giving you a neutral starting point that is easier to grade. Correcting white balance and overall brightness up front prevents banding and color shifts when you later push contrast for a cinematic look.
Once your footage is normalized, you can stack presets like Soft Window Glow or more dramatic options from this collection to shape highlights, midtones, and shadows with precision. This workflow keeps skin tones natural while building believable depth and separation between subject and background.
 secure download

See Depth Lighting Filters in Action
Load a few test clips into Filmora and quickly cycle through the Cinematic Depth Lighting Filter presets to see how each one reacts to your footage. Compare how they treat faces, backgrounds, and practical light sources in different locations like bedrooms, kitchens, city streets, and studios.
As you preview, focus on how the filters redistribute brightness between foreground, midground, and background. The goal is to guide the viewer's eye naturally toward your main subject while keeping supporting details present but not distracting.
secure download1000+ Video Filters and 3D LUTs
Beyond Cinematic Depth Lighting Filters, Filmora includes a large library of creative filters and 3D LUTs that can instantly shift your overall color grade. Once you are happy with the depth and contrast of a scene, you can use LUTs to give your project a cohesive filmic palette or match the look of specific cameras.
Apply your depth lighting preset first so the shaping of light and shadow stays consistent, then experiment with LUTs and additional filters to refine saturation, tone, and contrast. This layered approach helps you build a repeatable cinematic style for series, client work, or short films.
secure downloadMoody Bedroom Contrast
- Effect look: Deep contrast with lifted blacks and a subtle cool shadow tint for introspective, late-night interiors.
- Best for: Personal monologues, nighttime study scenes, and aesthetic bedroom B-roll.
- Editing tip: Reduce overall exposure slightly, then use a vignette to keep attention on the subject's eyes.
Moody Bedroom Contrast adds a cinematic night-time feel by combining rich contrast with gently lifted blacks so your shadows stay detailed instead of crushed. A cool tint in the darkest tones creates a late-night, introspective atmosphere that works well with practical lamps, fairy lights, or a single bedside source.
Apply this filter to bedroom monologues, aesthetic desk setups, or any scene where emotion and isolation are key. In Filmora, pull exposure down a bit before enabling the preset, then fine-tune the vignette or masking tools to emphasize your subject's face and hands, using the cooler shadows to frame them inside the darker room.
Kitchen Table Dialogue

- Effect look: Neutral, soft contrast lighting with gently darkened edges and emphasis on midtone detail around the table area.
- Best for: Family talk scenes, podcast-style kitchen setups, and cozy conversation sequences.
- Editing tip: Use a moderate vignette and slightly boost clarity to bring out detail in hands, mugs, and tabletop props.
Kitchen Table Dialogue is designed to keep the center of your frame, especially the table zone, inviting and clear while subtly darkening the edges of the room. It favors midtone detail so faces, mugs, notebooks, and other props look textured and real without overpowering contrast.
Use this preset in Filmora whenever two or more people are gathered around a table for conversation, whether it is a podcast-style setup, a family scene, or lifestyle B-roll. After applying the filter, gently increase clarity and sharpen midtones so gestures and small items on the table become natural focal points that support the story.
Cinematic City Nights and Neon Streets
Neon Rim Depth
- Effect look: Punchy contrast with vibrant neon highlights and darker midtones that carve out silhouettes against the city glow.
- Best for: Night street walks, neon sign B-roll, and cyberpunk-inspired city sequences.
- Editing tip: Expose slightly for the highlights before adding the filter so neon signs retain readable detail.
Neon Rim Depth emphasizes bright city lights while deepening midtones so your subject stands out crisply against glowing signs and reflections. The filter boosts saturation and contrast around neon sources, creating clear rim light along shoulders and outlines that feel straight out of a cyberpunk frame.
When editing in Filmora, first ensure your footage is exposed for the brightest neon areas, then apply Neon Rim Depth to prevent clipping and preserve sign details. Adjust highlight and saturation sliders to keep colors intense but legible, and, if needed, use masks to slightly lift exposure on your subject's face so they do not disappear into the surrounding glow.
Alleyway Silhouette
- Effect look: High-contrast backlighting that darkens the subject into a dramatic silhouette against brighter city light sources.
- Best for: Mystery sequences, noir-inspired shorts, and urban character intros.
- Editing tip: Position the brightest light source directly behind the subject in the frame before adding the filter for a clean outline.
Alleyway Silhouette pushes your exposure curve so the subject drops into near-black while the background entry to the street stays bright and detailed. This high-contrast approach makes outlines, posture, and movement far more important than facial detail, ideal for mysterious or noir-style storytelling.
In Filmora, frame your shot with a strong light source directly behind the subject, then apply the preset to deepen surrounding shadows. Fine-tune blacks and contrast to ensure the outline stays crisp, and consider a slight desaturation to enhance the gritty urban feel, letting light shape the mood instead of visible expressions.
Taxi Window Bokeh
- Effect look: Softened highlights and gentle bloom around distant lights with a subtle warm tint inside the car.
- Best for: Car rides through downtown, reflective mood scenes, and travel vlogs at night.
- Editing tip: Use shallow depth of field while shooting and let the filter accentuate the blurred city lights outside the window.
Taxi Window Bokeh introduces a dreamy bloom to distant city lights and reflections while keeping the car interior softly warm and inviting. The filter enhances bokeh from street lamps and signs, giving them a glowy halo that feels emotional and cinematic, perfect for moments of reflection between destinations.
Apply this preset in Filmora to shots captured with shallow depth of field from the backseat or passenger side. After enabling the filter, adjust intensity so faces remain clear and readable while the outside world softens into streaks and orbs of color, then slightly lift midtones to recover detail in darker parts of the car without flattening the mood.
Sunset Walks and Golden Hour Stories
Golden Rim Separation
- Effect look: Warm edge highlights with gently darkened backgrounds to create strong subject separation in backlit golden hour shots.
- Best for: Sunset walks, outdoor portraits, and cinematic travel intros.
- Editing tip: Slightly underexpose during shooting so the golden highlights do not blow out when this filter is applied.
Golden Rim Separation is tuned for backlit sunsets, intensifying the warm halo around your subject while slightly lowering background brightness. This contrast between glowing edges and softer surroundings creates a clear, cinematic outline and makes your subject pop against the sky or cityscape.
When editing in Filmora, use this preset on any golden hour footage where the sun is behind your subject. Underexpose a little during shooting, then apply the filter and refine highlight roll-off so skies stay smooth and not overly harsh, finishing with a local contrast boost on the subject to keep them crisp against the softened horizon.
Subtle Haze Depth
- Effect look: Light atmospheric haze with slightly reduced clarity in distant areas to create layered depth in backlit scenes.
- Best for: Park walks, city overlooks, and reflective solo sequences during sunset.
- Editing tip: Keep your subject closer to the camera and let the haze effect gently soften only the far background.
Subtle Haze Depth simulates a light atmospheric mist, gently lowering clarity and contrast in the far background while preserving a clean foreground. This separation adds a cinematic sense of distance and scale, especially in backlit scenes where the sun or sky already gives some natural glow.
Use this preset in Filmora for hilltop looks, city viewpoints, or open park paths where your subject stands closer to the camera than the background. Apply the filter and adjust strength until distant buildings or trees soften just enough to feel further away, then optionally use a gradient mask so the haze is strongest on the horizon and weakest near the subject.
Rooftop Dusk Balance
- Effect look: Balanced contrast with cool shadows and gentle warm highlights that preserve both city lights and sky detail at dusk.
- Best for: Rooftop conversations, city skyline vlogs, and outro shots overlooking downtown.
- Editing tip: Push the filter slightly stronger than usual, then reduce saturation for a more cinematic, less vlog-style look.
Rooftop Dusk Balance is built for blue hour scenes where you want to keep both faces and skyline visible. It preserves details in the sky and early building lights while adding a subtle cool tone to shadows and gentle warmth to highlights, holding the entire frame in a pleasing, balanced contrast range.
In Filmora, apply this preset to outro shots, rooftop chats, or drone views that capture city light transitions. Slightly increase intensity, then pull back overall saturation to move away from a casual vlog feel toward a more polished cinematic grade, and if needed, mask your subjects to lift exposure just on them so the skyline does not become too bright.
Controlled Studio and Set Lighting
Three-Point Depth Boost

- Effect look: Subtle contrast shaping that strengthens key, fill, and backlight relationships for a polished three-point lighting feel.
- Best for: YouTube sit-down videos, product demos, and course recordings in studio setups.
- Editing tip: Dial in exposure first, then use the filter to gently deepen shadows opposite your key light.
Three-Point Depth Boost refines footage that is already lit with key, fill, and backlight by subtly deepening the shadow side and lifting highlights on the subject. The result is a clean, dimensional studio look where your talent stands out from the background with professional-grade separation.
Use this preset in Filmora for desk-based content, online courses, or any talking-head setup with controlled lighting. First, balance exposure and white balance, then apply the filter and fine-tune intensity so the shadow side of the face gains depth without losing detail, ensuring your background stays slightly darker and less contrasty than your subject.
Monitor Glow Focus
- Effect look: Soft wraparound light from screens with controlled background darkness to keep attention on the subject's face and hands.
- Best for: Editing streams, coding videos, and tech desk setups in darker rooms.
- Editing tip: Reduce saturation slightly to avoid overly colored spill from RGB lights and monitors.
Monitor Glow Focus enhances the natural light coming from your screens, brightening the subject's face and hands while letting the rest of the room fade into a darker backdrop. It controls contrast in a way that keeps HUDs, keyboards, and gear visible but secondary to the person at the desk.
When grading in Filmora, apply this preset to late-night work sessions, streaming setups, or programming videos that rely heavily on monitor light. Dial saturation down a touch to tame RGB spill, then use a small masked exposure lift over the eyes to ensure they catch viewers' attention even in a largely dim environment.
Product Spotlight Depth
- Effect look: Tight highlight on the product with softened surroundings and slightly deepened shadows for a commercial-style tabletop look.
- Best for: Tech product showcases, unboxings, and tabletop b-roll in studio environments.
- Editing tip: Frame the product in the brightest part of the image and let the filter naturally darken the edges of the frame.
Product Spotlight Depth creates a hero-style presentation by focusing brightness and contrast on the product itself while nudging the background and table edges into darker, softer tones. This commercial-inspired look draws the viewer's eye instantly to textures, logos, and key design features.
Use this preset in Filmora for unboxings, reveal shots, or macro B-roll of gadgets and accessories. Place the product where your physical light is already strongest, apply the filter, then add a slight micro-contrast boost and sharpening on the subject, allowing the built-in darkening of the frame edges to keep stands, shelves, and clutter unobtrusive.
Tips for Using Cinematic Depth Lighting Filter Filters in Filmora
- Set your in-camera exposure and white balance as accurately as possible so Cinematic Depth Lighting Filters can concentrate on shaping light instead of fixing major errors.
- Use Filmora masks and vignettes with these presets to keep faces and key objects bright while subtly darkening backgrounds and less important areas.
- Lower filter intensity for social media videos viewed on phones, where aggressive contrast can crush shadow detail and make midtones look too dark.
- Mix different depth lighting presets across locations, but rely on one or two favorites as your signature look to maintain visual consistency across episodes.
- Combine depth lighting filters with LUTs and widescreen bars only after you are satisfied with base exposure and contrast for more predictable results.
- Preview your graded clips on both bright monitors and dimmer mobile screens to ensure silhouettes, faces, and details remain readable everywhere.
- When working with multi-camera setups, match exposure and white balance between cameras before applying the same depth lighting preset to avoid jarring cuts.
Cinematic depth lighting filters help content creators turn flat footage into layered, visually guided scenes where the subject naturally stands out. By reshaping highlights, midtones, and shadows, they add separation between foreground, midground, and background so every frame feels more intentional.
Apply these presets thoughtfully in Filmora, adjust intensity for each shot, and combine them with masks, vignettes, LUTs, and widescreen bars to develop a repeatable cinematic style. Over time, you can build a reliable grading workflow that keeps your channel, client projects, or short films looking cohesive from first frame to last.
secure downloadNext: Widescreen Cinematic Lut
