In this article
Understanding Parallax Effect
One of the most challenging tasks for a videographer in the modern world is to make a 2D graphic visually engaging. One solution is to pan and zoom over the still image and create the Ken Burns effect, but there is another option. This one converts a 2D image into a 3D video or something more interesting. It brings the illusion of 3D space by separating parts of the image based on the distance from the camera and adding motion at different speeds.
This type of effect is called the parallax effect, and in today's article, we will dissect this term into its basic components and learn everything about it.
The parallax effect is a video editing technique that simulates the illusion of depth by separating the image into layers based on their predicted distance from the camera, and adding movement to them that mimics the zoom camera effect used in the 3D world.
For example, let's say we have a graphic with mountains in the background, a few houses in front of the mountains, and a few people in front of the houses. You would zoom in on the people at a faster pace than the houses, and these would zoom in faster than the mountain.
This converts a 2D image into a 3D video, which can be used for a wide range of applications, from web design to creating TV cartoons.
Top 3 Most Notable Visual Characteristics of the Parallax Effect

When and Where to Use the Parallax Effect?
The parallax effect is visually appealing, which is why it has found numerous applications in the real world. Let's examine some concrete examples.
Genre-Specific Applications of the Parallax Effect
Here are some examples: the Apple AirPods Pro 2 landing page, the Firewatch game homepage, and the homepage for Dogstudio.
Here is an example video
Here is an example video
Use the Parallax Effect in Unison with Other Creative Techniques
As you can imagine, such an attractive effect can be combined with so many other effects. Let's explore the most common video editing techniques that complement the parallax effect.
-
Pair the Parallax Effect with Image Masking: Image masking isolates certain elements in a photo. Before you apply the parallax effect, you can use image masking to separate the foreground from the background.
Example: Take a family photo and use an AI masking tool to separate portraits from the image, and then use the parallax effect to animate each person separately.
-
Enhance the Parallax Effect with Zoom and Focus Effects: Zooming in and shifting focus are some of the oldest filmmaking tricks that were available in old cameras. Now, you can add this type of effect digitally, and only to certain elements in the scene. Use these techniques to animate your 2D image elements.
Example: On a website with the parallax effect, as you scroll down, the elements from above zoom out and go out of focus, while the new information goes into focus and zooms in.
-
Transition to a Parallax Effect from a Still Image: If you want to highlight the impact of the parallax effect and really showcase how powerful it is, then you can start with a few frames showing the still image, and then slowly animate each part. That way, you will show the contrast between a still image and a moving animation.
Example: At the beginning of an explainer video, all the elements on the screen are still, but as you explain each element, it gets motion, and near the end, you get a full parallax.
Top 3 Parallax Effect Tips from Artists
We are now ready to say that we know enough about the parallax effect. We have learned the definition, best practices, and most common use cases. Now, let's learn how to use it.
How to Create the Parallax Effect?
If you want to create a parallax effect from scratch, you will need to animate it from scratch. This can be a long process, and if you are not well-versed in image and video editing techniques, you will need a lot of time. However, you can easily add a parallax effect to any image and video. It's called Filmora, and it's available for Windows, macOS, Android, and iOS. With it, you can add the parallax effect in three simple steps.
Create the Parallax Effect in Filmora
To create a parallax video from a still image using Filmora, download the software to your PC or laptop, install it, open the program, and then create a new project. Then, follow the steps below.

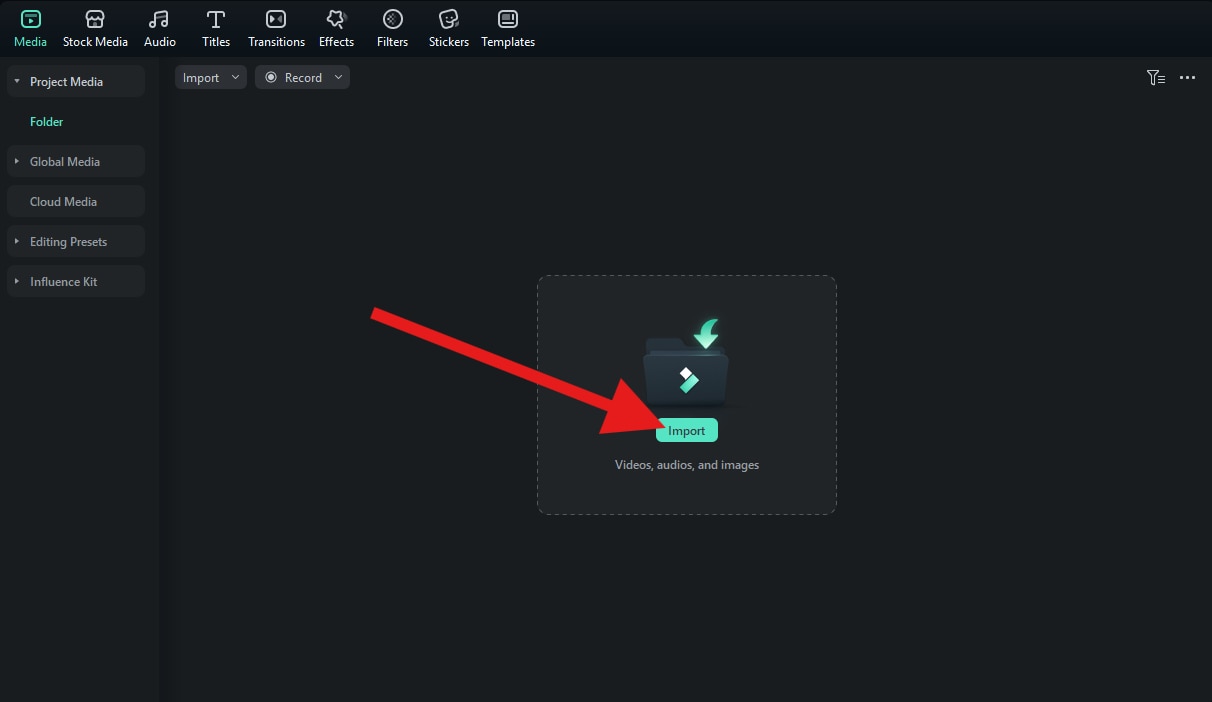
Click on Import and add an image from your hard drive to Filmora.
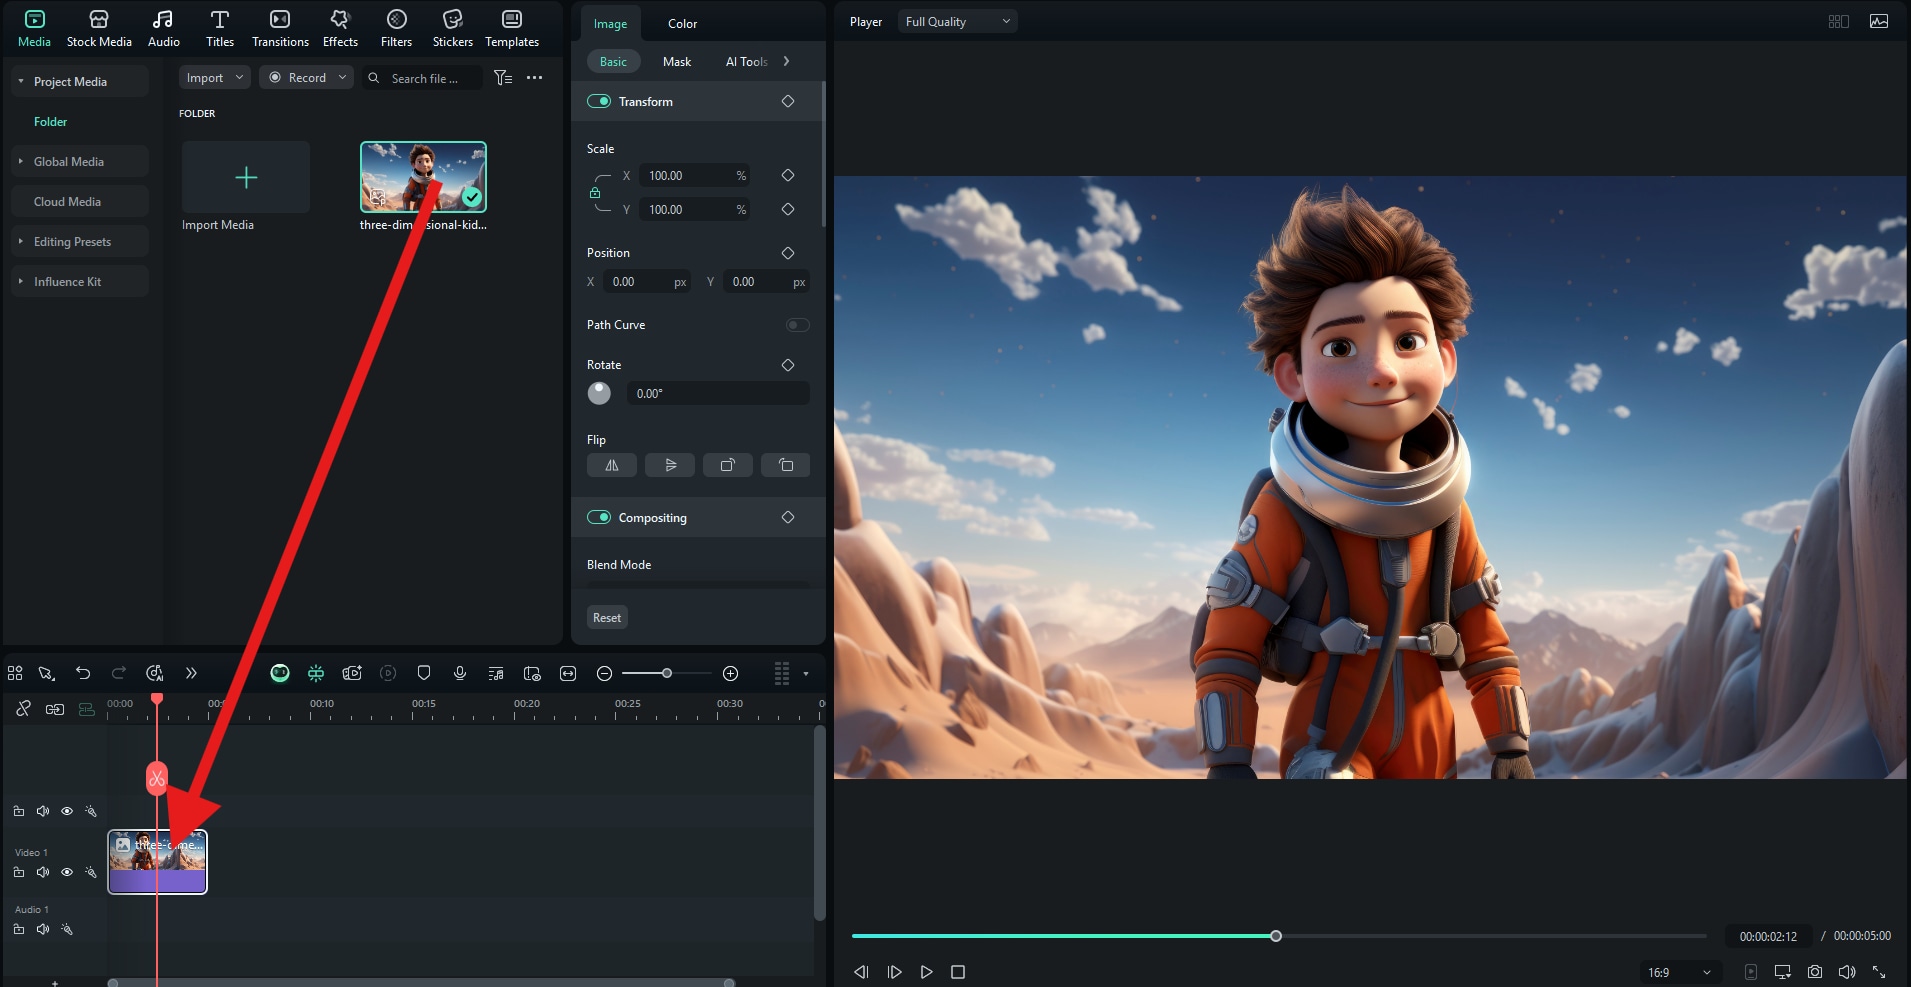
When the image is uploaded, drag it to the timeline.
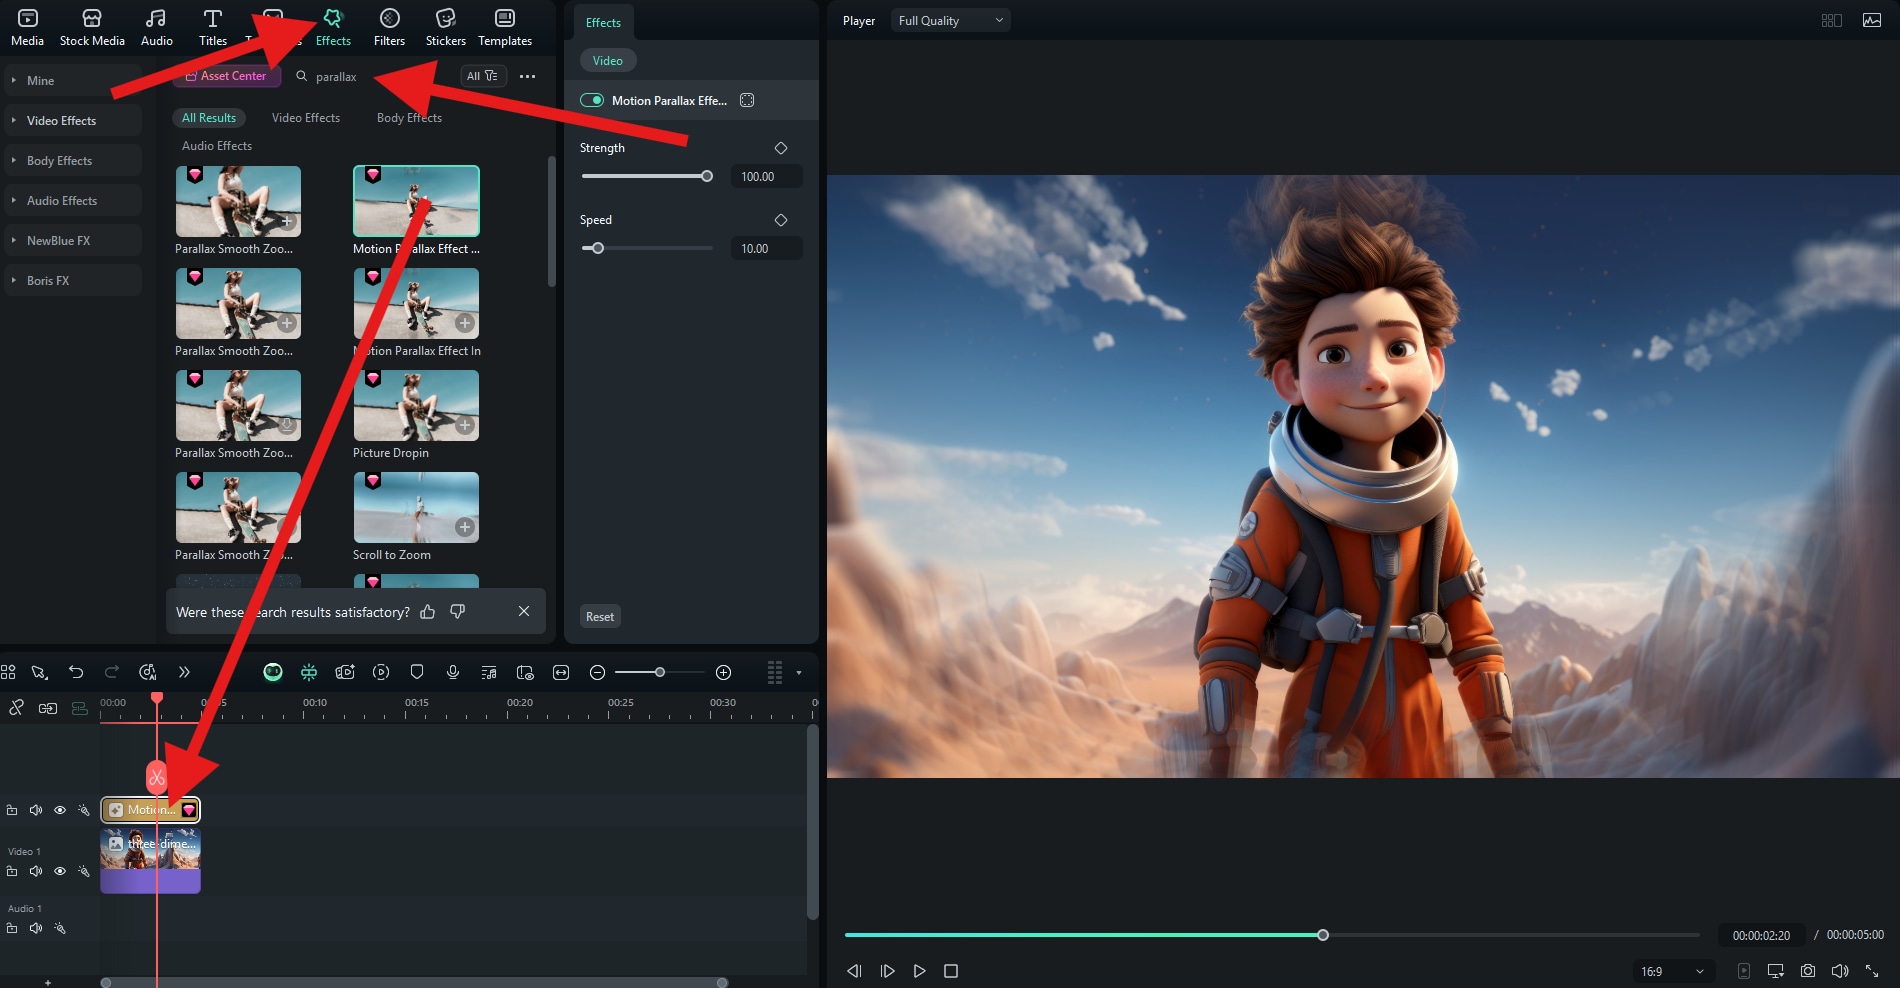
Now, find the Effects panel, and search for the word "parallax." Explore several parallax effects in Filmora, pick the one you like most, and drag it to the timeline above the image to apply it.
Check out our cool little parallax video.
If you want to create awesome effects and animate images like this and in many other different ways, try Filmora today, and see how fun video editing can be.
The Top 2 Most Common Issues with the Parallax Effect
Of course, if you want to make a professional parallax effect from scratch, you need to avoid the most common mistakes.