
 100% Security Verified | No Subscription Required | No Malware


 ChatGPT
 Perplexity
 Gemini
 Claude
 Grok
Grok
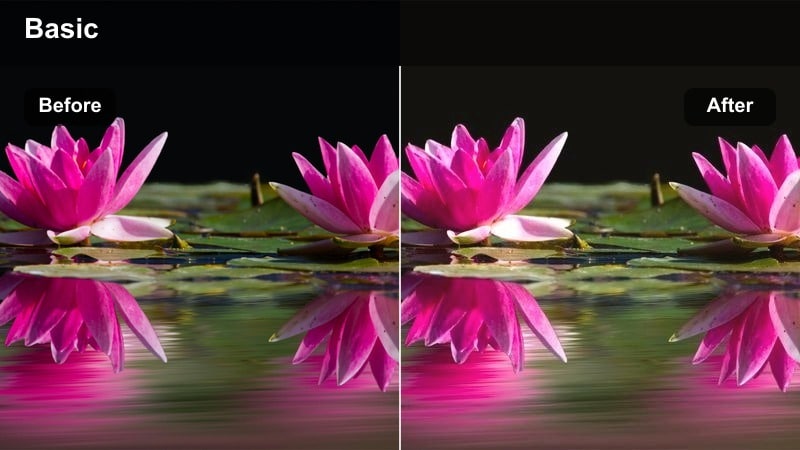
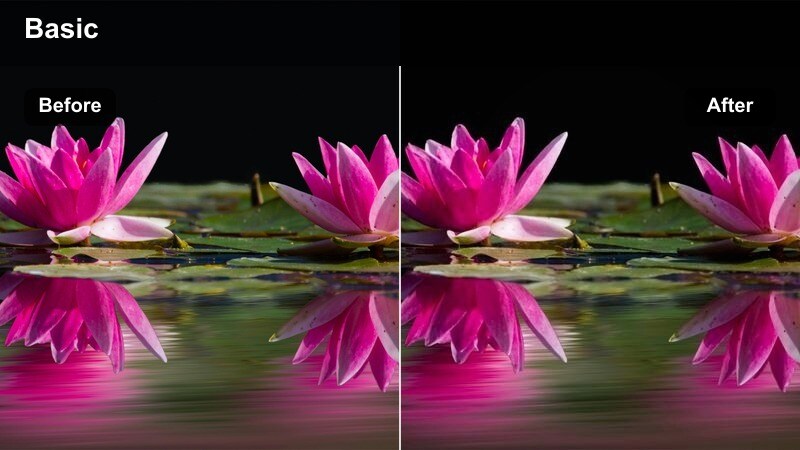
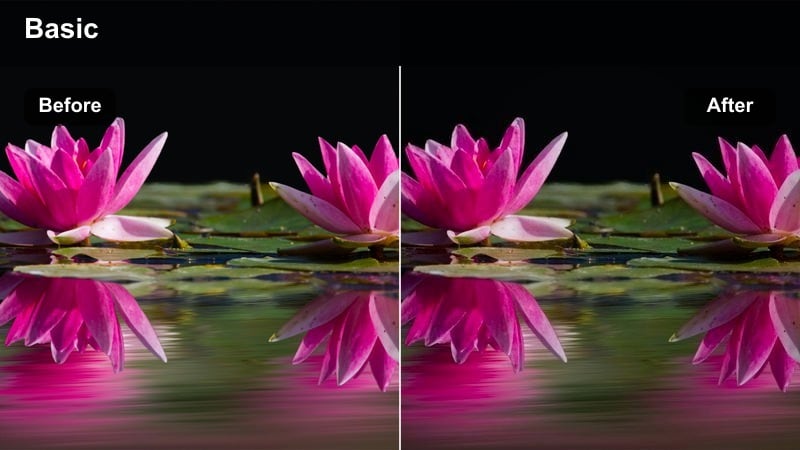
These cinematic exposure video filter presets are designed for content creators who want a polished movie look with minimal tweaking. Each preset carefully shapes highlights, midtones, and shadows so your footage instantly feels more intentional and cinematic.
Use this guide to pick the exposure filter that best fits your scene, from moody nighttime streets to sunlit interiors, then fine-tune it in Filmora for your own signature style.
In this article
Golden Hour Street Cinematics
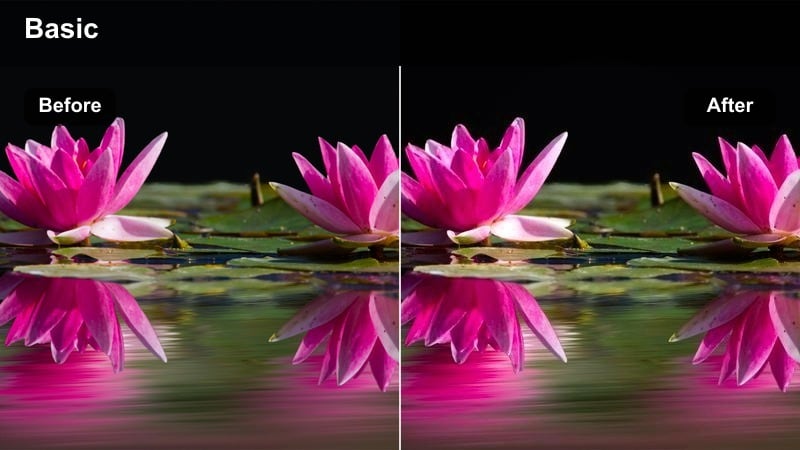
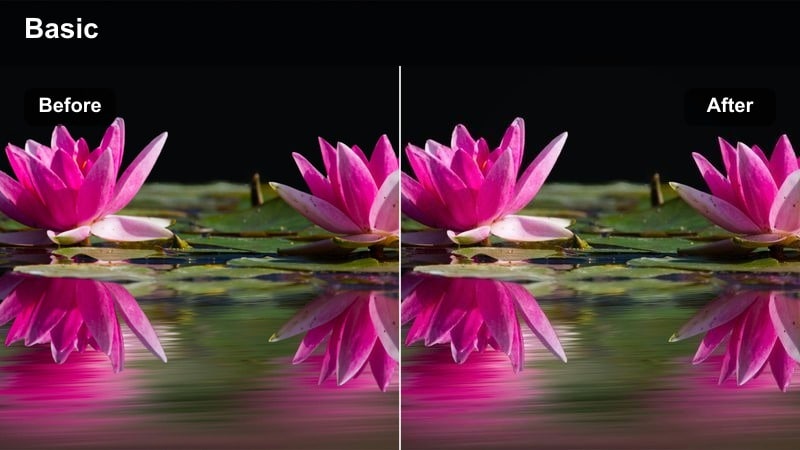
Soft Sun Glow
- Effect look: Gentle lifted exposure with warm highlights and soft contrast for dreamy city walks at sunset.
- Best for: Handheld B-roll of people walking through sunlit streets, lens flares, and reflective windows.
- Editing tip: Lower saturation slightly and add a subtle vignette to keep attention on your subject in bright scenes.
Soft Sun Glow is ideal when you want to lean into the romantic side of golden hour without blowing out your highlights. In Filmora, this preset subtly lifts exposure across the frame while adding a warm bias to the brightest areas, so sun-kissed buildings, hair light, and flares feel creamy instead of harsh.
Use it on walking shots, lifestyle B-roll, and city details where the sun is low and directional. After applying the preset, you can fine-tune vignetting and saturation with Filmora effects and color controls to keep skin tones natural while still pushing a dreamy, cinematic atmosphere.
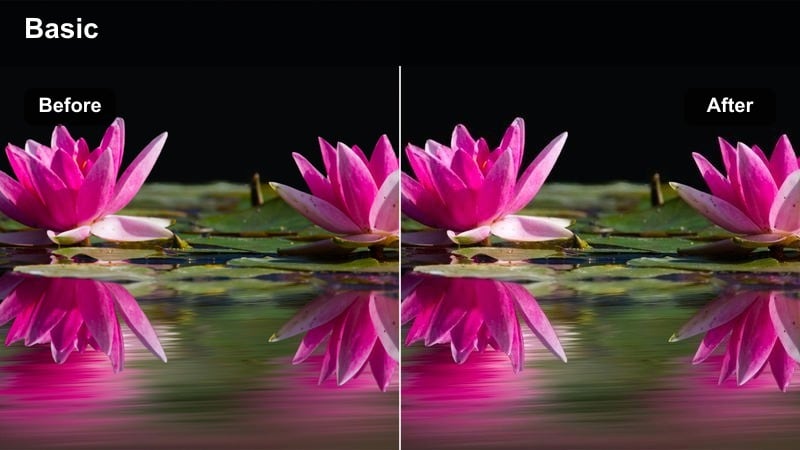
Pair Exposure Filters with AI Color for a Complete Look
Once your exposure is cinematic, Filmora's AI color tools can refine tonality, add subtle film-style palettes, or quickly match clips from different cameras or locations. This helps you keep consistent color even as you move from sunlit streets to shaded alleys.
Use an exposure preset like Soft Sun Glow as your base, then open AI Color Palette to nudge warmth, cool off shadows, or unify an entire sequence with one click-driven adjustment.
 secure download

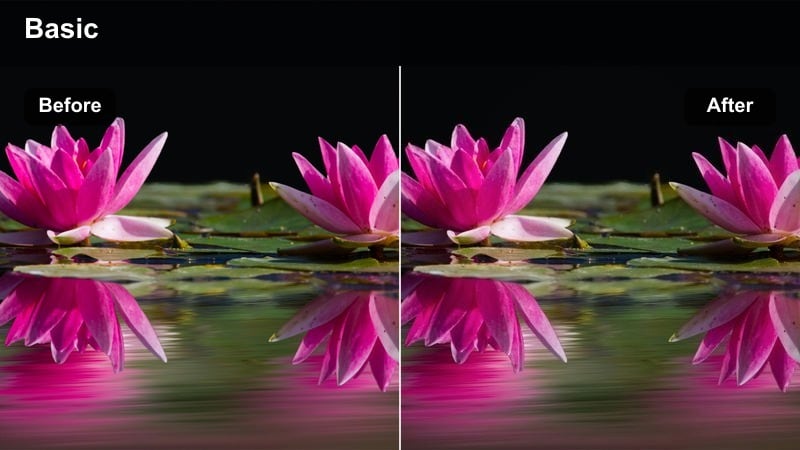
See Cinematic Exposure Filters in Action
To understand how each cinematic exposure filter treats highlights, midtones, and shadows, try them on the same golden hour or street clip. This makes it easy to see which preset maintains sky detail, protects skin tones, and handles deep shadows the way you like.
Within Filmora, toggle filters on and off or compare side by side with the preview window so you can quickly choose a go-to preset that matches your channel's cinematic look.
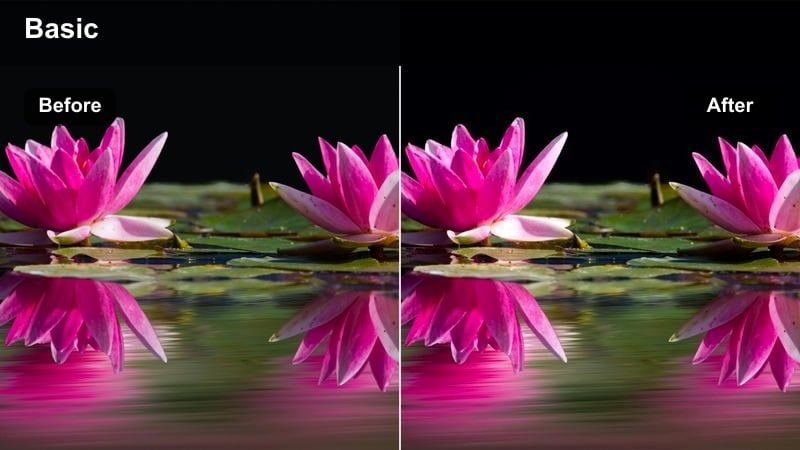
secure downloadStack Exposure Filters with Cinematic LUTs
Exposure filters in Filmora set the foundation by balancing brightness and contrast, while cinematic LUTs handle detailed color styling and final mood. This two-step approach keeps your highlights and shadows intact even as you push more stylized grading.
Apply your preferred cinematic exposure video filter first, then browse Filmora's cinematic LUT collection to add film-like color, cooler night tones, or stylized travel looks without breaking your carefully tuned exposure.
secure downloadUrban Gold Contrast
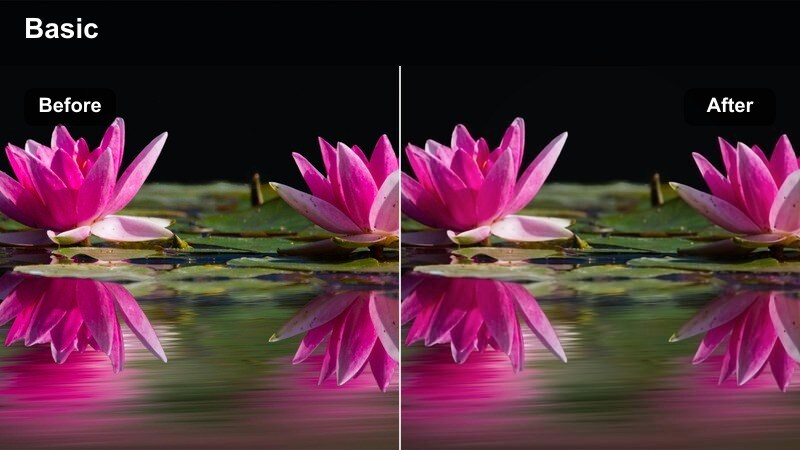
- Effect look: Punchy exposure with deep shadows and crisp golden highlights for high-impact city footage.
- Best for: Fashion reels, street portraits, and product shots against urban backdrops at late afternoon.
- Editing tip: Use this preset on properly exposed clips; if the image feels too harsh, soften contrast by slightly raising black levels.
Urban Gold Contrast adds a dramatic, high-impact punch to late-afternoon city shots by deepening shadows and sharpening highlight separation. The result is a stylized look where metallic details, building edges, and wardrobe textures stand out with strong definition.
In Filmora, apply this preset to well-exposed footage where you want a bold cinematic look, especially for fashion, ads, or hero shots. If contrast feels too intense on small screens, raise the blacks and ease the contrast slider to keep detail in dark clothing and background elements.
Hazy Sunset Bloom

- Effect look: Soft matte exposure with lifted blacks and blooming highlights for an ethereal sunset feel.
- Best for: Vlogs, travel B-roll, and romantic storytelling sequences filmed in warm evening light.
- Editing tip: Pair this filter with a slight blur or glow effect on the brightest areas to enhance the bloom without losing subject clarity.
Hazy Sunset Bloom is perfect when you want a pastel, filmic interpretation of sunset with gentle lifted blacks and a matte finish. The exposure curve rounds off contrast so that rooftops, clouds, and silhouettes feel soft and nostalgic instead of sharp and digital.
In Filmora, combine this preset with a subtle glow or blur effect targeted at highlights to amplify the dreamy atmosphere. Keep your subject sharp using masking or selective focus tools so faces and key details remain readable while the rest of the frame takes on a hazy cinematic glow.
Night City and Neon Scenes
Neon Shadow Balance
- Effect look: Controlled exposure that preserves neon sign detail while lifting faces out of dark backgrounds.
- Best for: Street interviews, night vlogs, and cinematic B-roll under neon and LED city lights.
- Editing tip: Expose to protect neon highlights, then use this filter to recover shadow detail without making the scene look flat.
Neon Shadow Balance is tuned for high-contrast night streets where vivid signs sit next to very dark alleys. It holds onto the color and texture inside neon lights while gently raising exposure on faces and foreground details so your subject does not disappear into black.
Apply it in Filmora to night vlogs, street portraits, or city B-roll where neon is a key design element. You can fine-tune highlights and whites to keep sign text legible, then adjust shadows and blacks to strike a balance between atmospheric darkness and usable detail around your subject.
Midnight Film Matte
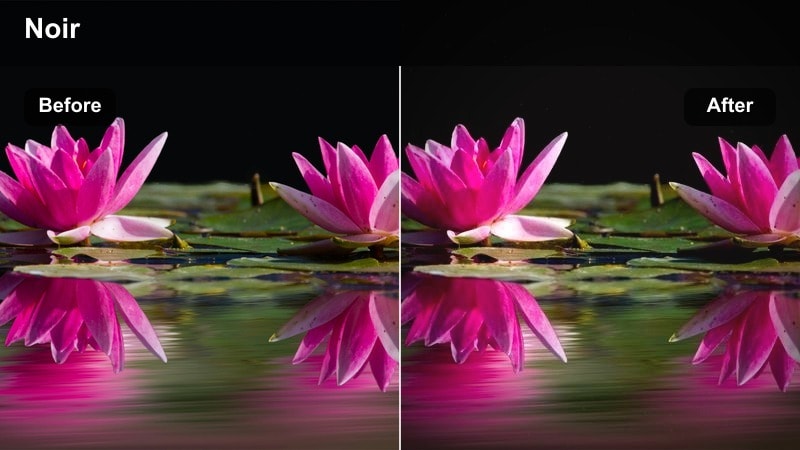
- Effect look: Dark, moody exposure with a subtle matte curve and restrained highlights for noir-style nights.
- Best for: Narrative short films, noir sequences, and moody B-roll in dim alleyways and side streets.
- Editing tip: Use controlled pools of light in your shot, then apply this preset to deepen the mood without hiding your subject.
Midnight Film Matte leans into low-key cinematography, pulling overall exposure down while lifting the deepest blacks just enough to avoid pure crush. Highlights from streetlamps and windows stay controlled, creating a muted, noir-inspired mood that feels deliberate and cinematic.
Use it in Filmora on narrative scenes, thriller-style cutaways, or introspective solo walks through the city at night. After applying the preset, tweak gamma and black levels to keep your subject barely emerging from the darkness, preserving atmosphere while maintaining enough clarity for storytelling.
City Rain Reflect
- Effect look: Slightly lifted exposure with controlled specular highlights to emphasize reflections on wet streets.
- Best for: Nighttime rain sequences, car B-roll, and establishing shots of city streets after rainfall.
- Editing tip: Use this filter on footage with practical lights reflecting on the ground to maximize cinematic shine without clipping.
City Rain Reflect is crafted to make wet pavements and rain-soaked streets glow with cinematic reflections. It slightly raises overall exposure while carefully managing bright specular highlights, so streaks from traffic lights and shop signs stretch across the ground without turning into blown-out patches.
In Filmora, apply this preset to low-angle shots, car passes, or static tripod frames after rainfall. Adjust highlights and midtones to let reflections act as leading lines in your composition, drawing the viewer's eye deeper into the scene while the rest of the frame stays grounded and moody.
Indoor Dialogue and Story Scenes
Window Soft Balance
- Effect look: Balanced exposure that tames bright windows while keeping interior faces naturally lit.
- Best for: Interviews, talking-head content, and narrative scenes near windows or open doors.
- Editing tip: If windows still feel too bright, slightly reduce highlights and whites, then add a gentle vignette to focus on faces.
Window Soft Balance is designed for mixed-light scenarios where a bright window sits behind or beside your subject. It compresses the highlight range so the outside view stays visible while lifting interior tones just enough to keep skin tones natural and flattering.
Apply it in Filmora to interviews, documentary segments, or lifestyle scenes that use natural window light. After applying, refine highlight and white sliders to protect exterior detail, then add a mild vignette or subtle focus effect around the subject to strengthen the cinematic, story-first composition.
Coffee Shop Warmth
- Effect look: Cozy lifted exposure with soft contrast and warm midtones perfect for intimate interior scenes.
- Best for: Podcasts, casual conversations, and lifestyle vlogs filmed in cafes or warm-toned rooms.
- Editing tip: Increase local contrast slightly after applying this preset so text and facial features stay crisp in softer lighting.
Coffee Shop Warmth brightens indoor scenes and infuses them with gentle warmth, ideal for friendly conversations and relaxed storytelling. It softens harsh contrast while keeping midtones inviting, so skin tones look comfortable and lamp light feels cozy instead of yellow and harsh.
In Filmora, apply this preset to cafe vlogs, desk setups, or podcast visuals shot under warm bulbs. If the scene feels a bit too soft, add selective contrast or clarity to faces and important objects, ensuring titles, mugs, and hands remain detailed against the pleasantly lifted background.
Studio Neutral Cinema
- Effect look: Clean, neutral exposure with even midtones and gentle highlight control for professional studio setups.
- Best for: Tutorials, product demos, and talking-head videos lit with soft boxes or ring lights.
- Editing tip: Set your camera slightly flat, then use this filter to add just enough contrast and depth without creating harsh edges.
Studio Neutral Cinema gives you a polished, broadcast-ready base for any type of educational or branded video. It evens out midtones, subtly shapes contrast, and reins in highlights from softboxes or ring lights so your image looks professional but not overprocessed.
Use it in Filmora when you want a consistent studio look across multiple episodes or courses. Record in a slightly flat camera profile, apply this preset, then make minor adjustments to contrast and saturation so logos, product details, and skin tones all sit within a balanced, cinematic exposure.
Travel Skylines and Motion Shots
City Skyline Balance
- Effect look: Even exposure that preserves sky detail while keeping city buildings crisp and defined.
- Best for: Drone shots, timelapses, and establishing shots of city skylines at day or dusk.
- Editing tip: Apply gentle clarity after this preset to enhance building edges without over-sharpening the sky or clouds.
City Skyline Balance targets wide city views where the sky can easily overpower the buildings below. It compresses the brightest tones in clouds and horizon glow while lifting the cityscape, so windows, glass facades, and bridges all retain depth and clarity.
In Filmora, apply this filter to drone passes, timelapses, or establishing shots before adding any stylized color grade. Once the exposure is balanced, a small boost of clarity or sharpness on the midtones will make architecture pop, while your skies stay smooth and cinematic instead of noisy or clipped.
Run-and-Gun Daylight

- Effect look: Adaptive exposure with moderate contrast that smooths sudden lighting changes in moving shots.
- Best for: Walkthroughs, city tours, and handheld travel sequences where you move between light and shade.
- Editing tip: Use this filter as a base, then add keyframe exposure adjustments only on the most drastic lighting shifts.
Run-and-Gun Daylight is aimed at fast-paced travel content shot while walking, biking, or moving through mixed lighting. It sits exposure in a middle ground that protects bright highlights while preventing shadows from becoming too dense, making transitions between sun and shade feel less jarring.
In Filmora, use this preset as a first pass on city tours, POV clips, and event coverage. After applying it, add a few keyframes on the exposure or brightness controls only where the light changes dramatically, smoothing out any remaining flicker while preserving a natural, documentary-style look.
Motion Blur Cinema
- Effect look: Slightly darker exposure with strong midtone contrast that enhances motion blur and speed.
- Best for: Hyperlapses, car mounts, train rides, and high-speed travel sequences through busy streets.
- Editing tip: Apply this filter before adding any artificial motion blur so your brightest areas do not clip during fast movement.
Motion Blur Cinema deepens exposure and emphasizes midtone contrast so streaks of light and blurred edges feel more dramatic. By darkening the overall scene slightly, it allows bright trails, headlights, and illuminated signs to read clearly against a rich, cinematic backdrop.
In Filmora, use this preset on hyperlapses, vehicle mounts, or time-warped city sequences before enabling motion blur or speed ramps. Once the exposure is locked in, you can safely push motion effects and LUTs, knowing your highlights will remain controlled and your sense of speed will feel intentional and stylish.
Tips for Using Cinematic Exposure Video Filter Filters in Filmora
- Expose slightly darker in-camera and let cinematic exposure filters lift shadows for a smoother, filmic roll-off.
- Always check skin tones after applying any exposure filter and adjust midtones if faces look too flat or too contrasty.
- Use different exposure presets for daytime, night, and interiors instead of forcing one look onto every scene.
- Save your favorite filter plus minor tweaks as a custom preset in Filmora to keep your channel's visuals consistent.
- View your final export on a phone and a desktop screen to ensure the exposure reads well across platforms.
Cinematic exposure video filters give content creators a fast way to control light, depth, and mood so everyday footage feels more like a crafted film.
Start by picking the preset that best matches your scene, make small adjustments for your subject, then layer a film style cinematic LUT for a polished final grade.
secure downloadNext: Film Style Cinematic Lut
