
 100% Security Verified | No Subscription Required | No Malware


 ChatGPT
 Perplexity
 Gemini
 Claude
 Grok
Grok
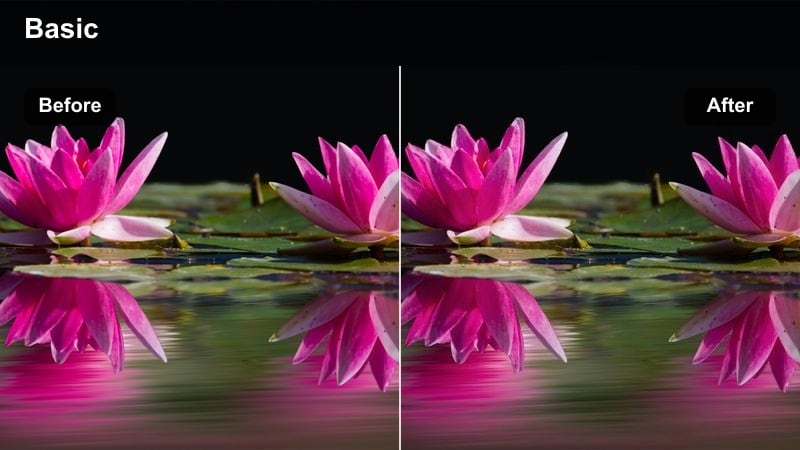
Use a cinematic highlight shadow LUT-style filter in Filmora to sculpt your image with rich contrast, glowing highlights, and deep shadows that feel ready for the big screen.
For content creators, these filters offer a fast way to add drama, depth, and storytelling power to your footage without diving into complex node-based color grading.
In this article
Golden Hour Streets and City Sunsets
Urban Gold Fade
- Effect look: Soft golden highlights with gently lifted shadows for a dreamy urban sunset vibe.
- Best for: City B-roll, street vlogs, and lifestyle reels shot during late afternoon or early evening.
- Editing tip: Lower overall contrast slightly, then add a subtle vignette to keep focus on your subject against the glowing skyline.
Urban Gold Fade wraps your footage in warm, cinematic glow while preserving enough detail in the shadows to keep city textures visible. In Filmora, this LUT-style filter is perfect when you want a gentle highlight pop on buildings and skin while avoiding the crunchiness that comes from heavy contrast boosts.
Apply it to late-afternoon clips, then fine-tune in the Color panel by slightly lowering global contrast and adding a vignette effect around the frame edges. Matching white balance first keeps skin tones natural, and you can nudge temperature and tint to balance warmth without pushing the image into an artificial yellow cast.
Speed Up Grading With AI-Powered Color Tools
Filmora s AI-driven color tools can quickly analyze your footage and generate a balanced starting point for highlights, shadows, and midtones. This gives you a clean base grade before you start layering cinematic highlight shadow LUT-style filters.
Once AI has evened out exposure and white balance, you can stack creative filters like Urban Gold Fade on top to refine mood and tell a stronger visual story in just a few clicks.
 secure download

Preview Highlight and Shadow Filters in Real Time
With Filmora s filter previews, you can audition different cinematic highlight shadow styles in real time as you scrub through your clip. This makes it easy to spot which filter best preserves detail in bright skies, windows, or neon signs while still delivering dramatic contrast.
Apply these filters on adjustment layers and toggle them on or off to A/B compare multiple looks quickly, then lock in the one that matches your project s mood.
secure download1000+ Video Filters and 3D LUTs
Filmora includes an extensive library of filters and 3D LUTs that you can stack with these highlight shadow looks to build your own signature style. Start with a contrast-focused filter to sculpt light, then layer a subtle cinematic LUT for consistent color across your entire edit.
Because each effect offers intensity controls, it is easy to dial in dramatic looks that still feel polished and professional rather than over-processed.
secure downloadSunset Contrast Punch
- Effect look: Bold contrast with glowing highlights and rich, detailed shadows for intense evening scenes.
- Best for: Dynamic city montages, travel edits, and establishing shots shot into the sun.
- Editing tip: Use keyframed exposure to maintain detail in bright skies while letting foreground shadows stay deep and dramatic.
Sunset Contrast Punch pushes your highlights and shadows further apart, making skylines, silhouettes, and sun flares feel more dramatic. It is ideal when your footage already has strong backlight and you want skyscrapers or foreground subjects to read as bold shapes against a glowing sky.
In Filmora, apply this filter on an adjustment layer, then keyframe Exposure and Highlights across the clip so clouds retain texture as the camera moves. If you shot in log or flat, first pull down overall exposure before enabling the filter to keep highlight roll-off smooth and cinematic rather than clipped.
Amber City Glow
- Effect look: Warm amber highlights with soft, milky shadows and a gentle filmic fade.
- Best for: Romantic city walks, narrative shorts, and emotional storytelling scenes at dusk.
- Editing tip: Reduce saturation on strong reds to avoid oversaturated neon while keeping the amber glow in the highlights.
Amber City Glow adds a nostalgic filmic warmth to streetlights, windows, and practical lamps while keeping shadows soft and slightly lifted. This creates a cozy atmosphere for character-driven scenes, walk-and-talk moments, or reflective B-roll sequences in the city.
In Filmora, combine this filter with subtle Color adjustments by selectively desaturating reds and taming intense neon signs. You can further refine skin by slightly desaturating orange hues and nudging them toward pink, preserving flattering complexions even as the overall frame leans warmly amber.
Moody Night Alleys and Neon Drama
Neon Shadow Sculpt
- Effect look: Deep, inky shadows with crisp neon highlights that pop against dark alleyways.
- Best for: Night street scenes, cyberpunk edits, and moody character close-ups under neon signs.
- Editing tip: Crush blacks slightly more than usual, then raise midtones to keep subject detail visible in dark environments.
Neon Shadow Sculpt is built to emphasize pools of colored light while dropping the rest of the frame into rich shadow, perfect for neon-lit alleys and signage. The filter deepens blacks so the background falls away, letting bright pinks, cyans, and magentas stand out with graphic intensity.
Inside Filmora, use this filter alongside the HSL or Color controls to carefully manage saturation in blue and magenta ranges and avoid banding in bright neon areas. If the result feels too stark, slightly lift the Shadows slider while leaving Blacks low to recover just enough detail around your subject without losing the moody, stylized feel.
Noir Street Split
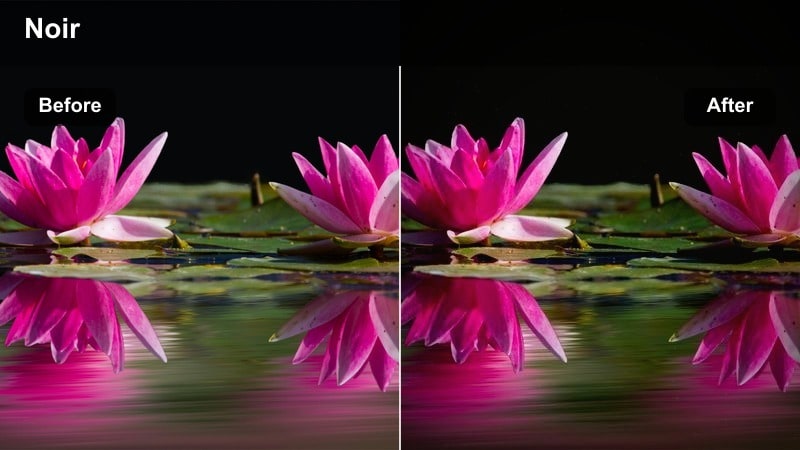
- Effect look: High-contrast noir-style tones with bright practical lights and heavy shadow separation.
- Best for: Detective short films, gritty alley sequences, and tense dialogue scenes at night.
- Editing tip: Convert to near-monochrome by pulling saturation way down while preserving subtle color in skin and light sources.
Noir Street Split channels classic film noir by exaggerating the difference between bright streetlights and crushed shadows. It creates punchy, dramatic silhouettes and stark light pools, ideal for mystery, crime, or psychological thriller scenes set on rain-soaked streets.
In Filmora, decrease overall saturation after applying the filter until the image is nearly monochrome, leaving just hints of color in faces or key practical lights. Use vignettes and masks to brighten only your subject and key light sources, feathering the edges so the lighting feels deliberate and cinematic rather than digitally cut out.
Chrome Night Fade
- Effect look: Cool metallic highlights with slightly faded shadows for a stylized night city look.
- Best for: Car shots, city drive-bys, and montage sequences with reflections and wet streets.
- Editing tip: Add a slight blur or glow to highlights to simulate lens bloom on chrome surfaces and headlight streaks.
Chrome Night Fade shifts your night scenes into cooler territory, adding a metallic sheen to headlights, chrome, and wet asphalt while softening shadows a touch. The look is perfect for kinetic car sequences, highway montages, and city drives where reflections play a big role in the composition.
In Filmora, pair this filter with a light glow or blur effect on bright areas to mimic lens bloom on reflective surfaces and headlights. If people are present, use skin-tone isolation tools or masks to warm midtones on faces slightly so they stand out naturally against the cooler blue environment.
Cinematic Interiors and Dialogue Scenes
Soft Room Contrast
- Effect look: Delicate contrast with controlled highlights and gently rolled-off shadows for natural interiors.
- Best for: Sit-down interviews, talking-head content, and narrative dialogue in softly lit rooms.
- Editing tip: Lower clarity or sharpness slightly after the filter to keep faces flattering in close-up dialogue shots.
Soft Room Contrast is designed to keep interior scenes organic and flattering, preventing harsh edges and blown-out window light. It slightly shapes highlights and shadows without making interview or dialogue footage look overly stylized.
In Filmora, apply this filter to talking-head sequences, then reduce sharpness or clarity a little to smooth skin and soften minor imperfections. If windows are visible, use masks or the Highlights slider to pull back bright spots while letting midtones remain smooth and readable for faces.
Window Light Drama
- Effect look: Strong side-lit highlights with pronounced shadows for a theatrical, stage-like interior feel.
- Best for: Dramatic monologues, serious interviews, and contemplative character moments near windows.
- Editing tip: Increase local contrast around the lit side of the face and soften the dark side with a subtle lift in shadow gamma.
Window Light Drama emphasizes directional light from a window or doorway, carving strong contrast across your subject s face. This creates an introspective, theatrical feeling that suits emotional monologues or tense interior conversations.
After adding the filter in Filmora, use local adjustments or masks to boost contrast slightly on the bright side of the face and gently lift the shadow side. Simulate negative fill by darkening and cooling deeper shadows a little, then adjust the black point so details do not disappear entirely in key moments.
Studio Neutral Cinema
- Effect look: Balanced highlights and shadows with a clean, neutral cinematic tone well-suited for controlled lighting setups.
- Best for: Studio talk shows, branded content, and educational videos where clarity matters as much as style.
- Editing tip: Fine-tune contrast using the curves tool to keep text, graphics, and logos clear while maintaining a cinematic edge.
Studio Neutral Cinema delivers a professional, broadcast-ready look with just enough contrast to feel cinematic while keeping details crisp. It is particularly effective in controlled studio environments where you need visuals to look polished but not overly stylized.
In Filmora, add this filter to your talking-head or tutorial timeline, then refine with the Curves tool to ensure titles, lower thirds, and logos remain legible. Check brand colors after grading and, if necessary, selectively correct hue and saturation on specific colors so your visual identity stays accurate.
Outdoor Epics and Wide Cinematic Landscapes
Ridge Highlight Sculpt
- Effect look: Crisp highlights along edges and ridges with deepened shadows for a grand, epic outdoor tone.
- Best for: Wide establishing shots, rooftop scenes, and drone footage over cityscapes or distant skylines.
- Editing tip: Boost micro-contrast in the highlights while protecting midtones to avoid making the whole frame look overly harsh.
Ridge Highlight Sculpt sharpens the interplay between light and shadow on rooftops, skylines, and ridgelines, giving wide shots a sense of scale and presence. The filter enhances edge highlights while deepening structural shadows so architecture and landscapes feel more dimensional.
Within Filmora, combine this filter with a gentle S-curve that targets highlights and darker regions while leaving midtones relatively flat. If atmospheric haze is softening your distant skyline, selectively raise clarity or sharpness there instead of boosting global contrast, preserving cinematic depth in the scene.
Overcast Film Matte
- Effect look: Soft, flattened highlights with slightly raised shadows and a subtle matte finish for cloudy days.
- Best for: Overcast city parks, moody rooftop talks, and travel segments under grey skies.
- Editing tip: Lift blacks carefully to create a matte look while adding a touch of midtone contrast so faces do not look washed out.
Overcast Film Matte turns flat, cloudy-day footage into a calm, cinematic canvas by lifting blacks and taming bright areas. The result is a gentle, film-like contrast profile that suits reflective scenes, travel vignettes, or rooftop conversations under grey skies.
In Filmora, use the filter as a base, then fine-tune black levels until you see a pleasing matte texture without muddying the image. Add a small boost to midtone contrast or clarity around faces to keep subjects from looking washed out, and introduce subtle film grain for extra texture and realism.
Dusk Teal Rise
- Effect look: Teal-tinted shadows with preserved warm highlights for a modern blockbuster dusk style.
- Best for: Dusk skyline shots, action sequences, and hero moments on bridges or high viewpoints.
- Editing tip: Push teal only into the shadow range and protect skin-tone midtones so the teal-and-orange contrast stays cinematic, not cartoonish.
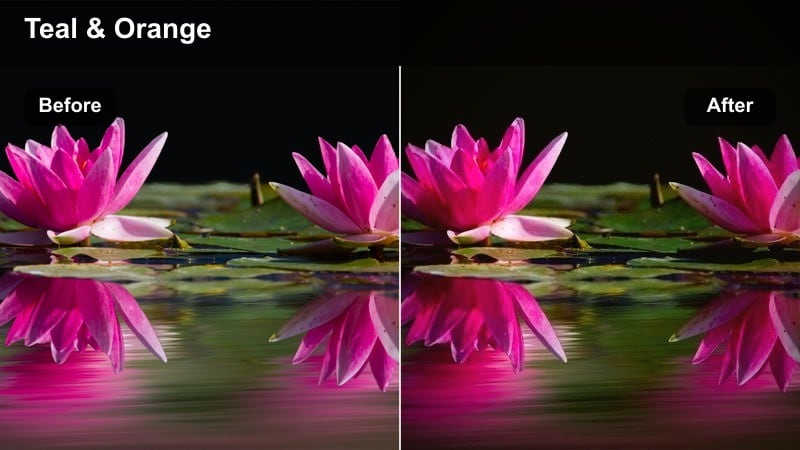
Dusk Teal Rise delivers the modern teal-and-warm look by cooling down shadows while keeping sunlit areas pleasantly warm. This creates strong color separation between structures, skies, and skin, ideal for hero shots and dynamic dusk sequences.
In Filmora, apply the filter, then use HSL or color wheels to confine teal shifts mainly to the shadow range, leaving midtone skin tones natural. If the effect feels too intense, lower the saturation of teal or blue specifically instead of reducing global saturation, so your cinematic contrast remains bold but controlled.
Tips for Using Cinematic Highlight Shadow Lut Filters in Filmora
- Always correct exposure and white balance before stacking cinematic highlight shadow filters so you do not introduce clipped highlights or muddy shadows.
- Apply these filters on adjustment layers in Filmora to reuse the same cinematic contrast style across multiple clips quickly.
- Use masks around your subject when needed to keep faces readable while allowing backgrounds to fall into richer, moodier shadows.
- Combine a subtle vignette with film grain after your highlight and shadow shaping to reinforce the cinematic atmosphere.
- Export a few fully graded frames as stills and use them as visual references when matching contrast and color between different scenes.
- When mixing filters and LUTs, keep overall intensity moderate and adjust opacity so highlight and shadow detail remain intact.
- Leverage keyframes on exposure and color controls to maintain consistent highlight protection as lighting changes across a moving shot.
With the right cinematic highlight shadow LUT-style filters in Filmora, you can quickly sculpt contrast, deepen mood, and guide the viewer s eye without complex color workflows. Each filter gives you a focused way to control how highlights glow and how shadows fall, whether you are shooting golden-hour streets, neon-soaked alleys, or interior dialogue scenes.
Keep experimenting with filter combinations, masking, and gentle parameter tweaks until your highlight and shadow balance feels intentional and polished. Over time, you can build a custom toolkit of favorite filters and LUT pairings that deliver dramatic film color LUT looks tailored to your personal style and portfolio.
secure downloadNext: Dramatic Film Color Lut
