
 100% Security Verified | No Subscription Required | No Malware

These Filmora portrait color correction video LUT filters are designed for creators who want natural, consistent skin tones in any lighting without spending hours on manual grading.
Use these presets to quickly balance exposure, refine color, and give your portrait videos a clean, professional look that stays true to your subject.
In this article
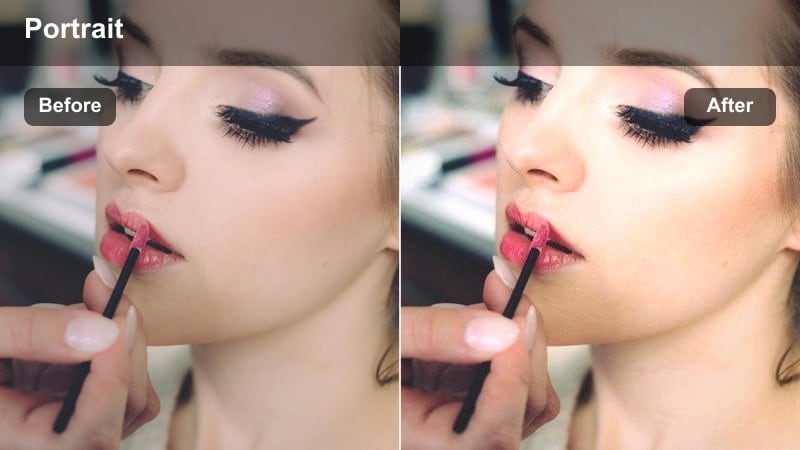
Soft Natural Daylight Portraits
Soft Neutral Skin Balance
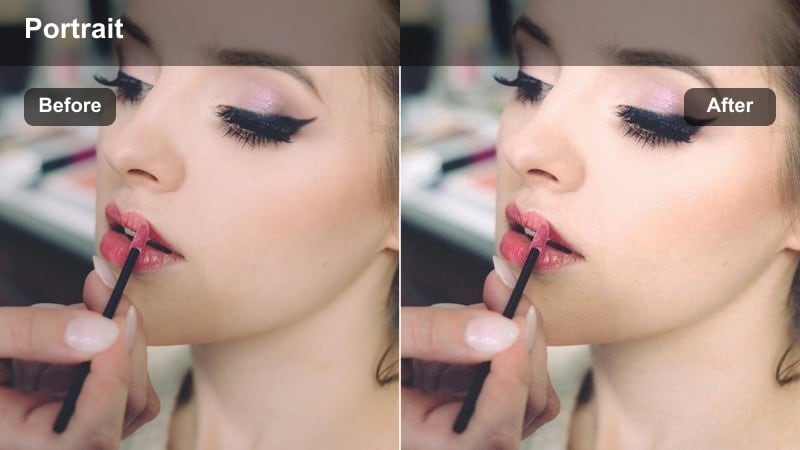
- Effect look: Gentle, low-contrast portrait filter that evens out skin tones while keeping a true-to-life daylight feel.
- Best for: Talking-head videos, coaching content, and natural daylight vlogs shot near windows.
- Editing tip: Lower contrast slightly if your original footage is already well-lit to avoid over-smoothing facial contours.
Soft Neutral Skin Balance is designed to give you a clean, realistic daylight look while subtly correcting uneven skin tones. In Filmora, apply this LUT to your A-roll, then fine-tune exposure and contrast so faces retain dimension without harsh shadows or crunch. It works especially well when your subject is lit by indirect window light and you want the image to feel natural rather than heavily graded.
For consistent results, choose one well-exposed reference clip, adjust white balance until the skin looks true to life, and then copy those settings to the rest of your timeline. This approach keeps your portrait series visually unified even if clouds pass by or the sun shifts slightly during your recording session.
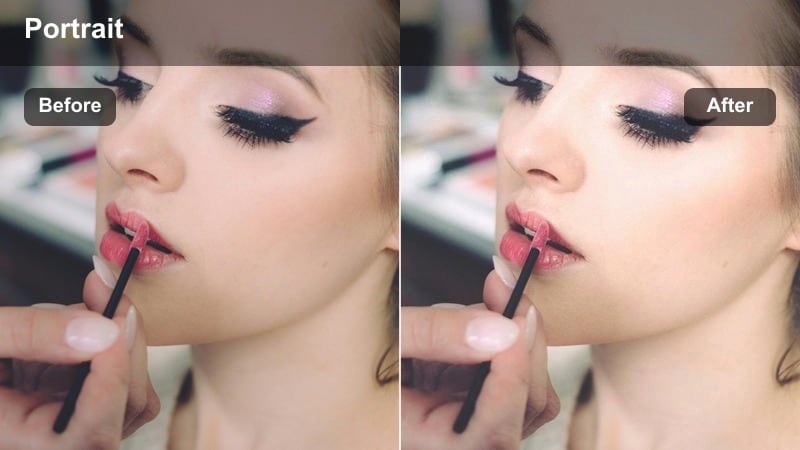
AI-Powered Portrait Color Matching
Filmora includes AI-driven color tools that automatically analyze your footage and help you match color and exposure across multiple portrait clips. When you combine AI color matching with a neutral portrait LUT, you can quickly lock in consistent skin tones from the first frame to the last.
Use this workflow when you have interviews or talking-head segments filmed on different days or in slightly different lighting. Apply your preferred portrait filter, run AI color matching between your hero clip and the rest, then tweak intensity so every shot feels like it belongs in the same session.
 secure download

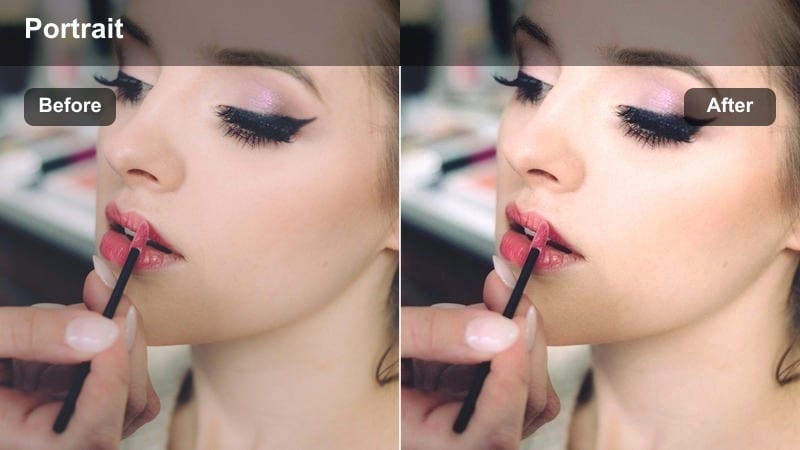
Preview Portrait Filters in Real Time
Filmora lets you hover over portrait filters in the Effects panel and instantly preview how they change skin tones and background colors in the Viewer. This real-time feedback makes it easy to compare subtle differences in warmth, contrast, and saturation before applying anything to your clip.
Load a close-up of your subject and move your cursor across different portrait presets to see which one fits your brand and lighting conditions. Once you find a favorite look, apply it, adjust intensity, and save it as a preset so you can reuse it across future portrait projects.
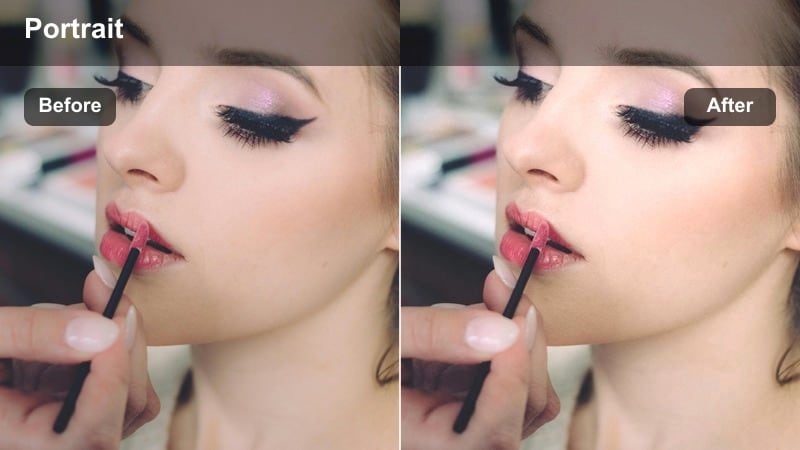
secure downloadCombine Filters and LUTs for Signature Portrait Looks
Beyond basic correction, Filmora offers 1000+ filters and 3D LUTs you can stack to build a unique, branded portrait style. Start by applying a subtle skin tone correction filter, then layer a creative LUT for a cinematic, pastel, or high-contrast finish that matches your channel identity.
Once you dial in a combination you love, save it as a custom preset so every new portrait video starts from the same polished baseline. This workflow is ideal for creators who want repeatable, on-brand color across YouTube, TikTok, and client work without rebuilding grades from scratch each time.
secure downloadWindow Light Glow
- Effect look: Soft highlights with a subtle warm lift that mimics flattering window light on skin.
- Best for: Portraits filmed near large windows, light and airy lifestyle content, minimal studio setups.
- Editing tip: Increase the filter intensity only until the brightest areas of the face approach but do not clip into pure white.
Window Light Glow enhances the natural directionality of real window light while giving skin a gentle luminous sheen. When you are editing in Filmora, apply this LUT to footage where the key light comes from the side or front, then watch how it lifts highlights on cheeks and forehead without making the overall image feel artificial.
If your subject has slightly oily or shiny skin, pair this filter with small highlight and white reductions in the Color panel to avoid hotspots. You can also combine it with a soft vignette so that the brightest, warmest part of the frame is always your subject s face, ideal for vlogs, home studio intros, or lifestyle reels.
True Tone Daylight Fix

- Effect look: Neutral daylight correction that tames green or blue color casts while preserving realistic skin color.
- Best for: Portrait footage shot under mixed daylight and indoor lighting, especially near tinted windows.
- Editing tip: Fine-tune the temperature slider after applying the filter to exactly match your subject's natural skin tone.
True Tone Daylight Fix is built to rescue portraits affected by greenish glass, blue skylight, or mixed daylight and interior bulbs. In Filmora, drop this LUT onto your clip and you will see skin tones move toward a balanced, neutral hue while backgrounds retain a clean daylight feel.
For precise results, start with Filmora s white balance eyedropper on something neutral, then apply the filter and adjust the Temperature and Tint sliders in small steps. This lets you zero in on each subject s natural complexion so your talking-head content, interviews, and tutorials retain accurate skin color even in tricky environments.
Indoor Warm Studio Portraits
Cozy Studio Amber
- Effect look: Warm, cozy portrait filter that softens shadows and adds subtle amber warmth to skin.
- Best for: Home studio setups with softbox lighting, podcast recordings, and desk-based talking-head videos.
- Editing tip: Dial back saturation slightly if your background already has strong warm colors to keep focus on the subject.
Cozy Studio Amber is tailored for creators who film in bedroom or office studios and want a friendly, inviting color palette. In Filmora, applying this LUT adds a gentle amber cast that flatters most skin tones while smoothing contrast so facial features look soft but still defined.
To keep attention on your subject, combine this filter with subtle background darkening using vignettes or masks. This preserves the warm studio vibe while guiding the viewer s eye to expressions and eye contact, perfect for podcasts, webinars, and long-form educational content.
Soft Ring Light Portrait

- Effect look: Balanced contrast and gentle smoothing designed for ring-light portraits with bright frontal lighting.
- Best for: Beauty content, product demos, and tutorial videos filmed with a ring light close to the camera.
- Editing tip: Reduce clarity or sharpness only slightly so skin looks flattering but not plasticky.
Soft Ring Light Portrait is optimized for the intense, frontal illumination that ring lights create around the lens. In Filmora, this LUT evens out midtones and controls highlights on the face so makeup, skin texture, and product details remain visible without harsh hotspots.
After applying the filter, fine-tune sharpness and clarity: keep skin softly flattering, then selectively add crispness around the eyes, brows, and hairline using masks. This approach delivers that beauty-style smoothness while preserving enough detail for tutorials, close-up product shots, and social content where the face fills the frame.
Tungsten Tone Corrector

- Effect look: Corrective filter that pulls overly orange tungsten lighting back to a neutral, cinematic warmth.
- Best for: Indoor rooms lit with old bulbs, office lighting, and late-night filming in small studios.
- Editing tip: If skin still looks too orange, lower the orange channel saturation in HSL after applying the filter.
Tungsten Tone Corrector is built to deal with older, warm bulbs that push skin into heavy orange or yellow territory. When you apply it in Filmora, the LUT shifts color closer to a balanced, cinematic warmth while keeping the cozy mood of the original room lighting.
Use the HSL controls afterward to gently reduce Orange or Yellow saturation if complexions remain too intense. This is especially helpful for late-night filming sessions, office vlogs, or rented spaces where you cannot change the light fixtures but still want professional-looking portraits.
Outdoor Golden Hour Portraits
Golden Hour Portrait Glow
- Effect look: Rich golden highlights with soft contrast and a subtle lift in midtones for glowing outdoor skin.
- Best for: Sunset portraits in parks, rooftop sessions, and cinematic outdoor vlogs just before sunset.
- Editing tip: Use a slight vignette after applying the filter to keep attention on the face against the bright sky.
Golden Hour Portrait Glow amplifies the natural warmth of late-afternoon and sunset light, accentuating the soft halo effect you get around hair and shoulders. In Filmora, it adds richness to warm hues and gently lifts midtones so skin appears luminous without losing detail.
For backlit scenes, combine this LUT with careful exposure adjustments: reduce highlights to preserve the sky, then raise overall exposure until the face sits at a comfortable brightness. A subtle vignette or mask-based brightening on the face helps separate your subject from dramatic backgrounds like rooftops or open fields.
Sunset City Portrait
- Effect look: Warm, cinematic toning that deepens city colors while maintaining realistic outdoor skin tones.
- Best for: Street portraits, travel vlogs, and city rooftop interviews during late afternoon or early evening.
- Editing tip: Reduce saturation in the red channel slightly if bright signage or brick walls overwhelm skin tones.
Sunset City Portrait focuses on balancing warm, cinematic color with believable skin tones against busy urban environments. In Filmora, this LUT deepens oranges and reds in the skyline, buildings, and signage while keeping your subject s face from looking overly saturated.
When editing, pay close attention to strong red or magenta elements such as neon signs or brick walls. Use the HSL panel to tame those specific hues so they support rather than compete with your portrait, giving you a polished, movie-style city look that still feels authentic.
Hazy Sunlit Softener
- Effect look: Low-contrast, softly hazy look that smooths harsh sun and keeps shadows gentle on the face.
- Best for: Midday outdoor portraits, beach walks, and bright park vlogs when the sun is high and strong.
- Editing tip: If the image looks too flat, add a small S-curve in the tone controls to restore just a bit of depth.
Hazy Sunlit Softener is designed for harsh midday conditions where the sun is overhead and shadows can be unflattering. In Filmora, applying this LUT reduces contrast and softens transitions between light and dark areas, making skin appear smoother and more forgiving under strong daylight.
If the result feels too flat, use the Curves or tone controls to create a shallow S-curve, adding a touch of depth without returning to the original harshness. This filter works particularly well for lifestyle vlogs, travel clips, and walk-and-talk content filmed in parks, city squares, or on the beach.
Moody Low-Light and Night Portraits
Night City Portrait Balance
- Effect look: Clean, cool-balanced night filter that reduces color noise and keeps skin natural under neon or street lights.
- Best for: Night city portraits, neon-lit b-roll, and urban creator intros filmed on the street.
- Editing tip: Add a little noise reduction after applying the filter, but stop before skin texture starts to disappear.
Night City Portrait Balance helps you manage complex color from street lamps, shop windows, and neon signs while maintaining realistic skin tones. In Filmora, this LUT nudges the overall palette toward a cleaner, slightly cool balance and subtly calms over-saturated lights in the background.
Pair the filter with moderate noise reduction in low-light clips to smooth color speckles without erasing natural skin texture. For extra control, reduce saturation of extreme blues and greens in HSL so those tones frame your subject rather than casting an unnatural tint onto faces.
Moody Indoor Shadow Play
- Effect look: Deep, moody contrast with rich shadows and controlled highlights that still hold detail on the face.
- Best for: Cinematic monologues, dramatic talking-head scenes, and low-key storytelling indoors.
- Editing tip: Use a subtle vignette to support the moody feel, but avoid making corners completely black.
Moody Indoor Shadow Play emphasizes contrast and shape, ideal for narrative pieces or emotional storytelling where you want depth and drama. In Filmora, this LUT deepens shadows while carefully preserving detail on key facial areas, so expressions remain readable even in low-key setups.
After applying the filter, adjust midtone exposure to decide how much of the face you want to reveal, then add a gentle vignette to center focus. You can use masks to bring a little extra light to the eyes or cheekbones, creating dimension without flattening the cinematic mood you have created.
Cinematic Blue Lift Portrait

- Effect look: Cool, cinematic night filter that lifts shadows slightly while keeping skin tones neutral and pleasing.
- Best for: Night interiors, small studio setups with LED strips, and narrative portrait scenes with a cool tone.
- Editing tip: Adjust the filter intensity depending on how much coolness you want in the background versus on the skin.
Cinematic Blue Lift Portrait brings a modern, cool-toned aesthetic to night and low-light portraits while gently raising shadow detail. In Filmora, this LUT adds a blue cast primarily to darker areas and backgrounds, helping LED strips, monitors, and accent lights feel cohesive and stylized.
To keep skin from drifting too cold, warm up midtones slightly in the Color wheels or reduce the LUT s intensity until faces look natural again. This gives you a sophisticated, cinematic contrast between a cool environment and neutral, inviting portraits, perfect for tech videos, gaming setups, or narrative shorts.
Tips for Using Portrait Color Correction Video Lut Filters in Filmora
- Correct exposure and white balance in Filmora before applying any portrait color correction video LUT so the filter has a clean base to work from.
- Apply the same portrait video filter across all clips from the same scene or camera setup to avoid sudden shifts in skin tone between cuts.
- Use Filmora s scopes and preview window to watch for clipping in highlights, especially on forehead and cheeks, when increasing filter intensity.
- Check teeth and eye whites after grading; if they look too warm or saturated, reduce yellow or orange saturation in the HSL panel.
- For multi-camera shoots, match one hero shot first, then copy color settings and LUT intensity to other angles and tweak as needed.
- Export a short test clip and watch it on your phone to ensure your portrait color reads well on smaller, brighter screens.
- Save your favorite LUT and filter combinations as Filmora presets so you can quickly reapply your signature portrait look in new projects.
- Keep adjustments subtle; let the LUT handle most of the style, then use Filmora s basic color controls for small, targeted refinements.
With the right portrait color correction video LUT filters, you can fix tricky lighting, balance skin tones, and give every close-up a clean, professional finish in minutes.
Experiment with these Filmora presets, fine-tune them to your style, and save your favorite combinations so all your future portrait videos look polished and consistent.
secure download