
 100% Security Verified | No Subscription Required | No Malware


 ChatGPT
 Perplexity
 Gemini
 Claude
 Grok
Grok
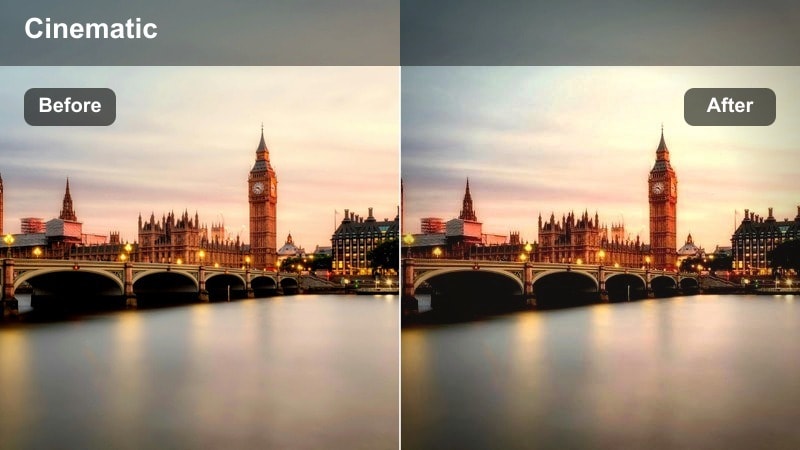
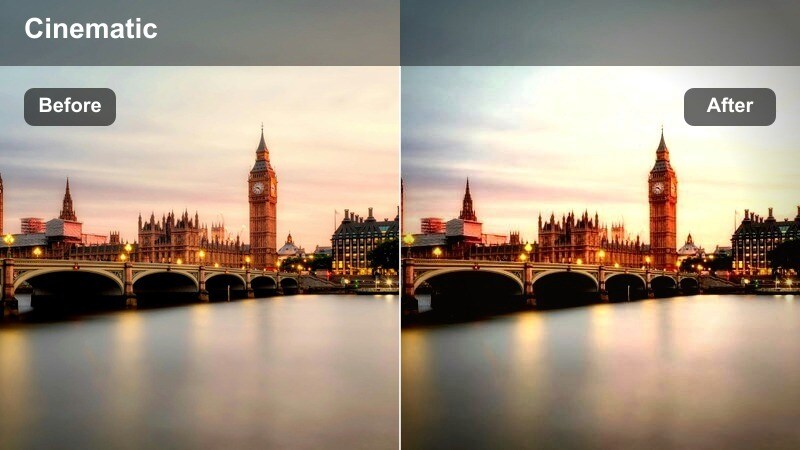
This street photography style video LUT-inspired filter collection is made for content creators who want their city footage to feel raw, cinematic, and full of character.
Use these Filmora-friendly filter ideas to build a consistent look across your street vlogs, B-roll, and documentary-style videos without losing the authentic mood of the urban environment.
In this article
Early Morning Commute Streets
Soft Grit Dawn
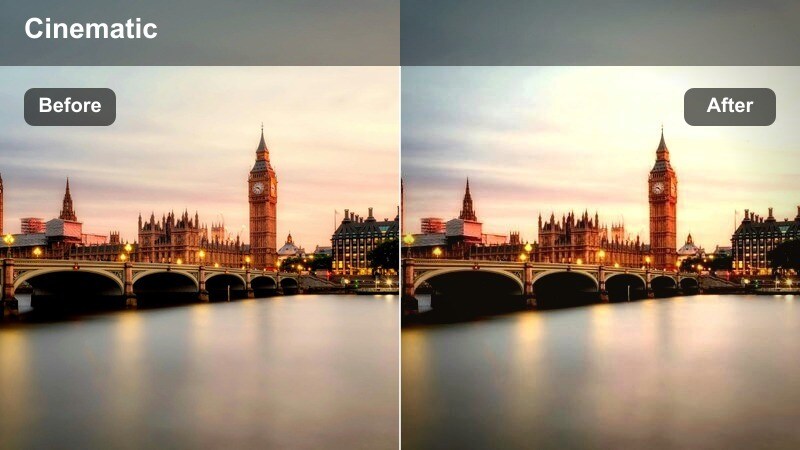
- Effect look: Low-contrast, slightly desaturated streets with gentle highlights and a soft urban haze.
- Best for: Slow morning walk-throughs, commuter B-roll, and reflective storytelling over empty sidewalks.
- Editing tip: Lower clarity slightly and add subtle film grain after this filter to keep details gentle but cinematic.
In Filmora, a Soft Grit Dawn style grade is ideal when you want your early-morning street footage to feel calm and observational instead of high-energy. Start by lowering overall contrast and slightly pulling back saturation, then soften the highlights so windows, cars, and pavements roll off smoothly instead of popping too hard.
To keep the image from looking flat, add a hint of film grain and a gentle fade to the blacks so shadows stay present but not heavy. Masked sharpening on a single subject, like a lone walker or cyclist, lets you keep the environment dreamy while anchoring the viewer on the story happening inside the frame.
Match Street LUT Vibes with AI Color Tools
Use Filmora s AI-driven color tools to quickly align your footage with a favorite street photography style video LUT or reference image. The AI Color Palette feature analyzes your reference frame and automatically adjusts your clip to match its overall color balance and tonal mood.
Once Filmora gets you close, you can fine-tune contrast, saturation, and warmth to dial in exactly how soft or gritty you want your dawn city scenes to feel. This saves time compared to building every look from scratch on each new project.
 secure download

Preview Street Filters in Real Time
Filmora s filter previews make it easy to test different street photography style video LUT looks directly on your timeline. You can scrub through your footage, toggle filters on and off, and instantly see how each style responds to changes in location, light, and movement.
By applying candidate filters on adjustment layers, you can compare a soft dawn mood against a grittier contrasty style over the exact same clip. This helps you lock in a cohesive visual language for your entire street sequence before doing any detailed tweaks.
secure downloadCombine Filters with Street LUTs for a Signature Look
Filmora gives you 1000 plus video filters and 3D LUTs you can stack to build a recognizable urban aesthetic. Start with a base street photography style video LUT, then add creative filters to sculpt highlights, deepen shadows, or emphasize certain colors like neon signs or sodium streetlights.
Once you arrive at a combination that fits your channel, save it as a custom preset. That way, every new vlog, B-roll montage, or documentary piece can start with your signature city grade pre-applied, keeping your brand visually consistent with almost no extra work.
secure downloadCommuter Contrast
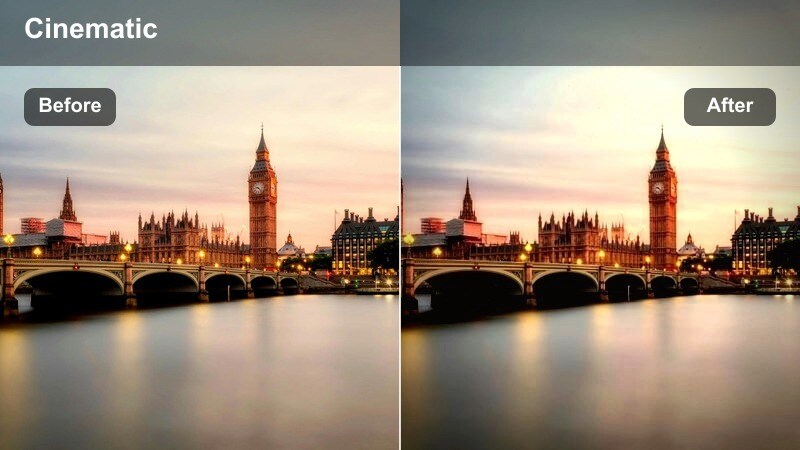
- Effect look: Punchy midtones with crisp edges and cool shadows that emphasize busy morning energy.
- Best for: Subway entrances, crosswalk rush, and handheld shots of people heading to work.
- Editing tip: Use a slight vignette and stabilize handheld clips to keep attention on faces and movement in the frame.
Commuter Contrast is built to showcase the rush and density of morning crowds. In Filmora, push contrast and clarity to give midtones extra punch, then cool down the shadows so the spaces between buildings and people feel crisp and modern.
Before applying this type of look, slightly pull down highlights so reflective surfaces like car roofs and windows do not blow out. If your grade makes facial features a bit too harsh, use Filmora s beauty or skin-smoothing tools just on faces, leaving clothing, sidewalks, and architecture sharp to maintain that energetic, street photography edge.
Muted Subway Hues
- Effect look: Soft desaturation with warm midtones and lifted blacks for a documentary subway feel.
- Best for: Subway platforms, escalators, train interiors, and low-light station footage.
- Editing tip: Reduce color noise before applying this filter to keep skin tones smooth in dim underground light.
Muted Subway Hues is ideal for giving underground scenes a grounded, documentary-style vibe without making them feel too cold or clinical. In Filmora, start by lifting blacks to soften deep shadows, then gently warm the midtones so skin tones stay inviting under fluorescent or mixed lighting.
Apply modest global desaturation to tone down distracting colors in tiles, signage, and advertisements. Use HSL controls to protect the orange and red ranges so faces stay natural, and if station lighting leans green, push the global tint slightly toward magenta after your LUT or filter to bring the whole frame back into balance.
Harsh Midday Urban Grit
Hardlight Concrete
- Effect look: High contrast with deep shadows, crisp whites, and neutral, gritty street tones.
- Best for: Midday street corners, sharp building lines, and high-contrast alley shots.
- Editing tip: Use highlight recovery before this filter for better sky detail, then add a subtle blue split-tone to shadows.
Hardlight Concrete turns harsh midday sun into a stylistic advantage by embracing deep shadows and pronounced geometry. In Filmora, use curves to raise contrast, pushing blacks down and letting whites pop, while keeping overall color fairly neutral so textures and shapes dominate.
Recover as much highlight detail as possible in skies and bright signage before you apply strong contrast or a LUT. Afterward, add a subtle blue split-tone to the shadows to cool off the deepest areas, making pedestrians and architectural lines stand out with a graphic, street photography feel.
Fade Chrome Alleys
- Effect look: Faded blacks with cool metallic highlights that make alleys and cars feel cinematic.
- Best for: Alleyway B-roll, parked cars, metal stairways, and industrial city backstreets.
- Editing tip: Lift the blacks slightly and lower saturation in greens to remove color distractions from concrete and walls.
Fade Chrome Alleys works best when you want a softer, film-emulation style rather than aggressive contrast. In Filmora, lift black levels so shadows settle into a charcoal gray, then cool your highlights and midtones to give metal railings, car bodies, and windows a chrome-like sheen.
Reduce saturation in greens and yellows to prevent graffiti, plants, or painted walls from stealing focus from the metallic textures. If the image starts to feel too flat, add micro-contrast with clarity instead of global contrast so you retain the faded, cinematic mood while still enhancing detail in key surfaces.
Monochrome Crosswalk
- Effect look: Bold black and white with strong contrast and textured concrete detail.
- Best for: Crosswalks, street patterns, bike lanes, and architectural street details.
- Editing tip: Push clarity and structure on pavement and lines while keeping a bit of softness on moving subjects.
Monochrome Crosswalk strips away color so patterns, shadows, and human motion take center stage. In Filmora, convert your clip to black and white using a LUT or color adjustment, then increase contrast and clarity on ground textures and building edges to emphasize lines and shapes.
To keep the scene from feeling overly harsh, apply a touch of blur or reduced clarity on moving subjects like pedestrians or cyclists, either with masking or selective tools. This contrast between razor-sharp geometry and slightly softer people reinforces a classic street photography aesthetic while guiding the viewer s eye through the frame.
Golden Hour Sidewalk Stories
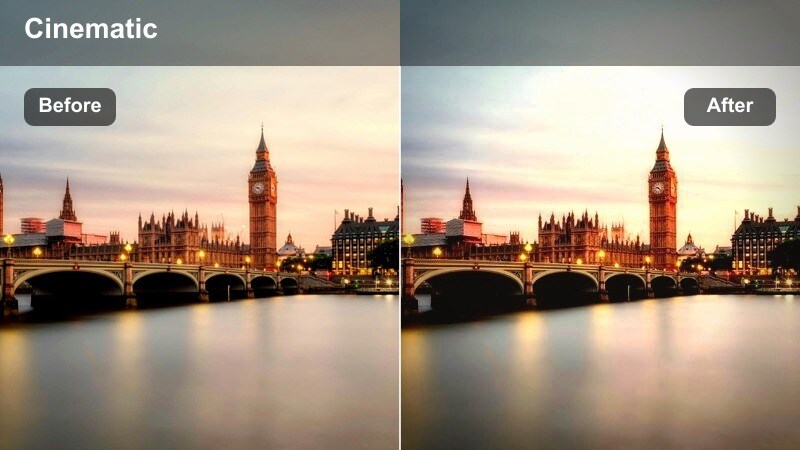
Amber Sidewalk Glow
- Effect look: Warm, golden highlights with soft contrast and a nostalgic street glow.
- Best for: Golden hour vlogs, couples walking on sidewalks, and storytelling B-roll around storefronts.
- Editing tip: Slightly reduce overall saturation and then gently raise orange luminance to keep skin tones flattering.
Amber Sidewalk Glow enhances the natural warmth of golden hour without letting colors become cartoonish. In Filmora, lower overall saturation just a touch, then increase the luminance of oranges so skin tones stay bright and flattering even as you add warmth to highlights.
Use gentle contrast and a slight lift in the shadows to maintain detail in hair and clothing while preserving the soft, enveloping light. If storefronts or signs become too intense, selectively lower saturation in yellows before applying your final LUT or filter so the entire frame feels cohesive and cinematic.
Backlit Silhouette Walk

- Effect look: Strong backlight with rich silhouettes and slightly hazy highlights around subjects.
- Best for: People walking against the sun, bike riders, and street performers framed by glowing skies.
- Editing tip: Reduce blacks a little to keep silhouettes solid, then add a radial light effect behind your subject for emphasis.
Backlit Silhouette Walk is perfect for dramatic, story-driven shots where shapes are more important than facial detail. In Filmora, underexpose slightly or pull down exposure so the sky and sun do not clip, then deepen blacks to lock silhouettes into strong, graphic forms.
Add a slight bloom or radial light effect behind your main subject to accentuate the halo around their outline, and keep color grading subtle so the contrast between dark figures and glowing sky remains the hero. If you need just a hint of detail in clothing or hair, gently lift shadow detail while ensuring the overall silhouette stays bold and distinct.
Storefront Reflection Film
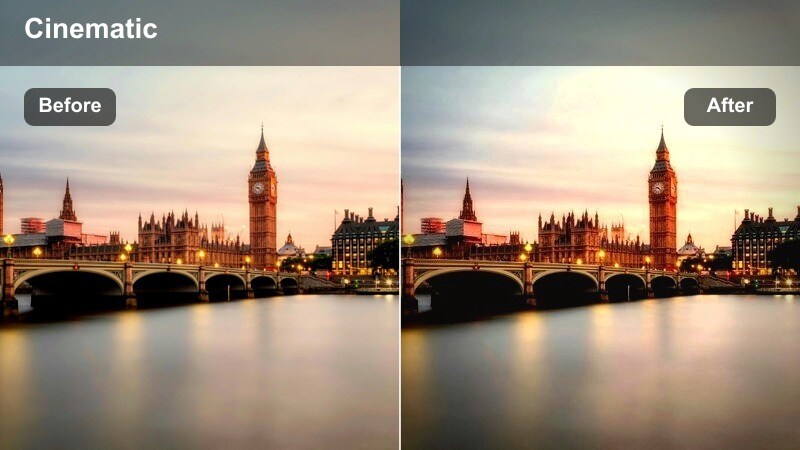
- Effect look: Soft filmic contrast with gentle halation around lights and vibrant window reflections.
- Best for: Storefront reflections, window shopping sequences, and lifestyle street portraits.
- Editing tip: Add a light bloom effect to bright window highlights and increase saturation in blues for deeper reflections.
Storefront Reflection Film brings a dreamy, layered quality to glass-heavy scenes. In Filmora, use moderate contrast with slightly raised blacks to create a filmic base, then add a subtle glow or bloom to bright window highlights so interior lights and reflections feel more organic.
Boost saturation in blues and cyans to enrich sky and city reflections in the glass while keeping skin tones and warm interior lighting natural. If reflections start to compete with your subject, slightly darken midtones in the reflected areas with masks so the main person or product remains the clear focal point.
Neon Nights and Rainy Pavements
Neon Rain Cinema

- Effect look: Deep contrast with saturated neon colors reflecting off wet streets for a cinematic night mood.
- Best for: Rainy intersections, taxi shots, and handheld night walks through bright neon districts.
- Editing tip: Crush blacks slightly and selectively boost saturation in blues, magentas, and reds while muting yellows.
Neon Rain Cinema leans into the drama of wet pavement and glowing signage. In Filmora, add strong contrast and crush blacks so puddles and shadows become deep, inky pools that reflect intense color from lights and billboards.
Use HSL or color wheels to selectively boost blues, magentas, and reds, letting neon reflections paint the scene while you dial down yellows to avoid muddy tones from sodium or mixed streetlights. Apply a bit of noise reduction before pushing saturation so your shadows stay smooth, and gently lower highlights on bright signs to preserve text and logo detail.
Gritty Sodium Vapor
- Effect look: Warm, gritty streetlights with green-shifted shadows and textured film-like grain.
- Best for: Underpasses, side streets, parking lots, and empty industrial blocks at night.
- Editing tip: Reduce saturation in oranges slightly, then add a touch of green to the shadows for a vintage sodium vapor feel.
Gritty Sodium Vapor is all about embracing older, imperfect street lighting to set a moody atmosphere. In Filmora, start by warming your highlights and midtones to mimic sodium lamps, then gently shift shadows toward green so darker areas pick up a vintage, almost cinematic tinge.
Pull back orange saturation a little to keep skin from going too yellow, and introduce subtle film grain so the grit feels intentional rather than like digital noise. If you have characters in the frame, use selective color adjustments on faces to cool them slightly while leaving the environment drenched in warm, industrial light.
Subway Noir Tracks
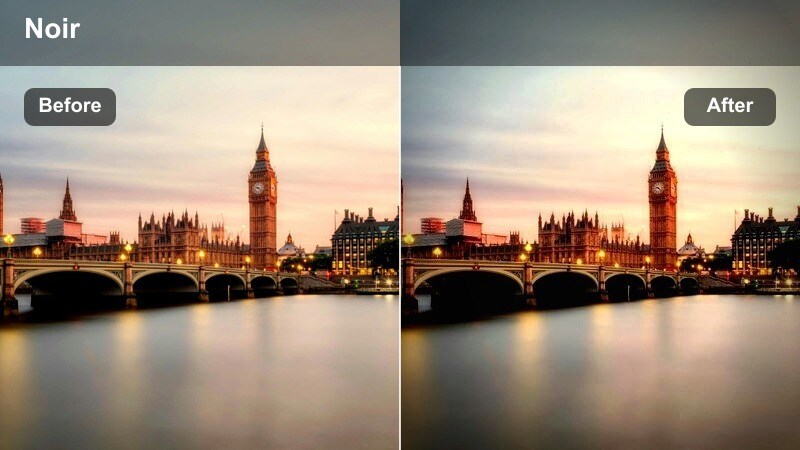
- Effect look: Moody, low-key contrast with cool shadows and isolated pools of light along platforms.
- Best for: Late-night subway platforms, train tracks, and noir-style character intros.
- Editing tip: Lower exposure slightly and add a vignette to keep attention on illuminated areas like benches and doors.
Subway Noir Tracks is designed for shadowy, suspenseful scenes where pockets of light carve out the story. In Filmora, pull down overall exposure and deepen shadows to create a low-key baseline, then cool the color temperature so unlit areas shift toward deep blues.
Add a vignette and use masking to subtly brighten only the key pools of light, such as benches, doors, or your main character. This contrast between illuminated zones and dark negative space creates a classic noir street photography style, perfect for intros, outros, or narrative transitions in your urban videos.
Tips for Using Street Photography Style Video Lut Filters in Filmora
- Shoot in a flat or log profile when possible so your street filters and LUT-inspired looks have more dynamic range and flexibility in Filmora.
- Keep white balance close to neutral on location, then add warmth or cool tones with Filmora filters later to match scenes shot at different times of day.
- Use adjustment layers in Filmora to apply a single street photography style video LUT or filter stack across multiple clips for a unified look.
- Mix different filters from this collection within the same edit, but keep overall contrast and saturation levels similar so your video feels cohesive.
- Always zoom in to check skin tones after heavy grading, especially under neon or sodium vapor lights, and correct them with targeted HSL tweaks.
- Preview several LUT and filter combinations on a short test sequence before grading the full project to lock in a direction that matches your story.
- Leverage Filmora s scopes and histograms to avoid crushing shadows or blowing highlights when pushing gritty, high-contrast street looks.
These street photography style video LUT-inspired filters give content creators a fast way to turn everyday city footage into gritty, cinematic stories. Whether you are filming quiet dawn sidewalks or neon-soaked night streets, you can craft a consistent visual identity for your channel with just a few targeted adjustments.
Experiment with stacking LUTs, Filmora filters, and local masks until you land on a repeatable urban style that feels true to your city and your perspective. Save your favorite combinations as presets so every new street video starts from a strong, cinematic foundation with minimal setup time.
secure download