Note: This video tutorial is compatible with Filmora V11, V12 and V13 versions.
Add and Customize Elements
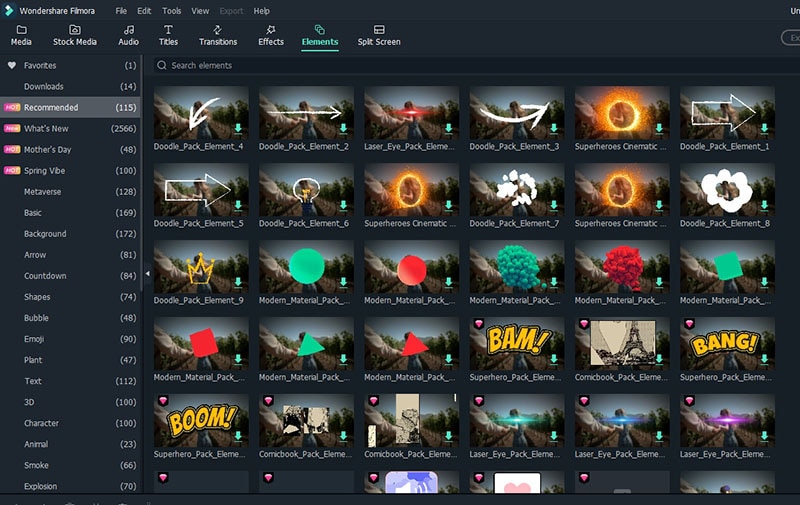
Elements are used as embellishments for screen, which are unlike filters or overlays, very flexible in use. Because elements do not modify or change the entire image, they just customize a portion of the image and leave the rest untouched. Elements ornate the video way beyond the raw product itself. There are a variety of elements available in Filmora, these elements can be writings, hand drawings, cartoons, abstract, AR and much more. And the fun part is that each element in Filmora has an animation of its own. The image given below shows you the window that pops up on Filmora, when you click the elements option. These elements contain explosion, or texts as shown on the image.
Let’s have a video and add “hahaha” text on it.
First, I will click on the desired item, which in this case is as mentioned. The element will get downloaded, shown by a pop-up window.
 Filmora Elements
After that, we can set the element and customize as we deem fit.
 Download Elements
Double clicking the element on the screen will open a new page on the window to assist in customization.
 Customize Element
You can see other options when you scroll down the window, these options contain: Transform, Compositing, Stabilization, Chroma key (green screen), Lens shadow, Drop shadow.
 Other Options
These elements come with animation, the extent of this animation video can be reduced, but definitely cannot be extended.
 Add New Element
Default (elements)
Elements option contains “default” and “filmstock” libraries having different elements.
Default contains a long list of different categories of elements as can be seen from the image above.
From the image, you can see that there are a wide range of categories, such as: Love, journey, hand-drawn, badges, augmented reality, social media etc.
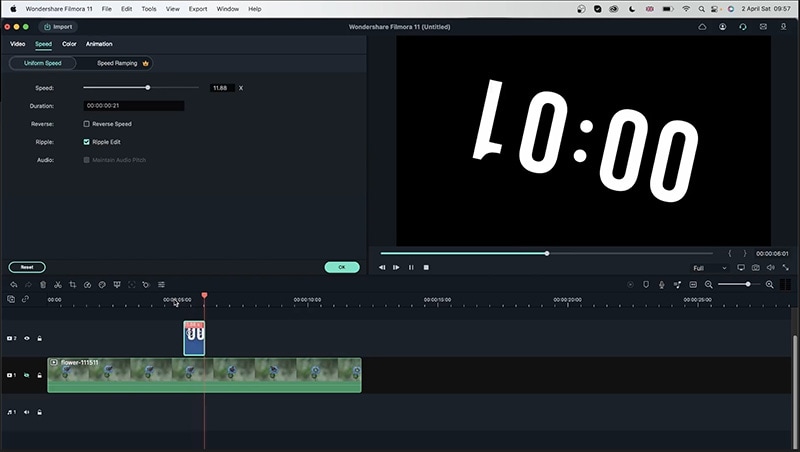
Using this area, you can define the point, or the period, where you want the element to appear.
 Default Elements
Speed option enables you to change the speed of the elements, keeping it uniform or rampant, also enabling you to reverse the action of the element. Uniform speed remains constant throughout; but in case of rampant speed: the speed can be varied via a graph.
Color window gives the options of white balance, color enhancement, tone and other options up on scrolling down the window. These different functions are explained as follows.
 Color Edit Element
Color Enhancement allows modification in threshold and value of color.
White balance allows you to change the temperature and tinting of the element.
Tones offers modification in contrast, saturation and brightness.
3d LUT allows you to apply colors from famous media like game of thrones, cyberpunk, etc.
By clicking on advance, another pop-up window will open; this widow shows you the presets of the 3d LUT command.
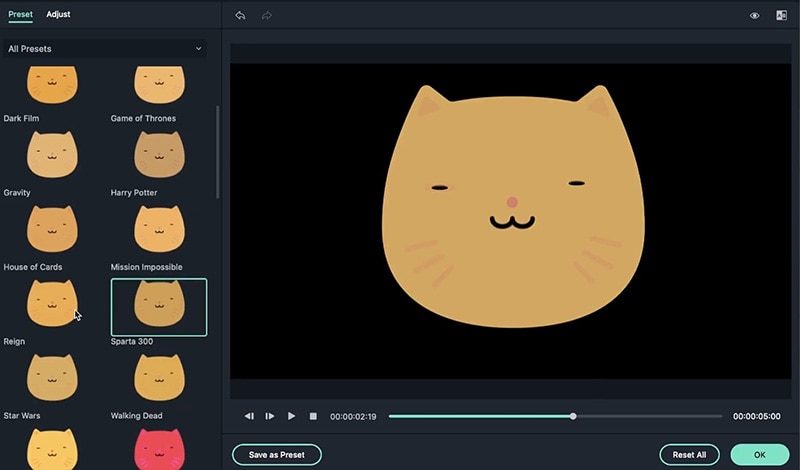 Preset Elements
This new pop-up window gives you the same settings as the ‘color window’ but with a cooler look, along with options of comparison; like this side-by-side window function.
 Adjust Settings Elements
FilmStock
In filmstock, we get just as much options as the default window. This window gives a ton of cool stuff like special effects, VFX, festivals and events, cinematic videos and much more. From the image below, we have stacked two different elements from different libraries to give it this awesome look.
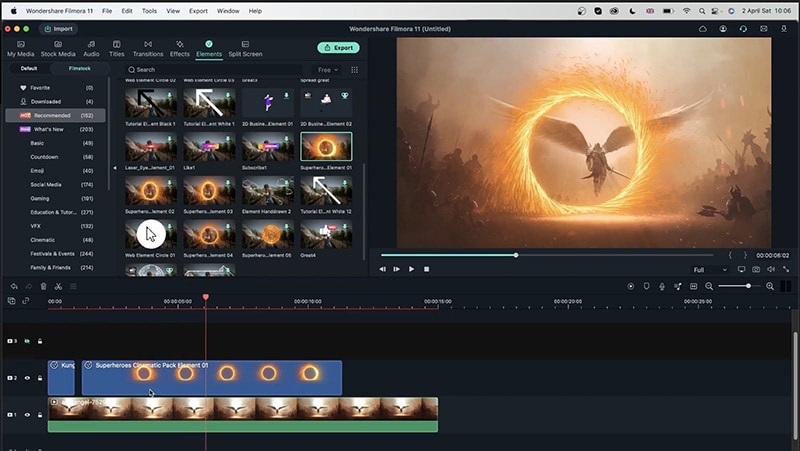 Filmstock Element
A problem of unsynchronized elements can arise as a result of video’s angle being shifted through the completion of the video, because in the above picture I had the same problem where the element stayed in its place but the video angle was being changed so the video looked a bit untidy, so to tackle this problem, we can go to the other option adjacent to the ‘video’ option called ‘animation’. To fix this problem, follow these steps:
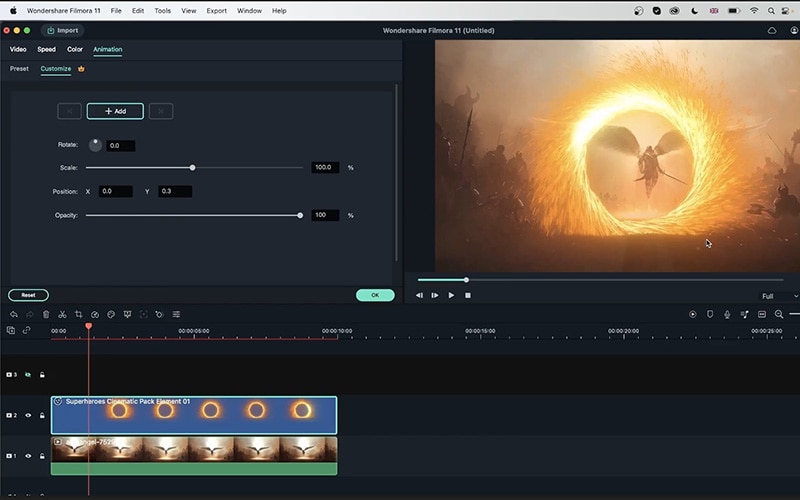 Animation Element
You can add as many effects, transitions and elements as you want to make your video epic. In the picture below you can see that different features can be given preferences over the other so the interference of features can be altered. The one placed above will have the better screen position and will dominance over other effects and elements.
So, we see that Filmora has a wide range of features to offer from which elements hold a very big portion. These elements, as we saw consist mainly of two libraries, namely: Default and Filmstock. Both libraries offer thousands of different elements to use and customize. The elements have to be download first to make use, and there is also an option for favorites, so you don’t have to find your favorite elements again and again. The elements variety is truly insane from food, festivals to abstract, augmentation, and stylizing.
