Note: This video tutorial is compatible with Filmora V11, V12 and V13 versions.
Export And Share (Support HDR)
Working with the Filmora software, you get several choices for exporting your work across media sharing platforms. But, first, let us see through the most well-known methods in the following section:
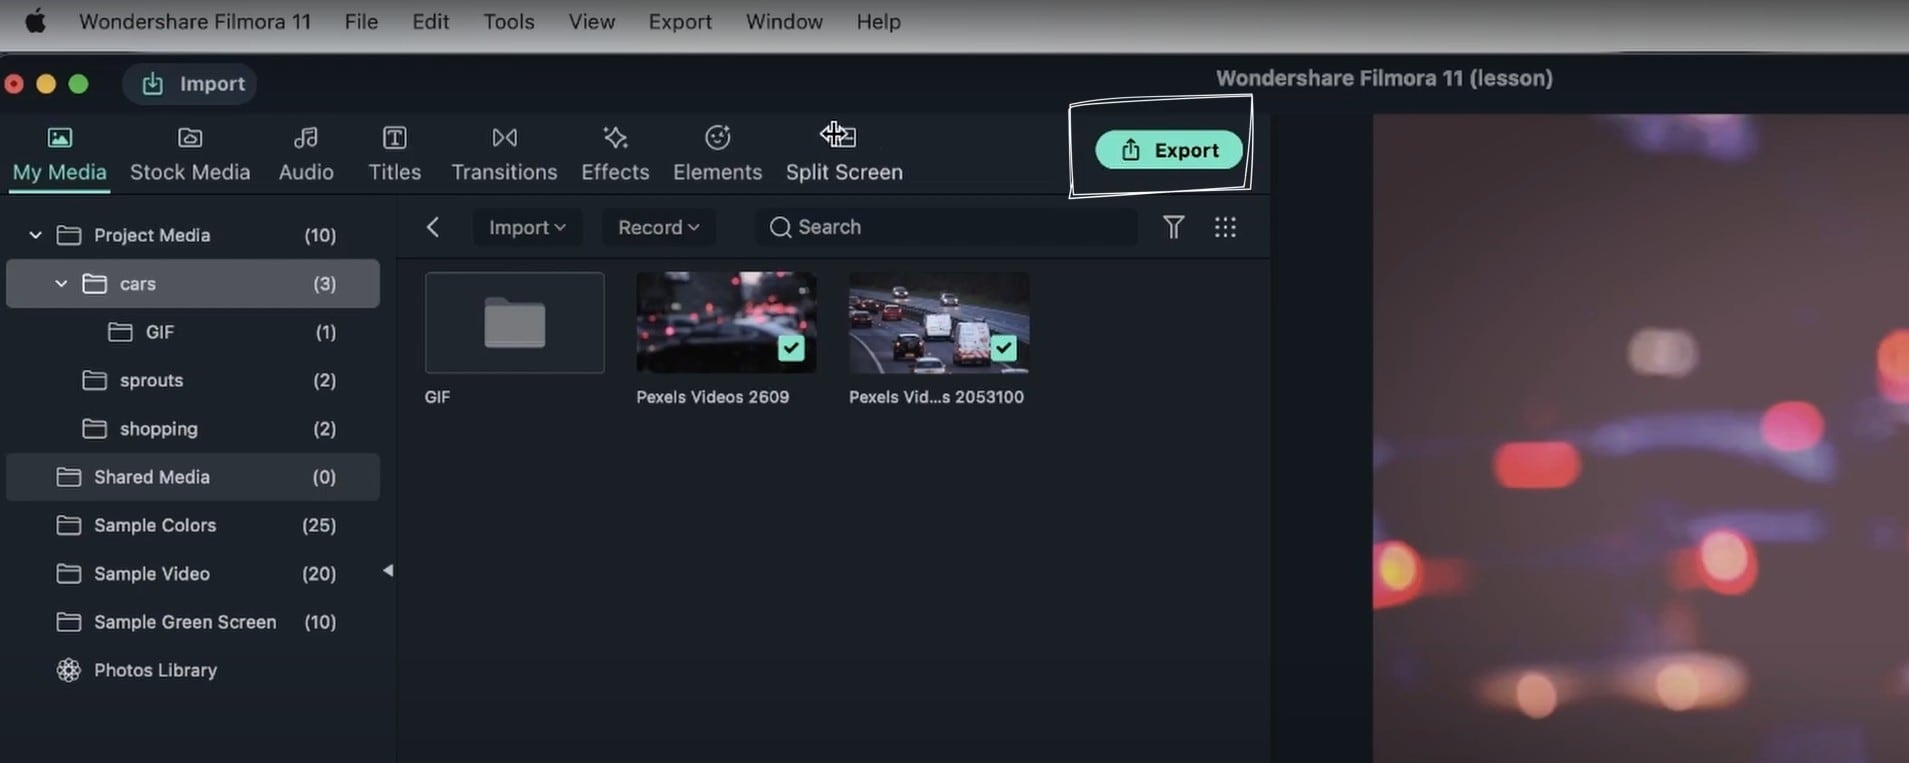
You can simply navigate to and tap the Export button at the top right corner of the editor workspace, or hit the Export tab in the Menu Bar at the top to land into the Media Export Panel.
 Local Export
Click on the Settings tab below the Save To box to adjust the different output parameters, like media quality, resolution, frame and bit rates, etc., according to the contents of your output file.
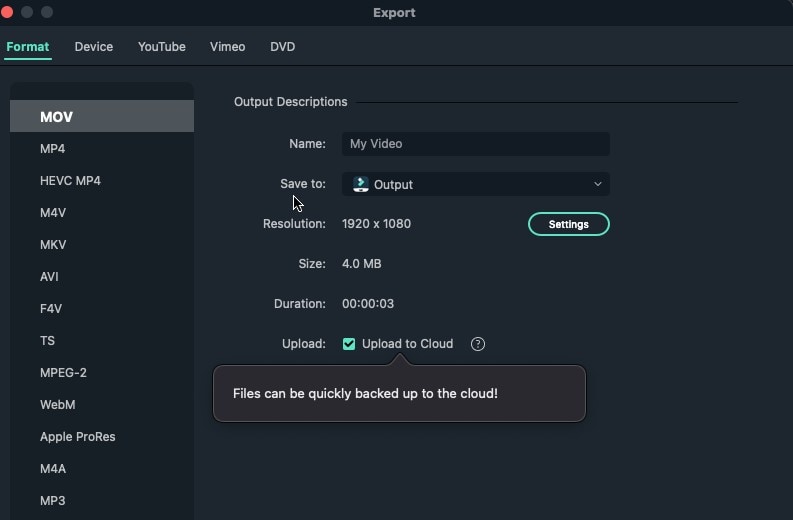 Filmora- Media Export Panel
Click on the Device tab in the Menu Bar to open the list of devices you can select from to export your footage. All you need to do is choose an instrument and adjust the output parameters according to the same to get the best quality output.
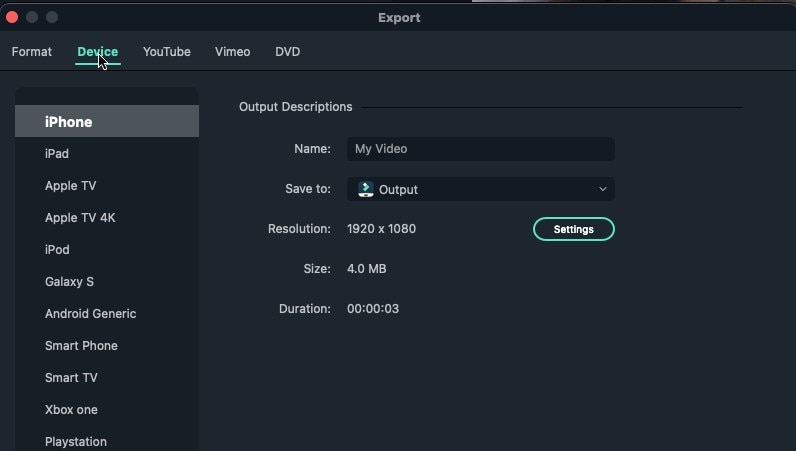 Device Export
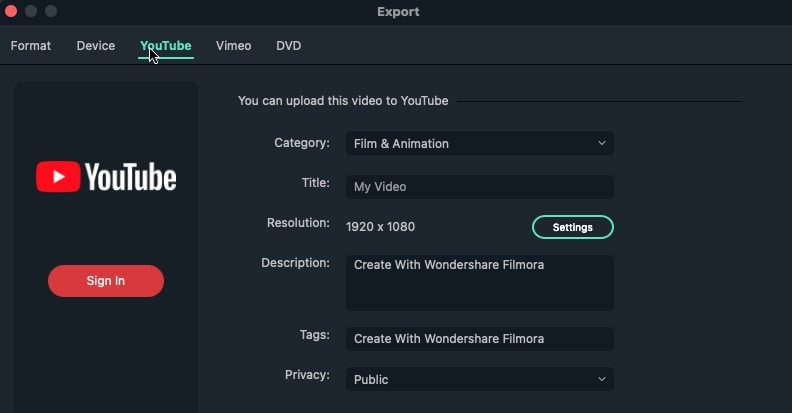
Click YouTube to upload and export the footage directly to your YouTube channel. Proceed by clicking on the Sign In tab on the left to log in to your YouTube account.
Do not forget to adjust the output parameters accordingly, like assigning a specific category or giving a suitable title to your footage, resolution, quality, bit rate, etc. you can also stay with the default values by tapping on the Default button. Finally, hit OK when all seems well.
 YouTube Upload
The upload procedure on this platform is precisely similar to the YouTube upload and export process, except for the apparent difference of signing into your Vimeo account instead of YouTube.
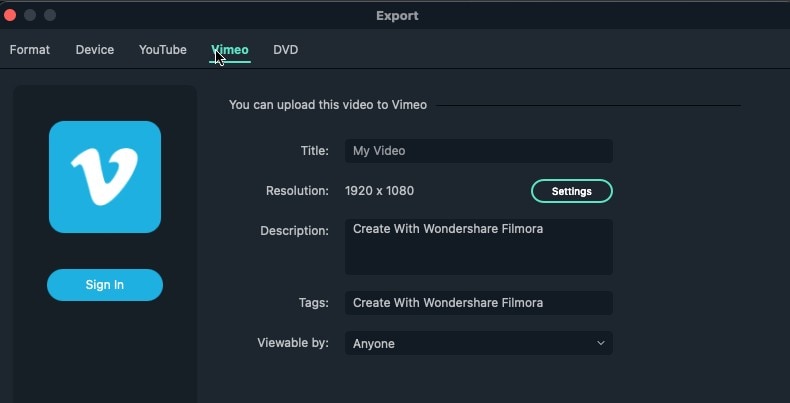 Vimeo Upload
To export your footage to a DVD, start with hitting the DVD tab in the Menu Bar to open the DVD Export interface. Proceed to adjust the parameters like, DVD label, aspect ratio, TV standard, disk type, capacity, etc. When you are satisfied with everything, hit the Export button in the bottom right corner of the export interface.
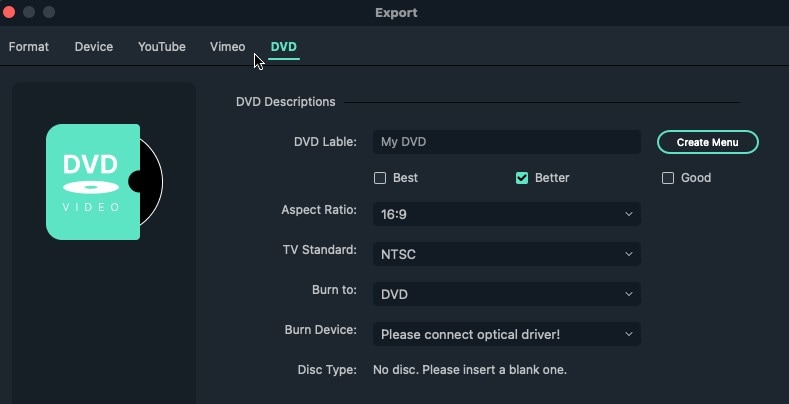 DVD Export
Sharing Your Creation in Filmora
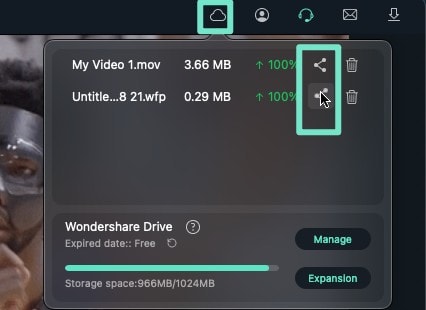
- Navigate to the toolbar at the top, and click on the Cloud icon to share your footage from the Wondershare drive.
- The list of videos appears with a Sharing icon on the right side of each video.
- Tap the one beside the footage you want to share.
- A Sharing Form pops up, where you can specify an access code, password, and validity period for your footage.
Tap the Create Link button at the bottom right corner to generate a sharing link for your creation. When the link is generated, tap the Copy the Link and Code button to copy the web address to your clipboard. Your creation can now be viewed by pasting the copied link in any suitable web browser or your Wondershare drive. You can also opt to download the footage to the Filmora library or your device's gallery.
 Wondershare Drive