Note: This video tutorial is compatible with Filmora V11, V12 and V13 versions.
Fundamental Editing Features
Trimming refers to shortening a long video to including a specific part of the same in your video edit. To use the feature, navigate to the imported video in the project timeline and drag its ends to the desired duration, which you can continuously monitor from above the video clip. Drop the cursor when you have reached the required point and see the effect in the timeline.
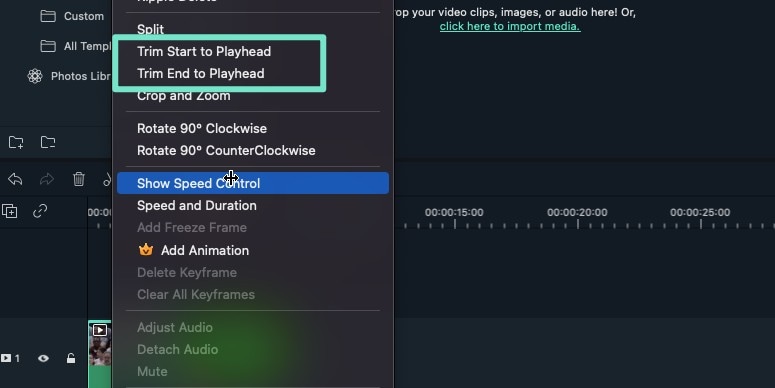 Trimming
You will no longer be able to access the removed part of your clip but can move the dragger to make changes while bringing the edited portion back by stretching the clip. In addition, the end time and play duration of the video will be simultaneously displayed.
Splitting is dividing the video clip into several parts for any suitable reason. For example, to split your video into two parts, drag the ‘Scissor Slider’ to the desired area and click once on the slider to create two portions of the clip in the project timeline. Alternatively, you can select a part of the video and navigate to the Scissor Tool in the top toolbar, then click on the same to split the selected section.
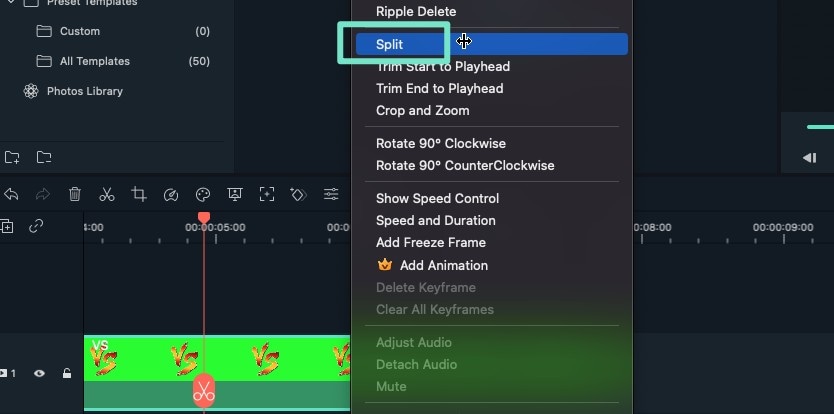 Splitting
Another way to do the same thing is by right-clicking on the video in the project timeline and selecting the ‘Split’ option from the list of options that follows next.
Split a section of your video, right-click on the same, and select the Cut option from the list of options. The cut portion disappears from the timeline and gets saved on the project's clipboard.
Drag a different clip to the timeline and add it to the remaining portion of the first clip. Next, trim the added video to the desired portion and press Ctrl + P from your system's keyboard to add the previously cut portion after the second clip.
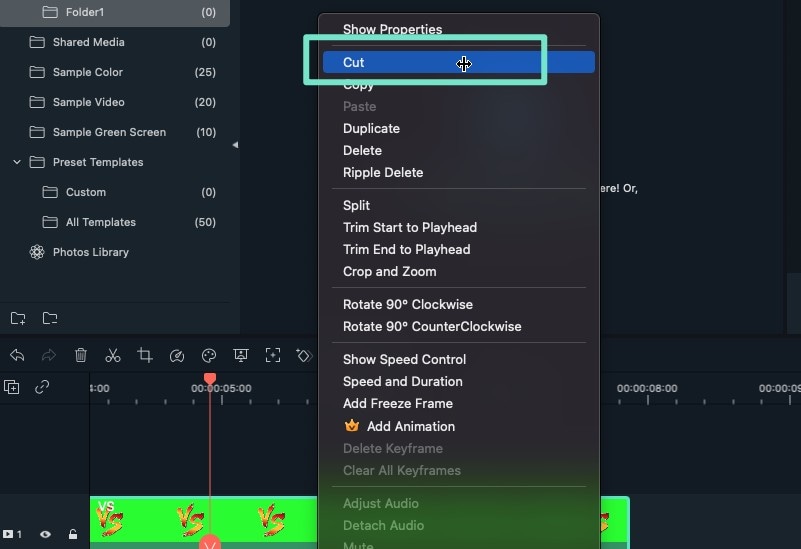 Cutting
To copy a clip to a different point on the timeline, click on the same and select the Copy option from the options menu. Drag the cursor to the specific point within the timeline and press Ctrl + P. A copy of the selected clip gets pasted on that location without the disappearance of the original one.
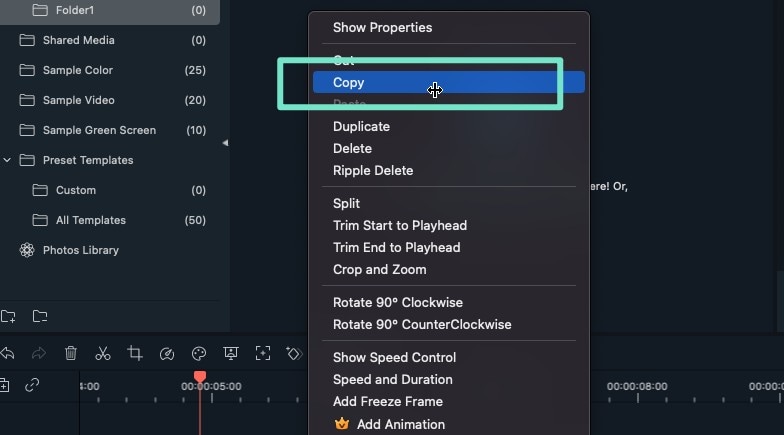 Copying
To adjust the video play duration, drag the time indicator sideways. A left drag will decrease the playtime, while a right drag will increase. Take care that you can infinitely stretch image durations, but videos have a preset length, and dragging the indicator to the right ahead of the preset duration won't help increase its size.
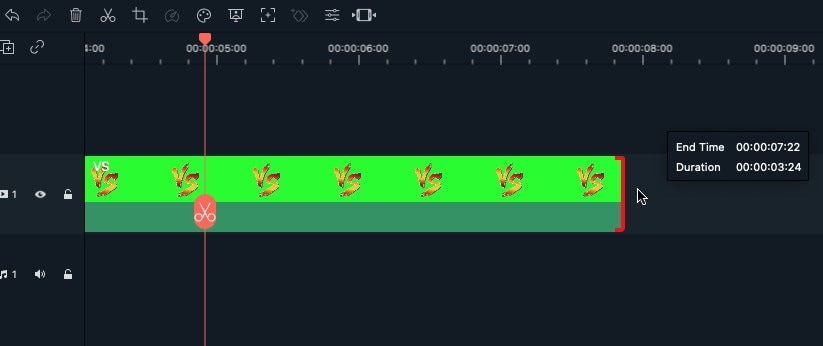 Changing the Footage Play Duration
To add another video clip to the footage, navigate to the Media Track panel on the left and click on it to open the video library, then choose and drag the desired video clip to the timeline video track above the original clip. You can further perform basic editing on the same through a double click.
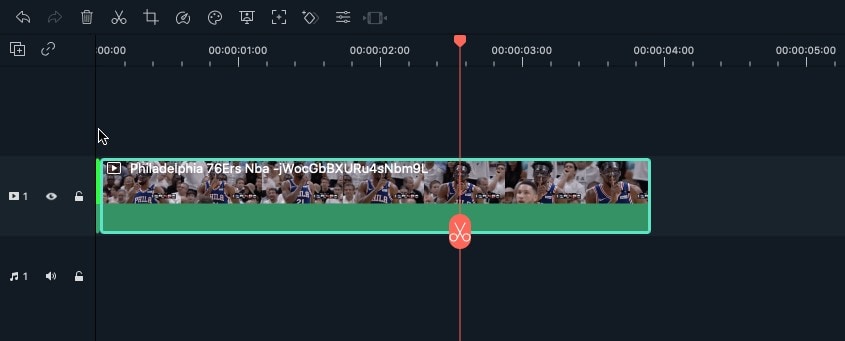 Stacking Media Files
Select the audio asset in the timeline, and click the "Speech-to-Text" icon in the toolbar; if there is no supported file type on the timeline, it will not be displayed. See other method to find "Speech-to-Text" in Filmora.
 Speech-To-Text Feature
Select the above bar, click "Tools" on the top menu bar and click "Text-to-Speech". See other method to find "Text-to-Speech" in Filmora.
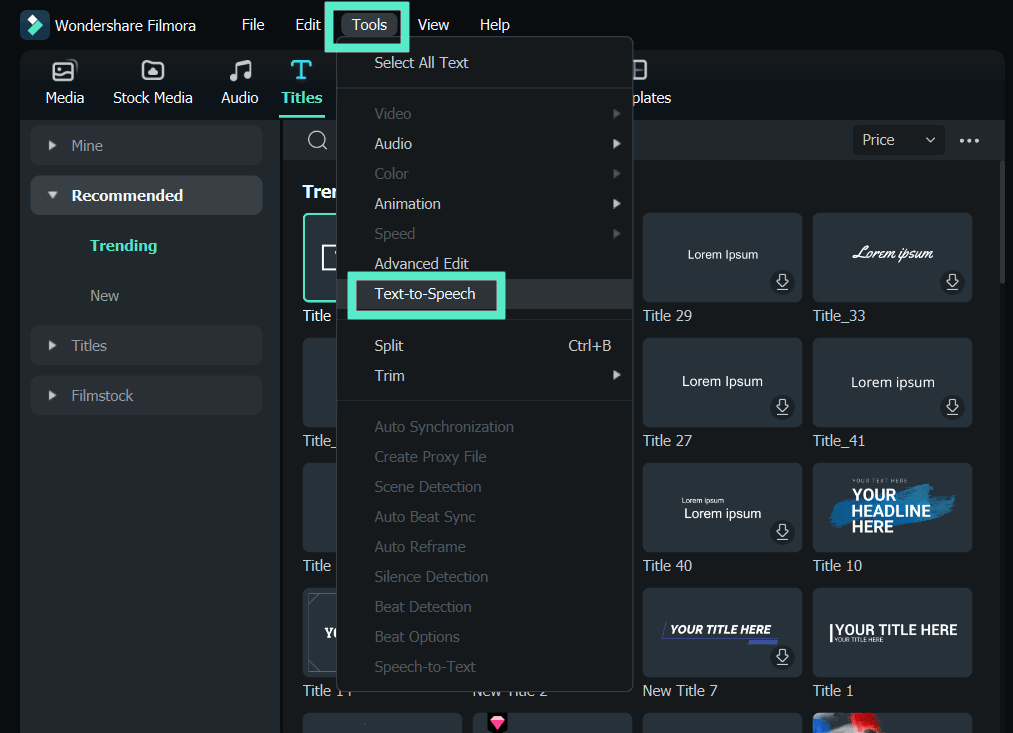 Text-To-Speech Feature