Note: This video tutorial is compatible with Filmora V11, V12 and V13 versions.
Timeline Management
Everything that you do in Filmora has to be done through timeline. The timeline requires you to import media from the computer or internet and then drag it to it. For instance, if you require to edit a video, image or moving image, you will have to import it to Filmora and then drag it to the timeline. In the image below the box shows the position of timeline in the Filmora environment. The timeline can accommodate both video and audio tracks. The video tracks go with the visibility sign, i-e in the eye icon and audios have their own music icon.
In the beginning, to start things up, we require to import some media from the hard drive or internet. So, you will have to browse, wherever you want, for media and then you have to drag it to your timeline; or you can just click on the’+’ button to add it to your timeline. The videos have icons of an eye and a lock: the eye icon is used to make the video visible or hiding it for processing.
Similarly, we can add audios into the timeline. Just browse your audio and drag it or click on the said button to integrate it on your timeline. The audio tracks also have somewhat different icons but having corresponding functions: the speaker icon is to mute or play the audio. The lock icon, which is same for both video and audio, prevents us from modify that particular track and keeps it safe from being changed intentionally or unintentionally.
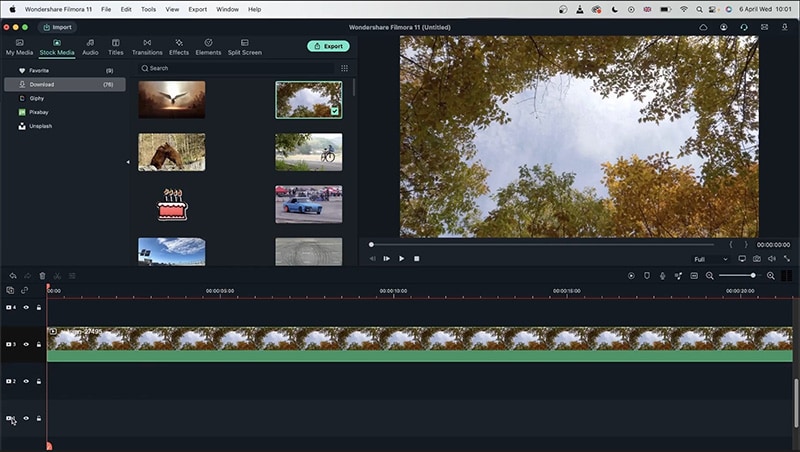 Filmora Timeline
Let’s see an example to have a better understanding of the Filmora timeline:
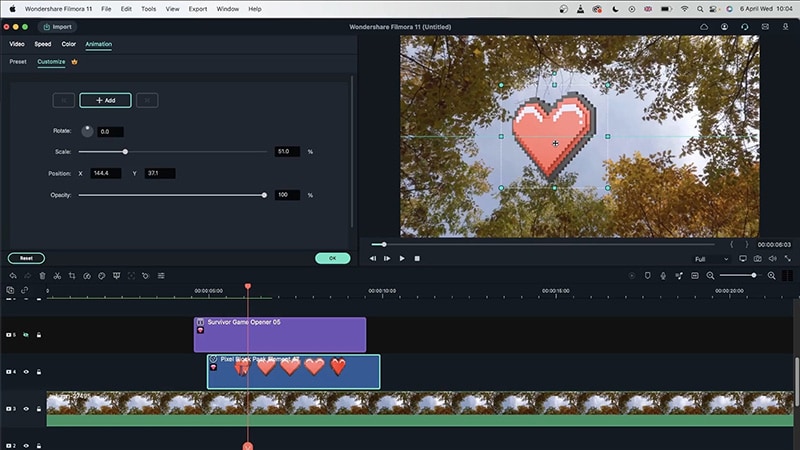
1. We have already imported a video to the timeline. It’s in the third slot.
2. We should add a title to the new project, so I drag a suitable title for the video.
3. After adding the title, I would like to embellish my video with an element, elements are really good in this working space because they are each equipped with animation and they are quite flexible.
4. In case of extra timeline slots, you can delete the unnecessary ones by simply clicking and then clicking on the delete button as shown in the image below.
 Auto Ripple
To increment the slots/tracks, go to the ‘+’ icon in the timeline; conversely, you can delete empty tracks form the options menu. The best way to work will be to not have extra slots, so that your work remains in an organized state.
Size of the slots can be changed as well. If you require the tracks/slots in a large number, like 50 or more, making them 1-by-1 is very tiresome; so, for this purpose, you can use track manager.
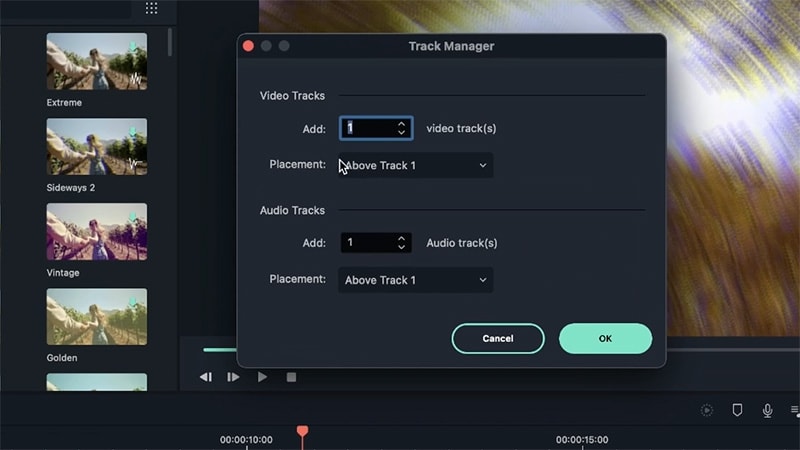 Track Manager
New video or audio tracks can be placed at a desired place as well. Zooming in and out can also be done with the timeline, using the icons or dragging the numbers bar, left or right.
More Options
The orange bar encompassing all the tracks is called the play head. Where ever it lands on is the point where the video will play. If a new item is to be added to the timeline, it will be placed right after the play head.
Let’s say that you have a video and you have applied different filters, overlays on it but for some reason you do not want the video anymore and you want to change it but keep the effects. so, what you can do is to hold ‘command’ and ‘option’ on MAC or hold ‘ctrl’, ‘alt’ and ‘shift’ on windows. These keys have to held simultaneously after clicking on the video, once you have done this, you can drag the replacement video and place it right on the old video; Filmora will replace the video.
This command helps you cut or remove the spaces that can come in between two tracks. Auto ripple removes any free spaces to ensure smooth flow. This tool can be useful if you are concatenating different video or image tracks in a single slot. In the image below, you can see space between the two tracks in the third track. So, if the auto-ripple was on, there would’ve been no space.
1. Next to the zooming button on the timeline, there is a button, clicking on which, you can see the timeline stretched to the end of your longest track.
2. There’s also an option of marking the track where ever you wish; for example, if you want to remember a point in the video, you can simply drag the play head at that point and press ‘m’. this will place a small blue mark and you can click it to go back to that point.
3. The main and often used keys are copy, cut, paste and undo commands, which are applied by the keys of command in MAC/ ctrl in Windows with ‘c’; ‘x’; ‘v’; and ‘z’ respectively.
4. To customize or check the shortcut keys on MAC you can click on “Wondershare Filmora” as under.
5. And on windows, you can go to file>keyboard shortcuts.
6. The image below shows the shortcuts window.
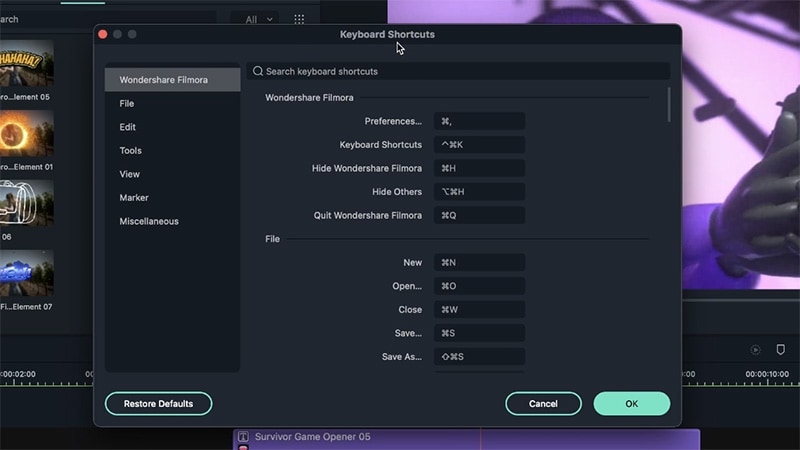 Shortcut Keys