You have created a vlog on your phone, and when you rewatch the video, the visuals are clear, but you hear some distortions in the audio. In these cases, you should split audio and video streams by unlinking so that you can remove them, edit them, or replace them.
This is most effectively done using Wondershare Filmora, where you can execute it with a single-click. With this tutorial, you will be able to learn how to separate audio from video in Filmora, edit them separately, and add effects or replacements.
Complete Guide on Audio Detach Feature Filmora
To get more control over your project, read the stepwise guide on how to separate audio from video in Wondershare Filmora:
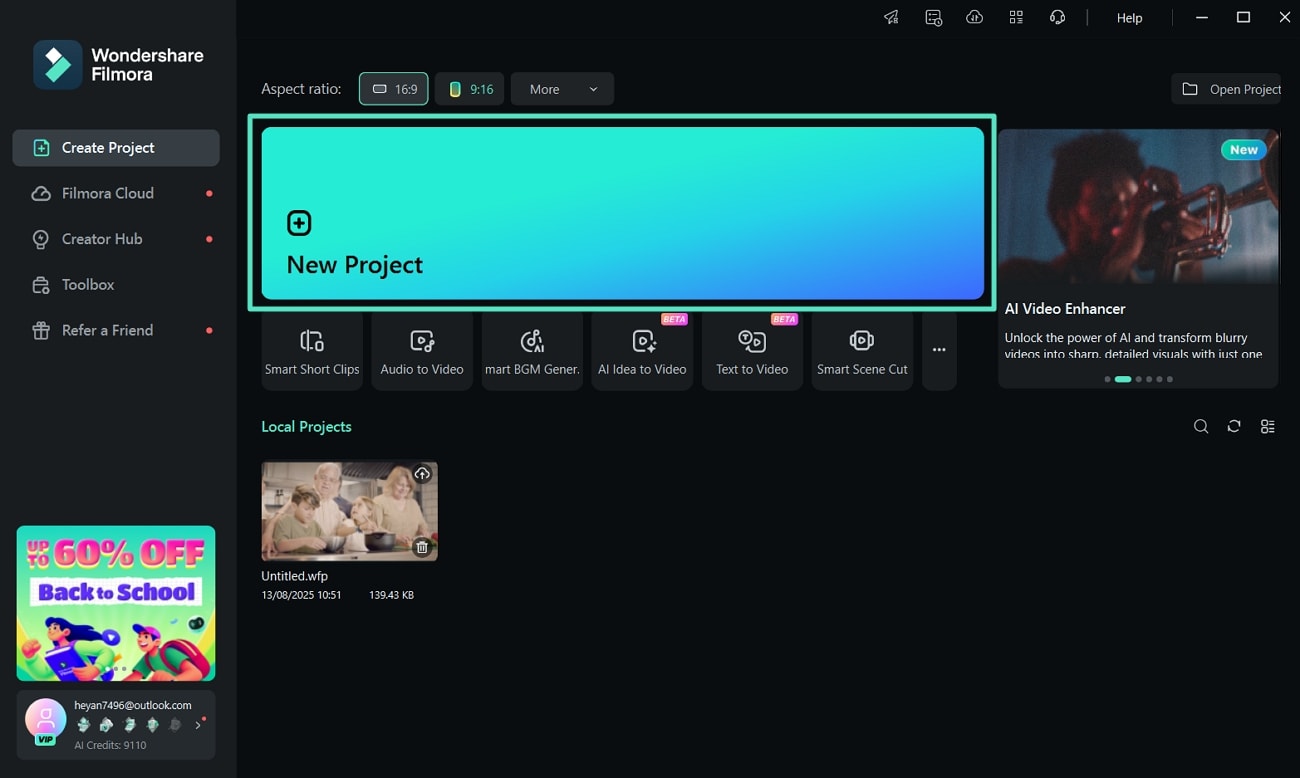
Start the process by launching Filmora and accessing the startup window. Click on "New Project" to import the video you want to separate the audio from.
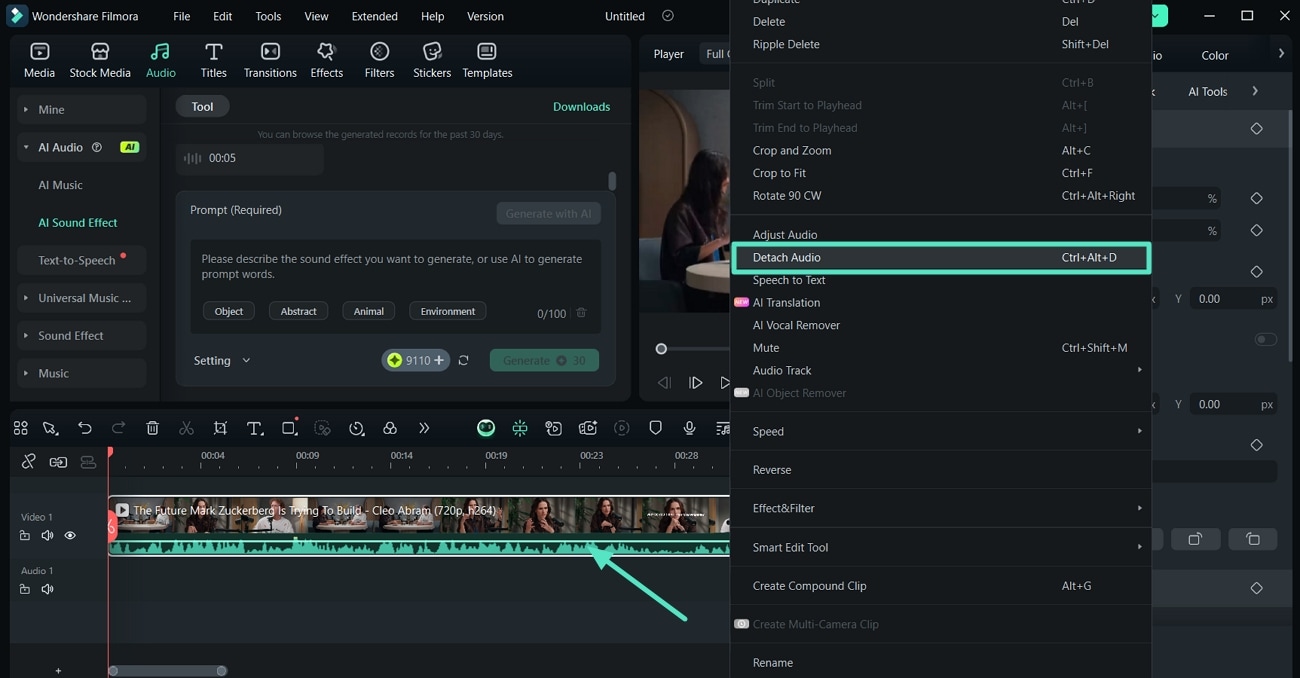
Once the video is on the timeline, right-click on it to get the list of options. Here, you need to locate the "Detach Audio" option and click it to start the separation process.
Next, click on the detached audio in the timeline, and look for the "Basic" section in the "Audio" settings panel. At the "Adjustment" section, adjust the "Volume" slider as per your requirements.
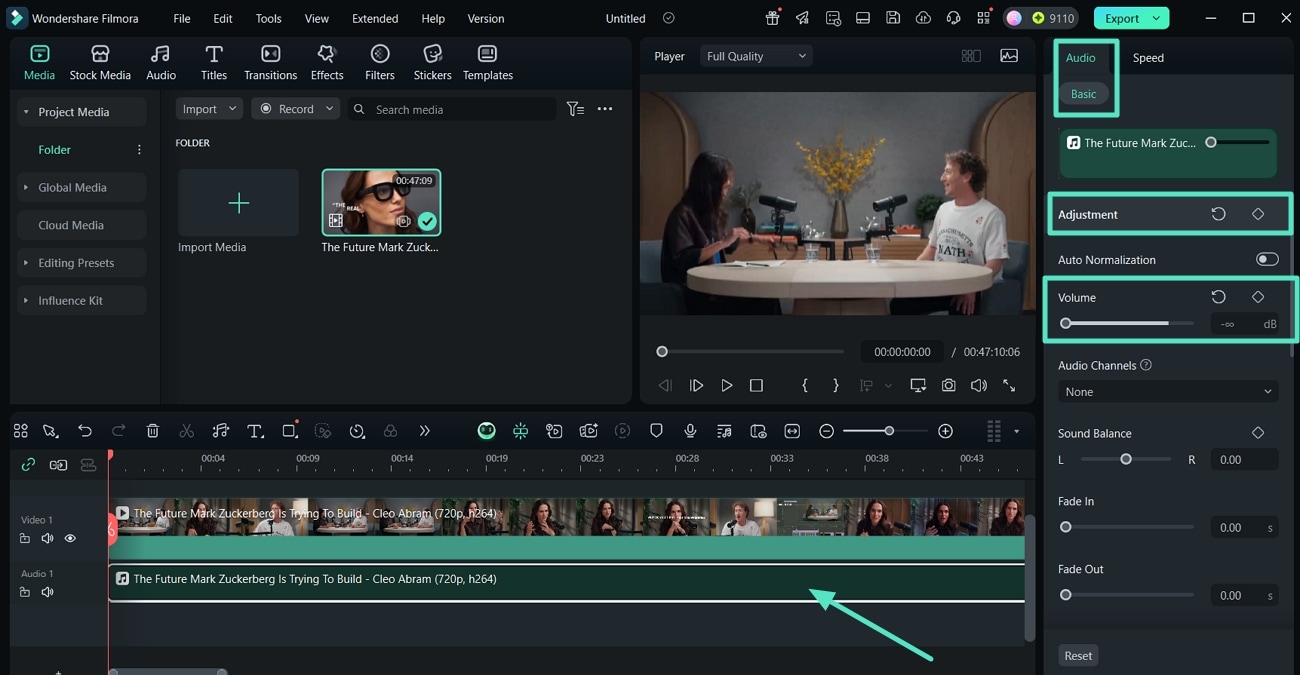
Next, click on the detached audio in the timeline, and look for the "Basic" section in the "Audio" settings panel. At the "Adjustment" section, adjust the "Volume" slider as per your requirements.
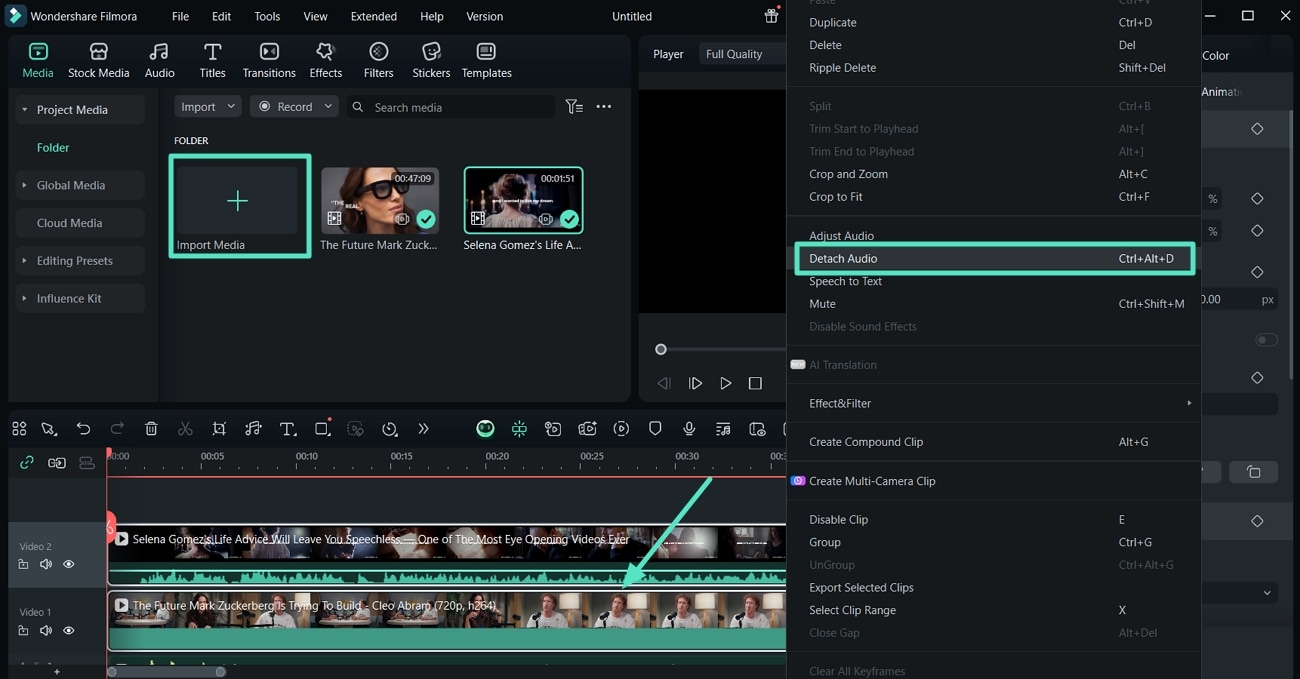
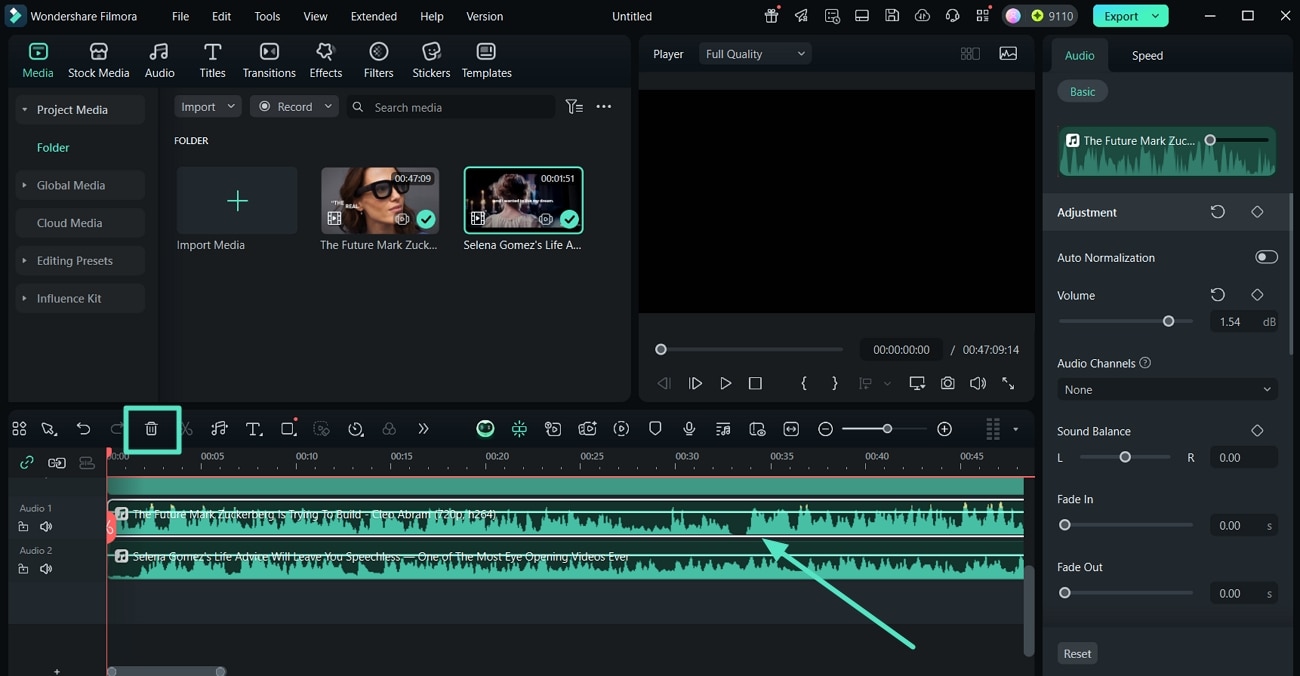
Move ahead and click on the audio file you want to delete completely and hit the "Trash" icon at the top menu bar.
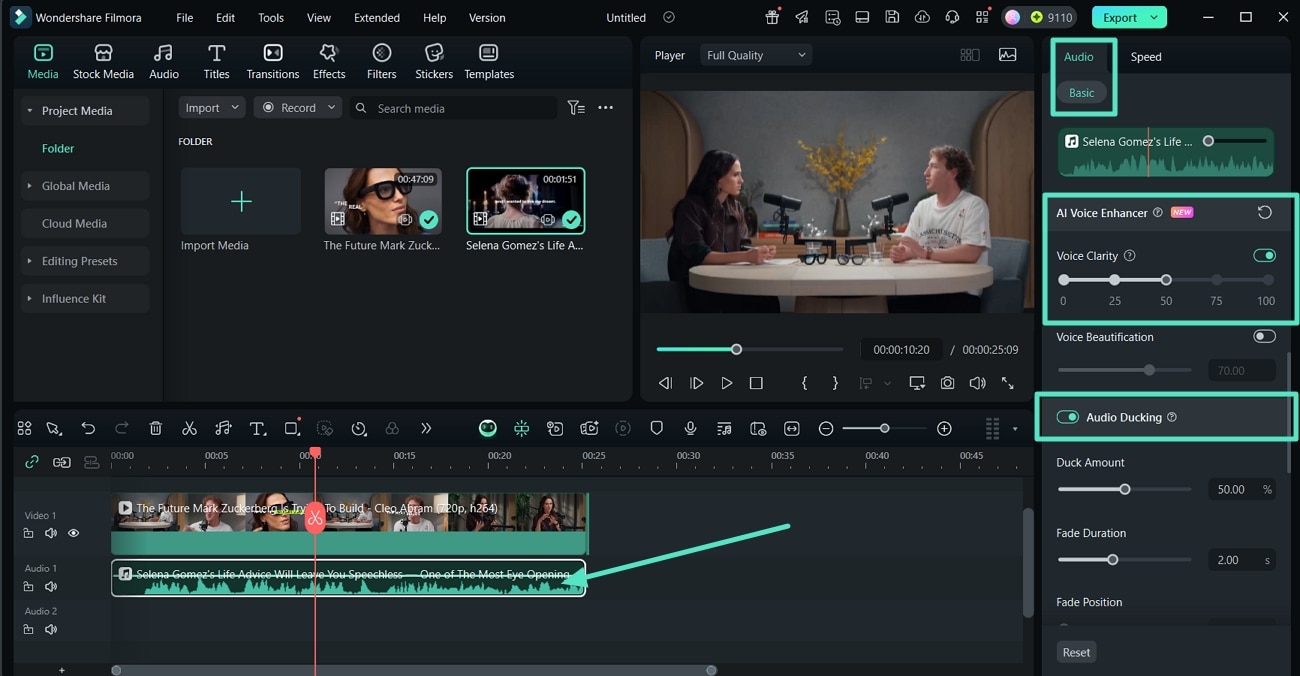
Once you have deleted the unnecessary audio and video, click on the audio in the timeline and shift to the "Basic" tab in "Audio" settings. Now, scroll down to pick the "AI Voice Enhancer" section and apply it to the audio. Turn on the toggle for the "Audio Ducking" tab to make the clip's audio clear. Once you are done, look for the "Export" button on the top-right to conclude your video project.
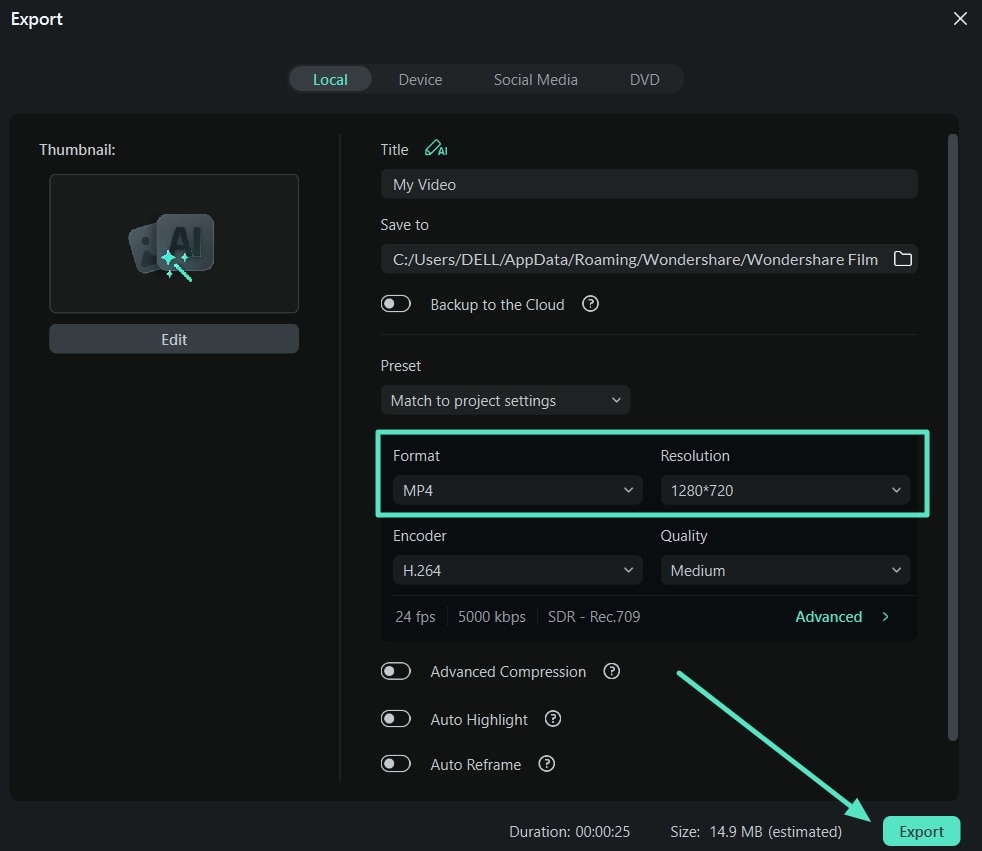
In the end, at the Export window, set the "Format" and "Resolution" before hitting "Export " to download the results.
Conclusion
To sum up this tutorial, we have looked into the best way to learn how to separate audio from video in Filmora desktop. Through this simple guide, you can download Filmora and detach the audio, replace it, remove it, or enhance it, all under a single platform!
