Note: This video tutorial is compatible with Filmora V11, V12 and V13 versions.
Create with AI Stylizer
AI stylizer is a great tool of WonderShare Filmora. With a only few clicks in a vibrant, you can take your editing to next level. Whether it's creative video or 3D video then you can use the AI stylizer to do the job for you. So before wasting our time let's go straight into how we can do that and what should we know to create with an AI stylizer.
To create an AI styler, first you will need some media to work on with AI stylizer. For that you need to import some media. You can import media from the import button on the main screen of the AI stylizer as shown in the figure below.
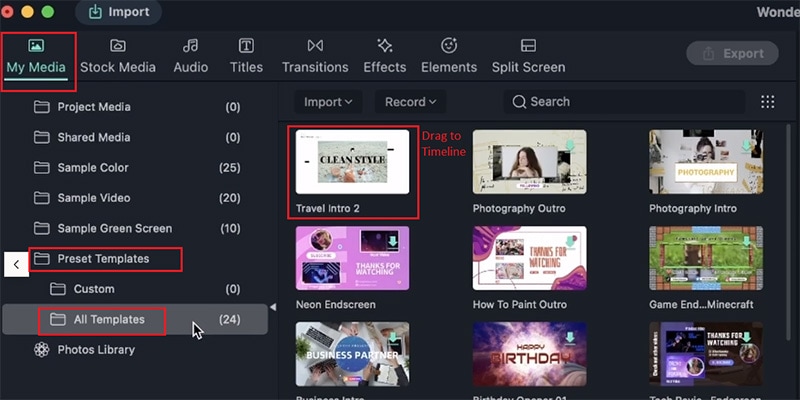 Preset Template
Once you have successfully imported a media, now you will see a lot of styles on the side of the stylizer. If you don’t have many styles, you can download them from Filmora stock online. There is nothing fancy in downloading, you can download them by clicking on it and it will start downloading as shown. Once it is complete, just click it and it will be applied as shown below.
Preset TemplateSo this is how you can get yourself a pretty style. Now you can import it and upload on social media to impress anyone with this style. You can also check other styles as well. These styles are very realistic and having a variety of it included in the AI stylizer.
While using the effect you might notice the playback effects. You can deal with this playback with the two options SD and HD. The difference between the two is that HD gives your more details therefore you can face laggy playback but SD gives you less resolution so you should not face much playback lags. SD is much smoother.
Preset TemplateYou can also use the replace file option to switch to another video file shown in the 2. Just click it and choose another file from the new window.
When you will play your video in HD after applying a style to it. You will see that the playback of HD video is laggy but you want to retain the quality. So for that, you will need to export from the AI stylizer and then Import it into the Filmora and make a proxy of it for smoother playback and dealing. The file will have all its effects applied in the stylizer.
All you have to do is click the export button and choose the destination where you want your video to be saved. It will take some time when you are exporting in HD because of the High details.
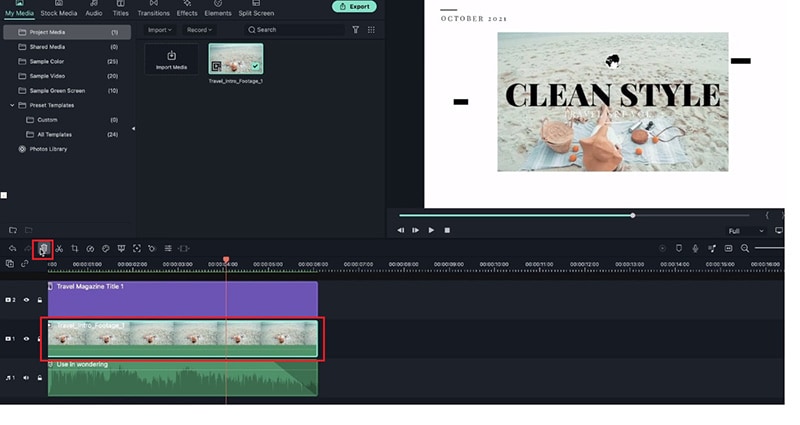
 Drag Template to TimeLine
After exporting it you will see a congratulations message means it's successfully exported. Now go to the Filmora again and launch a new project and click import and get the exported again as shown. Once you import it again you will see a message popup asking for it to make proxy because of huge size. Click ok and it will be turned into proxy.
Drag Template to TimeLineAdd the video to the timeline now and you will see that the video needs to be rendered. If you have already set the automatic rendering then Filmora will auto render it but its not the case then you have to yourself through the render button as shown below.
Drag Template to TimeLineAfter rendering, the red line will be green. You can play the video and it will be ok to play with its original quality. If you want some more effects on this video you can do that too like showin in the figure below.
Drag Template to TimeLineAfter importing it into the Filmora, now you can apply any effect without any issues. Once you are done with you can import it and enjoy it.
Now if for any reason you want the style applied in the analyzer but want to reduce its effect to some extent. You can do that in the Filmora main application. To do that first import a new video in the AI stylizer. You already know how to do that. After that apply some effect on it, choose HD and export it as shown.
 Edit a Template
After that open up the new project in the Filmora and import this same video. Once you did that its time render it and make a proxy of it like shown previously. Add it to the timeline after that. Once you have added it to the timeline. Now import its original video and add it to the timeline too on top of each other as shown.
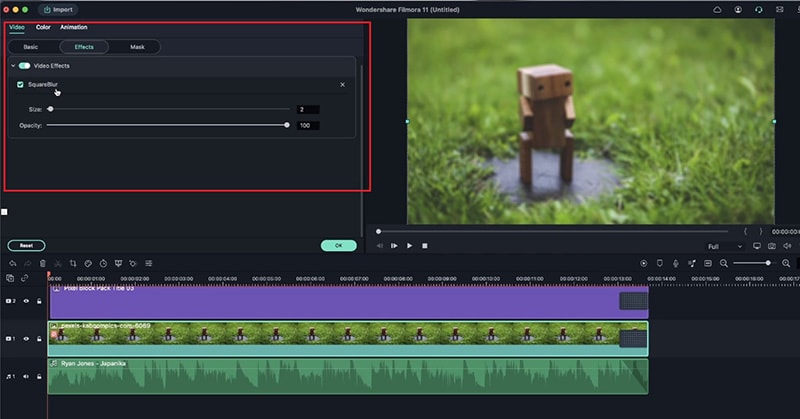
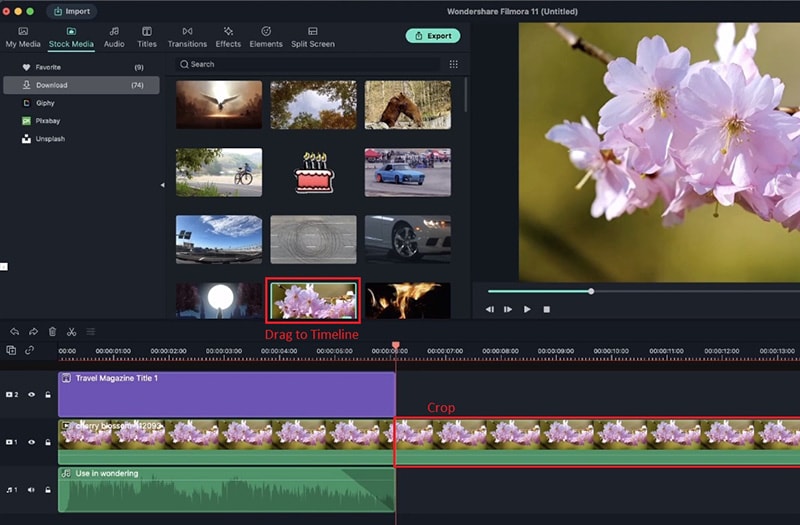 Crop Additional Part
Once you did that now you can double click on the video that has this effect on it. Once you do this, it will pop a the composing settings. Control the effect by reducing the composing and you will see the changes are working out. You can reduce to 50 % for best results.
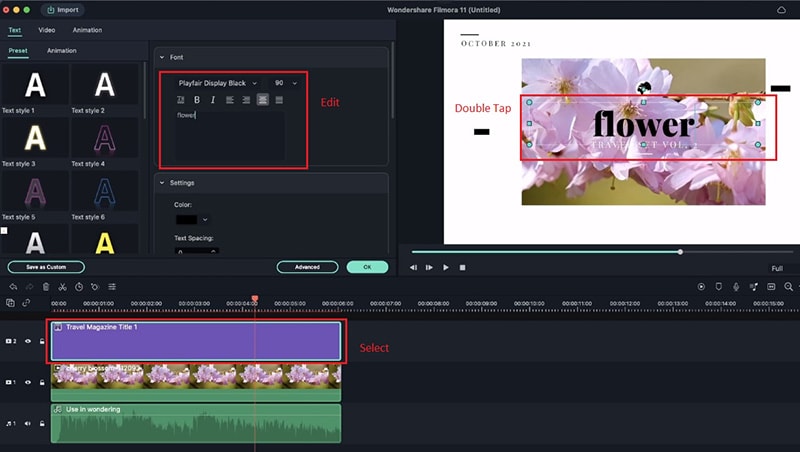 Add Text
You can now apply any effect similar to like this effect. Let's say a split video. That can be done by going to the split-screen and choosing your choice split-screen. After choosing drag both the videos to the split-screen to show after and before effects.
 Add Graphic
For further settings, you can head over to the advanced tab and check for any further settings. You can adjust the visible area of the video through the x-y settings in the advanced window. Once you are satisfied click ok as shown.
 Apply Effects
After clicking ok you can play your video now and it will look like a before and after style effect as shown below.
Apply EffectsYou can also do this for three videos. All you have to do is select three window split screens from the split screen menu. And add three videos instead of two and adjust in the advanced settings. Click ok and you are good to go.
 Replace Background