Note: This video tutorial is compatible with Filmora V11, V12 and V13 versions.
Wondershare Drive
A lot of the time we face problems with managing our project multimedia files. Sometimes, we lost the files or misplaced them, or confuse them with other projects files. But you don’t have to worry about it anymore since the Wondershare drive is cloud storage from Wondershare to manage and store your files on. So let's move in towards the knowledge and how of this drive.
You can access the Wondershare drive from Filmora's main application. You can also access your Wondershare drive from the browser by searching and typing in the Wondershare drive and logging in. Let's see how can you access it.
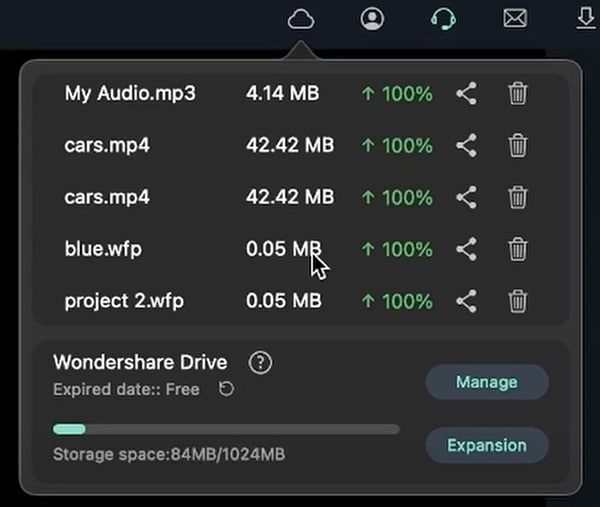
Launch the Wonder share Filmora application and click on the cloud icon in the top right corner of the main screen as shown below. Once you click on it you will see the history of previous files you uploaded. You can delete and share with icons shown with each of the listed files. You can also click expansion to extend your drive storage. To access the Wondershare drive click on the info icon as shown in the figure below.
 Access Drive
After clicking on the icon shown in 2 in the above picture, a new window will open. You will all the information regarding the drive and different FAQs. To access the drive click on the “Go to Drive” button on the website as shown.
 Go to Drive
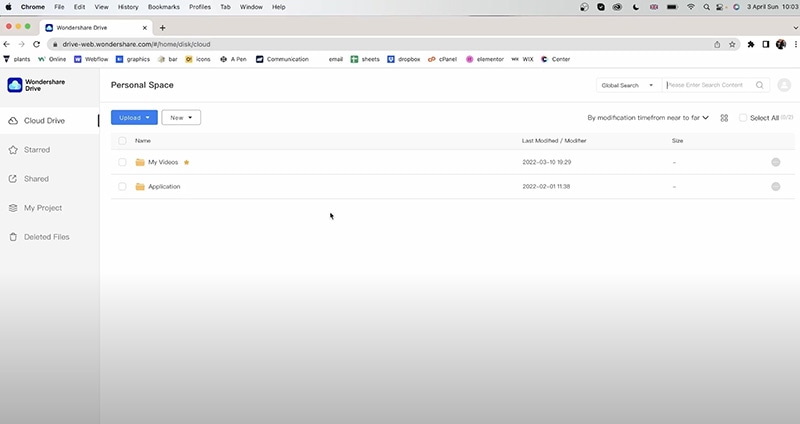
After clicking on the drive you will see the drive layout. If you are familiar with google drive you can easily manage Wondershare drive like that of a google drive.
 Wondershare Drive Layout
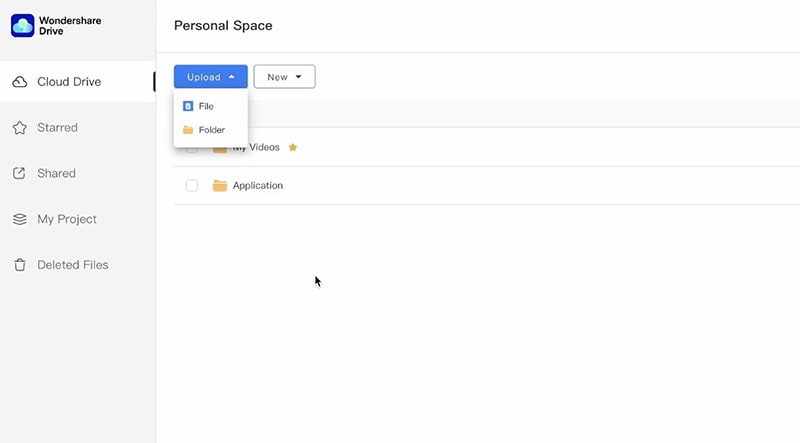
Once you are on the drive management screen you can upload any file. Just click on the cloud storage then click on upload, choose a new file and click ok. A new file window will appear to choose your desired file to upload. Once you have chosen to click on it and click ok. The file will be started uploading as shown in the figure below.
 Upload File
You can easily create a folder by going to the upload tab and clicking folder instead of a file. After clicking on the folder a new window will appear to choose a folder from your PC. Select any folder and click upload as shown in the picture below and it will be uploaded.
 Create a Folder
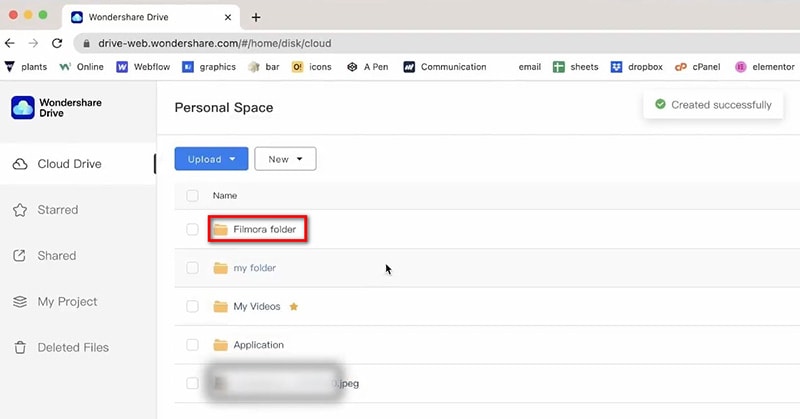
What about creating folder in the drive? That’s also very easy you just need to New this time and click on Folder. After that, a small window will appear as shown in the figure below. Enter a name for your folder and click ok.
 New Folder
If you want to copy or move a file then you can do it by selecting the file you want to copy as shown in step 2 in the picture. After that click copy at the top. Then on a new window click on expand personal space. Click on the folder you want to copy and click the “copy here” button as shown.
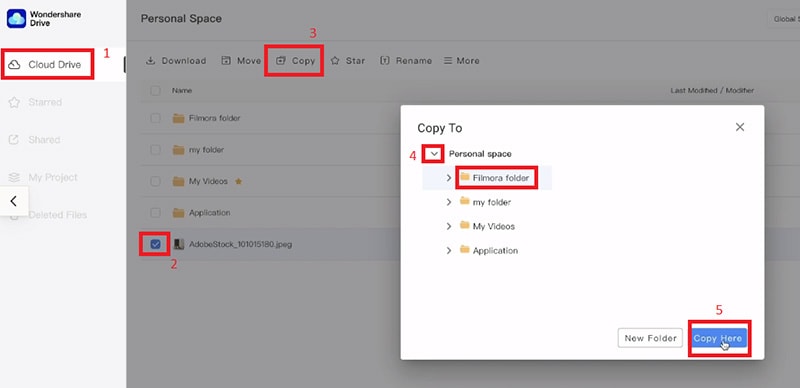 Copy and Move File
The procedure for moving is similar but they both are different operations. Copy creates a duplicate file while move moves the original file. So for moving first select the file you want to move, expand the drive space to see all folders and click on the folder you want to move the file, and finally click the “move here” button. And bingo the file will be moved to the location.
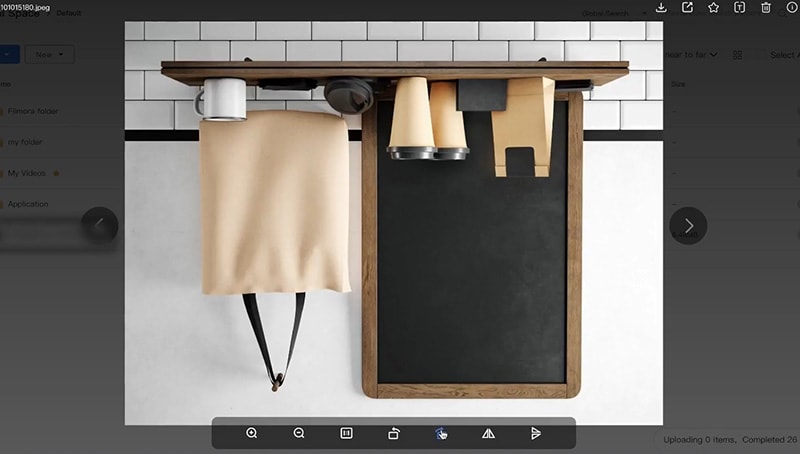
Let's come to the previewing of files. You can view your image files or see details of any file by double right-clicking on it. You will see a variety of functionality on the preview of your image or file as shown in the figure.
 Preview Files WS Drive
Almost all the functionalities on the preview windows are simple and you must be familiar with them. You can zoom in and zoom out, full screen, rotate clockwise and counter-clockwise, flip, download, mark favorite, rename, view details and delete the file from the preview window as shown just by clicking the function button. However, let's focus on sharing button and how can you share the file with other users.
File Sharing
To share your file or photo click on the sharing button as shown in the above figure. After clicking on it you will see a new window. In the new window, you see control options such as permissions, security, and validity. You can set the permission of viewing the file, allowing download and saving, the limit of downloads, and access to special users through checkboxes. Moreover, with the security tab, you can set the password to view, and under validity, you cant set the expiration date of the file.
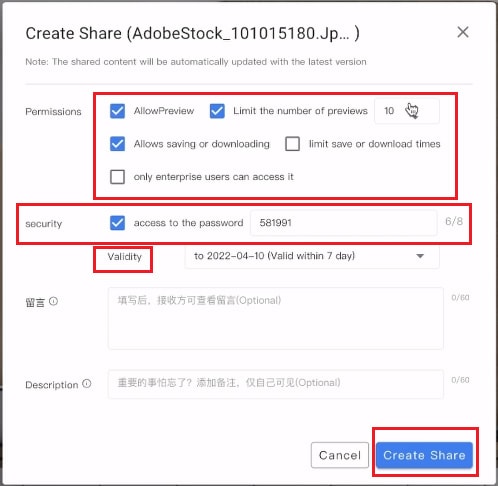 Create Share
After clicking on create a share, a new window will pop up with a sharing link. Now, this sharing link has access to your picture with the permission and settings you imposed on it. The user can simply copy and paste the link on the browser to see its content. You can also save its QR code to scan by the phone to see that file or photo as shown below.
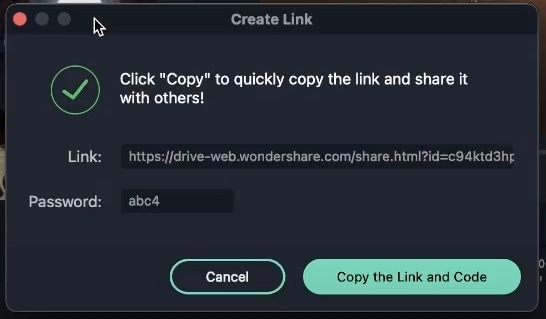
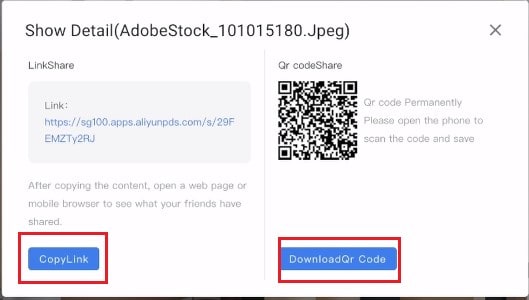 Share Link and Code
You can search any file by going to the search tab and choosing the search domain as shown below. Enter your search term and will see the file you want to search. This is greatly helpful in the case of numerous files on the drive.
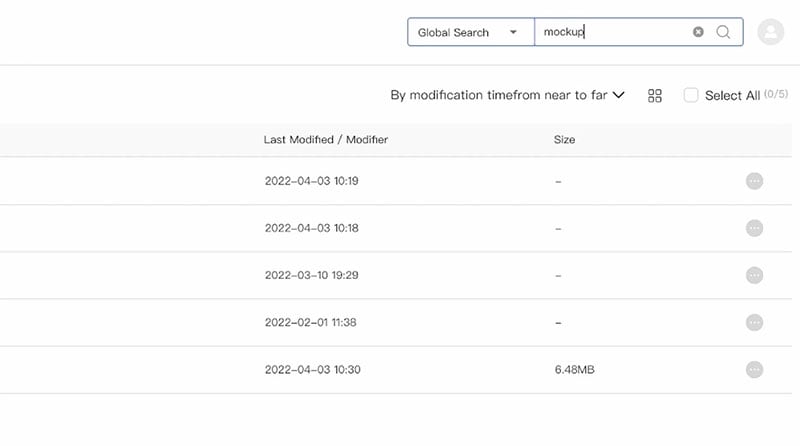 Search File in Drive
There are other tabs through which you can see your starred and shared files. You can also download it by right-clicking on it and clicking download.
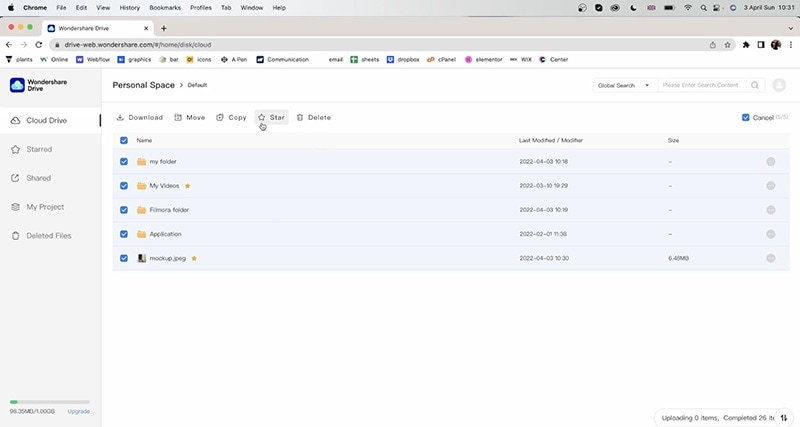 Starred Files
If you want to share or upload files from Filmora to wonder drive then all you have to do is first work on your project or file. After that select it. Then click export as shown. You can choose different video formats for your export. After choosing the format, check the box “Upload to cloud” as shown in step 4. Once you did that name the file and click export.
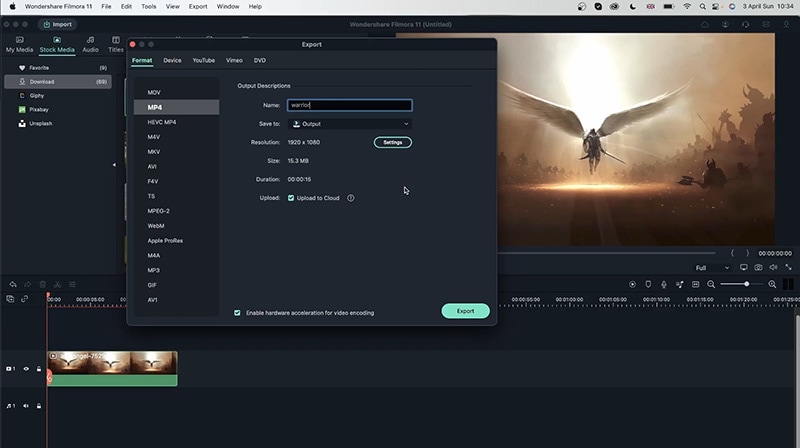 Upload File Filmora
Before going to the cloud to see it make sure it's uploaded 100 %. You can check this by going to the top right corner upload section and confirming the status of the upload as shown.
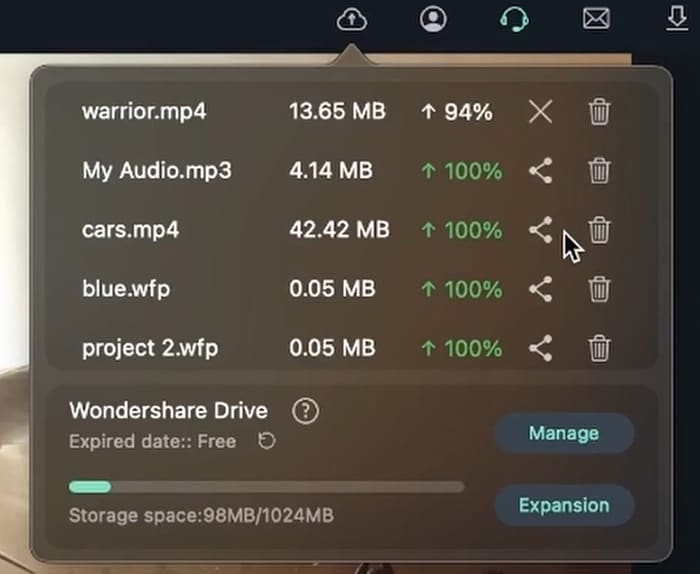 File Uploaded
Now let's come to the sharing of the files you edited and uploaded. For that go to the right top corner and click the cloud icon. You will see your recent uploads. Click on the sharing icon and you will sharing settings. You can set permissions of settings access code, expiry date, and click create a link. You will see your sharing link, you just need to copy the link and share that with other friends to access its content as shown in the figure.
 Copy Link to Share