
 100% Security Verified | No Subscription Required | No Malware


 ChatGPT
 Perplexity
 Gemini
 Claude
 Grok
Grok
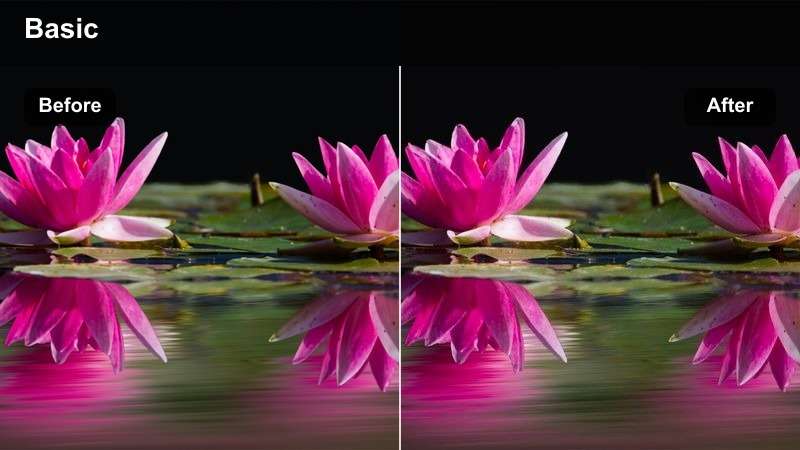
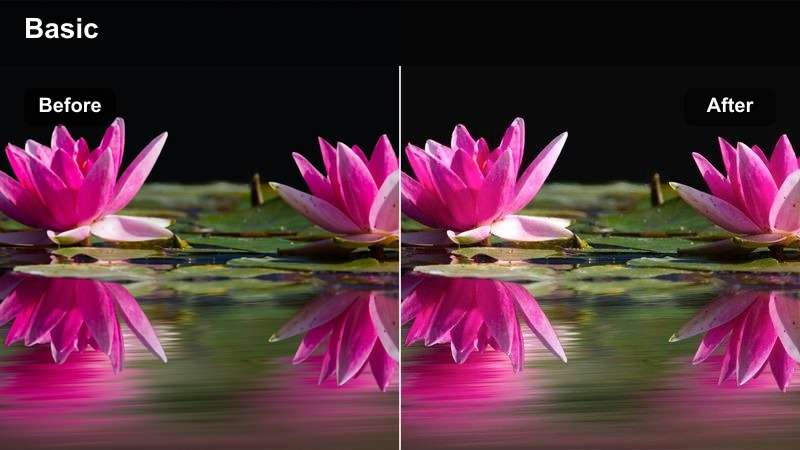
CapCut cinematic LUTs for reels help content creators turn quick vertical clips into scenes that feel like they came from a short film, with richer color, defined contrast, and a consistent mood across your feed.
Below are curated CapCut cinematic filter ideas you can recreate or adapt as custom filters or color presets, so your travel, lifestyle, and aesthetic reels look polished and professional with minimal tweaking.
In this article
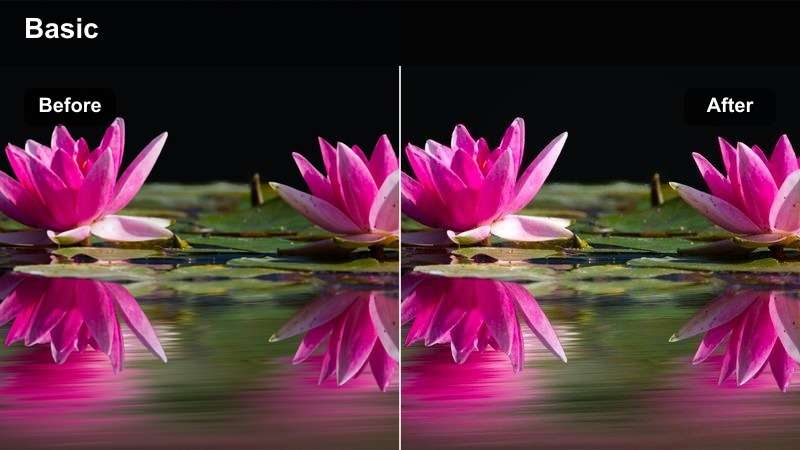
Golden Hour City Streets
Sunset Glow Film

- Effect look: Warm, honey-toned cinematic glow with soft contrast and gentle halation around bright highlights.
- Best for: Sunset city walks, rooftop reels, silhouettes against the skyline, and backlit lifestyle shots.
- Editing tip: Slightly lower exposure and add a touch of vignette to keep attention on faces and skyline details.
In Filmora, you can recreate a Sunset Glow Film look by combining a warm temperature shift with a gentle S-curve in the Color panel. Raise the midtones slightly for that honey glow, soften highlights with the Highlights slider, and add a subtle bloom or glow effect so bright edges feel like halation instead of harsh digital clipping.
For vertical reels, apply a light vignette and keep shadows close to neutral so skin tones do not go overly orange. Use keyframed exposure or color correction if your subject moves in and out of strong backlight, ensuring their face stays readable while the city skyline retains that cinematic golden atmosphere.
Turn Cinematic Ideas into Reusable Presets
Use Filmora's AI-powered color tools to quickly match the looks of your favorite CapCut cinematic LUTs for reels and save them as reusable presets. You can import a few reference clips, let AI Color Palette analyze the mood, and then apply it across your own footage in seconds.
Once you dial in a look you love, save it as a custom preset so future reels get the same cinematic treatment with one click, keeping your visual style consistent across Instagram Reels, TikTok, and YouTube Shorts.
 secure download

Preview Cinematic Filters on Real Reels
Drop a few vertical clips into Filmora and cycle through cinematic filters inspired by popular CapCut LUT styles to see which look supports your story best. Real-time preview means you can test warm golden tones, cool city blues, or neon moods without committing to a full grade.
Use side-by-side comparison on a short test sequence to judge how each filter handles skin tones, skies, and city lights, then lock in your favorite before building the rest of your reel edit around it.
secure downloadBlend Filters and LUTs for a Signature Style
Combine Filmora filters with 3D LUTs to build layered cinematic styles that go beyond a single preset. Start with a subtle base filter for contrast and saturation, then stack a filmic LUT on top and dial back its intensity until your reel looks stylized yet natural.
Use advanced controls like HSL and curves to protect skin tones or specific colors while pushing skies, shadows, or city lights further, giving your reels a recognizable signature look across every post.
secure downloadAmber Street Cinema
- Effect look: Rich amber midtones, deeper shadows, and subtle film grain for a moody street-movie vibe.
- Best for: B-roll of crosswalks, traffic, slow-motion street fashion, and handheld city wandering shots.
- Editing tip: Add slow push-in keyframes to static clips so the cinematic grading feels even more dynamic in reels.
To mimic an Amber Street Cinema feel in Filmora, push the temperature and tint slightly warm, deepen the shadows, and lift midtone saturation in the orange and yellow ranges. Add a light film grain effect and a small vignette so the streets feel gritty while your subject remains the clear focal point.
Use keyframing on the Transform controls to create slow push-ins or pans over otherwise static shots, which pairs perfectly with the moody grading. When cutting to music, alternate between wider city scenes and tighter fashion or detail shots, keeping the same preset applied so the reel feels like one cohesive urban short film.
Soft Urban Haze

- Effect look: Low-contrast, pastel-tinted city look with lifted blacks and a subtle haze in the highlights.
- Best for: Slow lifestyle reels, aesthetic coffee runs, bike rides through the city, and casual day-in-the-life content.
- Editing tip: Lift blacks but add clarity on your subject to avoid a flat image; this keeps your main character crisp within a dreamy city backdrop.
In Filmora, start by lifting the black point in the Curves panel and slightly lowering overall contrast to introduce that soft, urban haze. Add a gentle pastel shift by reducing saturation of strong primary colors, then nudging shadows a touch cooler and highlights a bit warmer for subtle color separation.
To keep your subject from disappearing into the softness, boost clarity or sharpness selectively using masks, or duplicate your video layer and sharpen the top layer while masking it to your subject. This approach works especially well for coffee runs or bike rides, where the environment can stay dreamy and hazy while the rider or barista remains detailed and engaging.
Night Neon and City Lights
Neon Noir Reel
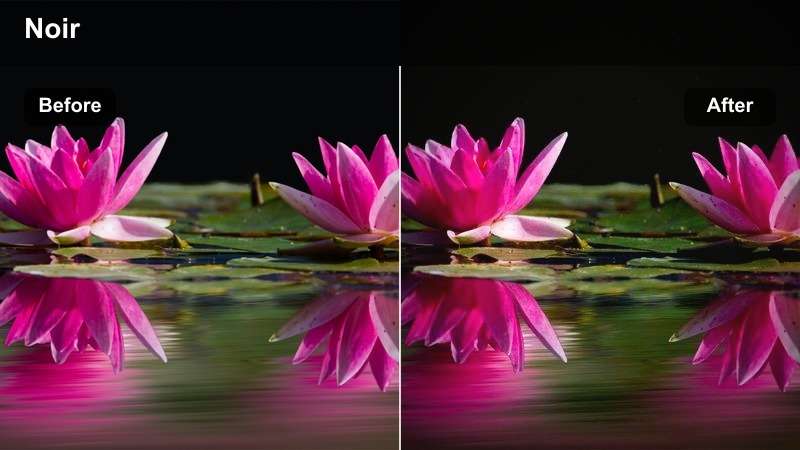
- Effect look: High-contrast night filter with deep blues, vivid neon reds and magentas, and crisp highlights.
- Best for: Neon signs, rainy sidewalks, reflective windows, and cyberpunk-inspired night reels.
- Editing tip: Underexpose slightly in-camera so neon details are not blown out, then lift shadows in Filmora for a stylized noir feel.
To craft a Neon Noir Reel grade in Filmora, push shadows toward deep teal or blue while boosting saturation in magenta and red using HSL. Increase overall contrast and sharpen edges to make neon outlines pop, then control highlights so signs and reflections stay bright without losing their detail.
For rainy sidewalks or reflective storefronts, stack a mild glow or bloom effect on top of your color work to spread neon colors into nearby areas. Cut between close-ups of signs and wider alley shots, keeping the same preset and adding a touch of speed ramping or motion blur for sequences that feel like a fast-paced cyberpunk reel.
Chrome Night Cinema
- Effect look: Cool metallic tones with teal shadows, neutral highlights, and subtle bloom on bright streetlights.
- Best for: Driving POV reels, city skylines at night, time-lapse traffic, and handheld night walks.
- Editing tip: Add motion blur or speed ramps around light streaks to emphasize the futuristic, metallic color grade.
To build a Chrome Night Cinema style in Filmora, cool down your footage with a global temperature shift and push shadow tones toward teal while keeping highlights closer to neutral white. Boost contrast and clarity so architectural lines feel sharp and metallic, then apply a slight bloom or glow to streetlights and car trails.
For POV driving or time-lapse traffic, use Filmora's speed ramping tools to accelerate and decelerate around key light streak moments. Combine this motion with directional blur and your teal-toned grade so the final reel feels like a sleek, futuristic chase scene captured in vertical format.
Soft Bokeh Nights
- Effect look: Muted contrast with warm midtones, creamy bokeh highlights, and gentle skin smoothing.
- Best for: Portrait reels at night, candid street interviews, and couples walking through light-filled streets.
- Editing tip: Use lens blur overlays or Filmora bokeh effects on a separate layer to exaggerate out-of-focus city lights.
In Filmora, lower overall contrast slightly and warm up midtones to give skin a flattering glow while letting shadows stay soft. Add a touch of skin smoothing using the Beauty tools, then layer in a bokeh or lens blur effect on a duplicated background layer to exaggerate out-of-focus lights.
Mask your subject so the blur only affects the background, keeping faces and key details sharp. This setup is ideal for couples walking through lit streets or night interviews, where the creamy bokeh circles provide cinematic depth while the subject remains crisp and emotionally readable on mobile screens.
Daylight Travel and Lifestyle Montages
Clean Cinematic Day
- Effect look: Neutral cinematic contrast with slightly warm highlights, natural skin tones, and crisp edges.
- Best for: Travel b-roll, city sightseeing, handheld walking tours, and everyday lifestyle reels.
- Editing tip: Cut to the beat and stabilize footage in Filmora so the clean color grade feels polished and intentional.
To achieve a Clean Cinematic Day look in Filmora, keep your white balance neutral and add a gentle S-curve for contrast, warming only the highlights slightly. Boost sharpness and clarity just enough to make architectural lines and fine details pop, while using subtle saturation to maintain realistic yet vibrant colors.
Apply Filmora's stabilization to handheld walking shots and cut your clips on beat markers so transitions feel seamless. Saving this grade as a custom preset lets you apply it to all of your travel and lifestyle reels, giving your channel a consistent, cinema-camera feel without heavy stylization.
Soft Travel Matte
- Effect look: Gently faded blacks, soft highlights, and pastel leaning colors for a filmic postcard feel.
- Best for: Montage reels of city streets, train rides, airport transitions, and handheld POV shots.
- Editing tip: Add a very subtle letterbox crop even on vertical reels for an instant film reference without covering key parts of the frame.
In Filmora, create a Soft Travel Matte aesthetic by lifting the black point in Curves, slightly reducing highlight intensity, and dialing down saturation of strong blues and greens. This combination delivers a pastel, postcard-like look that works perfectly for travel transitions such as airport shots, tram rides, or street wandering.
Consider adding a mild letterbox crop or frame overlay sized for vertical content to hint at a filmic aspect ratio without hiding important subjects. When building a montage, keep this preset consistent across all clips so your reel feels like a cohesive travel diary rather than a random collection of moments.
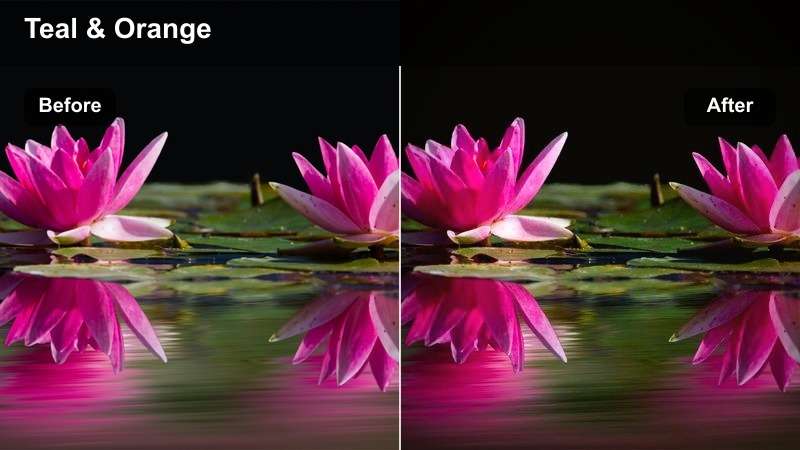
Teal Sky Roam
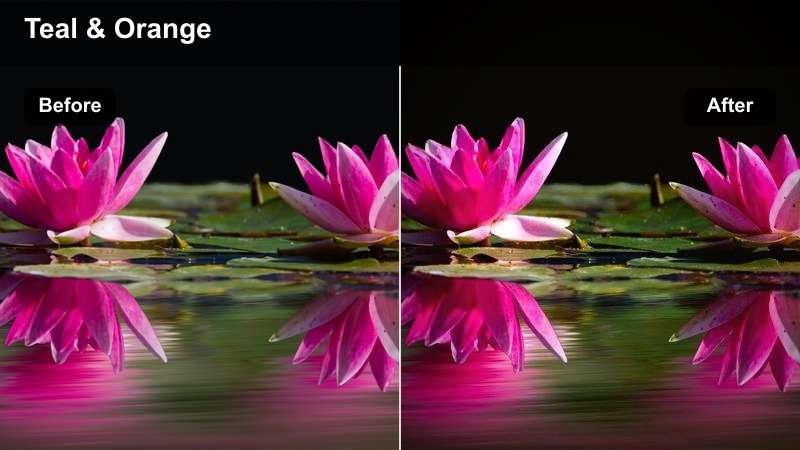
- Effect look: Bold teal skies, warm skin tones, and punchy contrast tuned for outdoor sightseeing reels.
- Best for: City viewpoints, seaside promenades, bridge crossings, and drone-style reveals shot vertically.
- Editing tip: Use HSL tools in Filmora to target blues so the teal shift affects sky and water without turning buildings unnatural.
To replicate a Teal Sky Roam style in Filmora, head to the HSL panel and adjust blues and cyans toward teal while slightly increasing their saturation. Keep skin tones natural by leaving oranges and reds mostly untouched, and then increase contrast so the separation between warm subjects and cool skies becomes eye-catching.
This look is ideal for high viewpoints or seaside scenes where the sky occupies a large portion of the frame. Use masks if necessary to limit the teal shift to sky and water areas, and consider adding gentle camera movement with keyframes so dramatic reveals and pans feel even more cinematic in vertical reels.
Story-Driven Close-ups and Mood Shots
Moody Character Frame

- Effect look: Deep contrast, cooler shadows, and subtle vignette focused on faces and story beats.
- Best for: Talking-to-camera reels, emotional storytelling, and cinematic reaction shots indoors or outdoors.
- Editing tip: Center your subject's eyes in the top third of the frame and lean into negative space to maximize the dramatic grade.
For a Moody Character Frame in Filmora, deepen contrast and push shadows slightly cooler while keeping midtones neutral so facial expressions stay clear. Add a soft vignette and reduce saturation a bit across the image to guide focus toward the eyes and important story details.
Frame your subject so their eyes sit near the upper third line of the vertical frame, then use Filmora's masking tools to preserve brightness and detail on the face while allowing backgrounds to fall off into darker tones. This approach turns simple talking-to-camera reels into moody, cinematic monologues that feel far more intentional.
Soft Portrait Cine
- Effect look: Gentle contrast, warm skin tones, softened highlights, and subtle glow for flattering reels.
- Best for: Beauty content, GRWM reels, product close-ups, and creator intros shot indoors near a window.
- Editing tip: Reduce clarity slightly and add just a touch of sharpening to the eyes to keep the subject looking polished, not blurred.
To create a Soft Portrait Cine effect in Filmora, lightly warm the overall color balance and lower contrast a touch so skin looks smooth and flattering. Use highlight roll-off controls to soften bright spots on the face, and add a gentle glow effect at low intensity for a subtle cinematic sheen.
Pair a small negative clarity adjustment with targeted sharpening on the eyes using masks or adjustment layers. This combination keeps your subject looking polished for GRWM or beauty reels, while product details and facial features still appear crisp when viewers pause or rewatch your content.
Grainy Memory Cut
- Effect look: Soft washed highlights, muted colors, and visible grain for a memory or flashback aesthetic.
- Best for: Flashback-style reels, recap montages, behind-the-scenes snippets, and emotional storytelling.
- Editing tip: Lower saturation slightly and mix in slow cross-dissolves so the vintage look feels cohesive with the grainy texture.
In Filmora, lower saturation and lift highlights to give your footage a washed, nostalgic base before adding a film grain effect. Reduce contrast slightly and warm the image just a bit, so the final grade feels like an old memory or diary page rather than a modern, clinical image.
Use slow cross-dissolves between clips and consider adding subtle light leak overlays to strengthen the flashback aesthetic. When building recap or behind-the-scenes reels, apply this preset across all relevant clips so viewers instantly recognize they are watching a memory sequence distinct from your present-day footage.
Tips for Using Capcut Cinematic Luts For Reels Filters in Filmora
- Shoot with slightly lower contrast and exposure so cinematic filters and LUT-style looks in Filmora have more room to shape your reels.
- Lock white balance in-camera whenever possible to keep color shifts consistent across multiple clips in the same reel.
- Use Filmora's masking tools to protect faces and important details while pushing stylized color and glow into the background.
- Stack filters with LUTs at reduced opacity instead of relying on a single effect, fine-tuning curves and HSL for a natural yet cinematic finish.
- Export a short 5 to 10 second test reel with your chosen look and review it on your phone before batch-applying the preset to a full project.
- Align cuts with music beats and use motion effects like speed ramps or zooms so your cinematic color grades feel dynamic, not static.
- Save your favorite grades as custom presets in Filmora to quickly match the look of CapCut cinematic LUTs for future reels.
- Check your reel on different phone brightness levels to be sure dark cinematic grades do not crush detail on smaller screens.
CapCut cinematic LUT-style filters can make even simple vertical clips feel intentional and story-driven when you balance color, contrast, and composition. By pairing thoughtful shooting with well-chosen color presets, you can turn everyday scenes into short, cinematic moments.
Use these filter ideas as starting points, then refine them in tools like CapCut and Filmora until your reels carry a recognizable cinematic style that matches your brand. Over time, your consistent grading will help viewers instantly recognize your content as they scroll.
secure download