
 100% Security Verified | No Subscription Required | No Malware

These CapCut travel vlog LUT-style tropical filters are designed to turn your beach, island, and summer clips into warm, cinematic scenes with just a few taps.
Below you will find twelve hand-picked tropical looks with clear use cases and editing tips so content creators can quickly match the right filter to every travel moment.
In this article
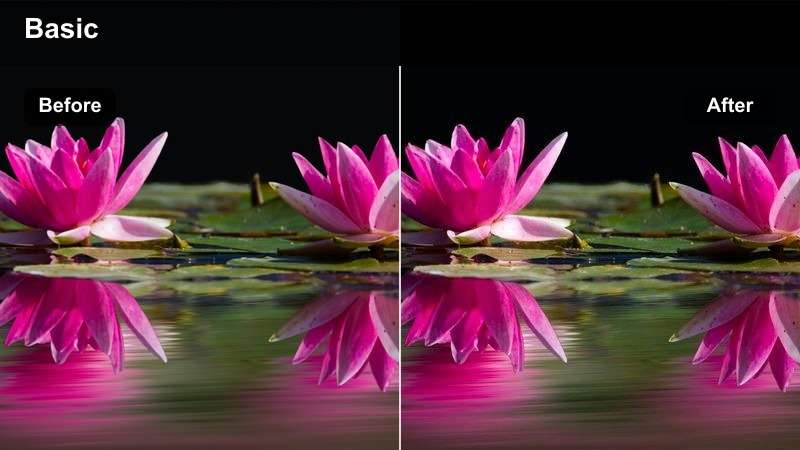
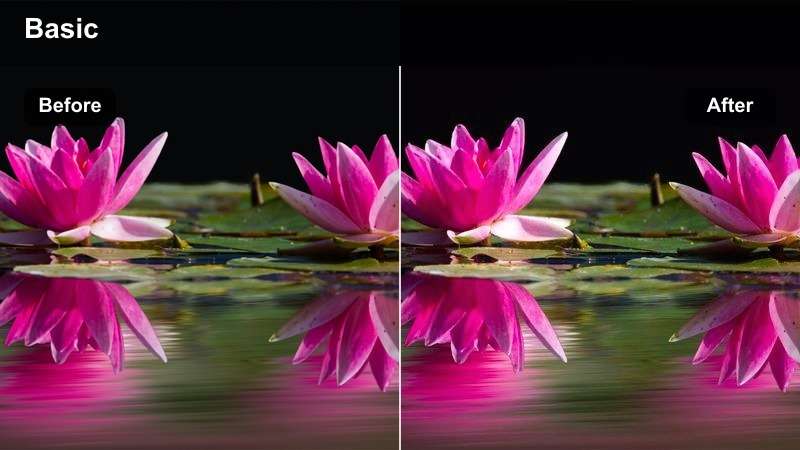
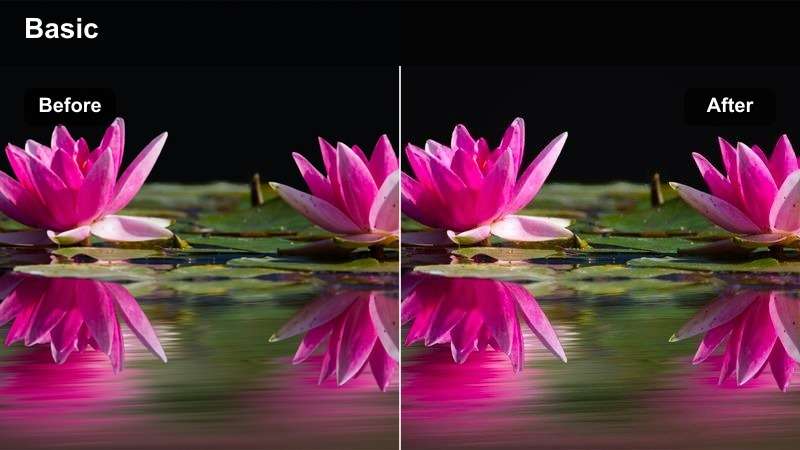
Golden Beach Mornings
Sunrise Soft Glow
- Effect look: Warm pastel tones that gently lift shadows and add a hazy morning glow to your coastal shots.
- Best for: Early beach walks, calm ocean B-roll, and slow-paced sunrise storytelling clips.
- Editing tip: Drop overall intensity to around 60% and slightly lower highlights to keep the sky from clipping.
In Filmora, Sunrise Soft Glow works beautifully when you want your CapCut travel vlog LUT-style tropical look to feel calm and cinematic rather than overly intense. Apply a warm filter or LUT to your dawn clips, then soften contrast to keep pastel skies and gentle reflections in the water looking natural.
For vlogs with talking segments on the shore, combine this look with Filmoras subtle vignette and skin-tone adjustments so faces stay clean while the background stays dreamy. Light tweaks in the HSL panel to control oranges and yellows will help you avoid oversaturated skin under strong sunrise light.
Match Every Tropical Scene with AI-Powered Color Suggestions
Use Filmoras AI color tools alongside your CapCut tropical filters to quickly lock in matching accent colors for titles, overlays, and lower thirds. Sampling a single frame from your beach or island clip is enough for AI to suggest cohesive palettes.
This keeps your channel branding consistent across intros, transitions, and end screens, even as lighting and locations change from one episode to the next.
 secure download

Preview Tropical Looks Before You Commit
Filmoras real-time preview makes it easy to audition multiple warm, teal, and golden-hour grades on the same beach clip. You can play your sequence while toggling filters to see how each LUT-style look reacts to changing light or camera movement.
This workflow is ideal when matching CapCut travel vlog LUTs tropical aesthetics to B-roll and A-roll, helping you keep every scene consistent without constant re-rendering.
secure downloadCombine LUT-Style Filters for a Signature Travel Look
With more than 1000 video filters and 3D LUTs, Filmora lets you stack creative looks on top of your CapCut tropical grades for a recognizable channel style. Start with a base LUT that flatters skin, then add scene-specific tweaks for water, foliage, and sunsets.
By saving these combinations as custom presets, you can apply your signature tropical aesthetic to new trips in seconds, keeping your travel vlog brand consistent across seasons and destinations.
secure downloadSandbar Golden Haze
- Effect look: Golden midtones with soft contrast that make sandbars and shallow water feel dreamy and cinematic.
- Best for: Drone flyovers, sandbar walks, and establishing shots of shallow turquoise water.
- Editing tip: Increase clarity or structure slightly to keep sand texture and ripples visible under the warm glow.
Sandbar Golden Haze is ideal for aerial clips where you want the transition from turquoise to sandy shallows to look smooth and filmic. In Filmora, pair this look with a mild clarity boost and a bit of dehaze so the textures in sand and waves remain crisp beneath the warmth.
When grading drone footage, keep exposure a little lower and let the LUT or filter lift the mids to avoid harsh highlights. Add a slow zoom or keyframed crop in Filmora to gently move into your subject, making your sandbar shots feel like cinematic establishing scenes.
Coconut Coast Soft
- Effect look: Soft, slightly desaturated warm tones with gentle contrast for relaxed coastal storytelling.
- Best for: B-roll of palm-lined paths, hammock shots, and casual walk-and-talk vlog segments near the shore.
- Editing tip: Reduce saturation of greens slightly to avoid overly neon palms, then lift shadows for a laid-back mood.
Coconut Coast Soft is perfect for narrative-heavy vlogs where you want the environment to support the story without overpowering it. In Filmora, start with a gentle warm LUT, then ease back overall saturation so the tropical palette stays calm and pleasing to watch over longer edits.
Match your A-roll and B-roll by copying color settings between clips, then fine-tune green and blue channels so palms and sky sit naturally behind your subject. Adding a subtle split-tone with warm highlights and cooler shadows will give your coastal stories a modern cinematic touch.
Midday Turquoise Waters
Lagoon Teal Pop
- Effect look: Punchy teal blues with bright whites and crisp contrast that make water sparkle under midday sun.
- Best for: Snorkeling clips, boat rides, jumping-off-the-dock moments, and poolside scenes.
- Editing tip: Slightly reduce blue luminance if the water looks blown out, and keep exposure a touch lower than normal.
Lagoon Teal Pop is the go-to when you want the classic tropical teal water look that jumps off the screen. In Filmora, apply a teal-focused LUT or color preset, then tweak blue luminance and saturation so seas stay vibrant without losing highlight detail.
This look pairs well with action-heavy footage like jumps, splashes, and snorkeling POVs. Stabilize your clips first, then add a bit of sharpness and contrast so droplets, ripples, and bubbles feel crisp against the bold teal backdrop.
Reef Crystal Clear
- Effect look: Clean, high-clarity look with cool cyan shadows that emphasize underwater detail and reef textures.
- Best for: Action-cam underwater clips, paddleboard POVs, and reef exploration shots.
- Editing tip: Add a small amount of sharpening and dehaze to bring out reef textures without making noise obvious.
Reef Crystal Clear is designed to rescue underwater shots that look a bit flat straight out of camera. In Filmora, combine dehaze, clarity, and a cool-toned LUT to cut through murkiness while preserving natural colors in coral and rocks.
Use selective color controls to push cyans and blues slightly cooler while keeping skin tones closer to neutral. This creates a professional, documentary-style reef look that still fits alongside your warmer surface-level tropical clips.
Harbor Sun Splash
- Effect look: Bright, sunny tones with slightly warm highlights and crisp edges for busy seaside harbors and docks.
- Best for: Harbor walks, boat boarding, and handheld vlog shots near bright reflective water.
- Editing tip: Dial down saturation of reds and oranges a bit to avoid over-saturated boats and life vests.
Harbor Sun Splash handles the mixed chaos of docks, boats, and bright reflections by keeping everything crisp but controlled. In Filmora, boost contrast and micro-sharpening slightly, then warm the highlights so sunlit areas feel inviting rather than harsh.
Because harbors are full of bright colors, use HSL to gently tame reds and oranges, letting your subject stand out without the scene turning cartoony. A mild vignette and a small exposure pull on background elements can help guide the viewers attention into your story.
Golden Hour Island Scenes
Island Gold Rush
- Effect look: Rich golden highlights with warm, saturated tropical colors for cinematic sunset island visuals.
- Best for: Sunset beach gatherings, silhouette shots, and golden-hour drone passes over islands.
- Editing tip: Lower contrast a touch if silhouettes crush too dark and add slight fade for a filmic finish.
Island Gold Rush pushes sunset warmth for those hero shots that you will probably use in thumbnails and intros. In Filmora, use a strong golden-hour LUT, then fine-tune contrast so you keep detail in clouds and reflections while still achieving dramatic silhouettes.
A subtle fade in the blacks and a touch of film-style grain can make these frames feel like scenes from a travel movie. Consider keyframing exposure or color temperature if the sun dips quickly, keeping the overall tone consistent through your sequence.
Palm Frond Copper
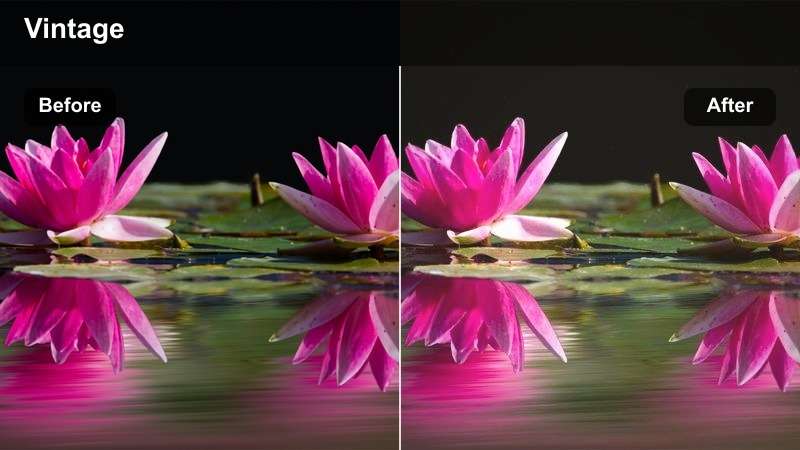
- Effect look: Copper-tinted greens and warm midtones that give palm trees and foliage a vintage island glow.
- Best for: Backlit palm shots, hammock scenes, and slow-motion walking clips through tropical paths.
- Editing tip: Reduce green saturation if foliage looks too intense, and add a gentle highlight roll-off for softness.
Palm Frond Copper leans into a stylized, almost film-photography feel by turning greens into warm copper tones. In Filmora, adjust the green and yellow channels toward orange, then soften overall contrast so light pouring through leaves feels smooth and nostalgic.
This look works best for slower B-roll: walking under palms, swinging in hammocks, or capturing lens flare. Add slow motion and a low-contrast curve to enhance the dreamy vibe, and keep skin tones in check with targeted HSL tweaks so people do not go too orange.
Cliffside Amber Glow
- Effect look: Amber-tinted highlights with slightly cooler shadows for balanced, cinematic cliff and coastline views.
- Best for: Cliff viewpoints, drone orbit shots, and travel intros overlooking the ocean.
- Editing tip: Add a subtle gradient filter in Filmora to keep sky exposure under control while cliffs stay rich and warm.
Cliffside Amber Glow is built for sweeping landscape shots where you want warmth on land and depth in the sea and sky. In Filmora, apply a warm highlight / cool shadow split-tone, then use the gradient tool to balance bright skies without darkening your foreground too much.
For drone or tripod panoramas, stabilize and apply gentle motion like pans or zooms during editing to make the most of the cinematic contrast. A bit of clarity on rock textures and a slight saturation boost in the midtones will help your coastlines feel rich but not oversaturated.
Tropical Town Evenings
Market Neon Warm
- Effect look: Warm, saturated tones with slightly lifted shadows that keep tropical night markets bright and inviting.
- Best for: Evening street walks, open-air bars, and tropical town nightlife intros.
- Editing tip: Lower saturation of yellows slightly to avoid overly harsh shop lights and blown-out signs.
Market Neon Warm is great for handheld night market footage where you still want to see faces and background detail. In Filmora, lift shadows a bit and push white balance warmer, then tone down yellows so hanging bulbs and signs do not dominate the frame.
Use noise reduction carefully to clean up darker areas before adding any extra contrast. A small boost in saturation for reds and magentas can make food stalls and lanterns pop while the overall scene stays cozy and watchable.
Rooftop Teal Evening
- Effect look: Cool teal shadows with warm highlights for a cinematic tropical rooftop bar atmosphere.
- Best for: Rooftop drinks, city-meets-sea skyline shots, and evening storytelling segments.
- Editing tip: Add slight noise reduction in Filmora to smooth low-light areas before boosting contrast with this filter.
Rooftop Teal Evening delivers the classic teal-and-gold look that works especially well at blue hour. In Filmora, cool down shadows toward teal while keeping highlights and skin warmer, creating a stylish contrast between the sky, city lights, and your subjects.
Because rooftop scenes are often shot at higher ISOs, clean the footage with light noise reduction before increasing contrast. Add subtle glow or bloom to bright points like string lights or windows to give your nightlife B-roll a polished, cinematic finish.
Boardwalk Soft Night
- Effect look: Soft contrast with gentle warmth and slightly muted colors for relaxed evening boardwalk walks.
- Best for: Low-key evening strolls, reflective monologue clips, and waterfront restaurant B-roll.
- Editing tip: Lift shadows just enough to see detail in darker areas, then reduce highlight contrast for a dreamy look.
Boardwalk Soft Night is meant for calmer story beats, like reflective monologues or slow walks along the water. In Filmora, reduce contrast and slightly mute saturation so lights become soft glows instead of sharp, distracting points.
Apply stabilization and consider slowing your clips to 80 or 90 percent speed to smooth out handheld movements. Layer gentle ambient audio and keep color shifts subtle so the viewer focuses on your voice and story while the visuals support the mood.
Tips for Using Capcut Travel Vlog Luts Tropical Filters in Filmora
- Shoot slightly flatter or underexposed in bright tropical light so your filters have room to protect highlights and sky detail.
- Pick two or three core tropical looks and reuse them across your series to avoid a chaotic, mismatched vlog aesthetic.
- Use CapCuts intensity slider and Filmoras color controls to fine-tune how strong each filter feels instead of relying on the default 100 percent.
- Adjust individual color channels for blues and greens after applying a filter so water and palms look natural, not neon.
- Stabilize handheld clips and trim shaky sections before color grading so your tropical footage feels smooth and watchable.
- Group similar scenes on your Filmora timeline and batch-apply the same filter or LUT to keep each sequence visually coherent.
- Add light grain or a subtle vignette to some tropical filters for a more cinematic, film-inspired travel look.
- Always check skin tones last and adjust warmth or tint slightly so people still look natural under strong tropical grades.
With the right mix of tropical filters, you can turn ordinary travel clips into cinematic CapCut vlogs that highlight turquoise water, warm sand, and golden island light.
Experiment with these twelve looks, then refine intensity, contrast, and color channels until your vlog feels like a cohesive tropical story from sunrise to late-night boardwalk walks.
secure download