
 100% Security Verified | No Subscription Required | No Malware

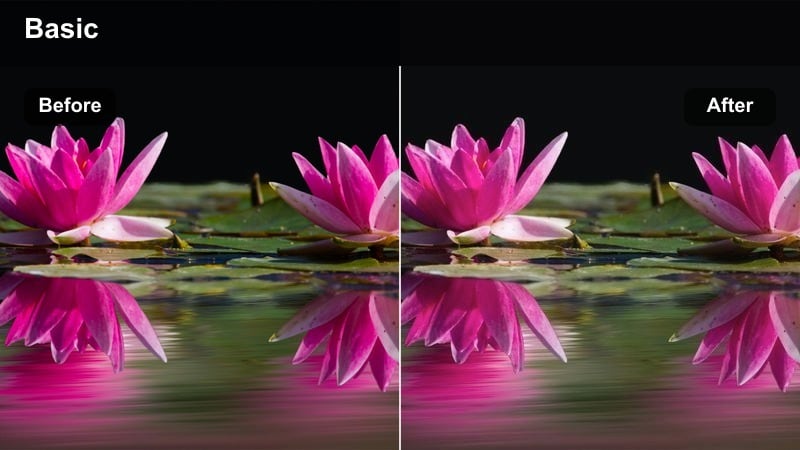
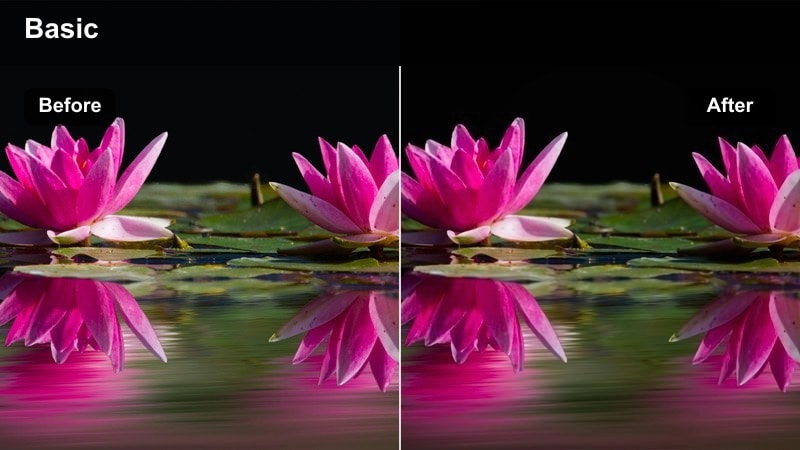
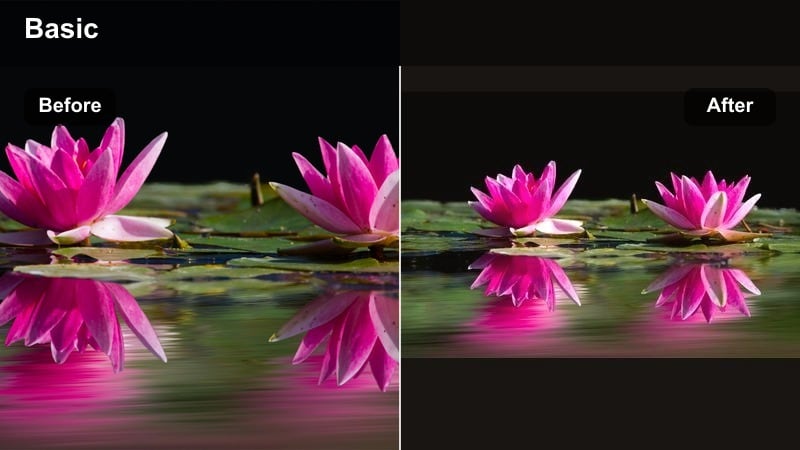
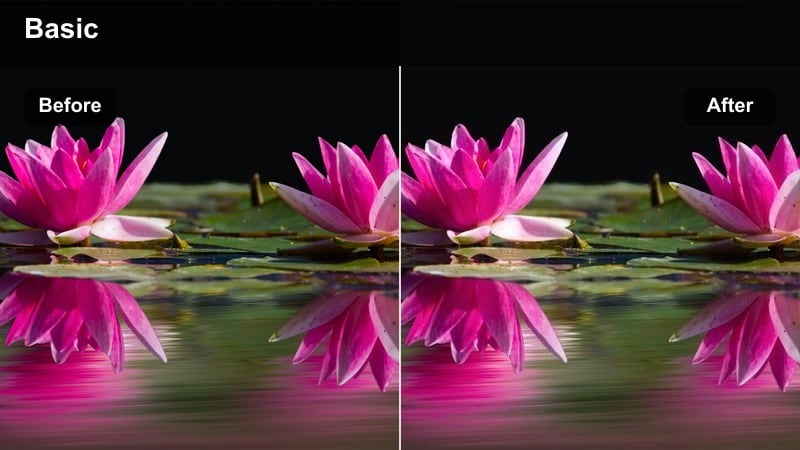
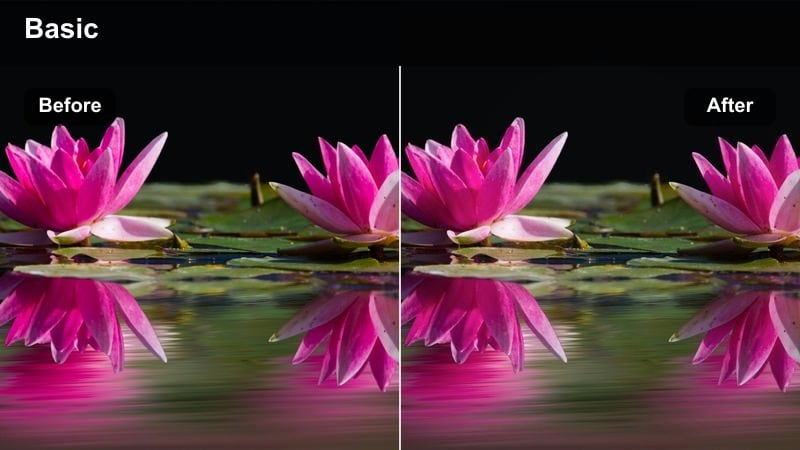
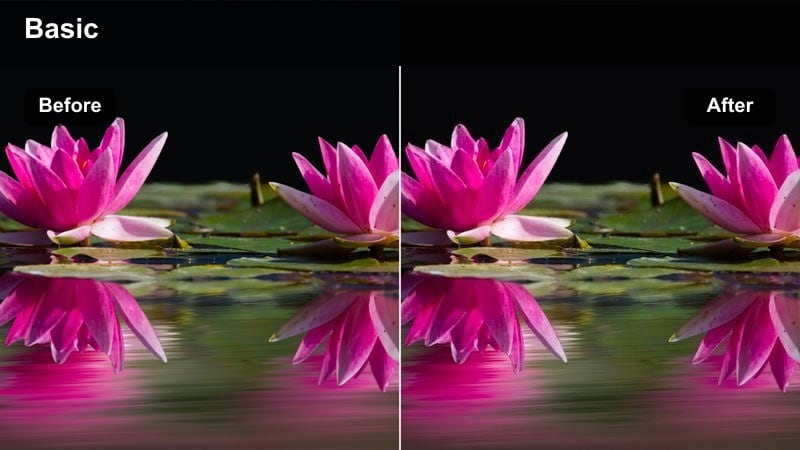
If you are just starting with color grading, free LUTs for beginners are the fastest way to make your footage look polished without touching advanced curves or wheels. Filmora's built-in filters and LUT-style presets let creators and editors preview cinematic looks in one click, then fine-tune them with simple sliders.
Below you will find beginner-friendly looks grouped by scene and style, with clear suggestions for when to use them and easy editing tips. Use this as a quick guide to pick the right free LUT-style filter for your project, from casual vlogs to moody B-roll and social media clips.
In this article
Soft Daylight Vlogs and Talking-Head Videos
Clean Natural Vlog
- Effect look: Subtle, bright, and true-to-life color perfect for everyday vlog footage.
- Best for: Sitting-down talking-head videos, educational content, and beginner YouTube vlogs shot in daylight.
- Editing tip: Apply this look first, then slightly raise brightness and reduce contrast if your background feels too heavy; keep skin tones neutral by lowering saturation a touch.
Inside Filmora, Clean Natural Vlog works as a safe, starter-friendly base grade that keeps colors close to what your camera captured while gently lifting exposure. It is ideal when you want your talking-head videos to look clean and professional without distracting tints or heavy cinematic styling that can be hard to balance.
Apply the filter to your clip, then open the color controls to nudge brightness and contrast until your face is clearly visible and the background is not overpowering. If your camera oversaturates reds or oranges, slightly pull down saturation or warm tones so skin stays realistic and your white walls or desk do not pick up unwanted color casts.
Let Filmora's AI Guide Your Beginner Color Choices
If you are unsure which free LUT-style look fits your clip, Filmora's AI color tools can scan your footage and suggest balanced starting adjustments. This helps beginners avoid harsh or inconsistent grades while still giving each scene a clear mood.
Use AI-powered color suggestions to normalize exposure and white balance first, then stack a beginner-friendly filter like Clean Natural Vlog or other looks from this guide for final styling. This keeps your edits consistent even when clips come from different cameras or lighting setups.
 secure download

Preview Filters on Sample Clips Before Editing
You do not need to guess how a free LUT-style filter will change your footage. In Filmora, you can drag a short test clip to the timeline and quickly cycle through filters to preview each look in real time before committing to one.
Once you find a style that suits your vlogs or B-roll, save it as a preset or favorite. That way you can apply the same filter across multiple clips or projects with a single click, keeping your channel style consistent without manual re-tuning every time.
secure downloadCombine LUT-Style Filters with Subtle Manual Tweaks
Filmora includes 1000 plus video filters and 3D LUTs, so you can start with a one-click style and then refine it with simple adjustments. Instead of relying only on a preset, combine your favorite looks with small tweaks to exposure, temperature, and saturation.
This workflow lets you keep the creative mood of a LUT while adapting it to each scene, which is especially useful for beginners mixing indoor, outdoor, and face-cam footage in the same project.
secure downloadBright Room Boost
- Effect look: Lifts shadows and adds a small pop of saturation for a fresh, inviting look.
- Best for: Indoor lifestyle vlogs, desk setups, and productivity videos in softly lit rooms.
- Editing tip: After applying, watch your histogram and pull back highlights if your window or monitor looks blown out; a little vignette can help keep focus on your face.
Bright Room Boost is designed to fix common indoor issues like dull corners and slightly underexposed faces without making the footage look fake. It brightens midtones, opens up shadows, and adds a gentle saturation push so your room feels airy and welcoming in productivity or day-in-the-life vlogs.
In Filmora, apply this filter to any clip where your main light source is a window or soft lamp, then reduce highlight intensity if screens or windows start clipping. Add a subtle vignette through the effects panel to guide attention toward your face or main subject, especially in busy backgrounds full of shelves or decor.
Soft Skin-Friendly
- Effect look: Gentle softening and warm tone shift that flatters skin without looking overly filtered.
- Best for: Beauty, commentary, and tutorial videos where the creator is close to the camera.
- Editing tip: Reduce the strength on detailed shots like hands or product close-ups so textures stay sharp while your face remains smooth and warm.
Soft Skin-Friendly adds a slight glow and warmth to skin tones, helping reduce minor blemishes and harsh shadows from key lights. It is especially helpful for new creators filming makeup, commentary, or how-to content where they stay close to the lens and want a flattering but natural finish.
Use this filter on your A-roll in Filmora, then lower its intensity on B-roll shots where you want to preserve texture, like product packaging or close-ups of tools. You can copy the filter settings between clips, then selectively paste attributes or adjust intensity per clip so your brand visuals stay consistent without blurring important detail.
Travel and Outdoor Adventure Scenes
Sunny Travel Pop
- Effect look: Vibrant, high-energy colors with extra clarity that make blue skies and cityscapes stand out.
- Best for: Daytime travel vlogs, city walks, and handheld adventure footage shot under sunlight.
- Editing tip: If greens or blues look too strong, slightly reduce saturation in Filmora's HSL controls instead of lowering the whole effect strength.
Sunny Travel Pop is built to make outdoor destinations feel lively, boosting blues, greens, and overall clarity so architecture and landscapes stand out. It works especially well on wide city streets, urban viewpoints, and handheld shots where you want the environment to feel bright and energetic.
Apply it in Filmora to your travel clips, then fine-tune individual colors in the HSL panel if foliage or skies start to look cartoonish. By targeting only the most intense hues, you can keep the fun, saturated mood of the LUT while avoiding color banding or oversaturated skies that distract from your storytelling.
Cinematic Street Mute
- Effect look: Slightly desaturated, contrasty urban tone with cool shadows for a cinematic city mood.
- Best for: City B-roll, stairway shots, metro stations, and moody alleyway sequences.
- Editing tip: Pair this look with slower footage or subtle speed ramps; avoid extreme saturation boosts that break the moody tone.
Cinematic Street Mute leans into a filmic, grounded city style by cooling down shadows and gently pulling back saturation, while still preserving strong contrast. It is ideal for sequences that show daily life in the city, like walking through alleys, subway entrances, or rainy sidewalks where you want a slightly gritty atmosphere.
In Filmora, combine this filter with smoother motion choices, such as slow motion or subtle speed ramps, to emphasize the cinematic feeling. Keep your color adjustments minimal after applying the LUT, focusing mainly on exposure and contrast so the carefully balanced cool, muted palette does not shift into an unintended look.
Golden Hour Glow
- Effect look: Warm, soft highlights that emphasize sunset light and gentle lens flares.
- Best for: Evening park walks, rooftop views, beachside paths, and any shot captured during golden hour.
- Editing tip: If your footage was not shot at sunset, lower the warmth and intensity to avoid orange skin tones while keeping a pleasant glow.
Golden Hour Glow enhances existing sunset or late-afternoon light with extra warmth and softer highlights, making skies and skin tones look radiant. It is perfect for couples walking, skyline views, or travel vlogs shot during the last hour of daylight when the sun is low and directional.
Use this look in Filmora on clips that already have some warm light, then carefully adjust the temperature and effect strength so faces do not turn overly orange. If you apply it to non-golden-hour shots, treat it as a subtle warm filter by reducing intensity, aiming for a gentle glow instead of full sunset emulation.
Cozy Indoor Aesthetic and Lifestyle Shots
Warm Home Aesthetic
- Effect look: Soft contrast and warm midtones that make interior spaces feel cozy and inviting.
- Best for: Room makeovers, desk tours, coffee table shots, and lifestyle B-roll inside apartments or studios.
- Editing tip: If your walls look too yellow, pull the tint slightly greener while keeping warmth so objects still feel soft and homey.
Warm Home Aesthetic wraps your interior footage in a gentle, amber tone that suits cozy lifestyle content, room tours, and home decor videos. It slightly lifts midtones, reduces harsh contrast, and adds warmth so lamps, wood textures, and fabrics look comfortable and lived-in.
After applying the filter in Filmora, adjust tint and temperature to avoid pushing neutrals like white walls and bedsheets too far into yellow. You can also lower saturation in the most dominant color (often orange) to keep skin, furniture, and decor distinct while preserving the overall inviting mood.
Minimal Desk Clarity
- Effect look: Clean whites and boosted clarity around objects for a tidy, minimal workspace style.
- Best for: Desk setups, keyboard shots, editing timelines, and workspace reels.
- Editing tip: Reduce saturation of distracting background items so the viewer's eye goes to your laptop, keyboard, or main product.
Minimal Desk Clarity focuses on sharpening lines and cleaning up whites so your workspace looks intentional and organized. It is great for top-down desk shots, product B-roll, and productivity reels where you want gear, stationery, and screens to look crisp and high-end.
In Filmora, add this filter to your desk B-roll, then selectively lower saturation or exposure for background objects that steal attention from your hero item. You can also pair the look with a slight crop-in or subtle zoom to keep viewers focused on your keyboard, tablet, or notebook while maintaining that modern minimal aesthetic.
Soft Study Evening
- Effect look: Dimmed contrast with gentle warm highlights that suggest a calm evening study or work session.
- Best for: Study vlogs, journaling shots, late-night editing, and quiet indoor B-roll.
- Editing tip: Lower saturation slightly for a relaxed feel and add a light vignette to keep attention on your notebook or screen.
Soft Study Evening creates a low-stress, late-night ambiance by softening contrast and adding warm highlights around lamps and screens. It works well when you film study-with-me sessions, cozy journaling, or editing montages where the main light is a desk lamp or monitor.
Apply it to your evening clips in Filmora and then gently pull down overall saturation to reinforce a calm, muted mood. A faint vignette effect and slower cuts between shots will match the relaxed color grade, making your study or work sequences feel focused and comforting rather than intense.
Social Clips, Reels, and Gaming Highlights
Punchy Social Boost
- Effect look: High contrast and punchy saturation that stand out on small phone screens.
- Best for: Short vertical videos, trending reels, and fast-paced TikTok-style edits.
- Editing tip: Trim your clips tight and combine this filter with bold text overlays so the color and message both grab attention instantly.
Punchy Social Boost is optimized for vertical viewing, increasing contrast and saturation so your content pops in a crowded feed. It is ideal for quick transitions, meme edits, and trend-based reels where striking visuals need to catch attention in the first second.
Inside Filmora, use this filter on the loudest, most dynamic parts of your vertical clips, then layer high-contrast text or stickers that match the bold palette. Keep your edits short and snappy, and if the look feels too intense on faces, lower the effect on A-roll while keeping it strong on B-roll or background scenes.
Neon Gaming Glow

- Effect look: Brightened highlights and boosted blues and purples to emphasize RGB setups and game visuals.
- Best for: Gaming highlights, reaction clips, and streamer face-cam edits with LED lighting.
- Editing tip: Keep your face from looking too blue by raising warmth slightly and lowering the saturation of deep blues in HSL.
Neon Gaming Glow amplifies the signature blues, purples, and cyans from RGB strips and gaming monitors, giving your setup a high-energy, futuristic feel. It is perfect for highlight reels, kill montages, and reaction videos where the gamer and their colorful background both share the frame.
In Filmora, apply this look separately to gameplay and face-cam layers if you edit with picture-in-picture, keeping the effect stronger on the game feed. Then, use the HSL panel to tame deep blues on your skin and slightly increase warmth so your face remains natural while the neon environment still looks intense and eye-catching.
High Contrast Highlight

- Effect look: Sharp, high-contrast style that makes action moments and text overlays feel dramatic.
- Best for: Sports clips, intense gaming moments, challenge videos, and meme edits.
- Editing tip: Use this look on only the most important or energetic moments so your timeline has visual variety and impact.
High Contrast Highlight pushes blacks deeper and highlights brighter, giving your most exciting moments a punchy, dramatic edge. It is especially effective for big wins, reveals, or punchlines where you want viewers to feel a jolt of energy compared to the rest of the edit.
Use this filter in Filmora on select clips or short segments instead of your entire timeline, so those key beats stand out visually. Combine it with beat-synced cuts, zooms, or text callouts to underline hype moments, then return to a softer look or your base LUT for calmer sections to maintain contrast in both motion and color.
Tips for Using Free Luts For Beginners Filters in Filmora
- Start by choosing one or two favorite filters and reuse them across your channel so your videos build a recognizable visual style.
- Always fix exposure and white balance before adding strong looks so your free LUTs for beginners behave predictably.
- Lower the intensity of any filter that makes skin tones look too orange or too blue, then refine with small color tweaks.
- Export short test clips and review them on your phone, tablet, and laptop to see how your chosen filters hold up on different screens.
- Save your favorite combinations of filter plus manual tweaks as custom presets in Filmora to speed up future edits.
With a handful of free LUT-style filters and simple editing habits, beginners can turn flat footage into polished content that feels consistent across vlogs, travel videos, and social clips. Working with Filmora's beginner-friendly presets lets you focus more on storytelling and pacing while still achieving professional-looking color.
Experiment with the looks in this guide inside Filmora, then move on to free LUTs for social media next to fine-tune your vertical posts and platform-specific styles. As you grow more comfortable, you can blend LUTs, filters, and manual color adjustments to craft a signature look that matches your brand.
secure download