
 100% Security Verified | No Subscription Required | No Malware


 ChatGPT
 Perplexity
 Gemini
 Claude
 Grok
Grok
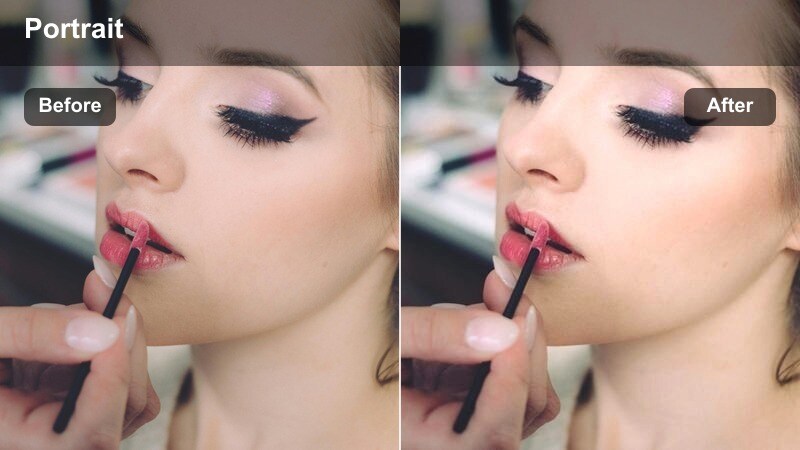
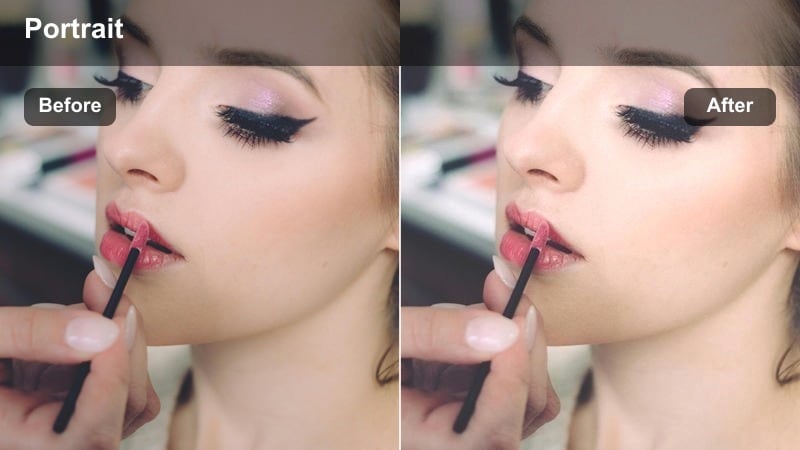
These portrait skin tone correction LUT-style filters in Filmora are designed for content creators who want clean, consistent, and flattering faces in every video.
Use them to fix uneven tones, tame harsh lighting, and give your portraits a polished, cinematic look without advanced color-grading skills.
In this article
Studio Soft Balance Portraits
Neutral Studio Glow

- Effect look: Subtle, balanced correction that keeps skin tones true-to-life with a gentle studio glow.
- Best for: Talking-head videos, interviews, and product explainers shot against clean backgrounds.
- Editing tip: Lower the filter intensity if the subject is very fair-skinned to avoid over-warming highlights.
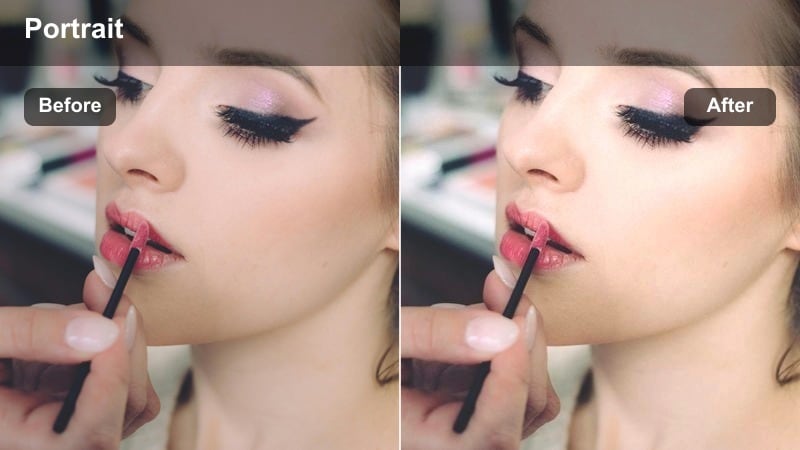
Neutral Studio Glow is ideal when you want your footage to look clean and professional without an obvious filter. In Filmora, it lightly evens out skin tone, moderates color casts, and adds a soft studio-style luminance so faces read flattering on both small mobile screens and larger desktop displays.
Before applying it, match your white balance and exposure so the filter works from a neutral starting point instead of fighting extreme blues or oranges. Then drag the intensity slider, usually aiming for the 40 to 60 percent range, and fine-tune until the skin looks balanced while shirts, backdrops, and props still feel natural and color-accurate.
Let Filmora's AI help you nail skin tones faster
Use Filmora's AI-driven color tools to quickly normalize exposure and white balance before you start styling portraits. With AI Color Correction or AI Color Match, you can align clips from different cameras and lighting setups so skin tones respond more predictably to every LUT-style portrait filter.
Once your base is clean, it becomes much easier to keep faces consistent from clip to clip, even when you shoot across multiple locations or days.
Open your project in Filmora and start with AI color correction on your main portrait clips.
 secure download

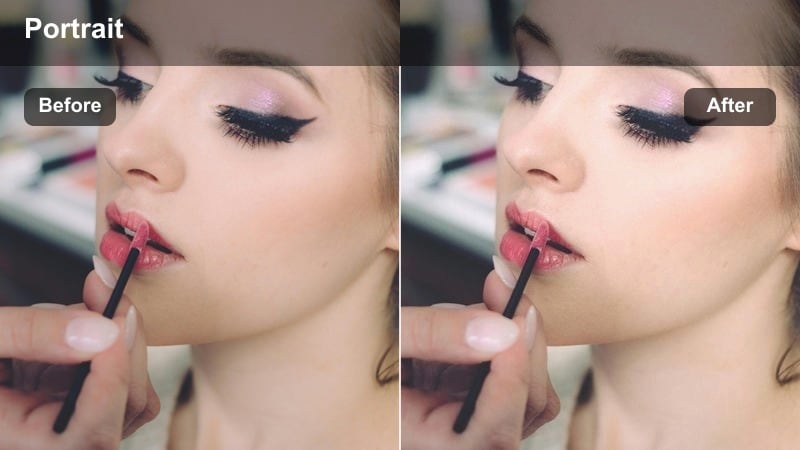
Preview portrait filters in real time
Filmora lets you preview every portrait and skin tone filter directly in the Viewer just by hovering in the Effects panel. This makes it easy to compare looks, check how they handle different complexions, and see how much correction you really need before committing to a style.
Try several portrait LUT-style filters on the same talking-head clip, then adjust intensity until the skin looks even but still believable for your brand or channel aesthetic.
In the Effects panel, browse the portrait and beauty filter categories and hover to preview on your footage.
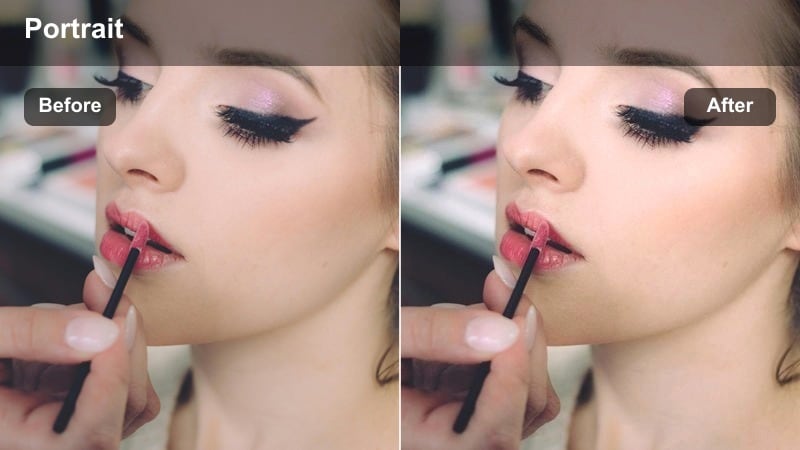
secure downloadCombine filters with LUTs for signature looks
After you correct skin tones with a portrait-focused filter, you can stack one of Filmora's creative LUTs on top to build a recognizable cinematic style. Correcting first and styling second keeps faces consistent across edits while still giving your videos a strong, branded color identity.
This workflow also reduces the risk of over-saturating or skewing skin color when you experiment with stronger creative LUTs or filmic looks.
Apply a portrait skin tone correction filter first, then stack your favorite LUT in the Color section to finalize the grade.
secure downloadSoft Panel Light
- Effect look: Smooth studio finish that softens shadows and gently blends midtones.
- Best for: Creator desk setups, tutorials, and streaming overlays with LED panel lighting.
- Editing tip: Combine with a subtle blur or skin smoothing effect around the face for an even more polished look.
Soft Panel Light is tuned for the kind of LED panel lighting most creators use at their desks. In Filmora, it smooths transitions between highlights and midtones so any harsh edges from your key or fill lights are softened, making skin appear more even without losing natural dimension.
Apply it to your A-roll clips, then add gentle skin smoothing targeted to the cheeks and forehead using masks to avoid affecting eyes and lips. This combination gives your videos that familiar YouTube studio polish while still preserving texture and expression on close-up shots.
Clean Key Light Focus
- Effect look: Crisp yet soft portrait grade that prioritizes natural highlights on the face.
- Best for: One-light setups, interview shots, and side-lit portraits.
- Editing tip: Add a slight vignette after the filter to pull more attention toward the corrected face.
Clean Key Light Focus is built for single light or side-lit portraits where one side of the face is brighter than the other. In Filmora, it refines highlight roll-off on the lit side so you keep defined features without blown-out cheeks or forehead hotspots.
Use it on interviews, testimonials, or cinematic talking heads shot with a strong key light. After applying the filter, slightly lift shadows if needed to keep darker complexions rich, then add a soft vignette to guide the viewer's eye straight to the subject's face.
Natural Daylight Portrait Scenes
Window Light Corrector

- Effect look: Balances cool daylight with warm, natural skin tones for indoor window shots.
- Best for: Portraits shot next to windows, vlogs, and lifestyle clips indoors during the day.
- Editing tip: If the background feels too cool, slightly raise the overall temperature after applying the filter.
Window Light Corrector is tuned for indoor shots where your subject is lit mainly by daylight coming through a window. It neutralizes the excess blue that often appears on skin under cool daylight while preserving the bright, airy feel of the environment.
Apply it to lifestyle vlogs, desk setups, or cozy indoor scenes, then fine-tune global temperature and HSL blues if the background still feels chilly. This keeps the skin inviting and warm without sacrificing the fresh look that natural window light delivers.
Golden Hour Balance

- Effect look: Soft golden cast that evens out red and orange tints during sunset shoots.
- Best for: Outdoor portraits at sunset or sunrise where skin can easily become too orange.
- Editing tip: Keep the intensity moderate and adjust shadows to avoid muddy tones on darker skin.
Golden Hour Balance is designed for sunrise and sunset portraits where the light is beautiful but can easily oversaturate skin. In Filmora, it keeps the romantic warmth of golden hour while toning down aggressive oranges and reds so faces stay believable and flattering.
Use it on outdoor portraits, travel vlogs, or cinematic B-roll of people in backlit scenes. Start with a moderate intensity, refine temperature and tint if the scene leans too orange or green, and carefully adjust shadows to ensure deeper skin tones remain rich and dimensional.
Shade Tone Equalizer
- Effect look: Smooth daylight correction that brightens faces shot in open shade without washing them out.
- Best for: Portraits in parks, streets, or backyards where subjects are in the shade.
- Editing tip: Raise midtones rather than exposure for a soft lift that respects skin detail.
Shade Tone Equalizer is built for portraits shot in open shade, like under trees or beside buildings, where faces can look a bit dull and cool. The filter lifts midtones on the face and gently warms skin color without flattening contrast or turning the whole frame yellow.
Apply it to outdoor family clips, park photoshoots, or shaded street portraits in Filmora. Instead of pushing exposure too high, rely on this filter plus slight midtone adjustments to maintain realistic texture while giving your subject a brighter, more engaging presence on screen.
Social-Ready Glam Portrait Looks
Influencer Soft Glam
- Effect look: Smooth, slightly brightened skin with subtle contour-friendly contrast for camera-ready faces.
- Best for: Beauty content, makeup tutorials, and Instagram or TikTok intros.
- Editing tip: Dial back saturation on lips and cheeks if makeup is already very bold to keep the look refined.
Influencer Soft Glam is aimed at creators who want that polished beauty look while still showing detail in their makeup work. It slightly brightens skin, softens minor texture, and preserves enough contrast around contours and highlights so cheekbones and jawlines stay defined on camera.
Use it on beauty tutorials, product callouts, and any close-up social intro shot in Filmora. After applying the filter, fine-tune saturation in the reds and pinks to keep lipstick and blush true to life, avoiding over-flushed cheeks when filming under intense ring lights or panels.
Studio Beauty Soften
- Effect look: Refined smoothing that reduces texture without losing overall sharpness in the frame.
- Best for: Beauty brands, product shots with models, and vertical social ads.
- Editing tip: Use keyframing to increase the filter slightly on close-ups and reduce it on wider shots.
Studio Beauty Soften is crafted for high-resolution studio shoots where every pore is visible. In Filmora, it gently softens skin texture while keeping edges, eyes, and hair looking crisp, which is ideal for brand campaigns and vertical social ads that will be watched full-screen on phones.
Apply it to your model or spokesperson clips, then combine it with selective sharpening on the eyes, brows, and hairline to guide attention. With keyframes, you can subtly increase the effect on tight close-ups and ease it off on wider angles for a cohesive yet natural progression across your edit.
Highlight Pop Beauty

- Effect look: Emphasizes highlight areas on cheekbones and nose while taming redness and blotchiness.
- Best for: Highlight-focused makeup looks, product launches, and short vertical promos.
- Editing tip: Reduce highlight gain slightly for oily skin types so the shine reads as glow instead of glare.
Highlight Pop Beauty is built for glam shots where glow is the star of the show. In Filmora, it selectively boosts and refines highlight areas on cheekbones and the bridge of the nose while reducing redness and patchiness so the skin looks intentional and editorial rather than shiny or uneven.
Use it on hero shots in beauty campaigns, product-focused reels, or quick vertical promos. Adjust highlight intensity according to skin type, and refine exposure curves so glowing areas stay luminous and crisp without clipping away fine detail in the makeup or skin texture.
Cinematic Mood Portrait Filters
Soft Cinematic Skin

- Effect look: Muted contrast and gentle color shifts that give portraits a film-inspired softness.
- Best for: Narrative shorts, character close-ups, and interview cutaways with emotional tone.
- Editing tip: Complement this filter with a subtle letterbox crop to reinforce the cinematic feel.
Soft Cinematic Skin gives your portraits a filmic, story-driven mood with muted contrast and soft color shifts. In Filmora, it smooths skin tones while leaving enough shadow and highlight variation to keep expressions and emotions clear, which works well for character-driven content.
Apply it to close-ups, reaction shots, and emotional interviews, then add a gentle letterbox crop to complete the cinematic framing. To maintain consistency across a sequence, copy the filter settings between clips and tweak intensity so each shot matches while still respecting differences in lighting.
Teal Amber Portrait Balance
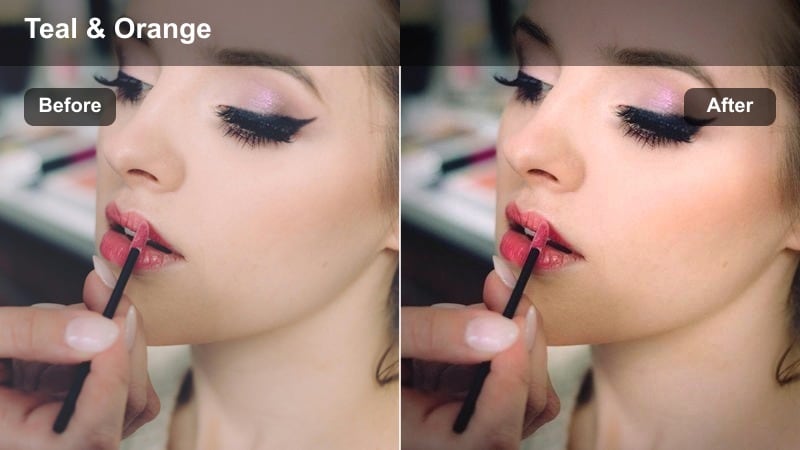
- Effect look: Classic teal shadow and warm skin combo for dramatic, cinematic portraits.
- Best for: Music videos, short films, and stylized social campaigns with strong mood.
- Editing tip: Tone down teal in the darkest shadows if the subject has very deep skin tones to keep them rich and natural.
Teal Amber Portrait Balance gives your footage the iconic teal-and-orange style, with cool shadows and warm skin tones for instant cinematic drama. In Filmora, it pushes backgrounds and darker areas toward teal while preserving realistic warmth in faces so the subject pops from the scene.
It is a strong look best used for music videos, trailers, or stylized campaigns. Start at a modest intensity, pay special attention to how very deep skin tones respond in the shadows, and reduce teal saturation there if necessary to keep the portrait rich, flattering, and grounded in reality.
Low-Key Portrait Fade
- Effect look: Soft-faded blacks with carefully preserved skin color in dark, moody frames.
- Best for: Low-light interviews, night portraits, and creative storytelling scenes.
- Editing tip: Slightly lift blacks and reduce saturation around the edges to keep focus locked on the face.
Low-Key Portrait Fade is designed for dark, moody scenes where you want soft, lifted blacks but still need clean, natural-looking skin. In Filmora, it gently fades the deepest shadows while preserving color accuracy and detail on your subject's face so the portrait feels intentional rather than underexposed.
Use it on nighttime interviews, silhouette-style portraits, or narrative moments in dim locations. After applying the filter, reduce color noise and maybe add a slight background blur, keeping the face sharper than the surroundings so viewers lock onto expressions even in low light.
Tips for Using Portrait Skin Tone Correction Lut Filters in Filmora
- Always correct exposure and white balance in Filmora before judging how a portrait skin tone correction LUT-style filter looks on your footage.
- Keep filter intensity lower on close-ups where skin texture and makeup details are more visible to avoid a plastic or over-processed appearance.
- Use Filmora's masking tools to limit strong skin tone corrections to the face and neck instead of affecting the entire frame.
- Check your portraits on both mobile and desktop screens to ensure skin does not appear too warm, too cool, or overly saturated on different devices.
- Combine portrait filters with AI Color tools and HSL adjustments for more precise control over tricky lighting or mixed color temperatures.
- Save your favorite skin tone correction combinations as custom presets in Filmora so you can apply a consistent portrait look across new projects quickly.
- Experiment with stacking a subtle portrait filter under a creative LUT to build a signature look without sacrificing realistic skin tones.
- When editing multi-camera setups, sync one hero look first, then copy and adjust the same portrait filter across all angles for continuity.
Portrait skin tone correction LUT-style filters in Filmora help content creators fix uneven faces, rescue tricky lighting, and keep every shot consistent without complex grading workflows. By starting with exposure and white balance, then layering the right portrait filter, you can move from rough footage to polished, professional-looking faces in minutes.
Experiment with different filter intensities, mix them with LUTs, and save presets so your channel maintains a recognizable, professional portrait look across all your videos. As you refine your favorites, you will build a repeatable color pipeline that keeps every face on brand, no matter where or how you shoot.
secure download