
 100% Security Verified | No Subscription Required | No Malware

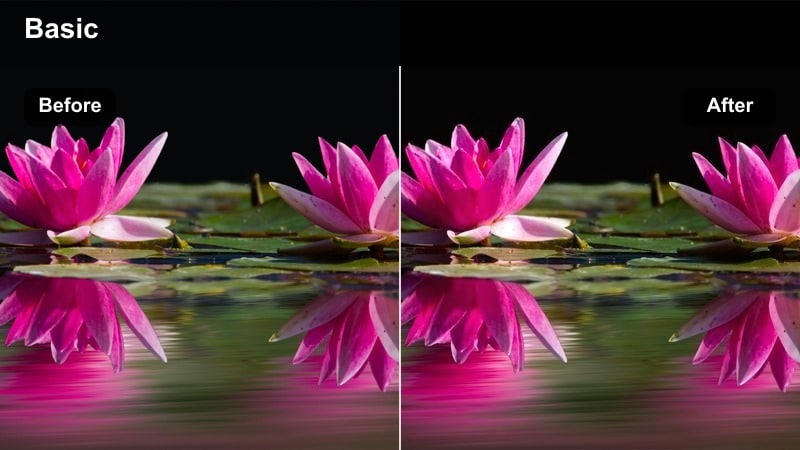
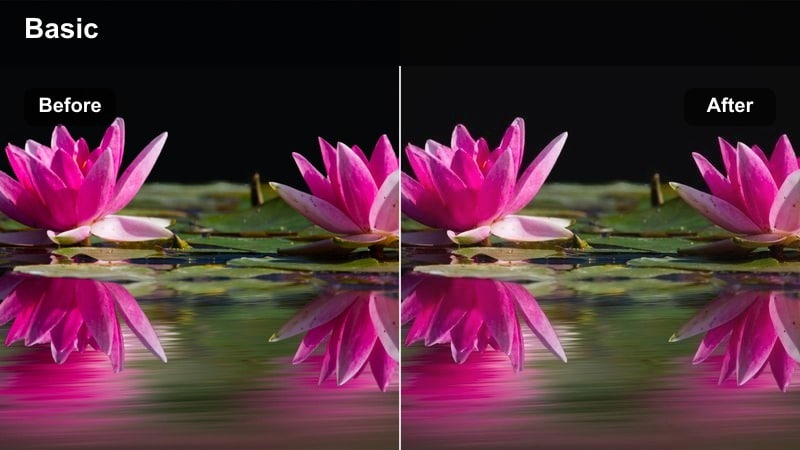
The Smooth Color Transition LUT style in Filmora helps content creators glide from one scene to the next with gentle, cinematic color shifts that feel polished instead of jarring.
Below you will find a curated set of Smooth Color Transition LUT-inspired filters that keep skin tones natural, highlights soft, and hues consistent so your edits feel cohesive from the first frame to the last.
In this article
Golden Hour Cityscape Transitions
Sunset Soft Shift
- Effect look: Warm, slightly hazy shift between cool midtones and golden highlights for sunset city shots.
- Best for: Urban B-roll, establishing shots, rooftop scenes moving from daylight to dusk.
- Editing tip: Place this filter on shots directly before and after a cut to a sunset scene, then slightly reduce contrast to avoid banding in gradients.
Sunset Soft Shift is ideal when you want your city footage to glide from neutral daylight into rich golden-hour hues without the color snapping abruptly between clips. In Filmora, apply it to adjacent shots around your sunset cut to keep the sky gradient, building facades, and skyline highlights flowing smoothly from frame to frame.
For best results, adjust the filter intensity and lower overall contrast a touch so soft clouds and bright windows retain smooth tonal steps. This gives you a cinematic transition feel, especially in rooftop sequences, drone passes, and skyline B-roll that bridge daytime scenes with warm evening vibes.
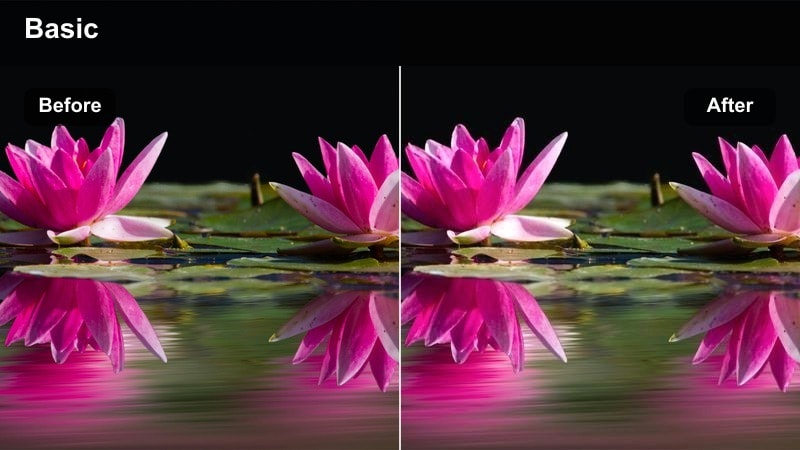
AI-powered Smooth Color Transition Matching
Filmora's AI color tools make it easy to keep a consistent Smooth Color Transition LUT-style look across different cameras and shooting locations. Grade one reference clip with Sunset Soft Shift or a similar filter, then use AI color match so the rest of your footage adopts the same cinematic flow between tones.
This workflow helps you avoid mismatched skies, building colors, or skin tones when cutting between multiple angles or days. With AI assisting your color balance, the transitions feel like one continuous story instead of disconnected shots.
 secure download

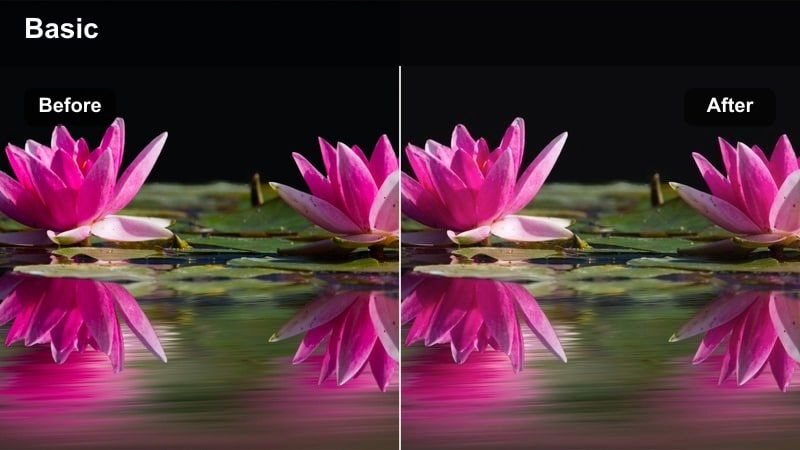
See Smooth Color Transition Filters in Action
Before committing a full project to a particular look, preview Smooth Color Transition-style filters on a few test clips. Drag them onto edits between bright exteriors, indoor spaces, and dusk sequences to see how well they hide jumps in exposure and hue.
Use Filmora's timeline to scrub back and forth over your cut points while adjusting filter intensity. Stacking creative LUTs with transition-friendly filters lets you refine whether your color changes feel deliberate and cinematic or distracting and abrupt.
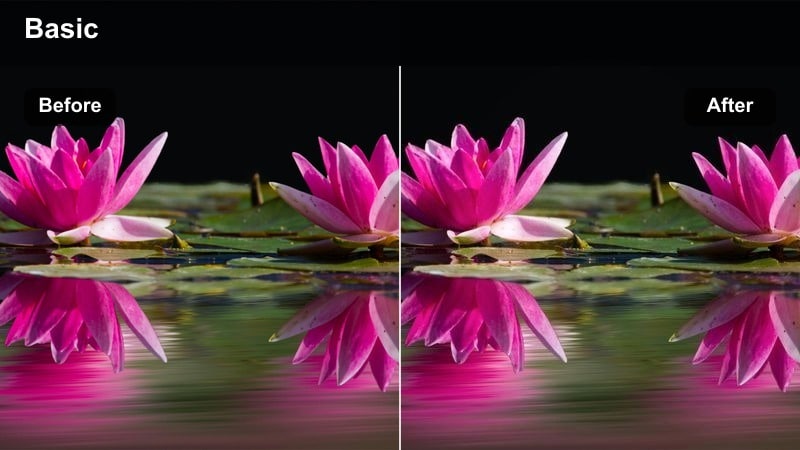
secure downloadCombine Filters with LUTs for Advanced Grading
Filmora includes 1000+ video filters and 3D LUTs, so you can build a layered grading workflow tailored to your channel. Start with a creative LUT that sets your overall mood, then add a Smooth Color Transition-style filter to control how tones ease between shadows, midtones, and highlights.
This two-step approach keeps your brand look recognizable while giving you precise control over color flow between very different scenes, like exteriors, interiors, and neon nights. Adjust each layer separately until the visual style and transitions both feel perfectly dialed in.
secure downloadAmber City Glide

- Effect look: Amber-tinted highlights with smooth roll-off from shadows to midtones for a cinematic city glow.
- Best for: Street vlogs, walking shots under streetlights, handheld city transitions.
- Editing tip: Lower the intensity around 60-70 percent when mixing with neon or mixed lighting to keep colors from becoming muddy.
Amber City Glide brings a subtle, cinematic glow to city streets by gently warming highlights while keeping shadows and midtones smooth and controlled. In Filmora, it works especially well on handheld walking clips where you transition between shaded sidewalks, sunlit avenues, and pockets of streetlight.
Apply the filter across an entire walking sequence to tame harsh color jumps as you move through changing light. Dial the intensity down when neon or strong color sources enter the frame so your footage keeps a clean amber tone instead of pushing into muddy or oversaturated territory.
Dusk Boulevard Fade
- Effect look: Cool-to-warm gradient feel with gentle saturation fade for blue-hour city boulevards.
- Best for: Car POV shots, timelapses of city lights turning on, street drone passes.
- Editing tip: Use keyframes on filter intensity to gradually increase warmth as the scene moves deeper into dusk.
Dusk Boulevard Fade is designed for blue-hour cityscapes where the sky cools down while artificial lights begin to warm up. In Filmora, it smoothly blends cool road and sky tones into glowing headlights and streetlamps so your boulevard shots feel cohesive as light conditions change.
On car POV or drone clips, animate the filter intensity with keyframes so warmth increases over time, mimicking the natural shift into night. Combining this with a slight exposure drop makes your timelapses and driving sequences look deliberate and cinematic instead of like mismatched clips shot at different times.
Soft Indoor Lifestyle Transitions
Living Room Blend
- Effect look: Neutral, soft contrast with gentle warm-cool balance for home and studio spaces.
- Best for: Sit-down talking head segments, product demos, cozy interior B-roll.
- Editing tip: Use on both A-roll and B-roll, then slightly boost clarity on detailed shots to keep textures crisp without breaking the smooth feel.
Living Room Blend gives your interior footage a clean, neutral base that keeps transitions soft as you cut between talking heads, product close-ups, and background B-roll. In Filmora, this filter is ideal when your home or studio setup mixes lamp light with daylight from windows, because it balances warmth and coolness without overcorrecting.
Apply the filter evenly across your A-roll and B-roll to avoid jarring shifts when you cut between angles. If detailed shots like product close-ups start to look too soft, add a gentle clarity or sharpness boost on those clips, while leaving the filter to handle overall smoothness and tonal consistency.
Studio Soft Shift

- Effect look: Clean and slightly desaturated with smooth transitions on skin tones and backdrops.
- Best for: Desk setups, tech reviews, tutorial recordings with colored lights in the background.
- Editing tip: Lower saturation of strong background colors to keep the subject skin tones natural and avoid color spill during cuts.
Studio Soft Shift is tailored for creator workspaces that use RGB or colored LED lights behind the subject. In Filmora, this filter smooths out gradients on your backdrop and gently rolls off saturation so your background looks modern and polished without overpowering your face.
Use it on every clip in your studio sequence to keep the hue and intensity of background lights consistent between angles. If strong blues, purples, or magentas start to tint skin tones, decrease background saturation or tweak color controls while keeping the filter active to preserve that soft, desaturated studio aesthetic.
Hallway Color Glide
- Effect look: Soft, low-contrast transitions through long, perspective-heavy interior spaces.
- Best for: POV walks through offices, apartment tours, studio behind-the-scenes.
- Editing tip: Stabilize footage first, then apply the filter to avoid amplifying noise or banding in low-light hallway shots.
Hallway Color Glide is built for walkthroughs and tours where you move from room to room or down long corridors with varied lighting. In Filmora, it keeps walls, doors, and floor tones from shifting too aggressively as you pass under different fixtures or windows.
Stabilize your footage before adding this filter to prevent noise and banding from becoming more noticeable in low-light areas. Once applied, you can lightly lift shadows or adjust white balance to ensure the entire walkthrough feels like a smooth, continuous journey instead of a patchwork of mismatched lighting zones.
Travel and Transit Color Transitions
Metro Tunnel Fade
- Effect look: Cool, cinematic transitions from bright station platforms into darker tunnels.
- Best for: Subway rides, train arrivals, commuting montages.
- Editing tip: Apply stronger intensity during the cut between platform and tunnel clips to hide harsh changes in exposure and color.
Metro Tunnel Fade helps you bridge the gap between brightly lit platforms and dim tunnels without jarring exposure or color changes. In Filmora, it cools down highlights and smooths midtones so your train or subway sequences retain a consistent mood as the train departs and the scene darkens.
Apply it to both platform and tunnel shots, increasing intensity at cut points where the light drops suddenly. You can also add a short fade-to-black or crossfade to enhance the effect, making your commute montages feel polished and intentionally cinematic.
Airport Window Glow
- Effect look: Soft high-key look with gradual transitions between interior terminals and bright runway views.
- Best for: Airport vlogs, travel intros, boarding and departure sequences.
- Editing tip: Pull highlights down slightly when shooting toward windows to keep skies from clipping while maintaining a smooth gradient.
Airport Window Glow is perfect for travel vlogs that include backlit shots near big terminal windows. In Filmora, it creates a bright, airy aesthetic while preserving a gentle gradient between the indoor terminal and the bright runway or sky outside.
Use this filter on all clips in your airport sequence to keep the look cohesive as you move from check-in to boarding. Reduce highlight levels when necessary so exterior skies hold detail, and combine with a mild vignette to keep the viewer focused on you or your subject rather than the brightest parts of the window.
Tram City Flow
- Effect look: Gentle motion-friendly color blend for moving shots through city streets.
- Best for: Tram or bus POV, city sightseeing sequences, urban travel b-roll.
- Editing tip: Add slight motion blur or reduce sharpness a bit to avoid jitter in window reflections while preserving smooth color changes.
Tram City Flow is designed for moving POV shots captured from trams, buses, or cars where the scenery constantly changes. In Filmora, it stabilizes color so buildings, sky, and street elements pass by with a smooth, unified palette instead of flickering between hues.
Apply the filter across entire transit sequences and consider adding gentle motion blur or reducing sharpness to minimize jittery reflections in the glass. This approach keeps the focus on the continuous flow of the city outside, helping your edits feel seamless even when the camera is in constant motion.
Night City and Neon Blends
Neon Drift
- Effect look: Smooth neon transitions where saturated signs and streetlights blend into surrounding shadows.
- Best for: Night street walks, storefront B-roll, nightlife vlogs.
- Editing tip: Lower saturation in magentas and blues if skin tones pick up too much color cast from nearby neon lights.
Neon Drift is built for night streetscapes full of colorful signs and glowing storefronts. In Filmora, it softens the transition from intense neon into deep shadows, creating a cinematic look where bright colors bleed stylishly into the dark without crushing details.
Use it for nightlife vlogs, city walks, and shop exterior B-roll to keep your color grading cohesive from clip to clip. If neon casts start to overpower faces or important details, selectively reduce saturation in troublesome color channels while leaving the filter to handle overall smooth gradation.
Rainy Street Fusion
- Effect look: Moody, slightly lifted blacks with smooth reflections and color shifts on wet pavement.
- Best for: Rainy night city shots, car reflections, moody cinematic sequences.
- Editing tip: Add a touch of dehaze only if highlights feel too washed out; preserve soft transitions in reflections for a cinematic look.
Rainy Street Fusion enhances wet streets, puddles, and reflective surfaces by lifting blacks slightly and emphasizing smooth color flow in reflections. In Filmora, it turns night rain scenes into moody, cinematic visuals where car lights and signs ripple softly across the pavement.
Apply this filter to sequences featuring rain-slicked roads or sidewalks to tie together reflections across multiple shots. If highlights start to look flat or washed, use just a hint of dehaze or contrast, being careful not to break the delicate gradients that make the reflections feel fluid and cinematic.
City Rooftop Night Glide

- Effect look: Soft contrast night look with smooth transitions between skyline highlights and deep shadows.
- Best for: Rooftop views, skyline timelapses, night intros and outros.
- Editing tip: Reduce noise before grading, then gently lift shadows to avoid blocky areas while maintaining smooth gradients in the sky.
City Rooftop Night Glide is crafted for skyline views where bright building lights sit against dark skies. In Filmora, it softens contrast slightly and smooths the transition between highlights and deep shadows so your night city shots feel clean and cinematic rather than harsh.
Before applying the filter, run noise reduction on your rooftop clips to prevent grain from being emphasized in the sky and shadow areas. Then, use the filter along with gentle shadow lifting to bring out detail while keeping gradients in the sky and across buildings smooth and free from banding.
Tips for Using Smooth Color Transition Lut Filters in Filmora
- Apply the same Smooth Color Transition filter on both sides of a cut, then adjust intensity per clip to hide abrupt shifts in color and exposure.
- Monitor skin tones closely when using strong sunset or neon looks, and correct them with small temperature or tint tweaks if they drift too far.
- Use keyframes on filter intensity in Filmora to gradually ramp color changes over a few seconds instead of switching the effect on all at once.
- Stabilize noisy or low-light footage before adding smooth transition filters so grain and artifacts are not exaggerated by the grade.
- Check skies, gradients, and dark areas on a larger display to spot banding, then soften contrast or reduce saturation to smooth things out.
- Combine a creative LUT with a Smooth Color Transition-style filter, adjusting each layer separately until both the mood and transitions feel right.
- Group similar scenes on the timeline and apply one shared filter setting to maintain consistent color from shot to shot within that sequence.
- When cutting between cameras, use Filmora's color match tools first, then refine with transition-friendly filters to unify the final look.
Smooth Color Transition LUT-style filters help content creators keep colors flowing naturally from scene to scene, whether you are shooting cityscapes, interiors, or neon nights.
Start by choosing one or two presets that fit your channel's vibe, then apply them consistently across your timeline for a polished, cohesive look before exploring the Soft Tone Color Correction Filter next.
secure download