
 100% Security Verified | No Subscription Required | No Malware


 ChatGPT
 Perplexity
 Gemini
 Claude
 Grok
Grok
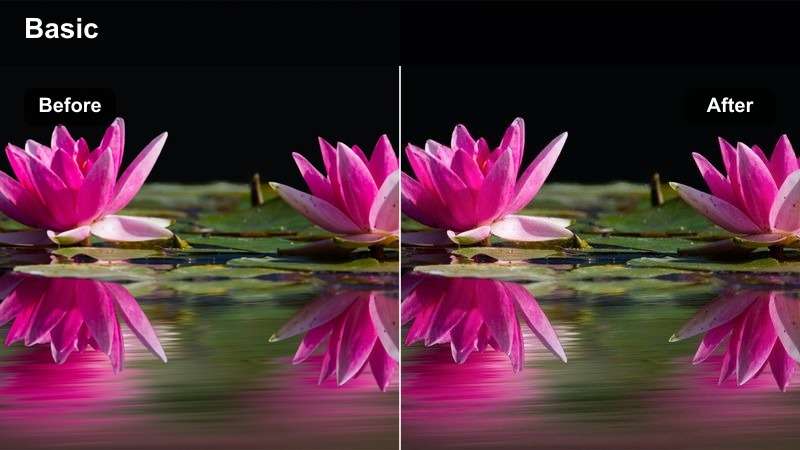
These Filmora filters are designed to mimic YouTube cinematic LUTs for storytelling, helping content creators shape emotion, guide attention, and give every scene a consistent, narrative-first look.
Use this guide to choose filters that match your story beats, from moody character reveals to hopeful endings, so your audience feels every moment instead of just watching it.
In this article
Opening Scenes and First-Impression Emotion
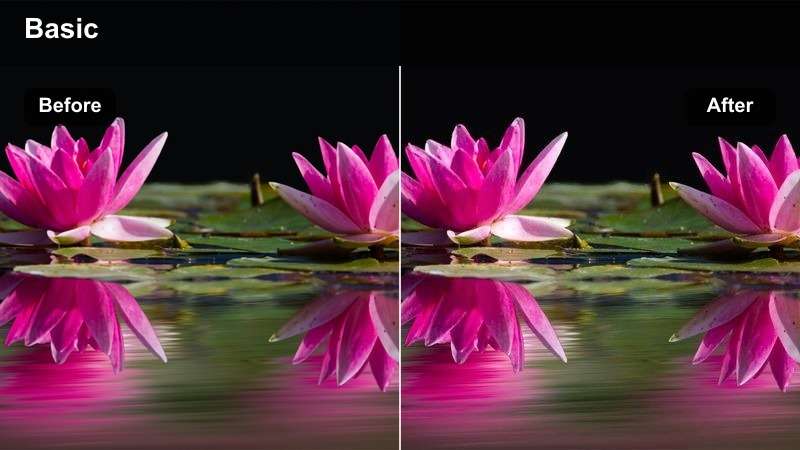
Golden Intro Glow
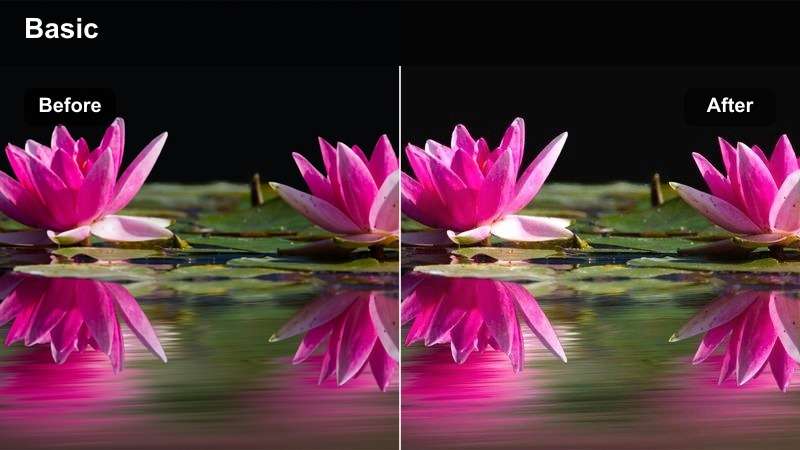
- Effect look: Warm, soft cinematic contrast with gentle bloom in highlights to make your YouTube opening feel instantly premium.
- Best for: Story-driven intros, creator talking-head hooks, and lifestyle vlogs that start with a welcoming tone.
- Editing tip: Lower the filter intensity slightly and combine with a subtle vignette to keep focus on your face or main subject in the opening shot.
Golden Intro Glow gives your first frame that warm, big-budget feel that viewers associate with professional YouTube channels. In Filmora, you can treat it like a cinematic LUT-style filter that wraps your highlights in a soft glow while keeping midtones flattering and easy to read on phones and desktops.
Apply this filter to your opening sequence, then adjust intensity on the Effects panel so it enhances warmth without blowing out details in windows or lamps. Add a gentle vignette in Filmora to guide the eye toward your face or hero object, helping your hook feel intentional and instantly engaging.
Let Filmora Suggest Cinematic Moods with AI
Instead of guessing which filter matches your story, Filmora s AI tools can analyze your YouTube footage and suggest color directions that match your mood and genre. This gives you a smart starting point before you layer on more specific cinematic looks.
Once you have an AI-suggested base, you can fine-tune exposure, white balance, and then stack the storytelling filters from this guide so your intro, B-roll, and outro all share a cohesive emotional tone.
 secure download

Preview Storytelling Filters in Real Time
Filmora lets you hover over filters and instantly preview how they reshape your footage, so you can quickly compare different cinematic moods for the same scene. This is ideal for testing how an opening hook or emotional reveal feels with multiple looks.
Drag your key shots into the timeline, then move your cursor across filter thumbnails to see how each preset affects contrast, color, and overall emotion before you commit.
secure downloadSave Story-Ready Looks as Presets
Once you combine exposure tweaks, color adjustments, and your favorite filters into a storytelling look you love, Filmora lets you save that style as a reusable preset. Over time, you can build a compact library of cinematic presets tailored to intros, flashbacks, interviews, and reveal moments.
Applying these presets works like using your own custom YouTube cinematic LUTs: one click instantly recreates the same mood across new footage, keeping your channel visually consistent with less manual grading.
secure downloadNeutral Story Base
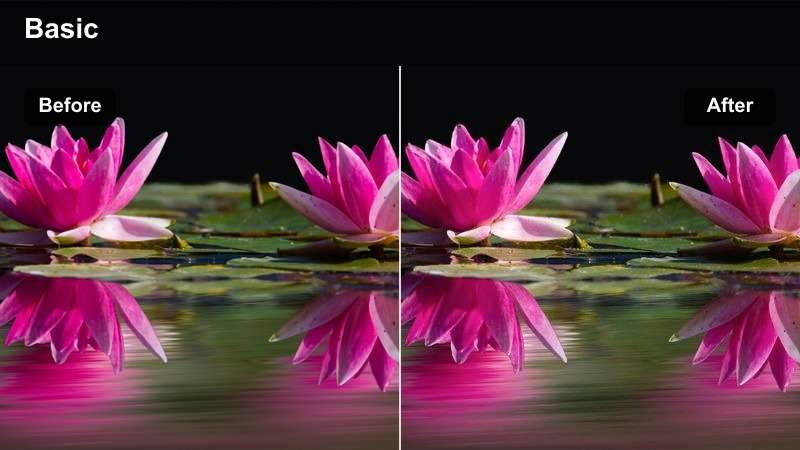
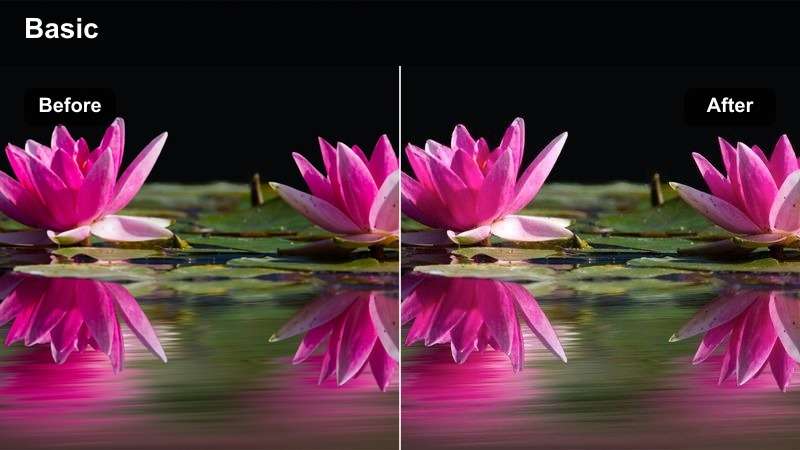
- Effect look: Clean, balanced tones with soft contrast that emulate a lightly graded cinematic LUT without over-stylizing your footage.
- Best for: Tutorials, educational videos, and narrative explainers where clarity and skin tones matter more than heavy stylization.
- Editing tip: Use this as your default base filter, then add subtle color tweaks per scene rather than jumping between drastically different looks.
Neutral Story Base is the kind of subtle cinematic filter that makes your video feel professionally graded while still looking true to life. It gently smooths contrast, protects skin tones, and keeps colors from clipping, which is ideal for long-form YouTube content where viewers need to focus on information.
In Filmora, apply this filter as your first creative step after fixing exposure and white balance, then adjust curves or HSL for minor scene-to-scene variations. Keeping this as your base helps you maintain a cohesive visual identity across full playlists or series without locking you into a heavy, stylized grade.
Cool Anticipation Fade
- Effect look: Slightly cool tones with a soft fade in blacks to create a modern, anticipatory cinematic mood.
- Best for: Teaser intros, tech storytelling, and sequences that build curiosity before the main reveal.
- Editing tip: Use this filter on your first 5 to 10 seconds and then cut to a warmer or brighter look when the story fully starts.
Cool Anticipation Fade adds a gentle blue cast and lifted shadows that make your opening feel mysterious without turning everything harsh or overly dramatic. It works especially well for tech reviews, problem setups, or any storytelling moment where you want viewers to lean in and wonder what comes next.
In Filmora, drop this filter onto your first shots, then keyframe its intensity down or hard-cut to a warmer filter as you move from problem to solution. This cool-to-warm transition becomes a visual cue that the story is shifting gears from tension or curiosity into payoff and clarity.
Character Moments and Dialogue-Driven Scenes
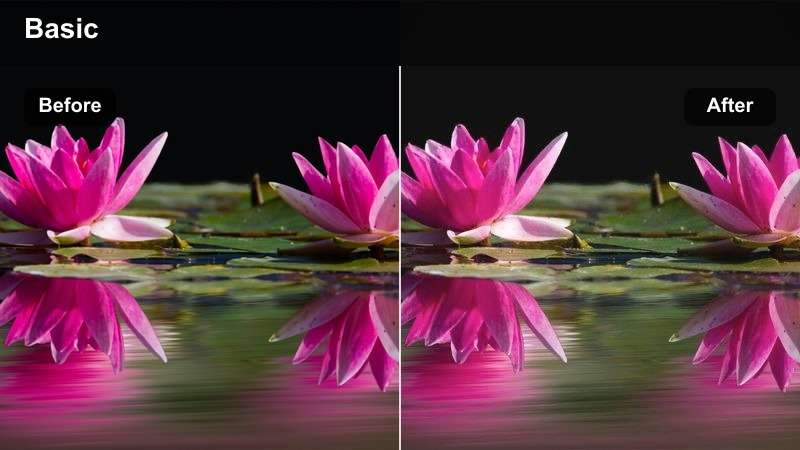
Skin Tone Soft Balance
- Effect look: Gentle contrast with slightly warm midtones and smoothed highlights that flatter skin while staying cinematic.
- Best for: Talking-head storytelling, interviews, and character confessions where the audience must connect to faces.
- Editing tip: Pair this filter with a soft-light key source and keep background exposure about one stop darker to draw focus to the subject.
Skin Tone Soft Balance is designed to keep faces looking natural, inviting, and consistent even when your lighting setup is simple. It nudges midtones warm and tames bright highlights, giving your dialogue scenes a polished, cinematic softness that works for creators of all skin tones.
Use this filter in Filmora on all A-roll angles where your subject is speaking directly to camera or another character. If one camera looks noisier or slightly underexposed, reduce the filter intensity on that clip and fine-tune brightness so every angle cuts together smoothly without distracting shifts in skin color.
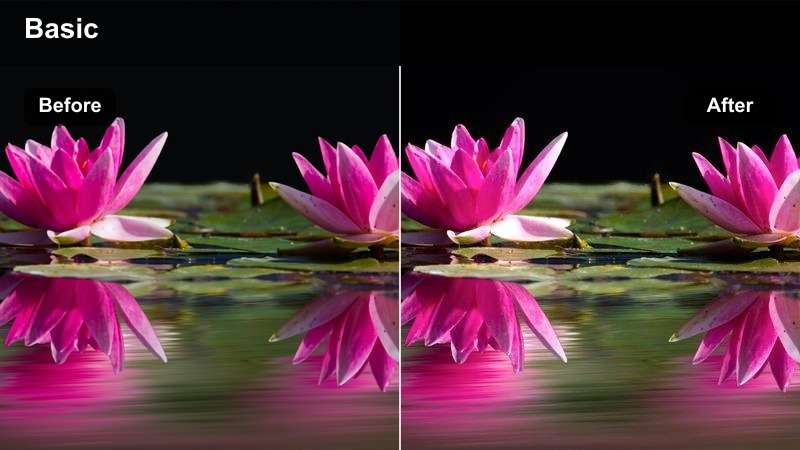
Warm Confessional Frame
- Effect look: Rich warm highlights and reduced harshness in shadows, creating a diary-like confessional vibe.
- Best for: Personal storytime videos, emotional updates, and reflective commentary on YouTube.
- Editing tip: Stay on this filter for entire monologue sections so the audience has one stable emotional color tone to anchor to.
Warm Confessional Frame wraps your scene in cozy, amber-toned light that immediately feels personal and vulnerable. Shadows are softened and highlights glow a bit richer, which helps transform a basic couch or bedroom setup into a visually cohesive confessional space.
Apply this filter in Filmora to full monologue sections where you are sharing something meaningful or emotional, and avoid mixing it with colder looks within the same beat. You can also subtly increase intensity during your most vulnerable lines, then transition back to a more neutral filter when you shift into advice, tips, or analysis.
Dialogue Duo Balance
- Effect look: Balanced, neutral color with gentle contrast that keeps two or more people in frame looking consistent and natural.
- Best for: Co-host shows, interviews, and podcast-style videos where multiple faces share the frame.
- Editing tip: Use the same filter across wide and close-up shots of the conversation so audience focus stays on the dialogue, not the color shifts.
Dialogue Duo Balance is tailored for multi-person setups, where differences in clothing, skin tone, and lighting can easily clash. The filter keeps contrast controlled and color neutral so everyone in frame feels like they exist in the same cinematic world, regardless of where they sit on the set.
In Filmora, apply this filter consistently across your wide, medium, and close-up shots for the entire conversation segment. If you cut away to B-roll during the dialogue, use a related or only slightly stylized look so that when you return to the hosts, the color and contrast feel seamless and viewers stay locked into what is being said.
B-Roll, World Building, and Visual Metaphors
Urban Journey Teal
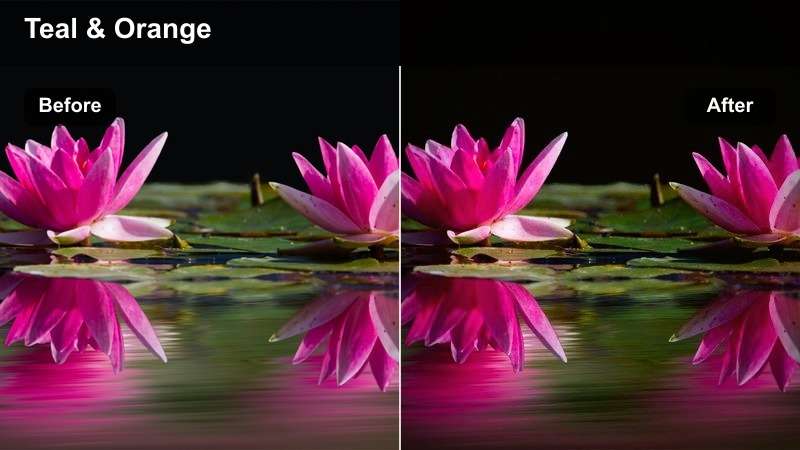
- Effect look: Teal shadows with warm, slightly orange highlights that create a cinematic city-inspired color contrast.
- Best for: City B-roll, travel storytelling, and dynamic cutaway shots that show movement through an urban environment.
- Editing tip: Use this filter only on external world-building shots, then cut back to a softer filter for your studio scenes to separate spaces.
Urban Journey Teal gives your outdoor city footage a classic teal-and-warm cinematic look, separating cool-toned streets from glowing signs, windows, and streetlights. This contrast instantly makes simple walk-and-talk B-roll or establishing shots feel like part of a crafted narrative rather than raw travel clips.
Use this filter in Filmora on your location B-roll sequences and keep your studio or talking-head shots more neutral, so viewers can clearly feel when they are in the real world of your story. String multiple teal-graded clips together for montages between sections, then snap back to your base filter when you return to explanations or commentary.
Memory Flashback Soft
- Effect look: Soft, low-contrast highlights with slightly faded blacks and a hint of warm tint that feel like nostalgic memory footage.
- Best for: Flashbacks, reflective B-roll, and metaphor shots used during personal storytelling on YouTube.
- Editing tip: Apply this filter only to flashback clips and keep them shorter to clearly signal that you are stepping out of the present timeline.
Memory Flashback Soft mimics the gentle haze and faded tones often used in film and TV to signal past events or bittersweet memories. Highlights roll off smoothly, blacks lift a touch, and a mild warmth seeps into the frame, making your shots feel like they are being recalled rather than lived in real time.
In Filmora, place this filter on specific B-roll segments used under voiceover when you talk about your past or reference a different time in your story. Keep these clips brief and visually distinct from your present-day footage, and consider adding a slower playback speed or subtle blur to reinforce the sense of reflection and distance.
Motivational Rise Contrast
- Effect look: Deeper blacks, crisp highlights, and slightly increased saturation to make success or reveal moments feel powerful.
- Best for: Before-and-after reveals, achievement montages, and upbeat B-roll sequences in motivational YouTube videos.
- Editing tip: Cut from a softer, more muted filter into this filter right as the music swells or the solution is revealed for maximum impact.
Motivational Rise Contrast cranks up depth and clarity so your big wins and transformation moments hit harder. Dark areas become richer, highlights pop with more intensity, and colors gain energy without slipping into cartoonish saturation, making it perfect for montages and result reveals.
Use this filter in Filmora on the climax of your story, such as the after shots in a makeover, the final build in a project, or a fast-cut productivity montage. Set up the moment with a gentler look, then slam into this higher-contrast style on the beat of your music drop to give viewers a clear emotional high point.
Endings, Outros, and Scene Transitions
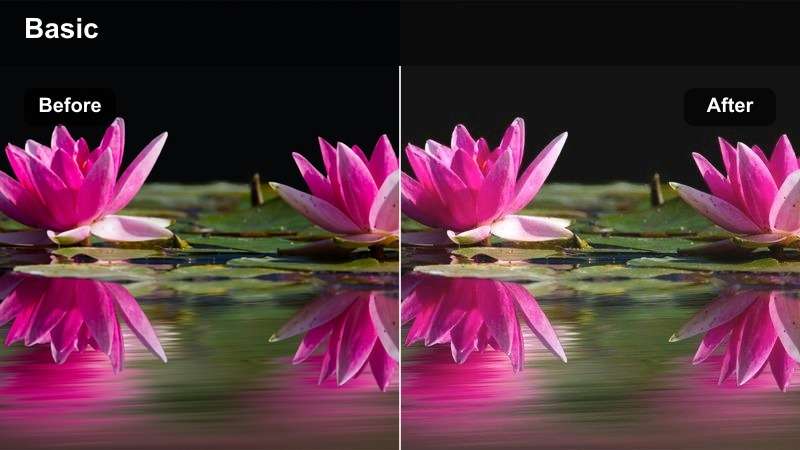
Soft Outro Fade

- Effect look: Gently lifted blacks and lowered saturation that create a soft landing as the story or video concludes.
- Best for: End screens, final thoughts, and calm outros where you want viewers to feel closure without abruptness.
- Editing tip: Gradually ramp into this filter over the last few shots instead of cutting hard, so the viewer feels the story winding down.
Soft Outro Fade subtly lifts your shadows and mutes colors so your final moments feel calm and resolved rather than sharply cut off. This softer palette is ideal when you want to transition viewers from an emotionally intense story into a relaxed call to action or end screen.
In Filmora, you can keyframe the filter s opacity so it slowly fades in over your last 10 to 20 seconds, aligning with quieter music and slower pacing. This visual softening helps signal that the narrative is closing while still keeping your branding and framing recognizable.
Bright Outro Boost
- Effect look: Slightly brighter midtones and cleaner whites that make your outro feel energetic and optimistic.
- Best for: High-energy channels, challenge recaps, and outros that pivot into another upbeat video recommendation.
- Editing tip: Switch to this filter as soon as your story resolves, then add end-screen elements on top of the brightest, cleanest frames.
Bright Outro Boost pushes your mids and whites a bit higher, making your set feel fresher and more inviting just as you ask viewers to like, subscribe, or watch another video. The clean, bright look naturally draws attention to on-screen graphics and end-screen elements.
Apply this filter in Filmora right after the main story beat resolves, ensuring the first frame of your outro feels like a visual reset. Design your end-screen layout around the brightest areas of the frame so buttons and suggested videos sit against appealing, uncluttered backgrounds.
Chapter Transition Cooldown
- Effect look: Slightly cooler mids and a gentle drop in saturation that create a calm reset between intense sections.
- Best for: On-screen chapter cards, topic shifts, and quiet beats between emotionally heavy storytelling moments.
- Editing tip: Use this filter for 2 to 5 seconds on transition shots or chapter titles so viewers sense a clear mental and visual pause.
Chapter Transition Cooldown cools your color temperature and backs off saturation just enough to feel like a breather between story segments. It works especially well over simple backgrounds, minimal motion shots, or dedicated chapter title cards that act as visual bookmarks.
In Filmora, place this filter on short clips between major topics or emotional peaks, pairing it with a simple whoosh or subtle hit sound. Keeping these cooldown shots consistent in color and design across your channel helps viewers intuitively understand where one chapter ends and the next begins.
Tips for Using Youtube Cinematic Luts For Storytelling Filters in Filmora
- Map filters to specific story beats first, like intro, conflict, reveal, and outro, then adjust intensity rather than constantly swapping looks.
- Choose one neutral base filter for most uploads and reserve stronger, stylized filters for flashbacks, reveals, or emotional peak moments.
- Always correct exposure and white balance in Filmora before applying filters so your cinematic styles remain clean and predictable.
- Use the same filter across all shots in a single scene or location to avoid jarring color or contrast jumps between edits.
- Preview your graded video on both phone and desktop to make sure your cinematic look holds up on typical YouTube viewing setups.
- Keyframe filter opacity when transitioning between moods so shifts in color and contrast feel like intentional storytelling, not mistakes.
- Save your favorite combinations of filters and adjustments as presets to quickly recreate consistent YouTube cinematic LUT-style looks.
- Test filters on a short, representative clip from each scene before batch-applying them to your entire timeline.
Treat YouTube cinematic LUT-style filters as storytelling tools, not just decorations, and your color choices will start guiding how viewers feel through every chapter of your video.
Build a small set of reliable looks for intros, dialogue, B-roll, and outros in Filmora so you can focus less on tweaking and more on telling powerful stories your audience remembers.
secure download