
 100% Security Verified | No Subscription Required | No Malware


 ChatGPT
 Perplexity
 Gemini
 Claude
 Grok
Grok
If you want your YouTube gaming videos to pop with glowing colors and a futuristic vibe, neon-inspired filters are the fastest way to get there. Instead of manually grading every frame, you can drop in a few curated looks that instantly add cyberpunk energy to your gameplay and stream highlights.
Below are Filmora filter styles designed to echo popular YouTube gaming video LUTs with a neon look. Each filter includes suggestions for when to use it, how to combine it with other effects, and a quick editing tip to keep your footage sharp and binge-worthy.
In this article
Neon City Lobbies and Waiting Rooms
Neon Lobby Glow
- Effect look: Soft, diffused neon bloom around UI elements and edges for a futuristic lobby feel.
- Best for: Intro screens, match lobbies, and AFK moments where UI and overlays are static.
- Editing tip: Lower the filter intensity to around 60% and add slight vignette to keep attention on your facecam and lobby menu.
Neon Lobby Glow is ideal when you want your waiting screens to feel like part of the same futuristic universe as your gameplay. In Filmora, you can drag this filter onto your lobby clips to instantly add a soft bloom to HUD elements, overlays, and background lights without needing a complex color grade.
To keep your YouTube gaming video LUTs neon look clean, duplicate your lobby clip on a track above, mask out the center area around your facecam and key menus, and reduce the filter strength on that masked zone. This way, text and icons remain readable while the rest of the frame pulses with neon atmosphere that matches your channel style.
Match Any Game With AI-Powered Color
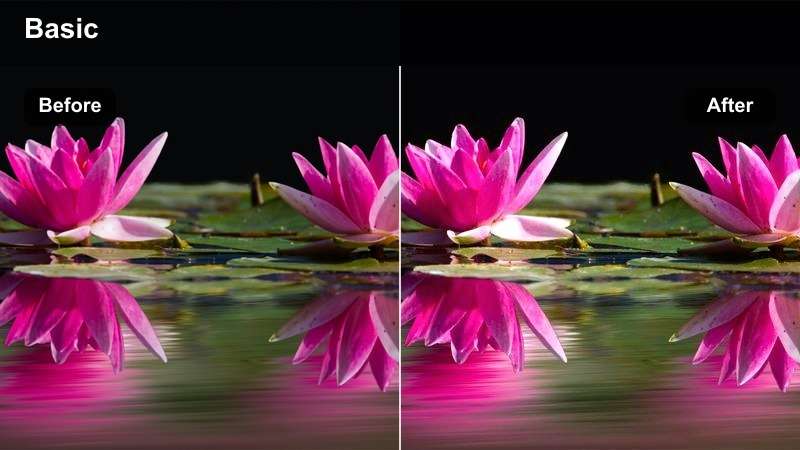
Filmora's AI Color Palette helps you quickly balance your footage before you add heavy neon effects. By auto-matching colors, it keeps your game worlds, UI, and character skins accurate so your neon filters feel like an enhancement rather than a distraction.
Analyze a short clip with AI Color Palette, let Filmora create a neutral base grade, and then stack your favorite neon filters on top for a cyberpunk look that still respects in-game colors and contrast.
 secure download

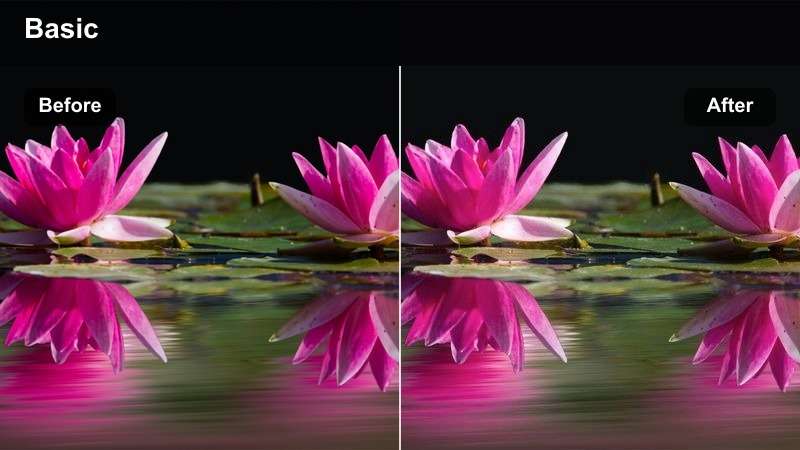
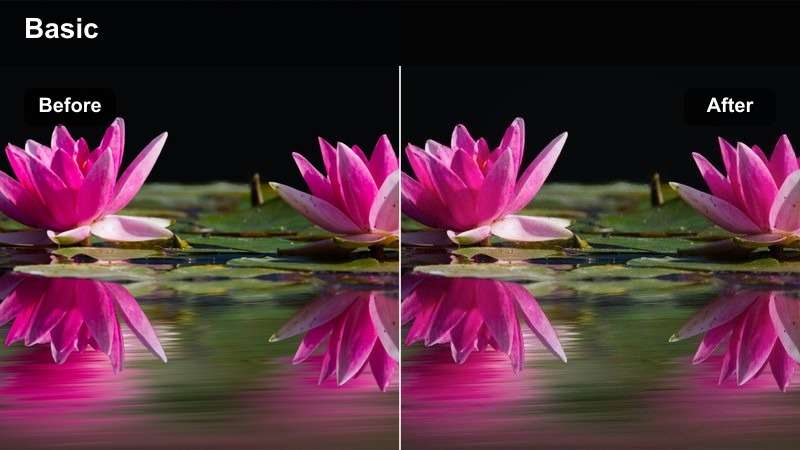
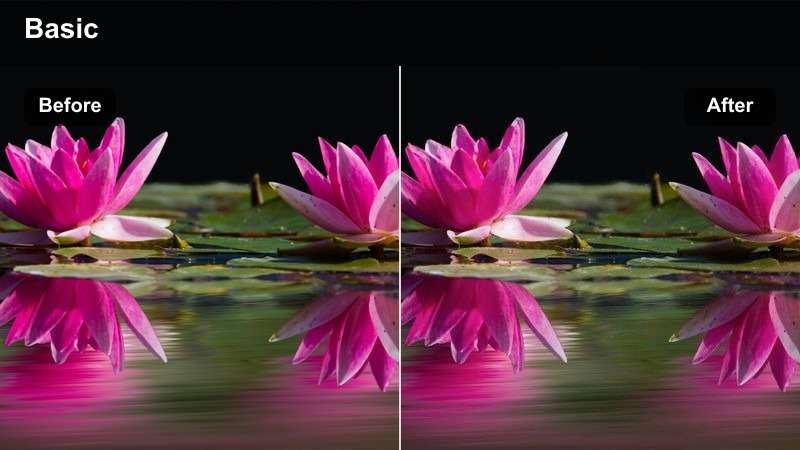
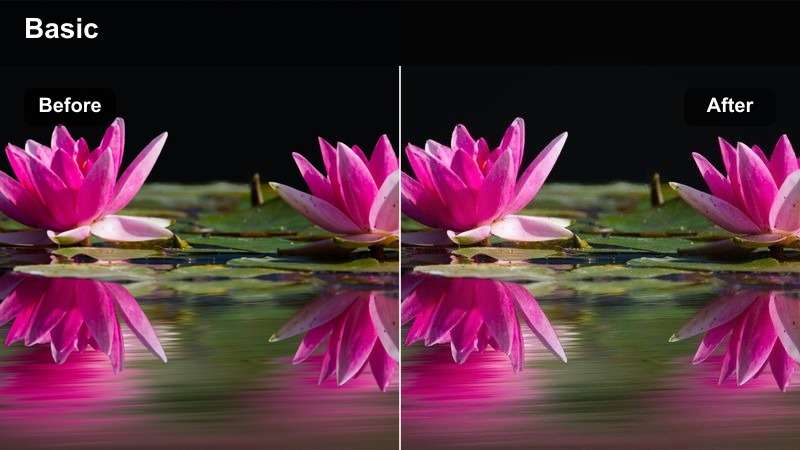
Preview Neon Filters in Real Time
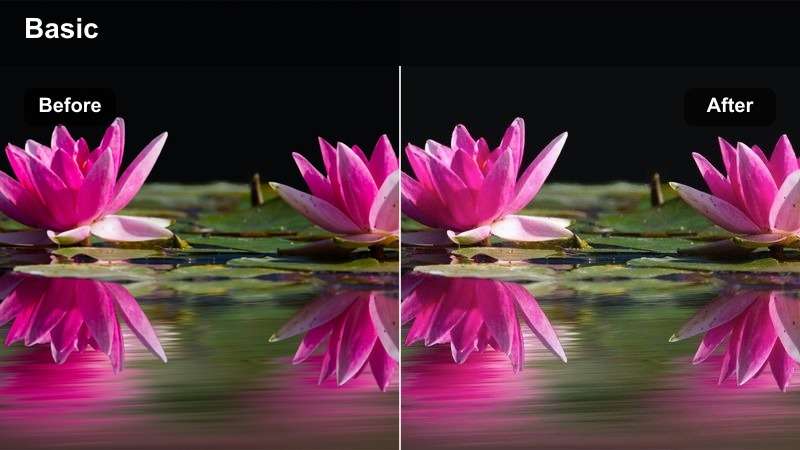
With Filmora's filter preview, you can hover over neon styles on the timeline and see exactly how they will affect your gaming footage. This speeds up experimentation, letting you compare intense cyberpunk glows, softer lobby looks, and glitchy highlights in seconds.
Stack multiple filters, adjust their intensity sliders, and use split-screen preview to compare your original clip against your neon-enhanced version before you commit to a look for your YouTube channel.
secure download1000+ Video Filters and 3D LUTs
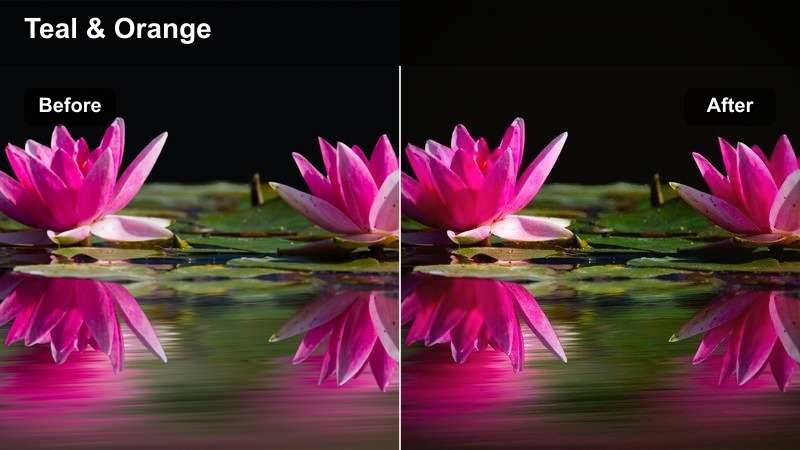
Filmora includes a large library of filters and 3D LUTs, so you can combine your favorite YouTube gaming video LUTs neon look with cinematic tones, vintage styles, and clean color corrections. Use LUTs for your base grade, then layer neon filters for lobbies, arenas, and facecam scenes.
You can also fine-tune color using HSL and other advanced tools to make sure your chosen LUT does not clash with bright HUD elements, team colors, or weapon skins in your gameplay footage.
secure downloadCyber Hub Wait
- Effect look: Cool blue neon base with magenta highlights that give your pre-game lobby a cyber hub vibe.
- Best for: Countdown timers, match queues, and chatting with your audience before a game starts.
- Editing tip: Pair this filter with a slight time-lapse or subtle zoom to keep static lobby footage visually engaging.
Cyber Hub Wait gives your pre-game scenes a cool-toned futuristic atmosphere that feels like a high-tech control room. In Filmora, apply this filter to segments with countdown timers, queue screens, and chat overlays to create a consistent cyberpunk mood before the action kicks in.
For extra polish, combine Cyber Hub Wait with keyframed scale and position on your lobby clip so the camera slowly pushes in while the neon colors pulse. This simple motion, plus the blue and magenta glow, turns a static waiting screen into a dynamic starting point for your YouTube uploads and live stream recaps.
Arcade Queue Glare

- Effect look: High-saturation RGB glow with subtle lens glare that simulates being inside an arcade.
- Best for: Queue moments, casual menu browsing, and controller setup shots.
- Editing tip: Reduce midtones slightly to avoid overexposed skin while still letting HUD elements punch through.
Arcade Queue Glare is perfect when you want your menus and setup shots to feel like they are lit by real RGB strips and arcade cabinets. Drop it onto clips where you are tweaking settings, browsing skins, or waiting in matchmaking to create nostalgic arcade energy around your UI.
In Filmora, balance this filter by slightly lowering midtone brightness and boosting contrast just a touch so your facecam and HUD remain visible through the glow. You can also cut in close-up B-roll of your keyboard, mouse, or controller with the same filter applied to create a quick montage that bridges from lobby scenes into full gameplay.
Intense FPS Arena Battles
Neon Crosshair Pop
- Effect look: Boosted contrast with vivid neon accent on crosshairs and hit markers to emphasize impact.
- Best for: Fast-paced FPS highlight reels, clutch moments, and montage edits.
- Editing tip: Cut the filter on and off around big plays to make headshots and kill streaks stand out visually.
Neon Crosshair Pop is designed to draw your viewers eyes straight to the center of the action. When you apply it in Filmora, crosshairs, hit markers, and key HUD elements gain extra neon intensity while the background stays a bit more controlled, which is perfect for high-energy FPS montages.
Use keyframes on the filter opacity so it ramps up right as you land a headshot or start a kill streak, then fades back to your base look afterward. This flicker between normal and neon-amplified views turns major plays into visual spikes, making your highlight reels feel punchier and more in sync with the gameplay rhythm.
Arena Rush RGB
- Effect look: Pumped saturation and rapid RGB edge glow that tracks motion in the scene.
- Best for: High-movement footage like slide-cancels, strafing duels, and chaotic team fights.
- Editing tip: Increase shutter blur slightly in your footage, then add this filter to accent movement and speed.
Arena Rush RGB emphasizes movement by adding trailing RGB edges and saturated color to fast actions. When your clips are full of slide-cancels, quick peeks, and hectic team pushes, this filter in Filmora exaggerates speed and makes every motion feel more electric.
To get the best result, combine Arena Rush RGB with clips recorded at slightly slower shutter speeds or with motion blur enabled in-game. In your edit, place the filter only on the most intense sequences and alternate it with cleaner shots, so viewers get bursts of neon chaos without feeling overwhelmed by constant visual noise.
Glitch Kill Highlight

- Effect look: Neon-tinted chromatic glitch with slight frame jitter around key kills and eliminations.
- Best for: Kill cams, finishing moves, and montage transitions in shooter content.
- Editing tip: Limit the glitch burst to 10–15 frames right after the kill card appears to avoid disorienting your audience.
Glitch Kill Highlight brings a cyberpunk glitch effect to your most important eliminations. In Filmora, you can apply this filter to a short section around each kill cam or finisher animation so a burst of RGB distortion and frame jitter underlines the moment.
Trim your kill clips so the effect only covers 10 to 15 frames immediately after the kill feed or scoreboard appears. This quick pop of neon glitch works as both a visual exclamation mark and a natural transition, helping you jump between plays in your montage while keeping the pacing tight and satisfying.
Story-Driven Cyberpunk Walkthroughs
Neon Noir Story

- Effect look: Moody, deep blacks with punchy neon signs and soft magenta highlights for a noir-style narrative feel.
- Best for: Story campaigns, cutscenes, and dialogue-heavy missions in futuristic cities.
- Editing tip: Add subtle film grain and lower saturation in skin tones to keep the focus on neon-lit backgrounds.
Neon Noir Story gives your cyberpunk campaigns a cinematic, narrative-driven style with strong shadows and rich neon accents. Apply it in Filmora to cutscenes, stealth sections, and slow exploration moments where you want the world-building to stand out more than raw action.
Enhance the mood further by adding a light film grain effect and slightly desaturating skin tones while keeping signs and holograms vivid. This pushes viewer attention toward the cityscape and environmental storytelling, making your walkthroughs feel like chapters of a neon-drenched graphic novel rather than just raw gameplay dumps.
Hologram Dialogue Glow
- Effect look: Soft cyan glow around holograms and UI elements with slightly desaturated backgrounds.
- Best for: In-game conversations, NPC briefings, and mission selection screens with floating UI.
- Editing tip: Keyframe brightness down during serious dialogue to let subtitles and facial expressions stand out.
Hologram Dialogue Glow focuses attention on floating UI and holographic projections during conversations. In Filmora, it works especially well on mission briefings and NPC interactions where interface elements share the screen with character faces and subtitles.
To keep everything readable, gently lower overall brightness and saturation in the background while letting the cyan glow highlight key UI panels. You can keyframe exposure so it dips slightly during emotional or lore-heavy lines, ensuring subtitles and expressions remain easy to follow even within a strong YouTube gaming video LUTs neon look.
Night Drive Chrono
- Effect look: Smooth, cinematic contrast with teal and purple neon flares for late-night driving sequences.
- Best for: In-game driving, flight through neon tunnels, and open-world exploration at night.
- Editing tip: Speed up long travel segments by 1.25x or 1.5x while keeping this filter on to create dreamy travel montages.
Night Drive Chrono turns otherwise repetitive travel footage into stylized neon journeys. Apply it to driving segments, hover-bike runs, or nighttime flights through city skylines in Filmora to add teal and purple flares and a smoother cinematic contrast curve.
For YouTube walkthroughs, you can speed these travel clips up slightly and use them as B-roll while you record commentary, tips, or story recaps. With the filter on, those sections feel like intentional montage breaks, giving your audience a visual breather without losing the cyberpunk atmosphere of your series.
Stream Room and Facecam Neon Vibes
RGB Room Glow
- Effect look: Soft-focus RGB backlight with warm skin balancing to make your streaming room lights pop.
- Best for: Facecam intros, talking segments, and reaction cutaways during gameplay.
- Editing tip: Mask the filter so it mostly affects the background while leaving your face sharper and less saturated.
RGB Room Glow is built for facecam-focused content, giving your background LEDs and RGB strips a gentle boost while protecting skin tones. In Filmora, apply it to your webcam clips to keep your streaming setup on-brand with your gameplay neon looks.
Use simple masks around your face and upper body so the filter primarily enhances the room behind you. This maintains natural-looking skin while the walls, shelves, and light strips gain a soft neon haze, helping your commentary segments feel polished and connected to the rest of your YouTube gaming video LUTs neon style.
Stream Intro Neon

- Effect look: High-impact neon overlay with animated light streaks that frame your facecam area.
- Best for: Channel intros, video openings, and short hype clips shared as YouTube Shorts.
- Editing tip: Trim this filter to the first 5–8 seconds of the video, then drop into your regular look for a clean transition.
Stream Intro Neon is designed to grab attention in the first seconds of your video. In Filmora, place this filter at the very start of your edit, wrapping your facecam and title text in animated light streaks that immediately signal your channel's neon gaming brand.
Keep the effect short and punchy by limiting it to a 5 to 8 second intro clip, then cut or fade to your normal gameplay or facecam look. You can save this intro as a reusable template, swapping out episode titles or stream topics while maintaining a consistent neon identity across all your uploads and Shorts.
Late Night Grind Neon
- Effect look: Dimmed exposure with focused magenta and cyan glow emphasizing long grind sessions.
- Best for: Chill late-night streams, level grinding, and cozy Q and A segments with chat.
- Editing tip: Lower background music slightly and lean on this look during calm segments to set a relaxed mood.
Late Night Grind Neon is perfect for slower, more relaxed sessions where you are farming XP, clearing side quests, or chatting with your community. In Filmora, it subtly darkens the scene while emphasizing magenta and cyan hues, creating a cozy, after-hours mood that still fits your overall neon theme.
Apply this filter to entire sections of your video timeline where the pace is intentionally lower, and pair it with softer background music. You can also cut to tighter facecam shots with the same look applied, so viewers feel like they are hanging out in your room during those grind-heavy stretches of the stream recap.
Tips for Using Youtube Gaming Video Luts Neon Look Filters in Filmora
- Keep at least one clean, low-saturation look on hand for info segments so viewers can rest between intense neon scenes.
- Always check that UI elements, subtitles, and health bars remain readable after applying heavy neon filters.
- Use different neon intensities for intros, gameplay, and outros to guide viewer emotions across your video.
- Batch-apply your favorite filter combo to similar clips in Filmora to keep your edit fast and your branding consistent.
- Render a short 10–15 second test compilation of clips with new filters before committing to them for an entire series.
- Combine base LUTs with targeted neon filters so your overall color grade stays cohesive across different games.
- Use masks and keyframes to control where neon effects appear, protecting faces and critical HUD areas from over-glow.
- Save frequently used neon setups as custom presets in Filmora to streamline editing future episodes.
YouTube gaming videos stand out when your neon look feels intentional instead of random, and using focused Filmora filters is the easiest way to achieve that. By matching each filter to specific scenes like lobbies, arena fights, or dialogue, you create a visual language that viewers immediately recognize.
Experiment with a few of these presets across lobbies, arena fights, story moments, and facecam scenes until you find a neon style that matches your gameplay and personality. Once you lock in a favorite combination of LUTs and filters, you can reuse it as a signature look that ties every upload on your channel together.
secure download