
 100% Security Verified | No Subscription Required | No Malware


 ChatGPT
 Perplexity
 Gemini
 Claude
 Grok
Grok
Natural skin tones can make or break a YouTube talking head video, especially when your face is the main focus on screen. With the right Filmora filters, you can avoid harsh color shifts while still giving your footage a polished, professional look.
Below you will find a curated set of Filmora filters tailored for YouTube talking head content, each designed to keep skin looking realistic, flattering, and consistent under different lighting and shooting conditions.
In this article
Home Studio Talking Heads in Soft Light
Soft Neutral Glow
- Effect look: Gentle contrast boost with a subtle warm lift that keeps skin tones looking soft and true-to-life.
- Best for: Well-lit home studio talking head shots with softbox or ring light where you want natural warmth without orange skin.
- Editing tip: Dial back the filter intensity to around 60–70 percent and slightly lower saturation if your background colors start to pop too much.
Soft Neutral Glow is ideal when you already have a decent lighting setup and just need a light polish that flatters your face. It adds a subtle glow and warmth that helps skin look healthy while keeping colors believable, so your talking head does not suddenly look like a beauty filter.
In Filmora, drop this filter on your clip, then adjust the effect strength slider until your skin looks gently lifted but not overly warm. If your set has colorful decor or RGB accents, fine-tune saturation in the Color panel so those tones stay under control while your skin remains the hero of the frame.
Pro tip: Match white balance before applying Soft Neutral Glow. Always correct white balance first so the filter enhances, rather than fixes, your colors. Use a neutral object in frame as a reference if you did not shoot with a gray card.
Once white balance feels right, apply Soft Neutral Glow and fine-tune exposure and contrast so your face sits between 60 and 70 percent brightness on the waveform.
Let Filmora's AI Keep Your Skin Looking Natural
Filmora's AI-powered color tools can automatically analyze your footage, detect faces, and protect skin tones as you grade. Instead of manually chasing small shifts in color, you get a clean, natural-looking base that keeps your talking head consistent across an entire video.
Use AI color adjustments together with soft filters like Soft Neutral Glow to correct mixed lighting, tone down harsh saturation, and maintain realistic, flattering skin with far less manual tweaking in every edit.
 secure download

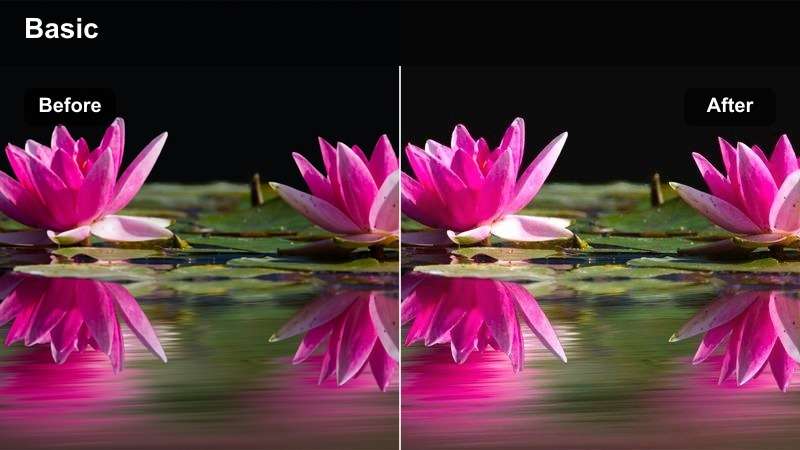
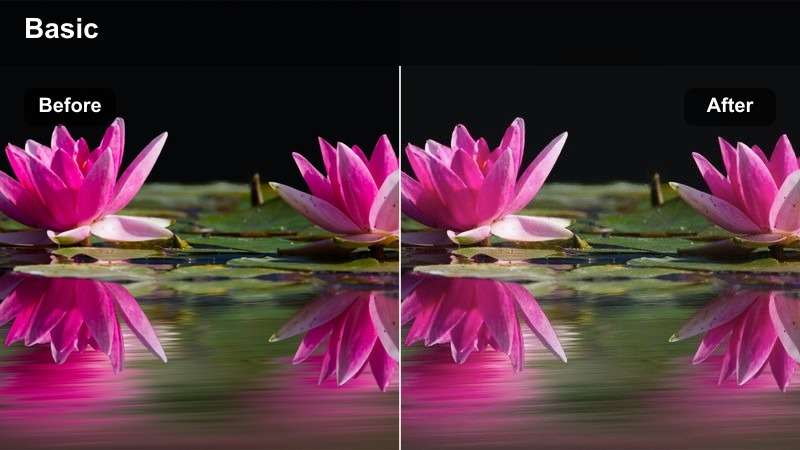
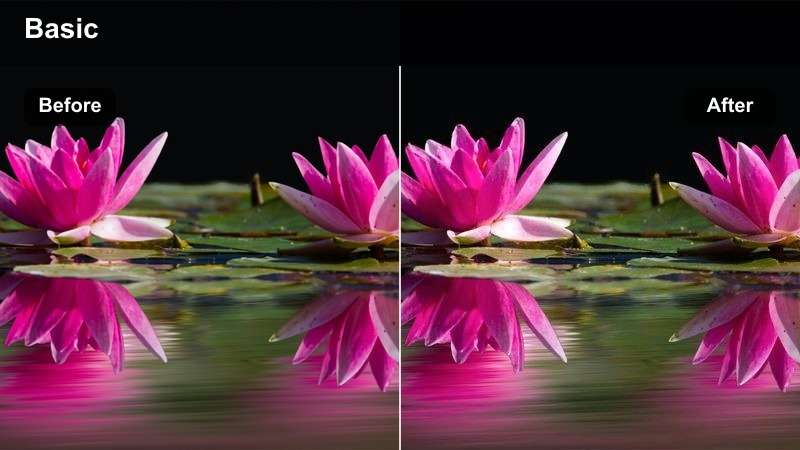
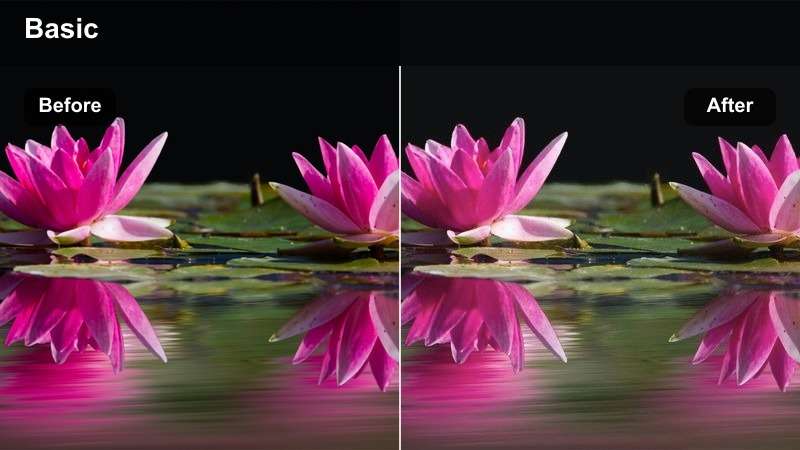
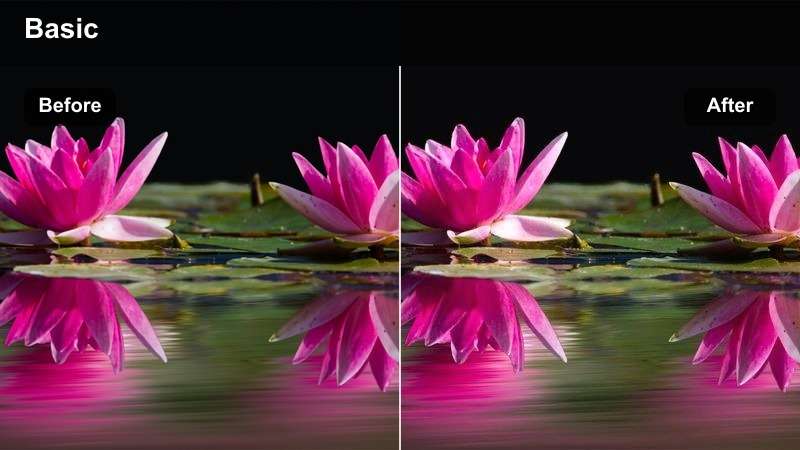
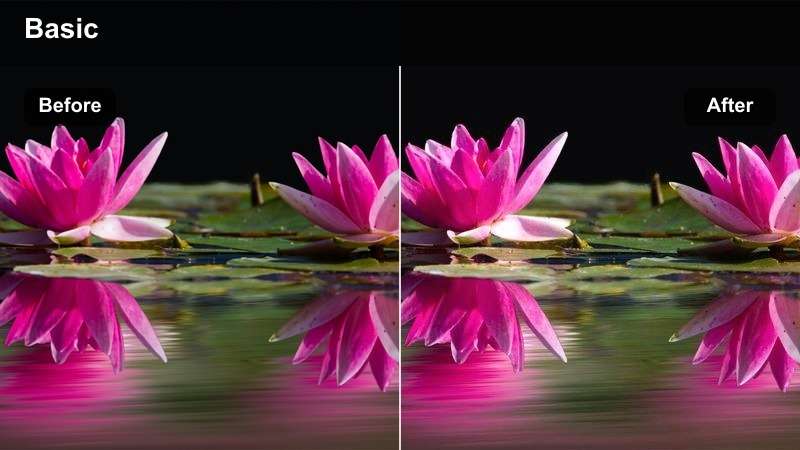
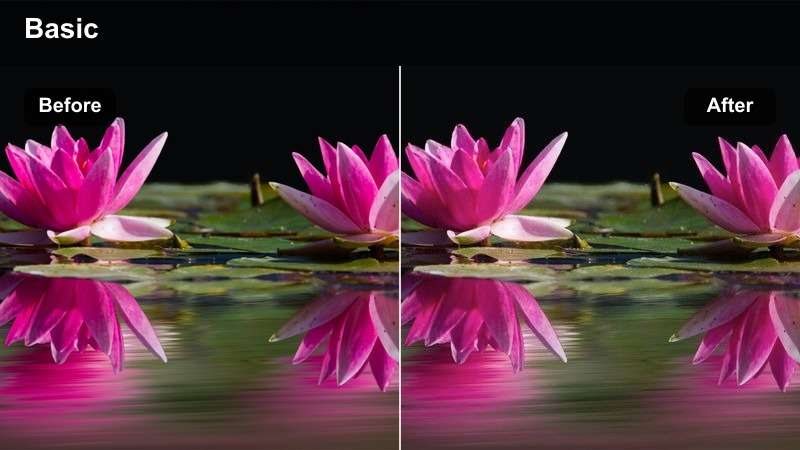
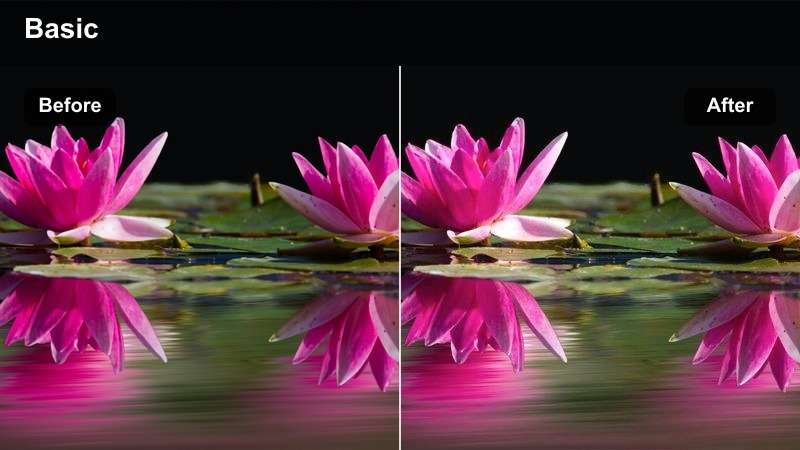
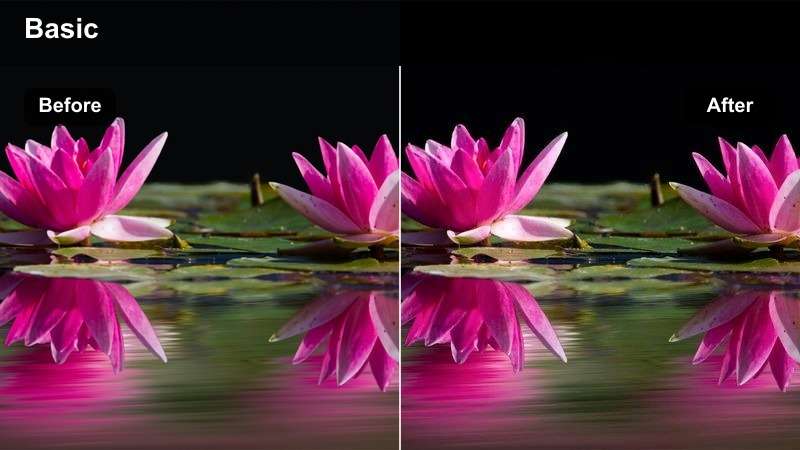
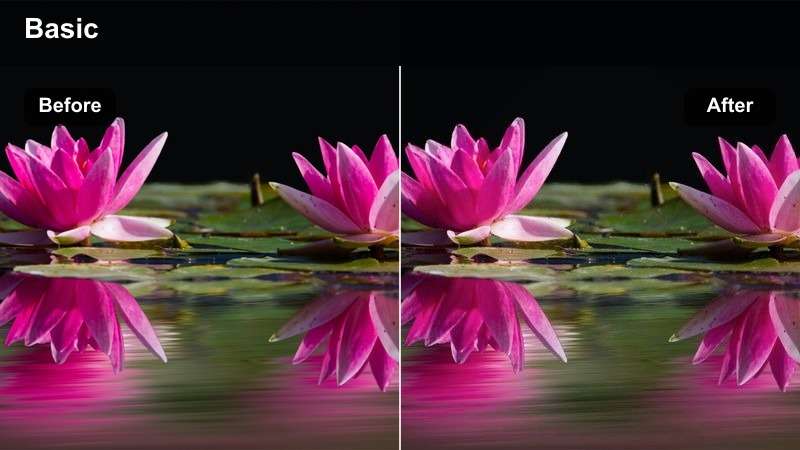
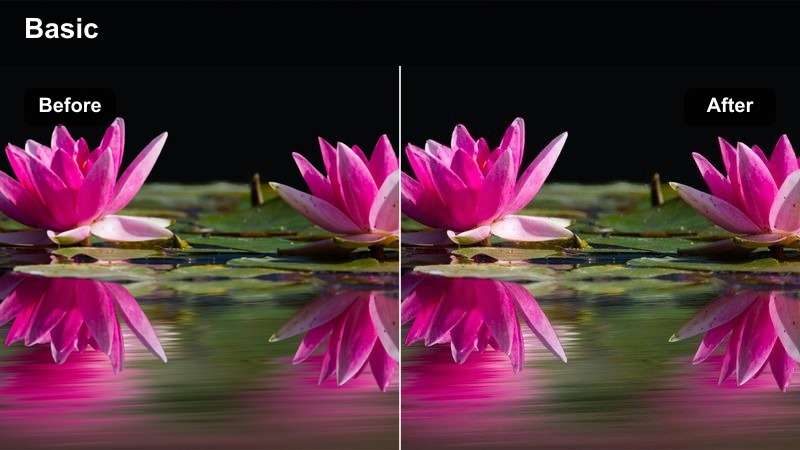
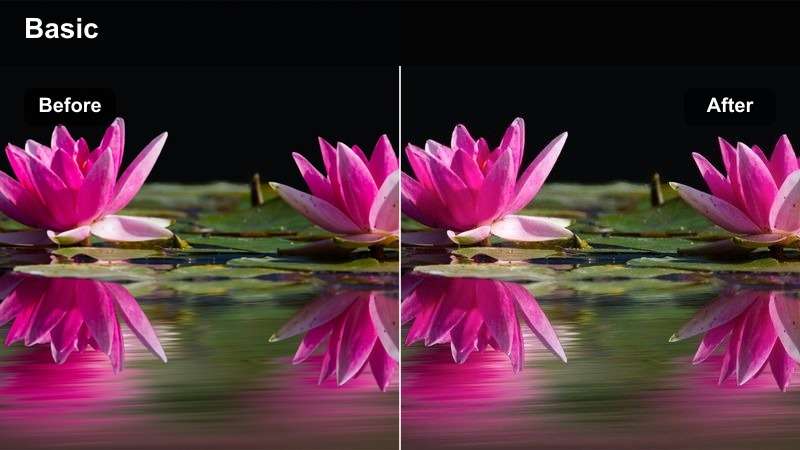
Preview Filters Live on Your Talking Head Footage
Filmora lets you test filters directly on your talking head clips in real time, so you can see how each style changes your skin tone before you commit. This makes it easy to compare subtle looks and avoid overprocessing your face.
Use split-screen or side-by-side preview to audition several natural-skin filters at once, then lock in the one that best fits your channel style, lighting, and complexion.
secure downloadExplore 1000+ Video Filters and 3D LUTs
Beyond these skin-safe talking head filters, Filmora includes a large library of creative filters and 3D LUTs for every genre, from vlogs and tutorials to cinematic intros. You can stack multiple looks, adjust their intensity, and still keep your skin tones under control.
Once you find combinations that flatter your face, save them as custom presets so every future talking head video starts from a consistent, on-brand color grade.
secure downloadStudio True Color
- Effect look: Balanced, broadcast-style correction that keeps colors accurate and evens out minor skin tone inconsistencies.
- Best for: Educational or tutorial talking head videos filmed against a tidy background with consistent key lighting.
- Editing tip: If your skin looks slightly flat, pair this filter with a subtle clarity or sharpness boost around the eyes only using a mask.
Studio True Color is built for clean, professional talking head setups where accuracy matters more than stylization. It lightly balances overall color, preserves neutrals, and smooths out subtle differences in skin tone across your face without making you look airbrushed.
In Filmora, apply Studio True Color early in your color workflow to create a neutral baseline, then tweak exposure and contrast to taste. If you want extra presence, add a masked sharpness or clarity boost around the eyes and mouth so your expression stays crisp while the rest of your skin remains soft and natural.
Pro tip: Protect midtones for realistic skin. Use the curves tool to anchor highlights and shadows, then nudge only the midtones for extra depth so you do not over-contrast your skin.
Keep an eye on cheeks and forehead; if they start to clip or look plasticky, slightly reduce contrast or the filter strength.
Warm Room Light Fix
- Effect look: Gently neutralizes orange or yellow casts from indoor bulbs while keeping a cozy warmth on skin.
- Best for: Talking head videos shot in bedrooms or living rooms with mixed lamp and window light.
- Editing tip: If your background still looks too yellow, slightly pull down overall saturation but add a tiny bit of vibrance to keep skin alive.
Warm Room Light Fix is designed to rescue footage shot under common household bulbs that push everything toward yellow or orange. Instead of cooling the entire frame and making you look pale, it selectively reins in the warm cast so your skin looks believable while the room still feels inviting.
Apply this filter in Filmora when you film near table lamps, ceiling fixtures, or a mix of lamp and daylight. Adjust intensity until your face no longer looks overly orange, then refine temperature and tint in the Color panel so whites in the scene look closer to off-white while your skin retains a gentle glow.
Pro tip: Use this when you cannot change your bulbs. If you are stuck with warm household bulbs, let the scene stay cozy but rely on this filter to bring your face back toward neutral.
Combine it with slight temperature reduction in the basic color panel until your white shirt or wall looks properly off-white.
Daylight Window Talking Heads
Window Light Balance
- Effect look: Softens harsh daylight contrast and gently rolls off highlights for a flattering, even skin appearance.
- Best for: Talking heads filmed beside a bright window where one side of the face is brighter than the other.
- Editing tip: Use a vignette with very low strength and large feather to keep focus on your face without darkening skin too much.
Window Light Balance helps tame the harsh contrast that often happens when you sit close to a bright window. It smooths the transition between light and shadow on your face, softens blown highlights, and keeps your skin from looking too shiny or uneven.
In Filmora, use this filter when you are using window light as your key or fill source. After applying it, gently lower highlights and whites in the Color panel, then refine exposure so your facial features are clear without losing the airy daylight feel that makes window-lit talking heads so appealing.
Pro tip: Tame highlights before adding saturation. If your forehead or nose is blown out, reduce highlights and whites first so the filter has room to work.
Only then add a touch of saturation so your skin stays vibrant without exaggerating any remaining bright spots.
Cool Daylight Neutral
- Effect look: Adds a gentle cool lift to the scene while protecting warmth in skin so faces do not look blue.
- Best for: Tech, productivity, or review videos filmed with large daylight windows and pale walls.
- Editing tip: If your skin starts to look too pale, slightly boost the orange or red channel saturation instead of global saturation.
Cool Daylight Neutral creates a modern, slightly cool atmosphere that works well with bright offices, monitors, and minimal backgrounds. While it cools the overall environment, it is tuned to keep skin tones from drifting into blue or gray, so your face stays healthy and grounded.
Use this filter in Filmora when your background includes white walls, desks, or tech gear and you want a clean, crisp vibe. After applying it, fine-tune the HSL sliders to gently reinforce oranges and reds so your skin remains natural, and adjust contrast to taste without crushing details in shadows around your eyes.
Pro tip: Separate background mood from skin tone. Use this filter to make your background slightly cooler and more techy while maintaining healthy warmth in your face.
Fine-tune hues using HSL so your skin stays in a natural peach range, not drifting into magenta or yellow.
Overcast Skin Lift
- Effect look: Brightens midtones and adds a hint of warmth to prevent skin from looking dull in cloudy daylight.
- Best for: Talking head videos filmed near a window on overcast days or in shaded balconies.
- Editing tip: If your face looks washed out, add a little contrast and a slight S-curve rather than pushing saturation too far.
Overcast Skin Lift is built for flat, gray days when natural light lacks punch and your face looks lifeless. It lifts midtones, adds a subtle layer of warmth, and restores separation between your skin and the background without making the scene feel artificially sunny.
Inside Filmora, apply this filter to cloudy-day window shots or shaded outdoor talking heads. Adjust overall exposure first so your face is correctly lit, then let the filter add gentle color and depth. If your image still feels a bit flat, use curves to introduce a soft S-shape that adds contrast while keeping skin texture natural.
Pro tip: Use subtle exposure changes with this filter. Slightly raise exposure and shadows before applying the filter so it has a pleasant base to enhance.
Avoid extreme brightness; aim for skin to be clearly separated from the background without looking like it is lit by direct sun.
Low-Light and Night Talking Head Setups
Noise-Friendly Softener
- Effect look: Gently smooths noise and softens contrast to make high-ISO skin look more flattering in dim scenes.
- Best for: Nighttime YouTube talking heads shot in low light or with RGB accent lights in the background.
- Editing tip: Combine with modest noise reduction, and avoid heavy sharpening which can bring back grain on your face.
Noise-Friendly Softener is the go-to filter when you have to crank ISO for a night shoot and end up with grainy skin. It smooths digital noise, lowers harsh contrast, and keeps your face readable without turning the entire image into a blur.
In Filmora, pair this filter with subtle noise reduction and a slightly raised exposure focused on your face. Resist the urge to sharpen globally afterward; if you need extra detail, use a mask to selectively sharpen your eyes and eyebrows while letting the rest of your skin remain soft and forgiving.
Pro tip: Expose for skin, not the background. In low light, let your background go darker and use the filter to smooth noise, keeping your face properly exposed.
If RGB lights clip, reduce their saturation separately via HSL instead of dimming your entire image.
Warm Desk Lamp
- Effect look: Adds a soft, cinematic amber warmth that mimics cozy desk lamp lighting while holding neutral midtones.
- Best for: Night desk setups for commentary or study-with-me videos using a key light plus a warm lamp.
- Editing tip: If your forehead looks too shiny, lightly pull down highlights and apply a subtle blur mask only to the brightest areas.
Warm Desk Lamp gives late-night desk scenes a gentle, cinematic amber glow while protecting skin from becoming too orange. It is perfect for commentary, gaming, or study videos where a desk lamp or practical light is part of the story and you want viewers to feel the cozy atmosphere.
After applying this filter in Filmora, fine-tune brightness so your face remains the brightest part of the frame without hotspots. Use masks to soften only the shiniest areas, such as the forehead or nose, and keep an eye on color balance so white pages, keyboards, or monitors still look believable under the warm tint.
Pro tip: Balance warmth with perceived sharpness. Warm tones can sometimes make footage feel softer, so counter this with a tiny touch of sharpening around the eyes only.
Keep the rest of the face natural by avoiding global sharpening, which can highlight pores and texture.
RGB Accent Skin Guard
- Effect look: Protects skin from strong color contamination while letting saturated RGB background lights stay vibrant.
- Best for: Gaming or streaming-style talking heads with vivid colored lights or LED strips in the room.
- Editing tip: Mask your face and gently reduce saturation inside the mask if RGB spill still shows on cheeks or jawline.
RGB Accent Skin Guard is tailored for gaming and streaming setups where bright LEDs can wash colored light across your face. It reduces extreme color spill on skin while preserving the punch and character of your RGB background so your setup still looks dynamic on camera.
In Filmora, apply this filter to LED-heavy scenes, then check your cheeks, nose, and jawline for any leftover color cast. If needed, draw a mask around your face and slightly drop saturation or tweak hue inside the mask, ensuring your skin stays neutral while the lights carry the bold color story behind you.
Pro tip: Let the lights be the color story, not your skin. Use this filter when your LED background is the star of the frame but you want your face to stay true-to-life.
After applying, fine-tune individual color channels so only background hues shift while skin remains consistent across shots.
Mobile and On-the-Go Talking Head Shots
Phone Camera Fix
- Effect look: Evens out oversharpened, punchy phone footage by softening edges and calming saturation for realistic skin.
- Best for: Vertical or horizontal talking head clips shot on smartphones for YouTube or Shorts.
- Editing tip: If colors still feel too strong, nudge saturation slightly down and increase vibrance just a little to keep faces lively.
Phone Camera Fix is designed to counter the aggressive sharpening and saturation most smartphone cameras apply by default. It smooths edgy outlines, normalizes colors, and makes your skin look more like footage from a dedicated camera while staying crisp enough for YouTube.
After importing your mobile clips into Filmora, apply this filter as an early correction step. Once the harshness is toned down, adjust saturation and vibrance to find a balance where your skin looks calm but not dull, then refine white balance so your talking head matches the rest of your channel content.
Pro tip: Fight in-camera processing with gentle corrections. Most phones oversharpen and oversaturate by default, so use this filter to pull your footage back to a more cinematic baseline.
Avoid stacking multiple strong filters; let this one do the heavy lifting, then adjust exposure and white balance only as needed.
Street Ambient Balance
- Effect look: Balances mixed street lighting and daylight, removing green or magenta tints while keeping skin natural.
- Best for: On-the-go talking heads filmed while walking through city streets or outdoor public spaces.
- Editing tip: Use keyframes to subtly adjust exposure as you move between light and shade so skin stays consistent throughout the clip.
Street Ambient Balance is made for walk-and-talk videos where you move through patches of sunlight, shade, storefront LEDs, and street lamps. It minimizes the green or magenta casts that can appear as you pass different light sources, helping your skin stay recognizable and natural from start to finish.
In Filmora, apply this filter to your entire clip, then use keyframed adjustments to fine-tune exposure as lighting changes. By keeping your skin tone stable and your brightness consistent, you make the video feel more professional and easier for viewers to watch, even when the environment around you is constantly shifting.
Pro tip: Stabilize color across moving shots. Apply this filter to the entire clip first, then add minor color tweaks at key lighting transitions instead of cutting the video.
This keeps your talking head feeling continuous and professional, even as the environment shifts around you.
Car Vlog Skin Saver
- Effect look: Reduces harsh midday sun patches and windshield color casts while lifting shadows on the face.
- Best for: Talking head clips filmed inside a car or rideshare with strong directional daylight.
- Editing tip: Mask your face and gently raise shadows there, then keep the rest of the scene slightly darker for a focused look.
Car Vlog Skin Saver is tuned for interior car lighting, where bright sun and dark cabin shadows can create extreme contrast and odd color reflections. It helps even out patchy highlights across your face, softens windshield color casts, and makes your skin look more consistent as you drive.
In Filmora, drop this filter on your car footage, then create a loose mask around your face and slightly raise shadows or midtones inside it. Leave the rest of the frame a bit darker to keep attention on your expression, and adjust contrast carefully so you do not reintroduce harsh patches of light across your cheeks or forehead.
Pro tip: Handle changing light with subtle adjustments. Apply this filter and then keyframe slight exposure and shadow tweaks as the car passes through bright and shaded areas.
Try to keep your skin tone brightness relatively constant so viewers focus on your story, not the lighting jumps.
Tips for Using Youtube Talking Head Luts Natural Skin Filters in Filmora
- Lock your white balance in-camera before recording so your skin tone does not shift mid-sentence.
- Expose for your face, even if it means letting bright windows or lights go slightly overexposed.
- Avoid extreme contrast and saturation on talking heads, which can exaggerate blemishes and make skin look unnatural.
- Use masks to adjust your face separately from the background when combining strong stylistic filters.
- Check your graded video on both a phone and a laptop to make sure skin tones look natural across devices.
- Create and save custom presets in Filmora once you find a skin-safe look that works for your usual lighting.
- Use waveform and vectorscope where available to keep skin tones in a consistent, realistic range while grading.
Natural, consistent skin tones help viewers connect with you and trust what you are saying, especially when your content is built around YouTube talking head videos.
Use these Filmora filters as a starting point, then refine them into your own preset so every new video looks polished, professional, and unmistakably yours.
secure download