Open Filmora on your computer. The Startup window will appear and you will see three sections: the Project section, the Tools section, and the News section.

Note: This screenshot of the Startup window is from Filmora Version 10.4. If you don't see this Startup window, please upgrade to the latest version, and then go to File -> Preferences -> General tab, to enable this startup window when Wondershare Filmora launches, you’ll see it the next time you open Filmora.

1. Project Section
The Project section consists of three parts that allow you to create a new project or open a previous one quickly:
Select the desired aspect ratio from the dropdown menu and then click on New Project to enter the editing interface and start working on your new project.

Click Open Project to choose from the projects (.wfp files) saved on your computer.
In the Project Library section, you will see your most recent projects in chronological order from the most recent to the last. Double click on a project to open it. You can also delete projects by clicking the Trash icon on the right side of the window.
You can click the Grid icon to change from List view to Grid and find your project quickly. Also, you can type a project name in the search bar to find it faster.

2. Tools Section
Filmora has added shortcuts to some popular tools in the Startup window, allowing you to use them faster.
Auto Highlight: Analyze and extract highlights from a clip automatically.
PC Screen: Record PC screen, microphone or system audio.
Instant Cutter: trim and merge large video files quickly without quality loss.
3. News Section
The News section will show you some of the latest Filmora features, creative video tutorials, video editing tips and tricks, as well as our latest video campaigns and contests.
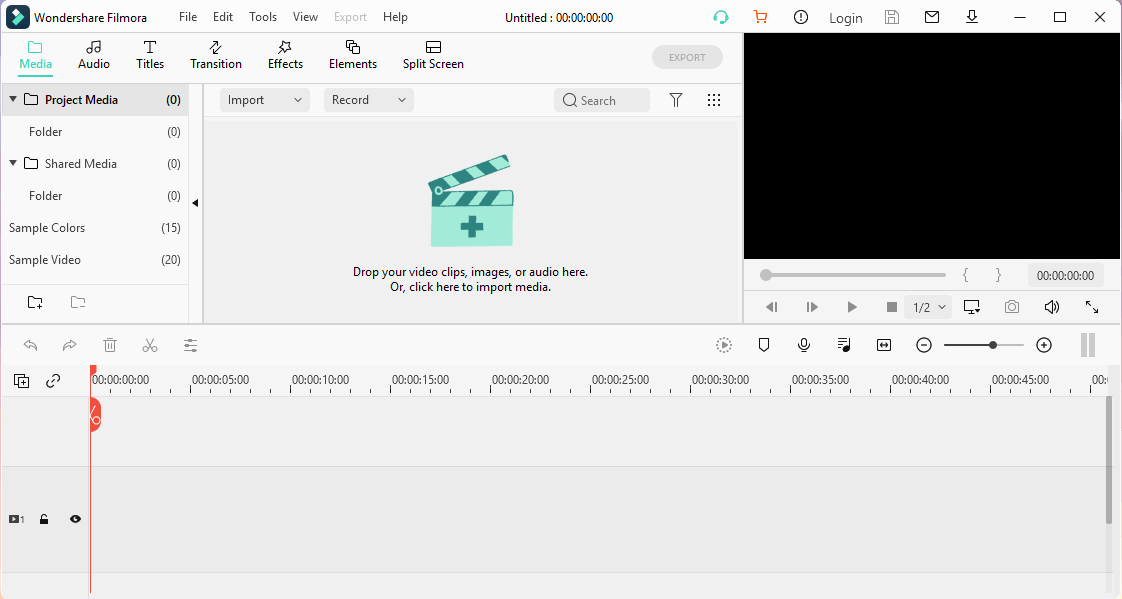
No matter which project option you choose, you will enter the editing mode:

Filmora also has a number of features tailored to GoPro and action cam footage, and an Instant Cutter to trim the clip without losing any quality. Please visit this Action Camera Video Editing guide to learn more.
To toggle between Light and Dark mode, go to File -> Preferences -> General and choose Light Mode or Dark Mode under Appearance.
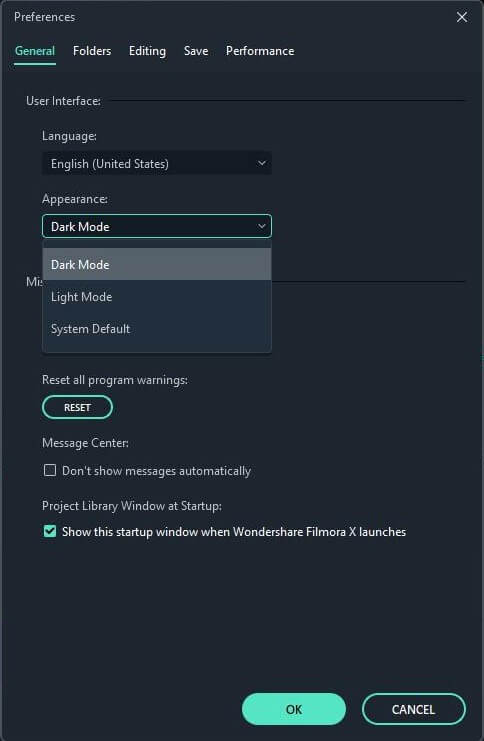
This is what the light mode looks like.
Note: If you choose System Default, the skin color will be consistent with your operating system after restarting the program.
